
 My Account
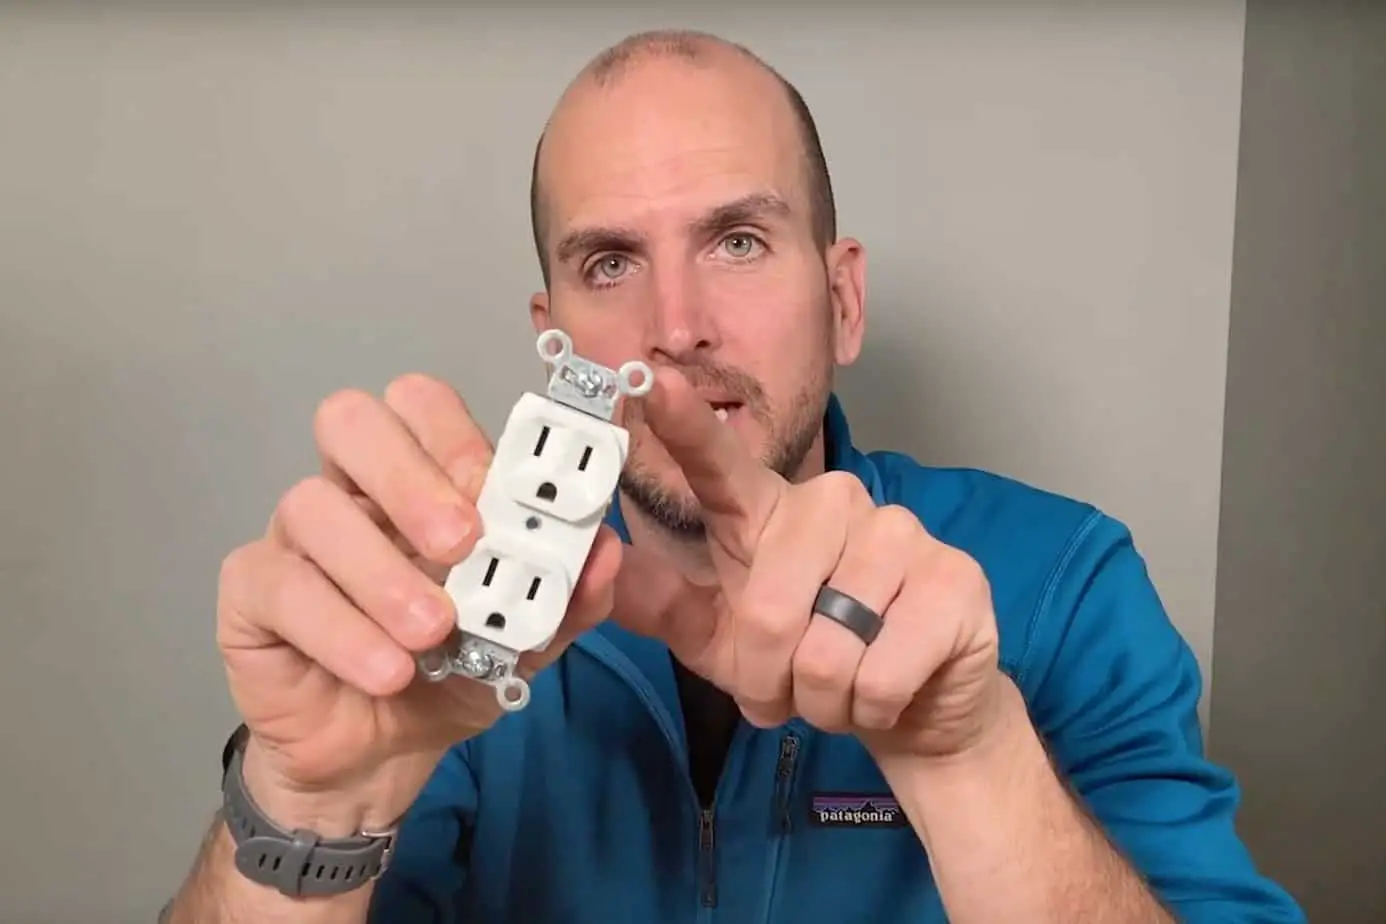
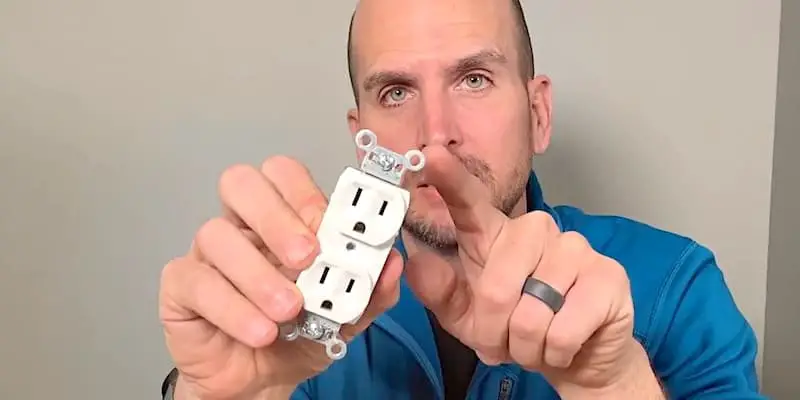
The subject of today’s article is the little “ears” that you find on all outlets and light switches. What are they for?
This part of the yoke of a receptacle or switch does have a specific function but there are also times when it’s not needed; in fact, there are times when they will cause your wall plate to not sit flush or even impede proper installation.
Knowing when to use and when to remove the little ears on an outlet or switch is a tiny bit of knowledge that can ensure a professional finish on your DIY electrical projects around the house.
Rather watch than read? Check out this 5-minute video.
DISCLAIMER: This video and description contain affiliate links, which means that if you click on one of the product links, I’ll receive a small commission.
Little Ears on Outlets and Switches: What Purpose They Serve and When to Use Them
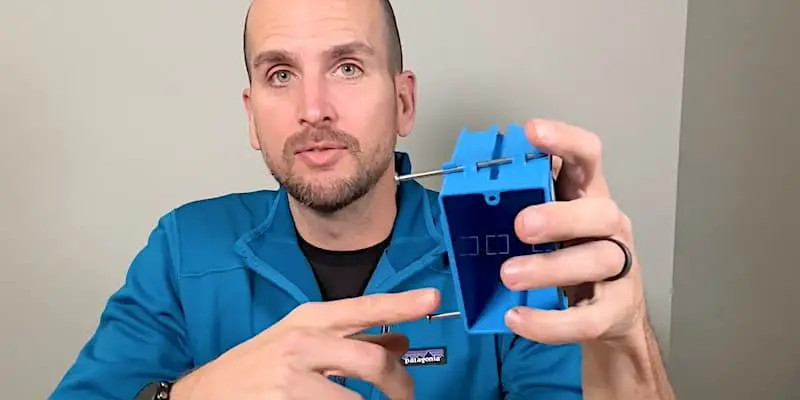
All outlets and light switches come with little “ears” at the top and bottom of the yoke. Some are rounded like Mickey Mouse ears and some are squared off with multiple cut lines. Some, like those you find on Eaton components, even have an integrated wire stripper.
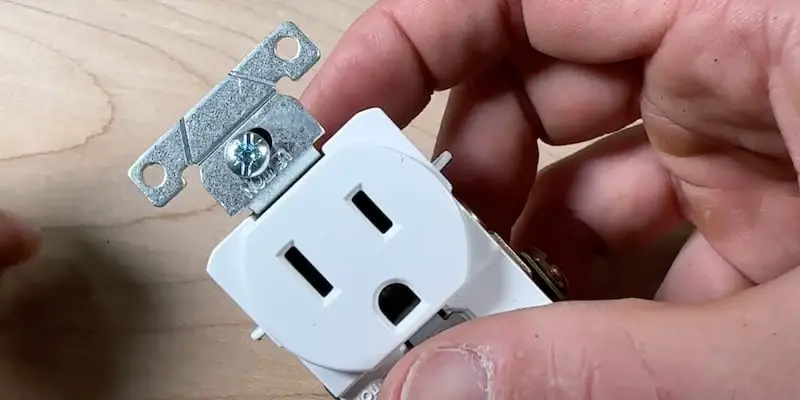
Regardless of the design, these ears all serve the same purpose: they enable you to get a consistent mounting depth when installing your outlet or light switch so that the face plate sits tight to the wall.
The little ears on outlets and light switches are used in conjunction with “new work” electrical boxes — “new” referring to new construction, where the box is affixed to the studs in new, bare framing before drywall has been installed.
Ironically, these “new work” boxes are pretty old technology. They’ve been in use since the days of plaster, before drywall was the standard. In fact, the proper name for the little ears is “plaster ears.”
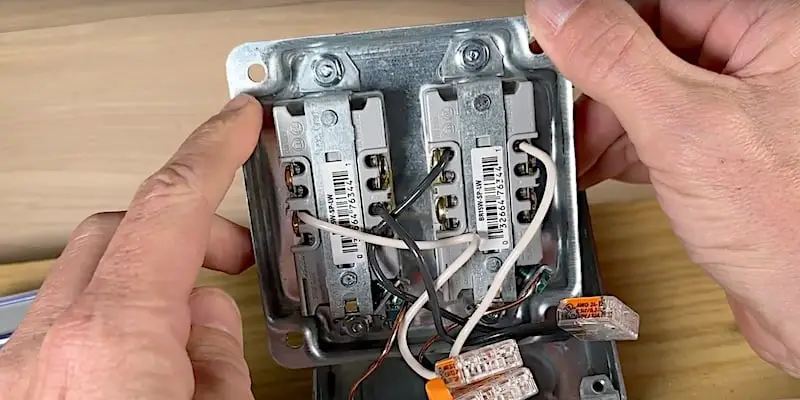
In this example of how the ears should sit on the finished wall, I have two Decora light switches.
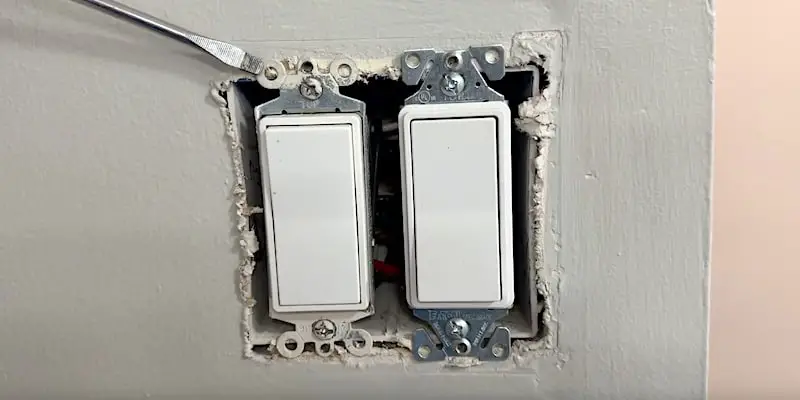
You can see that the ears are sitting directly on the drywall. When I put the face plate on, there will be no gaps around it because the switches are the correct distance from the finished wall surface.
The majority, if not all, of the existing outlets and switches in your home are going to be in “new work” boxes. But let’s say you want to add an outlet or a light switch somewhere. In this case, the gang box will be different and the little ears of the outlet or switch will no longer be useful.
Little Ears on Outlets and Switches: When Not to Use Them
There are times when you will not need the little ears on the yoke of an outlet or light switch. For the most part, this is in conjunction with installations in an “old work” box or a metal box.
With an “Old Work” Box
An “old work” electrical box is the type of box you’d use if you were going to install an additional outlet or light switch in your home, where you’d be cutting a hole in a finished wall to accommodate the new outlet or switch. You’d be installing the box into existing, finished construction — in other words, into old work.
When you install an “old work” box, you secure it to the exterior surface of the drywall. If you don’t break off the little ears before mounting the outlet or switch, it protrude far enough from the wall that you’ll have a gap when you mount the face plate.
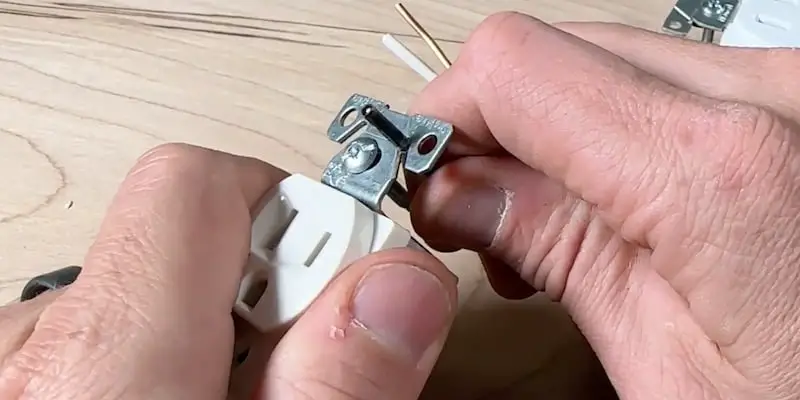
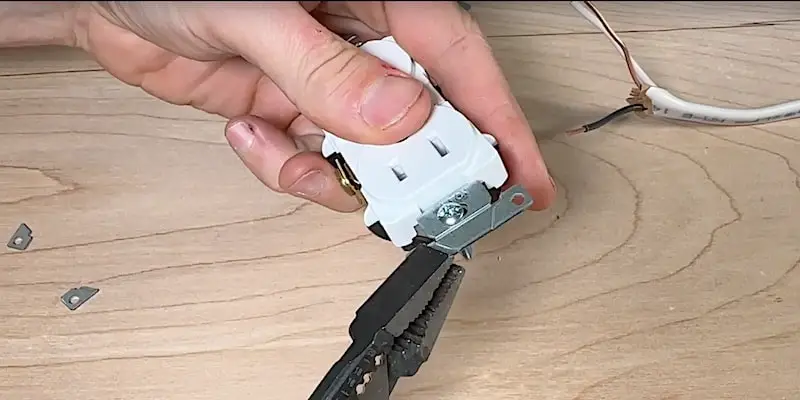
The ears are very easy to break off. Just bend them back and forth a bit with a pair of pliers or wire strippers and they’ll pop off at the scoring.
The part of the yoke that’s left — the piece of metal that was between the ears — will fit precisely into a slot at the top and bottom of the box.
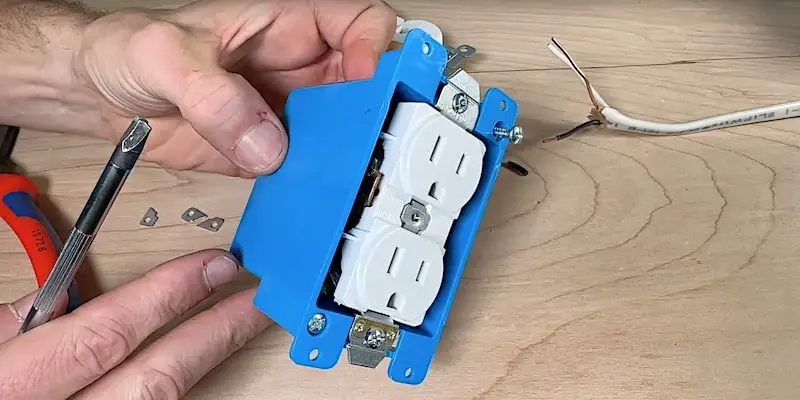
The slot was specifically designed to set the component back just a bit and compensate for the fact that the box is mounted to the wall surface.
With a Metal Box
Installing receptacles or switches in a metal box is more of a commercial or industrial thing, but we’ll go over it just to be thorough in our discussion about when to remove the little ears.
If you have a keen eye, you might have noticed that there is another cut line running horizontally at the top of the yoke. You’ll want to remove this last piece if you’re going to be mounting components on the cover of a metal electrical box.
Little Ears and Sunken Outlets
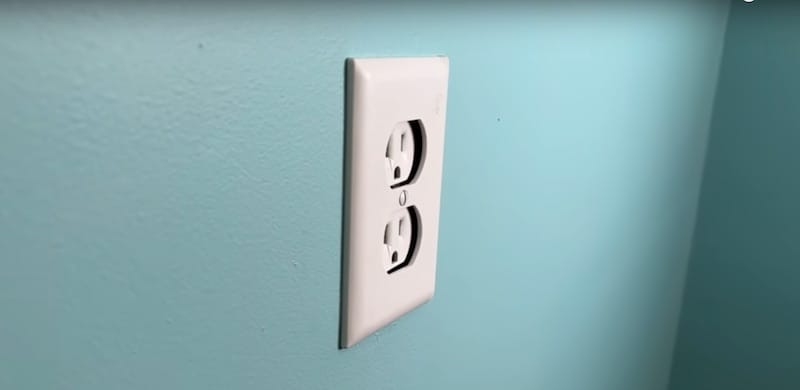
If the drywall has been overcut around the electrical box and there’s such a gap that the ears don’t sit on the wall, they’re not going to do their job. The component won’t sit the proper distance from the wall surface and you’ll likely have a sunken outlet such as this:
In this case, you could break off the plaster ears and use them as spacers on the screw that mounts the component onto the box. This would give you a correction of about 1/16 of an inch.
Most sunken outlets, however, are depressed by more than 1/16 of an inch. To correct an outlet that is sitting significantly back in the wall, check out our YouTube video or how-to article.
Other Outlet-Related Articles and Videos
- 10 Things You Didn’t Know About Outlets (video)
- 21 Facts and Features of a Standard Outlet (article)
- Dangers of Speed Wiring | Why Back Wiring an Outlet is Best (article)
- How to Wire a GFCI Outlet (article)
- Why Use a Pigtail When Wiring an Outlet (article)
To Leave Comments and Questions
If something doesn’t make sense or if your situation is a little different, please leave a comment under the YouTube video. I check the comments on a daily basis and am happy to help out.
Don’t forget to subscribe to our channel as we have weekly videos coming out to help you with your everyday home repairs.
We’ll catch you on the next one! Take care.


