
 My Account
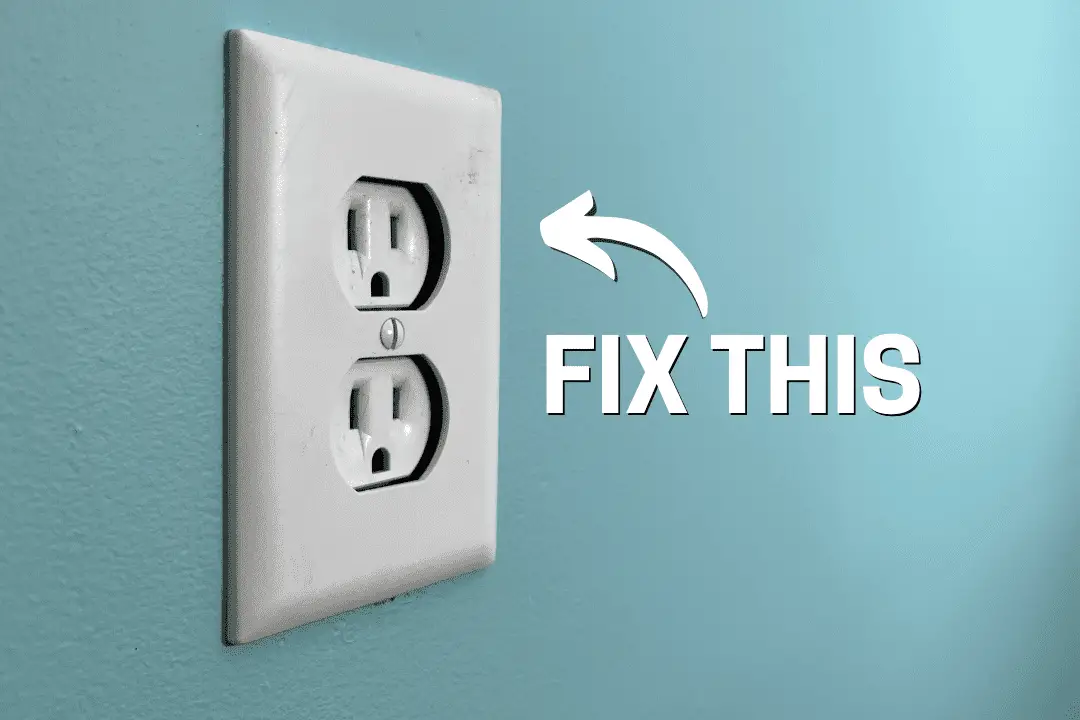
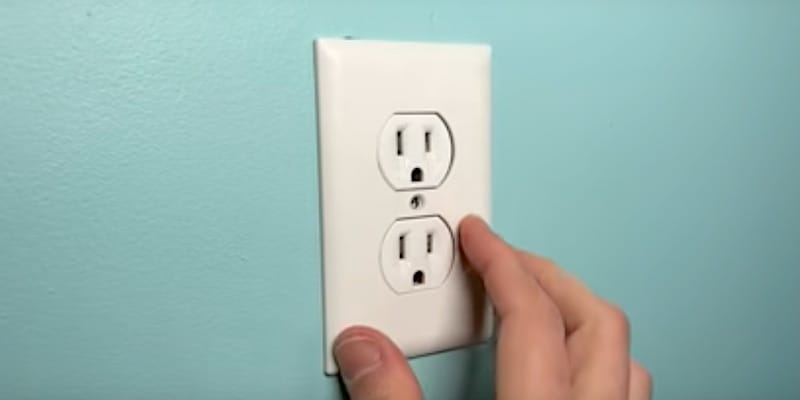
In older homes and even in newer homes where you’ve done some renovations such as putting in a backsplash, a common problem is outlets or light switches that are sunken back into the wall. Besides being unsightly, a sunken outlet can also indicate a safety or code-compliance issue that you’ll want to address.
There is an easy way to fix a sunken outlet and there is also a safe way, which you might need to consider depending on your scenario. Sometimes these two solutions are used in combination with each other, as I’ll do in this tutorial.
How to Fix a Sunken Outlet: Step-by-Step Guide
In this step-by-step guide, I’ll first be reviewing the root cause of the sunken outlet issue. Then I’ll walk you through some solutions that will hopefully help you navigate your specific situation and make this a one-trip-to-the-hardware-store project.
Rather watch than read? Check out this 10-minute video.
DISCLAIMER: This video and description contain affiliate links, which means that if you click on one of the product links, I’ll receive a small commission.
How to Fix a Sunken Outlet: Supplies and Tools
Supplies
- Outlet Spacers
- Box Extender
- Old Work Box With Mounting Screws
- 6-32 Screws, 2 Inches Long
- Oversized Duplex Wall Plate
- Jumbo Duplex Wall Plate
Tools
- outlet tester
- a screwdriver (maybe read our article on the best screwdriver for electrical work if you need one)
Before Beginning Any Electrical Project: Safety
With any electrical project, you want to begin safely. Before doing anything, flip the circuit breaker to cut off power to the thing you’re working on.
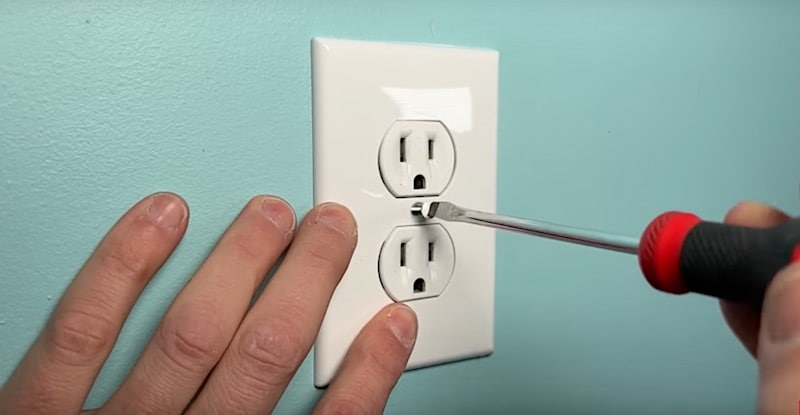
With an outlet, you can confirm that there is no current flowing by using an outlet tester.
When I insert the tester into both receptacles of the outlet I’m using for this tutorial, nothing lights up. So we’re good to go.
How to Fix a Sunken Outlet: Evaluating the Problem
To give a little context, the house in this demo was built in 1904.
I’ve removed the wall plate and see that there are a couple of things contributing to my sunken outlet problem.
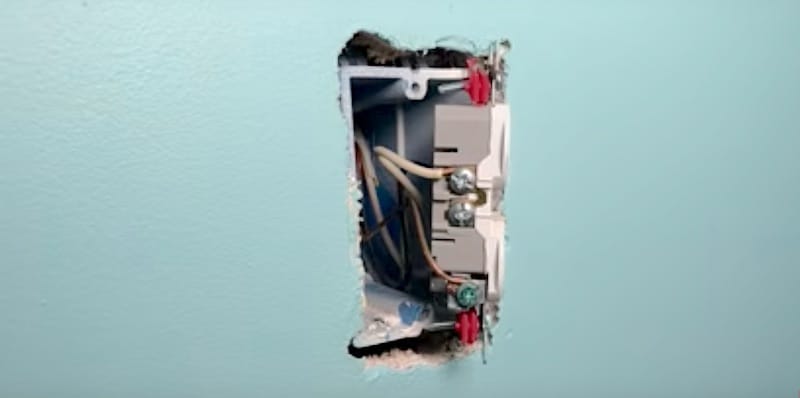
First, the box is set back too far from the surface of the wall, like this:
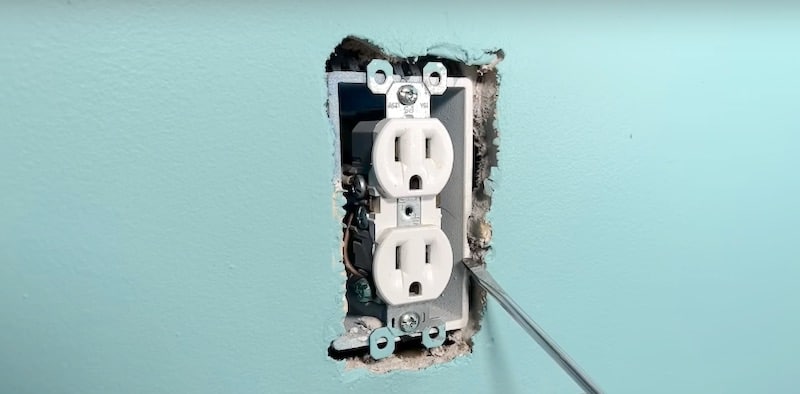
This might be because the box was set incorrectly when the house was rewired years back but it could also be due to the wall being modified and increasing in thickness over time.
The tabs on your outlets and light switches should catch the outside surface of the wall.
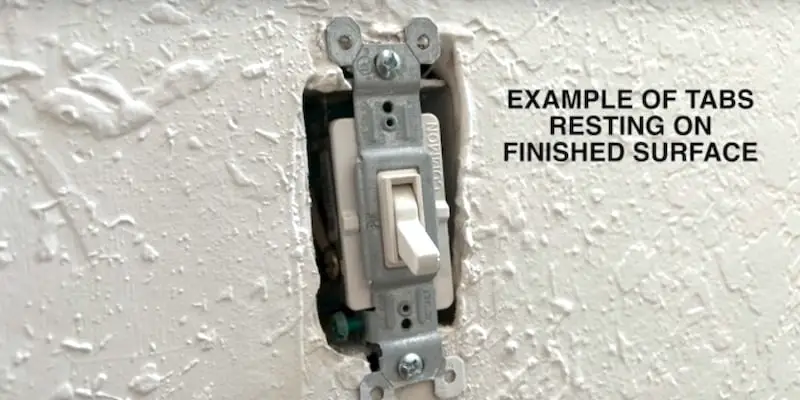
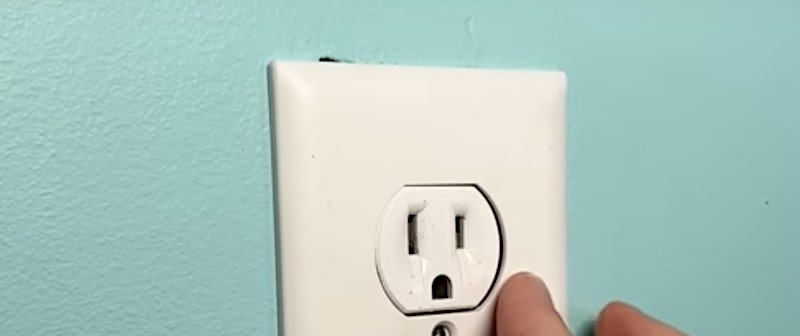
If you have an overcut situation like mine, where the drywall was cut in a very sloppy way and there are voids all around the box, the tabs have nothing to hold onto and the result is a sunken receptacle.
Things to Note about New Work Electrical Boxes
On New Work boxes, there are reference tabs on the side near the bottom and top.
These tabs sit against the stud and give you a ⅜” offset. In other words, the box will protrude ⅜” from the stud. When you put the drywall on, the exterior rim of the box will be set back ⅛” from the surface of the wall, which will result in the outlet sitting flush and giving you the finished look you want.
Additionally, these boxes are marked with reference lines in ⅛” increments. You can see them in the image above, between the tabs we just talked about.
These markings are handy when putting in a backsplash because you can use them to gauge the positioning of the box depending on the thickness of the backsplash and mortar.
How to Fix a Sunken Outlet: Solution #1, Outlet Spacers
An easy way to remedy a sunken outlet is with outlet spacers.
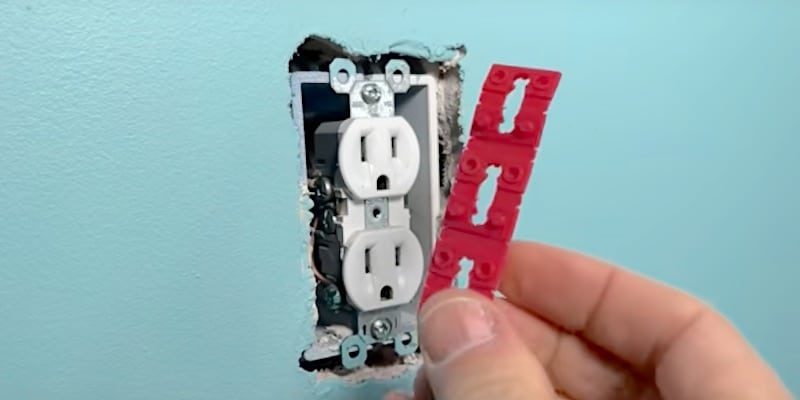
You can get these strips of spacers at pretty much any home improvement store, also on Amazon.
Each spacer is ⅛” thick and they’re stackable. By folding them over on themselves you can create the thickness you need.
I’d cap the thickness out at ⅜ of an inch.
What you need to watch out for here is the amount of space between the box and the wall. Too much of a gap and you might be out of code compliance.
TIP: If you have to add more than ⅜ of an inch, I’d consider removing the existing box and putting in an old workbox (“old” referring to the particular style, not just any old workbox you might have lying around), such as this Madison One Gang Device Box.)
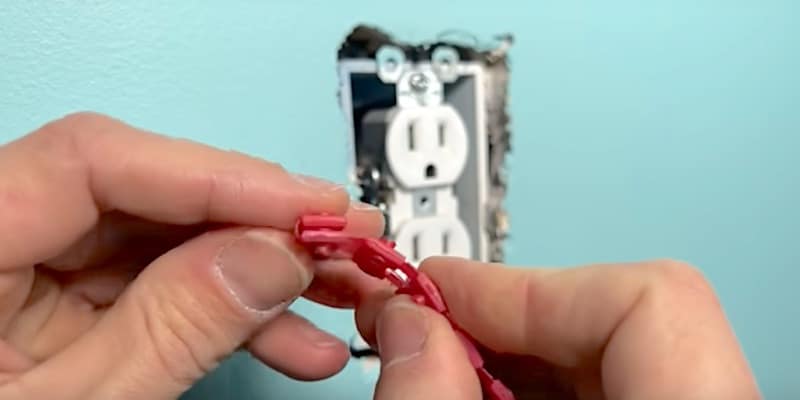
I’ve created a ¼-inch spacer by folding over and pressing together two spacer units. Then I’ll just rip that off and make a second one.
Now I’ll back out the mounting screws (without removing them) and pull the receptacle out a bit so that I can apply the spacers to the screws.
When I set the spacer on each of the two mounting screws, I’ll keep the opening of the spacer facing down, which will help it stay in place as I retighten the screws.
Once the spacers are in place, I’ll simply line up the outlet again and tighten the screws.
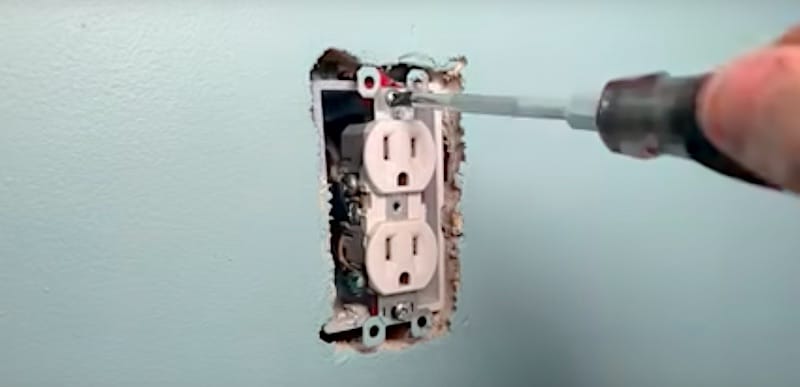
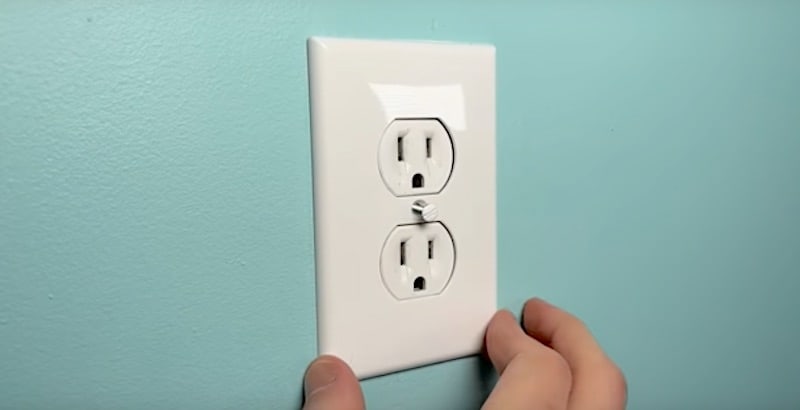
The final step is to put the wall plate back on. I’ll do a dry fit first.
Overall, this is looking much better. Once I secure the wall plate it will be perfectly flush.
Things to Note about Wall Plates
Even though the outlet is not sunken anymore, I do have another tiny issue. At the top of the wall plate, you can see the overcut opening peeking out.
In order to avoid drywall repairs, an easy solution is to use a larger wall plate.
Wall plates come in a few sizes. The next size up from the standard wall plate is ⅜” taller and wider.
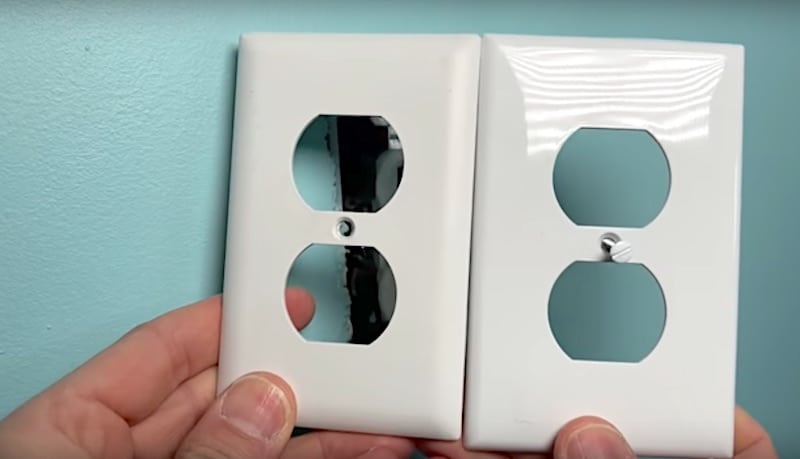
For my project, that small bit of extra coverage is going to give me the fit-and-finish I was after.
With something as grossly overcut as this opening was, I don’t necessarily recommend using a bigger wall plate to just hide the problem. Having said that, wall plates do come in a jumbo size, which is ¾” taller and wider than a standard wall plate. This could be a possible solution if you’re in a pinch.
Tips Regarding Mounting Screws
The mounting screws on a receptacle are standard #6-32. They come in different lengths. The standard length for outlets is 1-¼ inches.
As a rule, I keep just 2-inch 6-32s on me. This way, I don’t have to carry around multiple sizes. When I need a shorter screw, I use my wire strippers to cut one of the 2-inch screws to the desired length.
You’ll notice that on my wire strippers there are two holes next to the central pivot — one marked “8-32” and the other marked “6-32”.

These screw-cutting holes are a fairly common feature on wire strippers.
To cut the screw, I’ll open the jaws of the wire strippers until the holes align and insert my screw to the required depth.
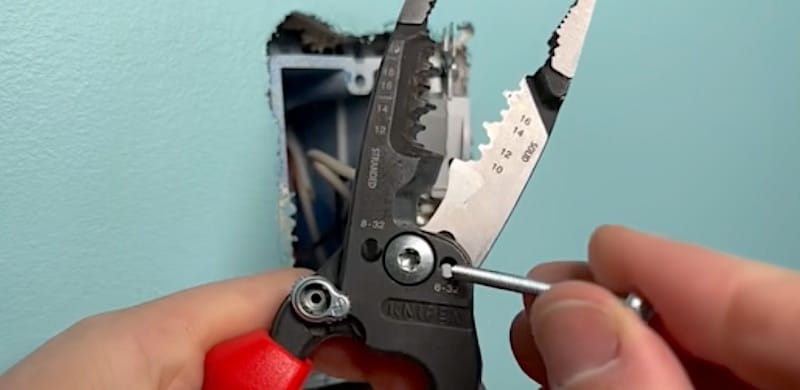
Now I simply squeeze to snip and that’s it! I have a newly-sized screw and clean threads.
If you’d like to know which tools I prefer for electrical work, please check out the Electrical section of our Amazon store.
How to Fix a Sunken Outlet: Code Compliance
Let’s talk about code compliance for a sec, as it relates to the space around the box that’s housing my demo outlet.

In most cases, electrical code would limit the amount of non-combustible, light drywall material that’s exposed around the box to one-quarter of an inch. You can see we’re right at that maximum here.
With more than ¼-inch of exposed material, you’d need a wall insert.
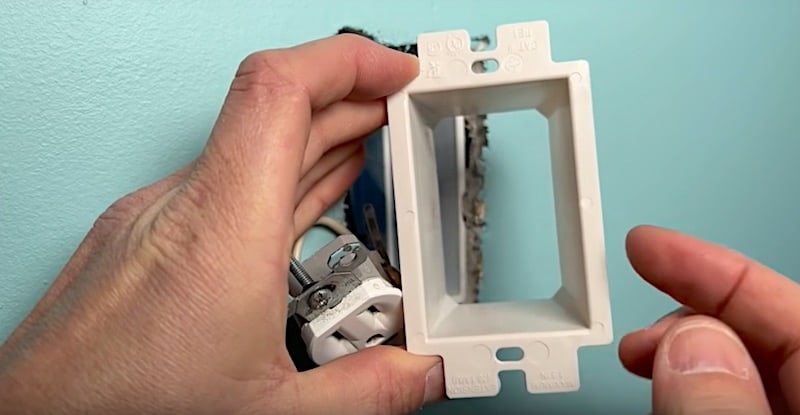
A wall insert serves to encapsulate the outlet, creating a buffer between the wall material and the receptacle (particularly the hot side).
NOTE: If you have a combustible wall surface such as wood paneling, a wall insert is required. Electrical code doesn’t permit any exposure of combustible material around the box.
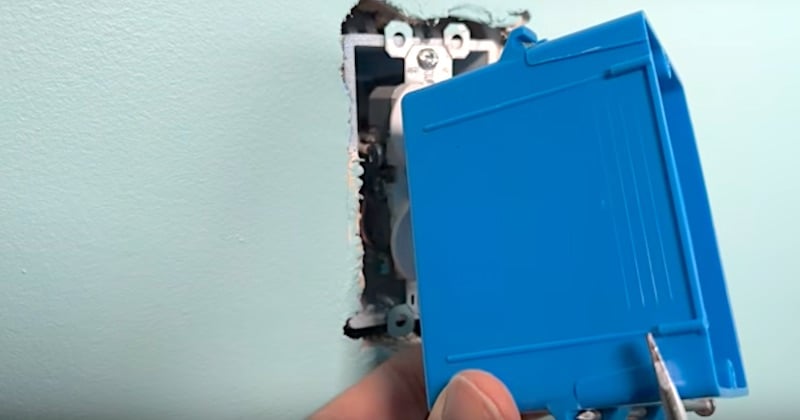
How to Fix a Sunken Outlet: Solution #2, Wall Inserts
Because I have this overcut hole around my outlet and a barely compliant situation with the exposed drywall, I’m going to mount a wall insert to ensure a safe electrical environment. The wall insert is in addition to the outlet spacers that I already added to bring the receptacle flush with the wall. (Refer back to Solution #1 for details on outlet spacers.)
To mount the wall insert, I just pull the receptacle through the wall insert, then insert the mounting screws through the holes on the insert.
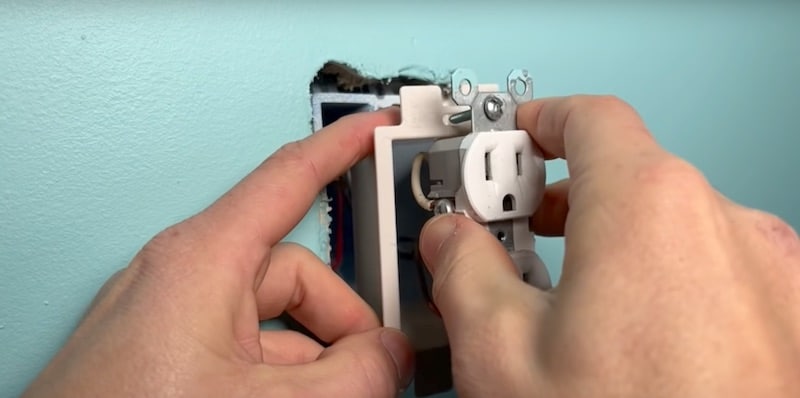
Now all that’s left to do is push this new assembly back into the existing box, tighten the mounting screws, and put the wall plate back on.
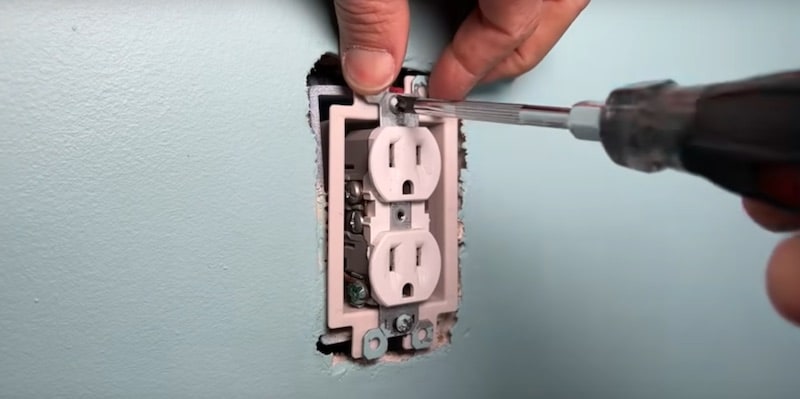
You can see how the wall insert reduces the exposed material around the box. For the few dollars you’d spend on the insert, the added safety value is huge.
The finished product is also clean, professional, and pleasing.
Other Outlet-Related Videos and Articles
- 10 Things You Didn’t Know About Outlets (video)
- 21 Facts & Features of a Standard Outlet (article)
- Dangers of Speed Wiring | Why Back Wiring an Outlet is Best (article)
- How to Wire a GFCI Outlet (article)
- Why Use a Pigtail When Wiring an Outlet (article)
To Leave Comments and Questions
If something doesn’t make sense or if your situation is a little different, please leave a comment under the YouTube video. I check the comments on a daily basis and am happy to help out.
Don’t forget to subscribe to our channel as we have weekly videos coming out to help you with your everyday home repairs.
We’ll catch you on the next one! Take care.


