
 My Account
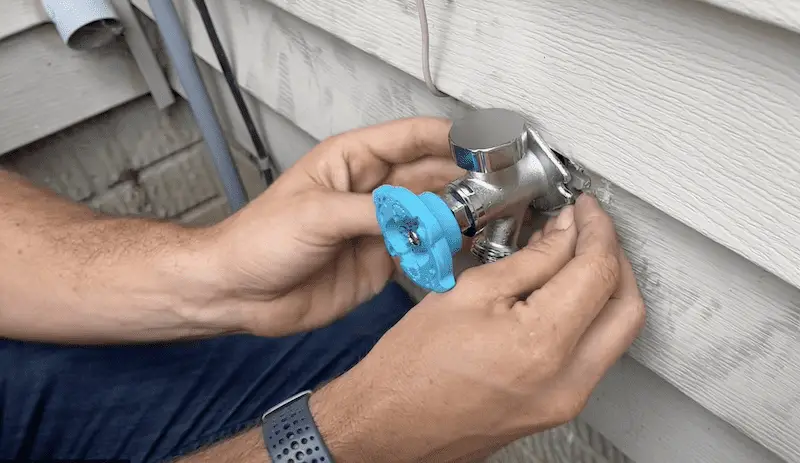
Is your outdoor faucet leaking, old, or just in need of a replacement? If you want to replace an outdoor faucet – also known as an outdoor spigot – it may seem overwhelming. However, it’s an approachable project for most DIYers. In this blog, I’ll walk you through the process from start to finish.
Rather watch than read? Check out this 13 minute video.
Tools:
- Sharkbite 1/2″ Cap
- Sharkbite 1/2″ Removal Tool
- Sharkbite Frost Free Outdoor Faucet (12″)
- Sharbite 1/2″ Elbow
- Sharkbite Deburring Tool
- Miwaukee Mini Pipe Cutter
DISCLAIMER: This blog contains affiliate links, which means that if you click on one of the product links, I’ll receive a small commission.
Quick Background
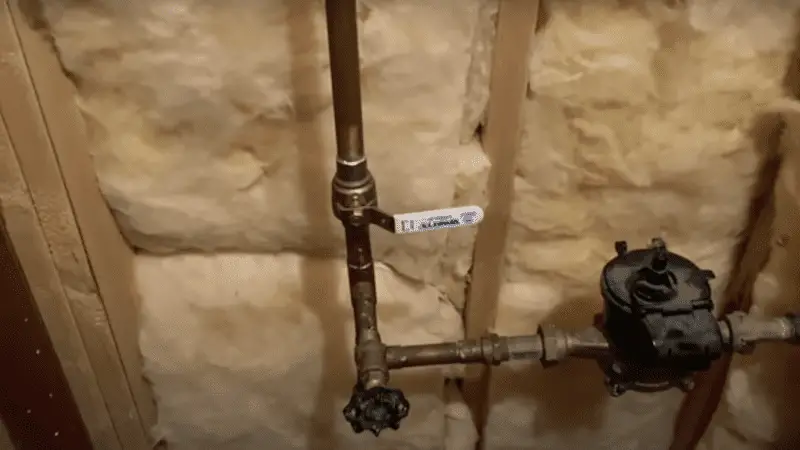
First, I live in Illinois, so anything in the outdoor space that is replaced needs to stand up to the cold winter months. And my valve is actually inside the wall in the conditioned space. This is so the valve and water are not open to the elements and don’t freeze, lead to damage and, ultimately, cause a water leak.
Additionally, since I focus on DIY work, I tried to reduce the number of specialty tools or skills needed for this project. Meaning, there’s no soldering, press copper fittings that require specialty tools/packs (like crimping tools). Instead, I used the DIY-er’s best friend: sharkbite!
Remember to look at the hardware you already have and measure it. Because if it’s been working successfully for years and the valve is properly placed inside your home, then I would just replace it with the same length spigot pipe which is 12″ in my case.
8 Steps for an Outdoor Faucet/Spigot Replacement
1: Turn off the main water shut off valve
Before you get started, turn off your main water shut off valve. Then, go to the lowest faucet in your home – for me it’s in the basement – turn it on and drain down all of your water. You need to do this before you break into any lines because you don’t want a massive leak on your hands!
2: Make a plan of attack
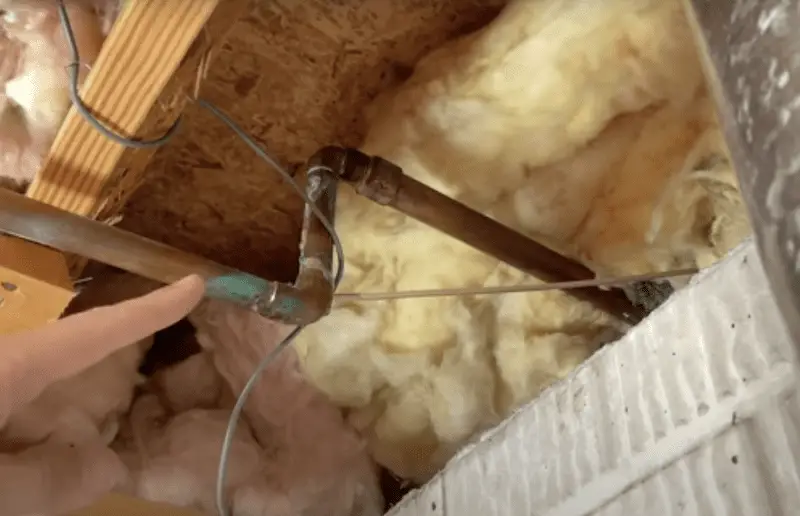
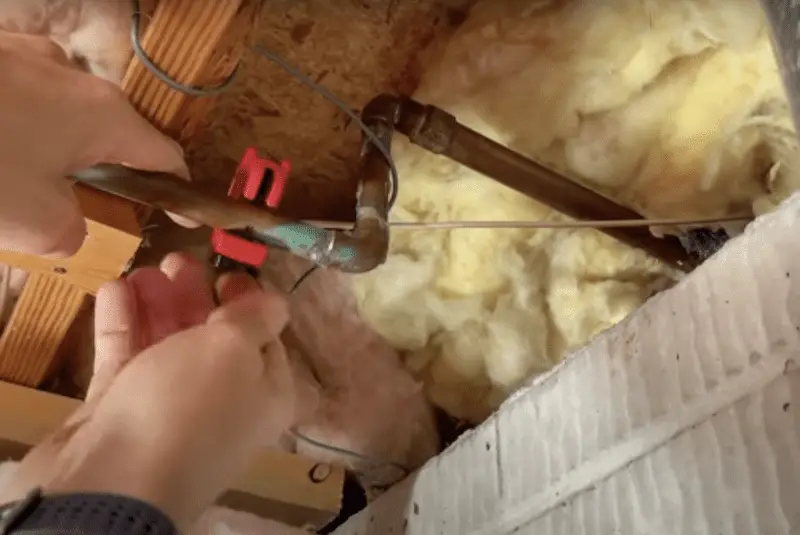
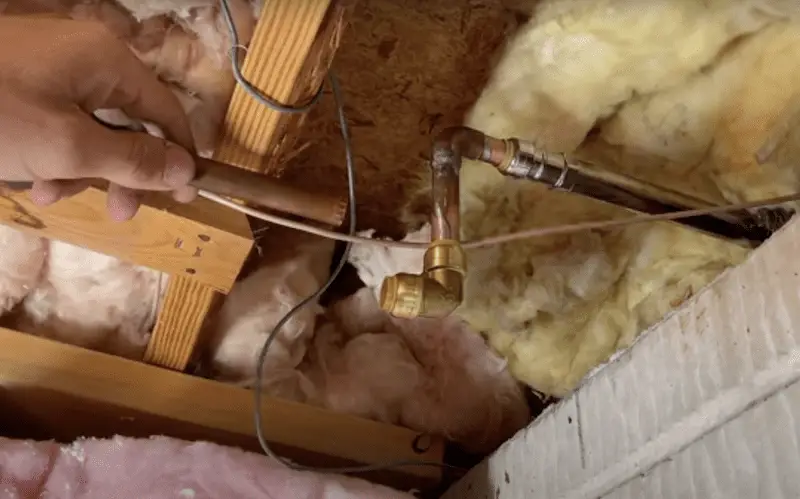
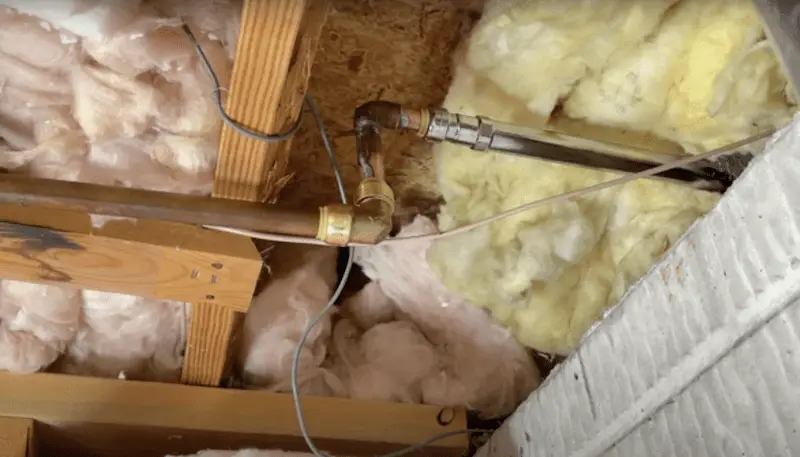
Since I wanted to reuse the copper lines (and at least one of the 90 degree elbows), I planned to cut it where my finger is pointing in the image above. This is because I wanted to use a portion of the bottom pipe at the top, connecting it into the new sharkbite spigot.
3: Cut the pipe
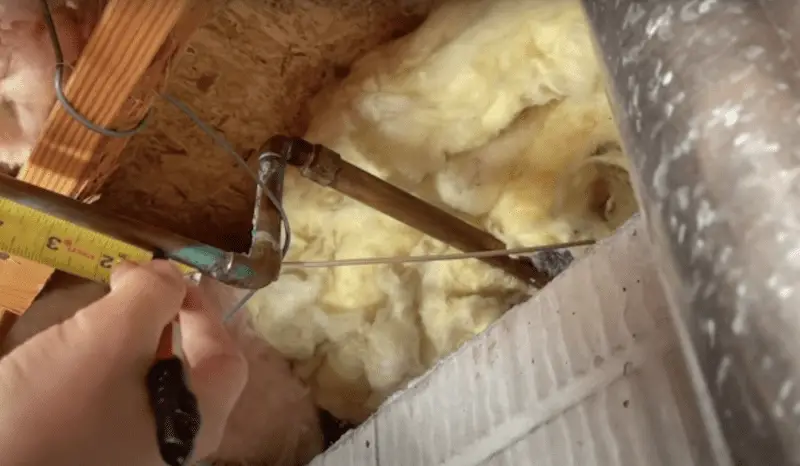
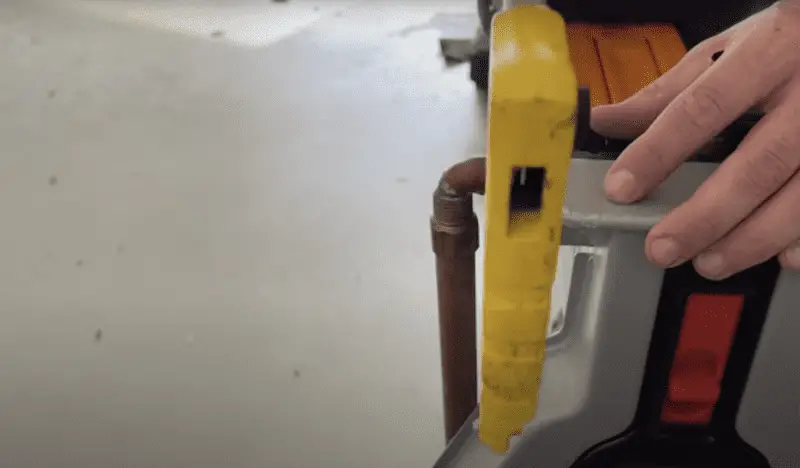
A half-inch shark bite needs 1-inch of pipe to be fully seated. So I marked 1-inch on the pipe and rotated my Milwaukee mini pipe cutter around the pipe.
Pro tip: have a bucket below, so you can catch any of the water. Even with everything shut off, you’re gonna have some leaking.
In the meantime if you want to turn the water back onto the house, you’ll need to cap the line, which you can use the half-inch sharkbite caps. They’re reusable so just make sure you get the D-mount or removal tool as well.
Pro tip: Even better than the cap if you want to spend a bit more is a Sharkbite 1/2″ ball valve which comes in super handy for capping off lines. You can press the valve on the pipe with it in the open position and then close the valve once it is seated. This even works with fully pressurized lines where a cap would be almost impossible to seat on the pipe.
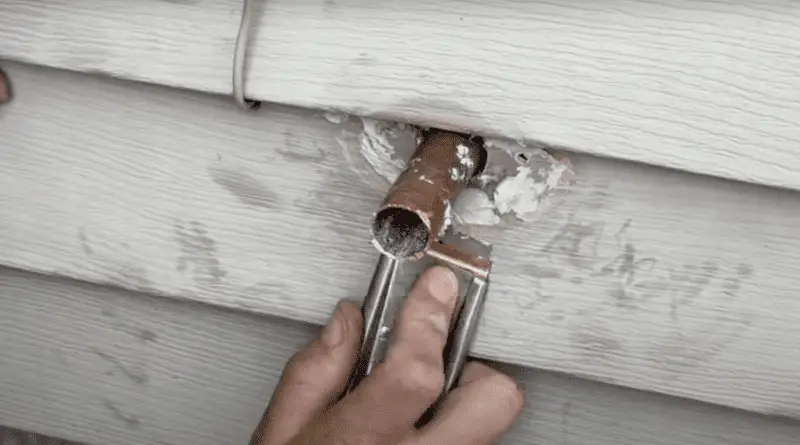
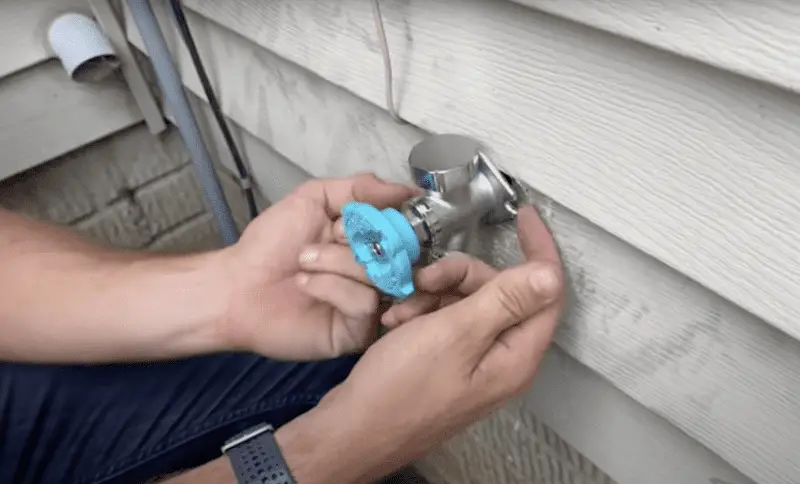
4: Remove the old spigot

To remove the old spigot from the outside, remove the two rusted screws on the left and right. See if you can pull it out from the outside. As I loosened it up, I got a bunch of old caulk that I had to break loose.
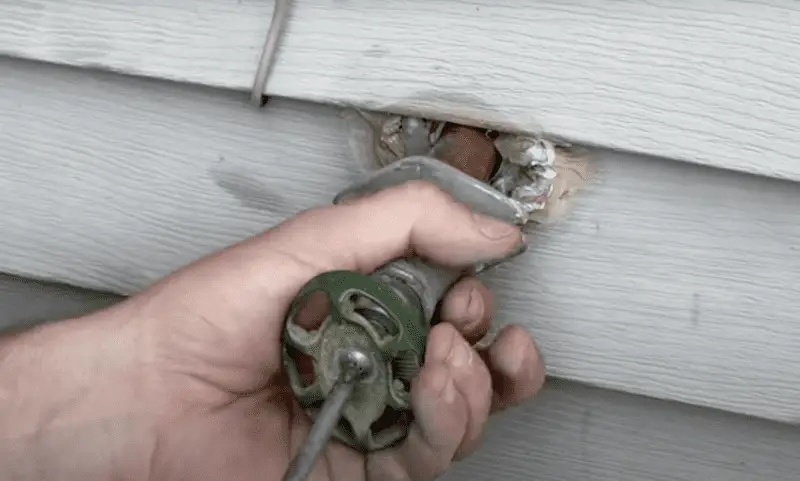
For my situation, I couldn’t remove the spigot from the outside. So I first removed the handle.
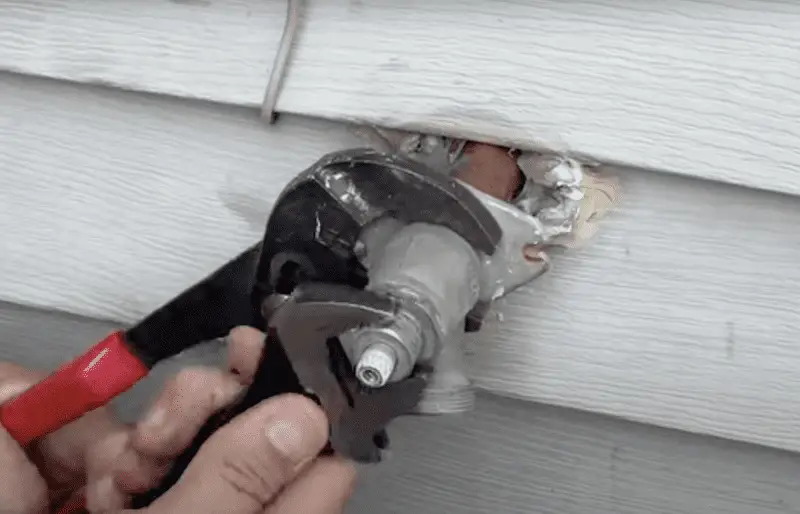
Then, I took off the packing nut and the bonnet nut.
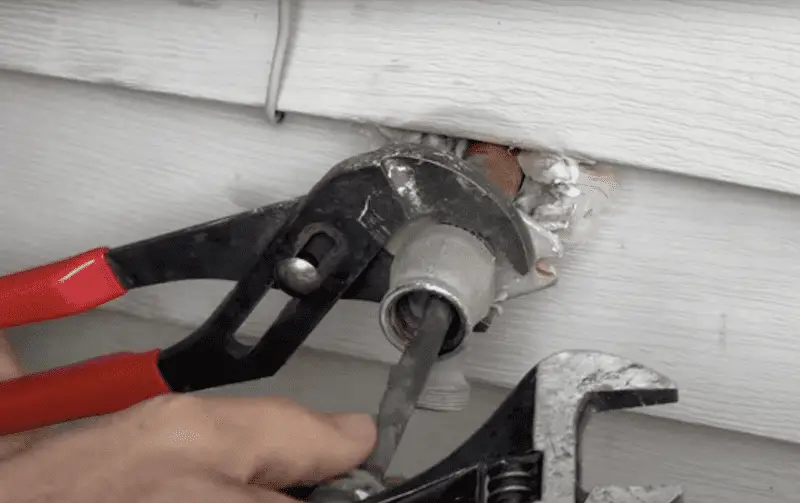
From there, I pulled out the internal stem so I could easily cut the pipe from the outside. Note: The stem washer was pretty worn out, so keep in mind that you can usually rebuild your spigots – especially if they’re a major brand.
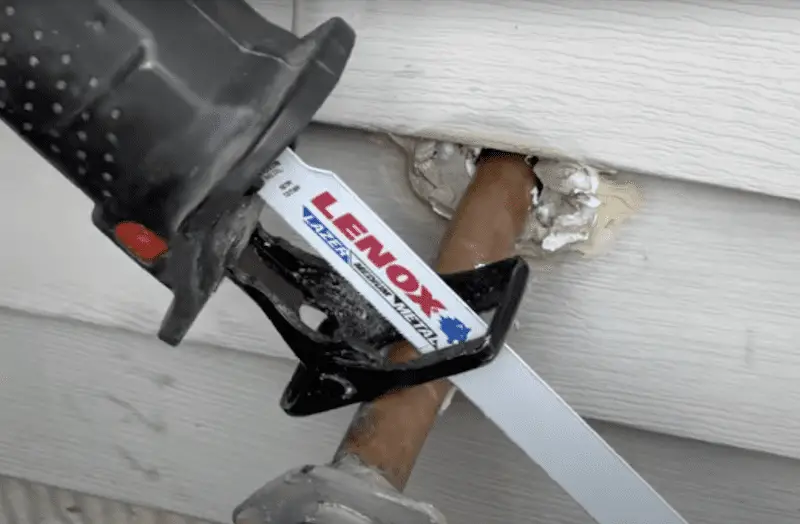
Then, I used my sawzall with a metal blade (you can easily use a hacksaw as well).
Finally, you’ll also want to get a razor blade to clean up the siding prior to removing the pipe. (Side note: I tried using a tough built razor scraper – I did this video on it and I was a little critical – so I decided to give it a go with some of these common tasks. But I couldn’t get the angle of attack low enough to not dig into the vinyl siding and damage the surface, so I reverted back to a different razor blade.)
5: Cut off the part of the pipe you want to save
Once I had the rest of the spigot and the part of the copper pipe, I used a hacksaw to cut off the part I wanted to save.
At this point, I saw I had a bunch of extra solder and mineral deposits that I needed to clean up. Why is this important? If you’re going to use sharkbites you have to have a nice and clean round half inch or three quarter inch (or whatever size you’re using) for it to actually seal around the pipe and not cause leakage.
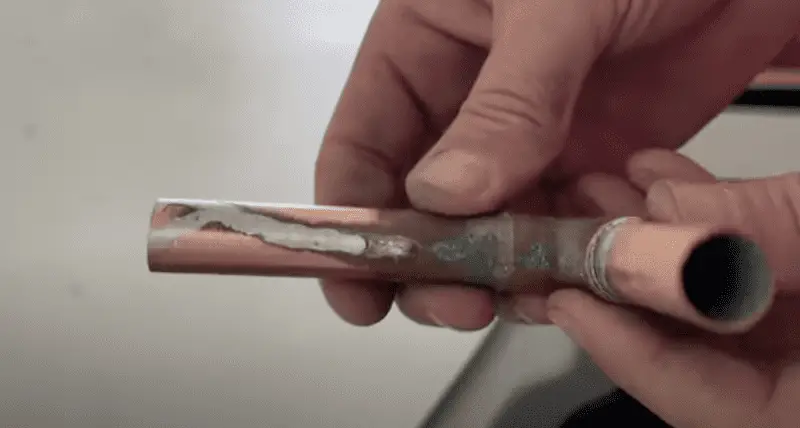
I used sandpaper and worked it around the complete outside of the pipe at least one inch, which is how much I need the sharkbite to bite into.
6: Fit everything back together
In this step, everything fits back together. You can start this off by having the spigot loosely held, poking through the wall. Plus, make sure the top of the spigot is appropriately placed! You can do that by either seeing from the outside that you have that circular vacuum breaker valve on the top. Or on the inside, you’ll see it actually engraved with “top.” So confirm it’s all positioned correctly.
- I took the piece that was reused and placed it within the spigot itself
- Then I securely pressed it in so that it was fully seated
- I took the 90 degree fitting and first went in with one end (these ends need to be deburred! You should have no slivers of copper or anything hanging out because that could damage the o-ring, which is inside and key to these fittings being watertight!)
- Finally, fit in the pipe at the other end!
[[Watch minute 7:40 to see this process in action!]]
We’re good to go! In an ideal scenario you will have the internal end higher than the external part of the spigot, so that water drains out and goes downhill. You definitely don’t want a negative angle coming back in.
7: Secure the spigot on the wall with mounting screws
At this stage, it’s time to secure the spigot to the wall. Unfortunately, the original installation put the top of my mounting flange right against the lip on my vinyl siding, which means I have a big gap (seen above).
Usually, you would use shims to make sure you have a slight downward grade of the spigot so it drained water out and then that would go against the brick wall. That’s not going to be a problem for my situation.
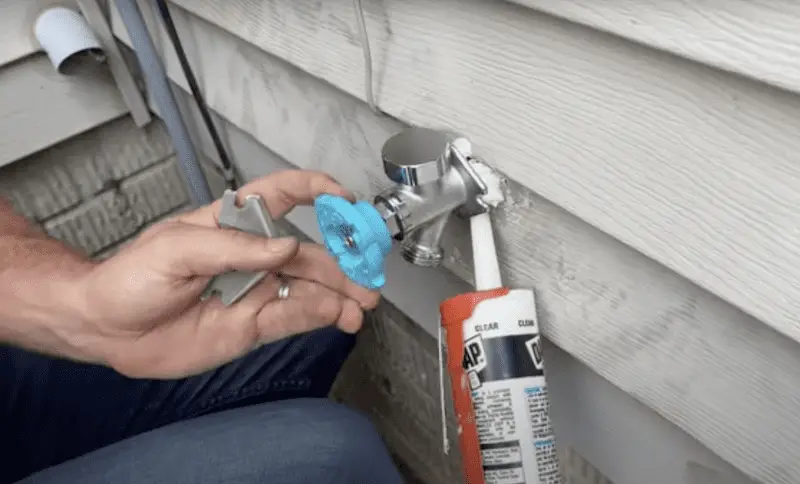
So instead I took the old shim and put it upside down and chopped it off a little bit to make up for some of the gap. And then I combined the shim with some general exterior sealant to get everything as secure and sealed as possible.
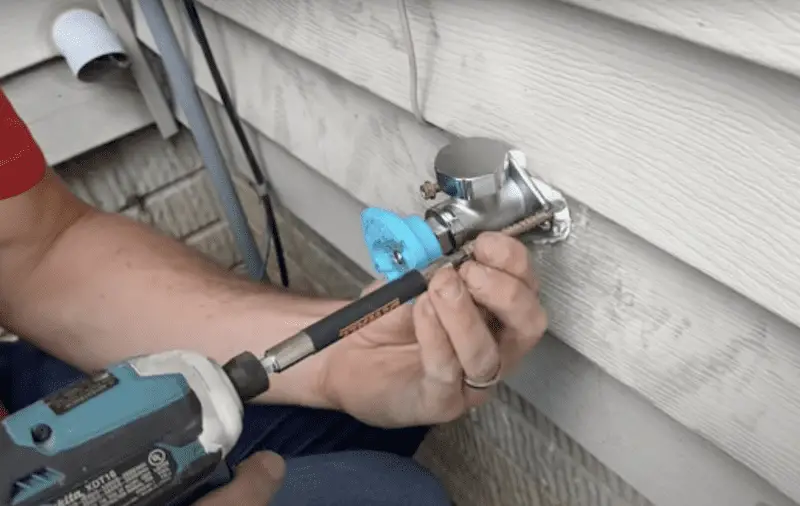
I also used exterior heavy-duty 1/4″ by 1 3/4″ T30 torx bit to give it plenty of strength. While it’s tempting to shortcut here and allow it to be loosely held, don’t do it! Over time, you’ll have a loose spigot, which can put pressure on the internal pipes and cause leaks. So you really want to make sure it’s mounted securely, especially because you’re going to be taking a hose on and off.
8: Final Test
Go and run the water through the spigot and make sure you don’t have any leaks at the sharkbite fittings. That’s it!
The Wrap Up
Now, I have a brand new outdoor spigot and it should be ready for years to come. Remember, don’t leave your hose connected to your spigot even with vacuum breaks. It’s best to take them off – especially through seasonal changes when you’re up in the northern states.


