
 My Account
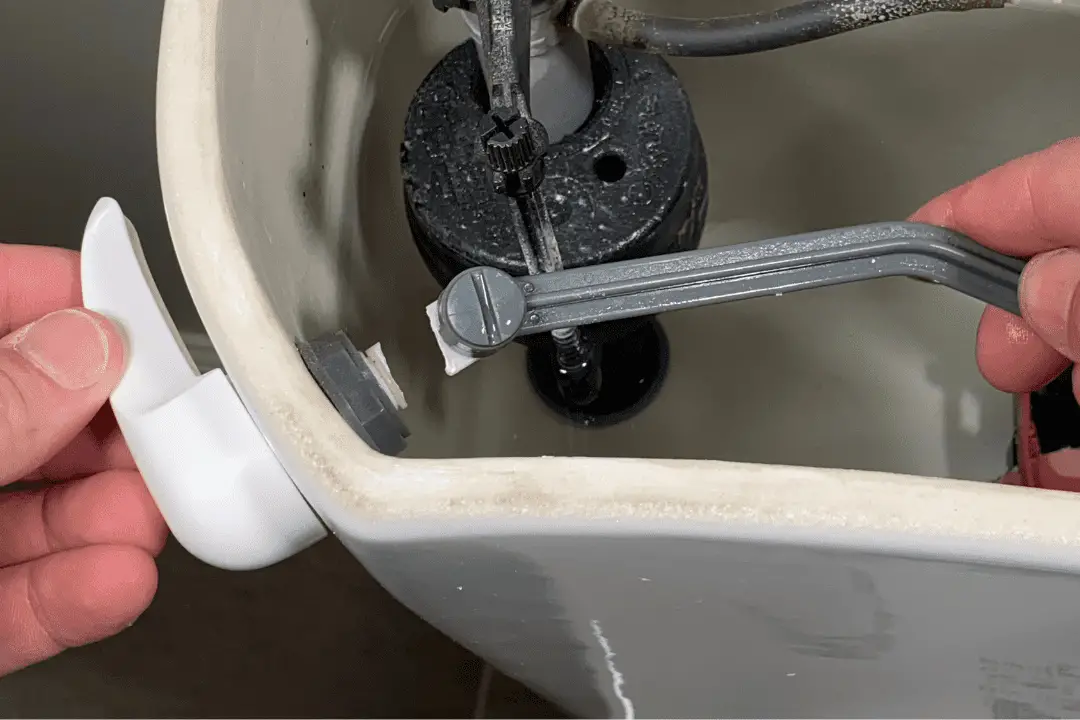
Dealing with a broken toilet handle? Does it just hang loose when you move the lever? We know you’re probably looking for a quick fix — and a long-term solution.
In this blog, I’ll first share how to flush the toilet even with a broken handle. Then, I’ll go over tips for selecting a new handle for your toilet, and how to install a new handle and get things running again.
Rather watch than read? Check out this 8-minute video below.
Tools:
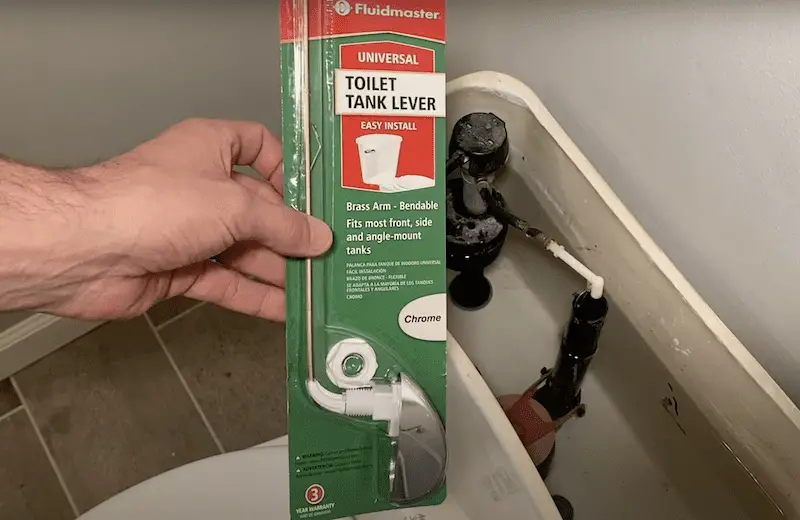
- Fluidmaster 684 Universal Toilet Tank Lever: What makes it “universal” is that it can fit many of your needs. For example, it can mount on the front where the lever arm comes straight out and on the side. You can also bend the lever arm so it goes parallel to the tank — or it can even go on the side, where the lever arm would be perpendicular to the handle (and fit within the tank and then pull the flap up).
- Wrench
How do you flush a toilet with a broken handle?
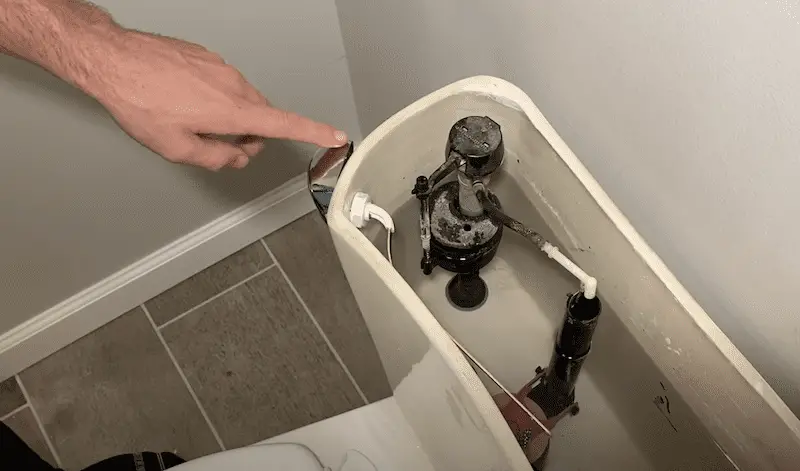
- First, remove the top of the tank.
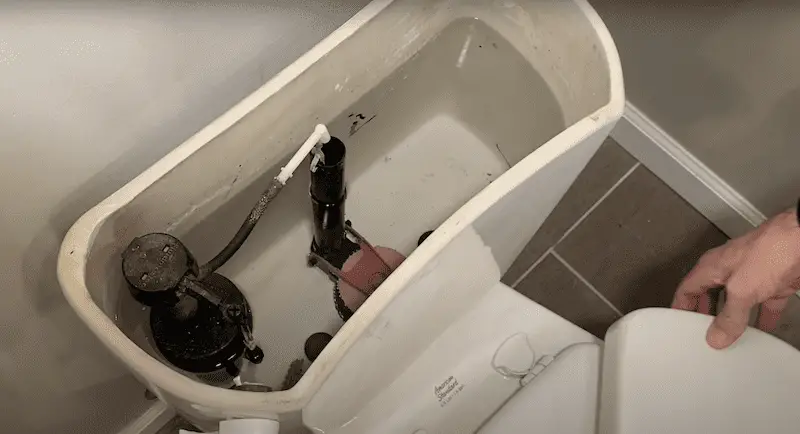
- Look for a flapper that’s holding the water in the tank
- From there, get the flapper to pop up. This will flush the water out of the tank, and ultimately, flush the toilet.
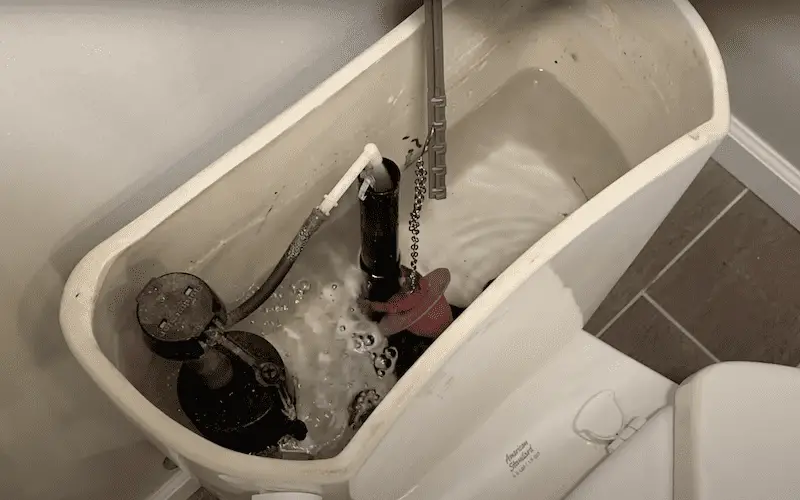
See a lever arm that is broken off the handle? That’s why it’s not flushing — so make sure that the chain is attached, so the lever arm pulls the chain, and the chain pulls the flapper up.
Maybe your lever arm is still attached – but your chain is disconnected? Reach down in the water (it’s not a big deal!) and pull the chain and the flapper up to flush the toilet.
Here are a few things to consider before get a new toilet tank lever:
- Location: Take note of where the mount is. Is it a front mount, an angle mount, side mount?
- Color: If you want to get a white one, replace it with white — or if you want to go with a finish that matches the other fixtures in your bathroom, make sure you know if those fixtures are chrome or brushed nickel because it’s nice to have a matching lever.
- Chain: It’s also a good idea to make sure that the chain is in good working order and the flapper looks to be good. If so, then you really just need to get a new lever.
- Clip: Check the clip at the top that connects onto the chain and you can adjust it for the different heights. That clip usually comes with your new lever, so even if you don’t have that clip or it’s broken– just make sure that the lever that you buy has a clip that will fit to your chain so you can connect everything.
FYI: The Fluidmaster 684 Universal Toilet Tank Lever comes with an additional clip that would connect up to the chain if you are missing that clip (or it’s broken).
3 steps to replace a broken toilet handle
1. Remove the old toilet handle
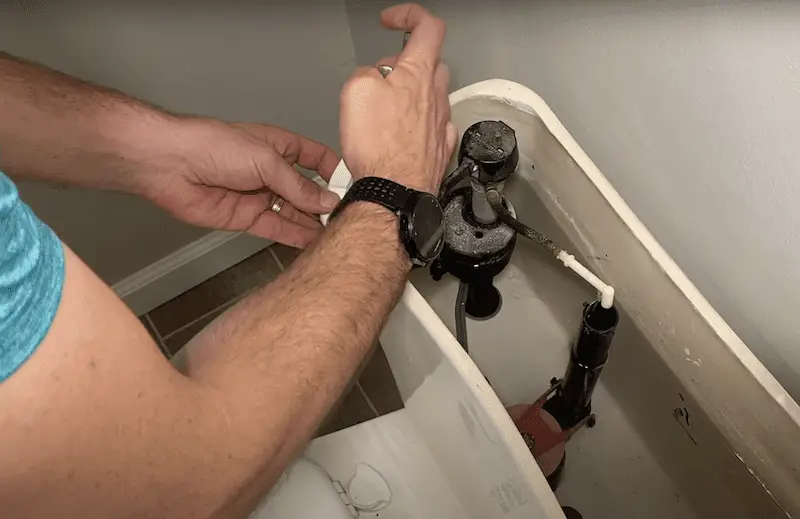
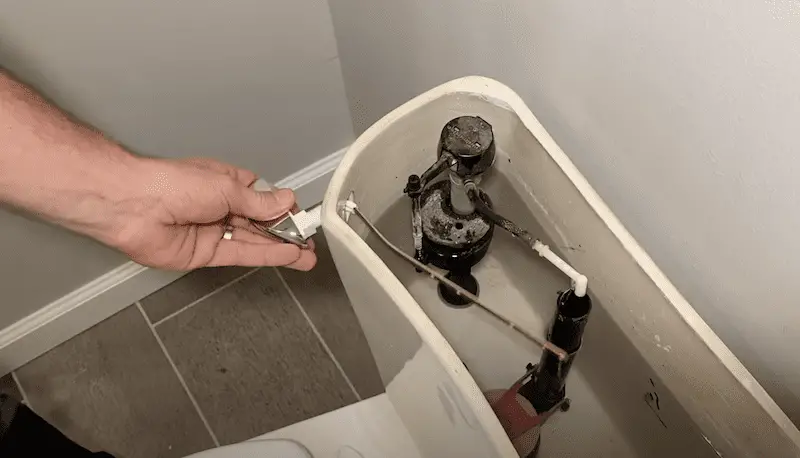
Remove the toilet handle and the lever arm, so you can take them with you to the home improvement store.
This plastic nut is a reverse thread, so usually, you just need some type of wrench to loosen it up, and then you can unscrew it with your fingers to remove it.
Also, reach down and grab the lever arm by undoing the clip. I recommend taking that with you to the store as well. (It’s always good to have the reference views to make sure you’re getting the right components.)
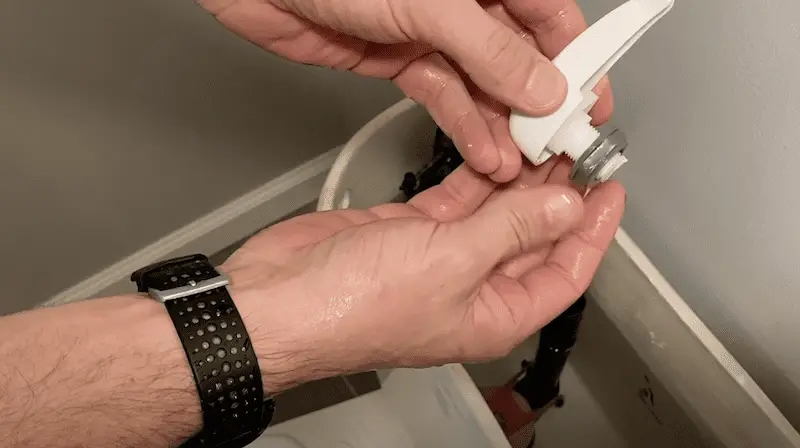
2. Install the new toilet handle
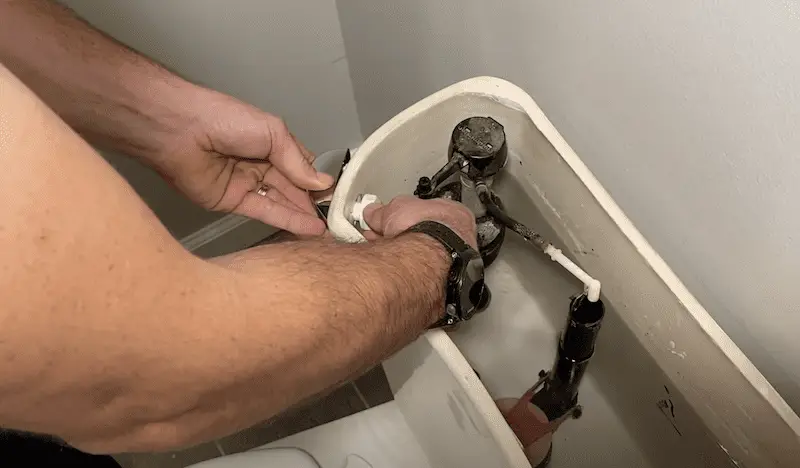
As expected, this is pretty straightforward! Remember it’s universal, so you can bend it for your needs. For me, I decided to bend it slightly to get it installed. There is a square adapter on the handle, which will fit into the housing of the tank.
Start to tighten it up. Remember it’s a reverse thread so you’re going to want to thread it the opposite way to tighten it up. If you run into interference between the lever arm and the tank itself (like I did), just bend it a little bit more.
Tip: Do not over-tighten this! These are plastic parts, so they will break if you try to tighten them down too much.

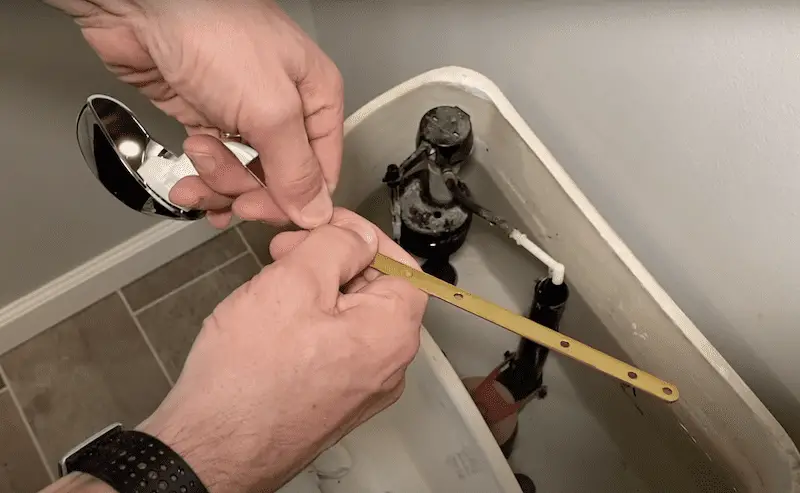
Reach down and grab the clip. For my situation, the clip was adjusted for the last lever arm, which wasn’t the correct adjustment for this. What you can do is: you probably have some extra links in the chain, so simply move the clip up the chain to adjust it.
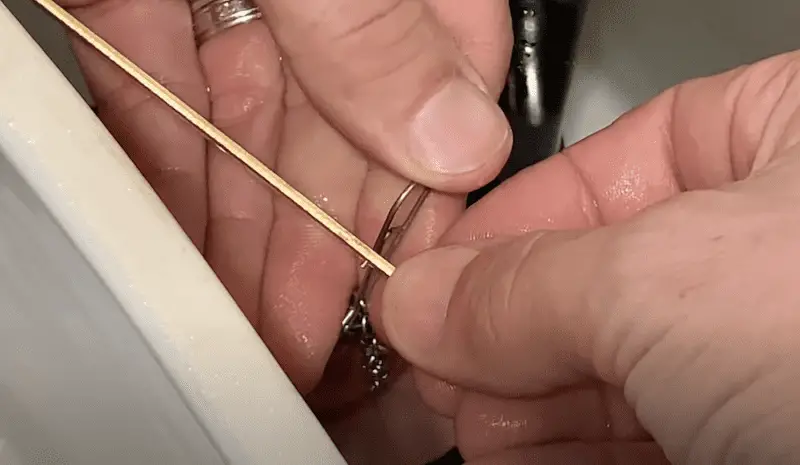
With the clip in the chain, make sure it has enough slack to let the flapper fully seal off the tank. You don’t want the flapper to be tight in this scenario because it’ll create a water leak and then your water bill is going to go up.
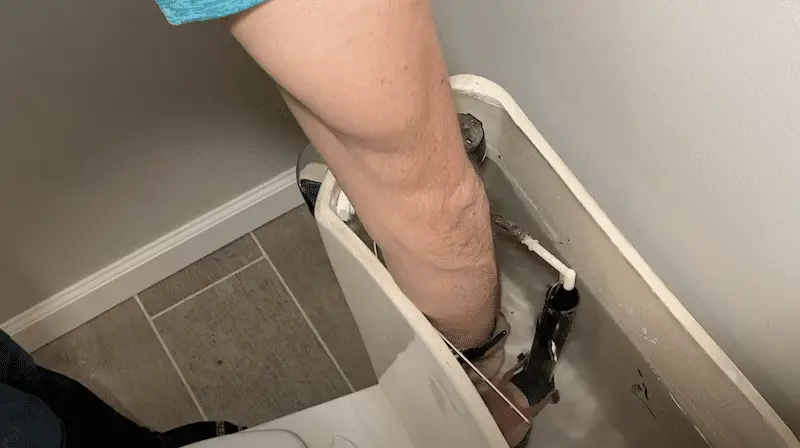
3. Test the flushing
Once the tank is filled and the water is shut off, keep listening for any leaks that would indicate you might have a leak of the flapper. If the chain is slightly loose, there’s no interference with the lever arm, and the flushing motion works — you are completed with this repair!
The Wrap Up
Overall, this is a pretty quick fix that should help keep things running smoothly. But if you have any questions or solutions that have worked for you, feel free to write in the comments.
See more related posts on bathroom repair projects: How to unclog a broken bathroom sink and how to fix a bathroom sink drain stopper


