A water leak at an outdoor faucet is a common household problem. Besides wasting a precious resource, water leaks near your foundation are not a desirable situation. Definitely not something you want to let continue for an extended period of time.
The good news is that a leaky outdoor spigot is easy to fix, even if you have limited do-it-yourself experience. This repair should only take a few minutes of your time and maybe a dollar or two in parts.
How to Fix a Leaky Outdoor Faucet: Step-by-Step Guide
In this step-by-step DIY guide, we’ll first be talking about the two most common places where your outdoor faucet leaks can be coming from. Then I’ll walk you through the simple steps to remedy each of those issues.
Rather watch than read? Check out this 5-minute video.
DISCLAIMER: This video and description contain affiliate links, which means that if you click on one of the product links, I’ll receive a small commission.
How to Fix a Leaky Outdoor Faucet: Supplies, Tools, and Costs
Supplies
Tools
- Channel locks or an adjustable wrench
Costs
Replacement washers cost only a dollar or two per package.
Outdoor Faucet Water Leak Source #1: The Hose
Let’s take a look at my leaky outdoor faucet here. I definitely have a leak coming from the packing nut/bonnet nut area near the handle. It also looks like I have a leak within the hose fitting.
Note that I have an additional adapter on my hose fitting. In this setup, this is where the anti-siphon valve (also called a vacuum break) is.
Let’s take a look at the hose fittings first because this is the most common place for leaks to occur.
I’ll shut off the water and then disconnect the hose. You might need some channel locks to loosen the hose fittings.
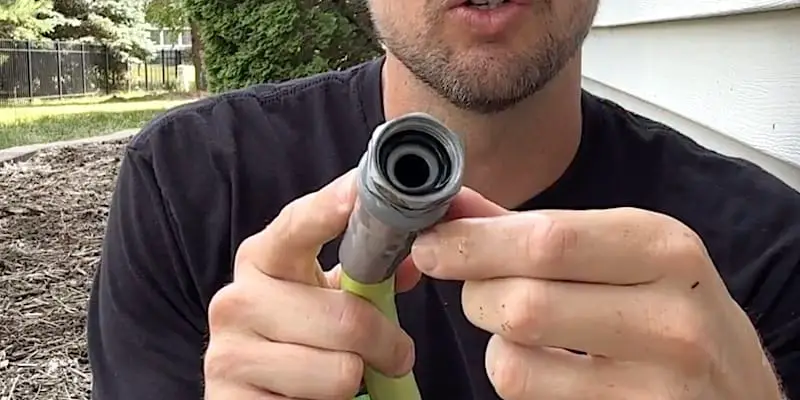
Look inside the hose to check the condition of the rubber washer.

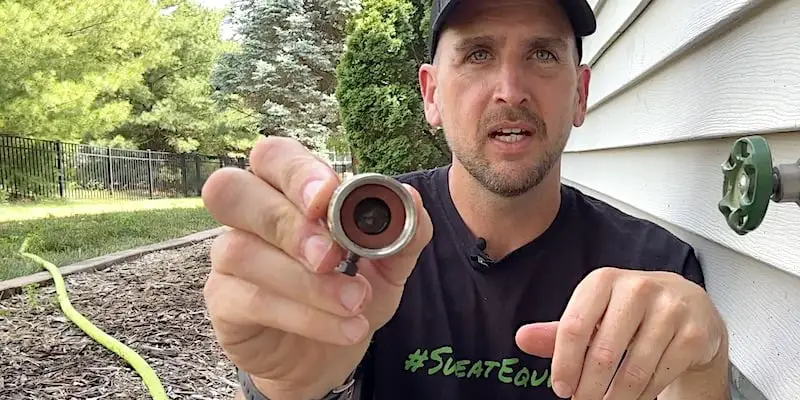
The washer inside this hose is black and it’s in good shape. If the integrity of the washer is in question at all, just replace it. You can pick up a package of 3/4-inch garden hose washers at your home improvement center for a dollar or two. To install the washer, just insert it into the hose.
If the washer is missing, this explains your leak. (The washer gives you a compressible surface between two threaded metal fittings that results in a leak-proof seal.) This is the case with the adapter that’s housing my anti-siphon valve. There’s no washer in it, so I’ll just pop in a new one.

Once I reconnect the fittings and hose, that’s one leak fixed!
NOTE: It’s not necessary to over-tighten your hose. You can usually cinch it down by hand but a pair of channel locks might come in handy.
Now let’s take a look at the other leak.
Outdoor Faucet Water Leak Source #2: The Packing Nut
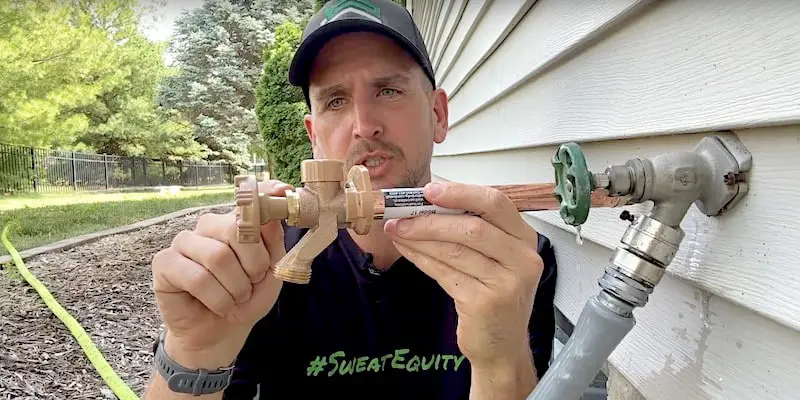
About 50% of the time, a leak at the faucet itself is caused by a loose packing nut. Our demo faucet has two packing nuts; this other popular type of outdoor faucet (in my hand) has only one.

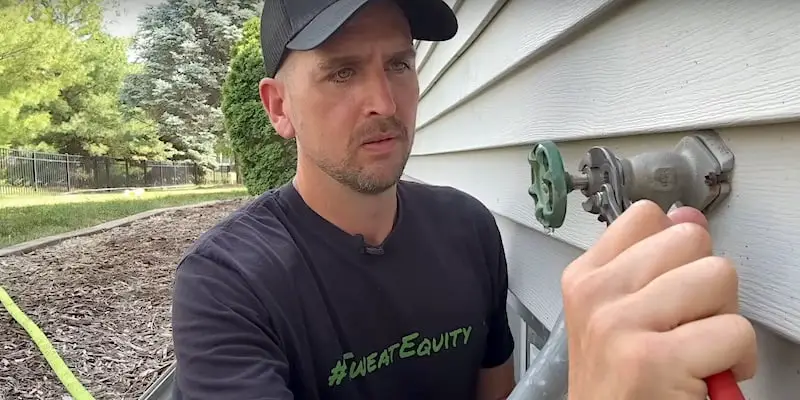
Regardless of the type of faucet you have, tightening the packing nut is probably going to fix your issue. So I’m just going to take my wrench and tighten down the smaller of the two packing nuts on our demo faucet here.

In my case, tightening the packing nut fixed my other leak.
If these remedies don’t fix your leak, check out the next section. It lists our videos and written how-to guides that address other sources of outdoor faucet leaks.
Other Outdoor Faucet-Related Videos and Articles
How to Fix a Water Leak in the Anti-Siphon Valve of an Outdoor Faucet
How to Fix a Water Leak Behind the Handle of an Outdoor Faucet
How to Fix an Outdoor Faucet that Drips Even with the Water Shut Off
To Leave Comments and Questions
If something doesn’t make sense or if your situation is a little different, please leave a comment under the YouTube video. I check the comments daily and am happy to help out.
Subscribe to our channel! We have weekly videos coming out to help you with your everyday home repairs.
We’ll catch you on the next one! Take care.


