
 My Account
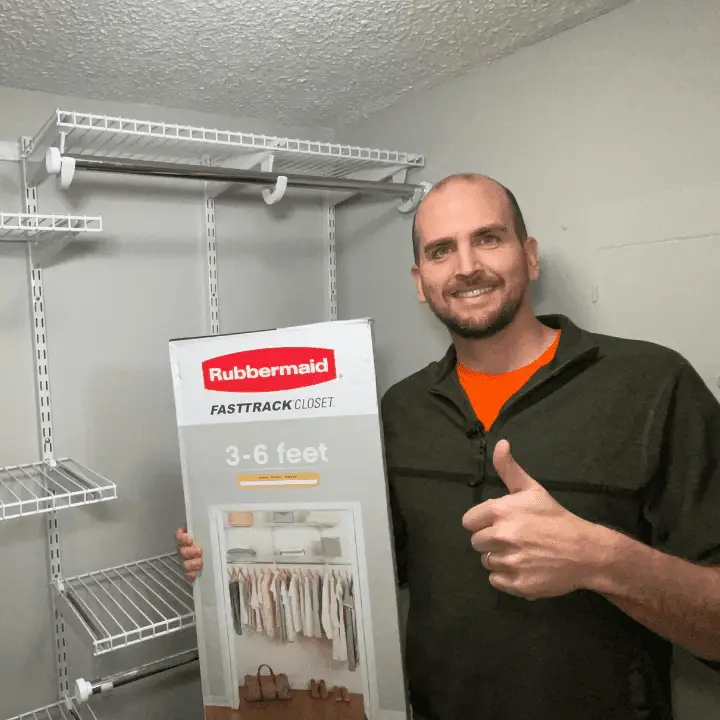
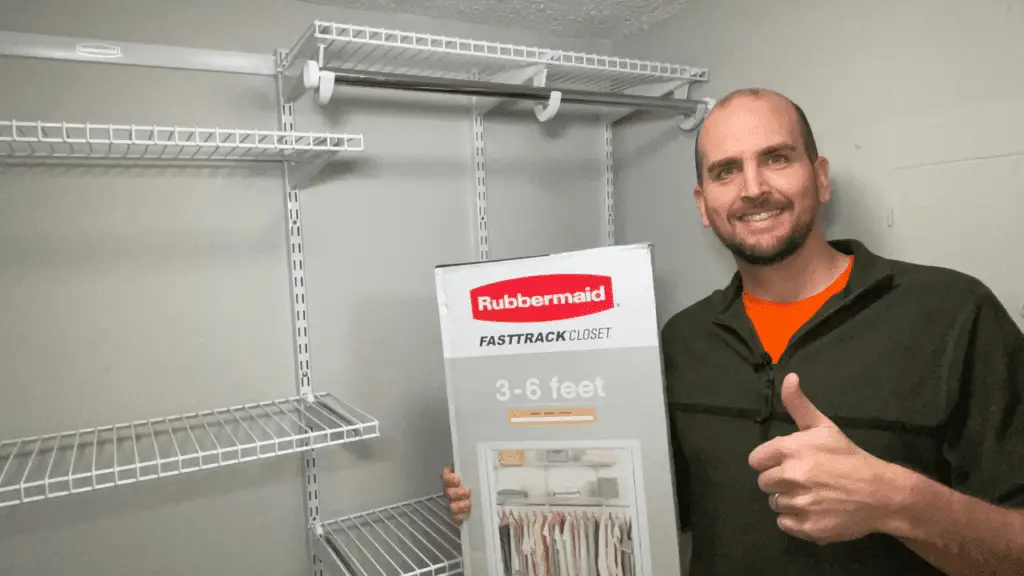
Are you looking for storage solutions for a more organized closet? I know the feeling. Over the years, I’ve tried a number of organization tools, some better than others. One of the best tools I’ve come across is the Rubbermaid Fasttrack Kit 3-6 Foot Closets.
Why do I like this Rubbermaid Fasttrack Closet Kit?
- Flexible: This rubbermaid fast track kit can be flexible between 3 and 6 feet. My wall is 56” wide, so this will be a good fit.
- Secure: The kit also comes with vertical braces that you can securely mount to the wall with the help of a top rail. This helps it to be much more secure than your standard wire shelf with those 45 degree brackets.
- Customizable: Lastly, it’s very customizable so you can configure the closet the way you want it.
In this blog, I will cover the complete install process for the Rubbermaid Fasttrack Kit 3-6 Foot Closets. But if you have the Rubbermaid Fasttrack Kit 4-8 Foot Closets, this tutorial will also cover that install as well.
Overall, this is an easy installation process – but it can also easily be done incorrectly. The problem is: on many of the properties I purchased in the past, the wire shelves are falling off the wall (or close to falling off the wall) about 75% of the time. So I’ll share simple tips and tricks to help you maintain a sturdy and durable structure.
Rather watch than read? Check out this 16-minute video.
DISCLAIMER: This blog contains affiliate links, which means that if you click on one of the product links, I’ll receive a small commission.
Tools:
- Rubbermaid Fasttrack Kit 3-6 Foot
- Rubbermaid Fasttrack Kit 4-8 Foot
- Magnetic stud finder
- Pencil (to mark the studs)
- A flathead and phillips screwdriver
- Torpedo level
- Compact nut driver with a #1 Phillips head bit
- 2 ½” wood screws
- 3/16″ Toggle bolts***
- Makita drill with a ½” drill bit
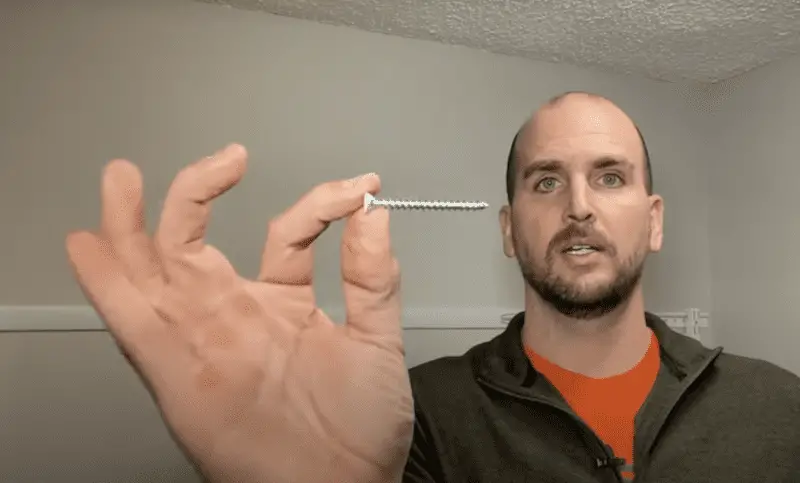
***Note: The standard drywall anchors with the kit are less than desirable. This is what’s going to secure the shelving system to the wall and make sure you’re not part of the 75% where the shelves are falling off the wall after light use. I recommend using 3/16″ toggle bolts and will demonstrate how to install these toggle bolts to help securely hold the vertical braces (step 3).
What does the kit come with?
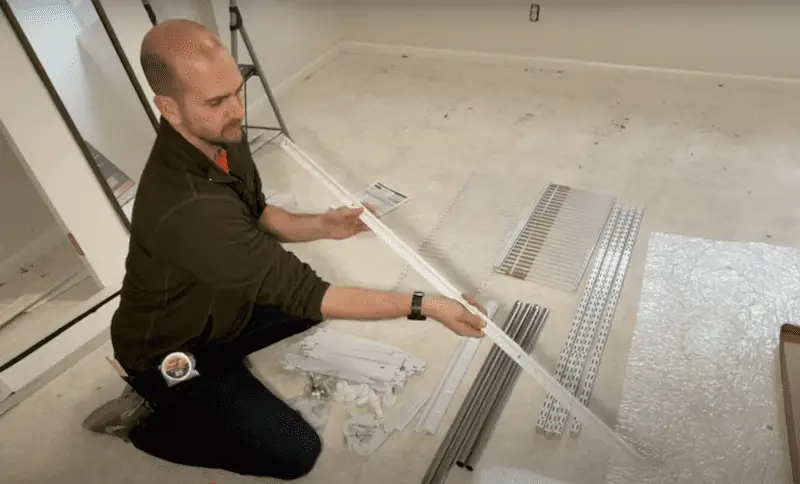
Again, this kit is going to be flexible for different applications, so you’re not necessarily going to use all the parts. But I used all four uprights, the top rail, supporting brackets for the shelves, the two longer shelves, and part of the clothing rods.
Pro tip: getting the top rail secure is one of the most important steps to the process!
The top shelf over your clothing rod will be held within the J bracket and it attaches to your upright rod, so that’s how it’s supported. It’s also how all the weight is supported on those vertical braces. So that’s why it’s so important to get your top rail and braces securely locked to your wall and then it’s mainly just assembling everything together.
1. Secure the top rail
Using the magnetic stud finder, I marked 64” up on the wall. This is where I want the top rail to go and it’s going to hang the clothing rod 4” down to give me a 60” height above the ground.
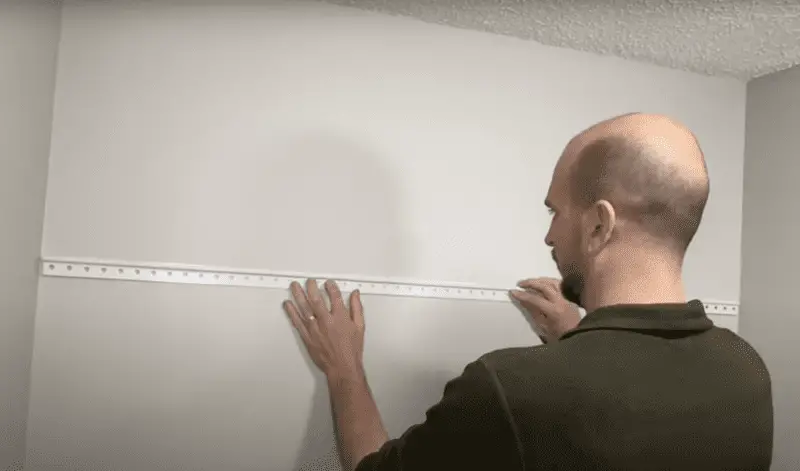
If you’re doing two clothing rods, you want the top one at 80” and the bottom at 40”. Mark the height of that first screw location and secure this 2” wood screw into the stud. This puts me at the 64” height.
Then, I’m going to use my level and make sure that the top rail is level and sink the second screw. Continue to work across getting five screws set for this top rail with all five of those hitting a stud. This is very important! (If you drive it in and you don’t feel that stud, you need to take your time and make sure you’re securing this.) Then, angle those two screws on the end to secure the ends of the top rail
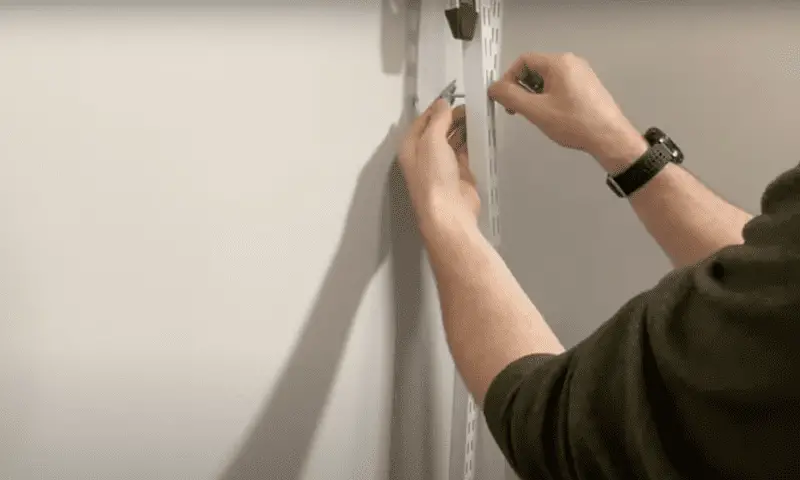
2. Install the vertical braces
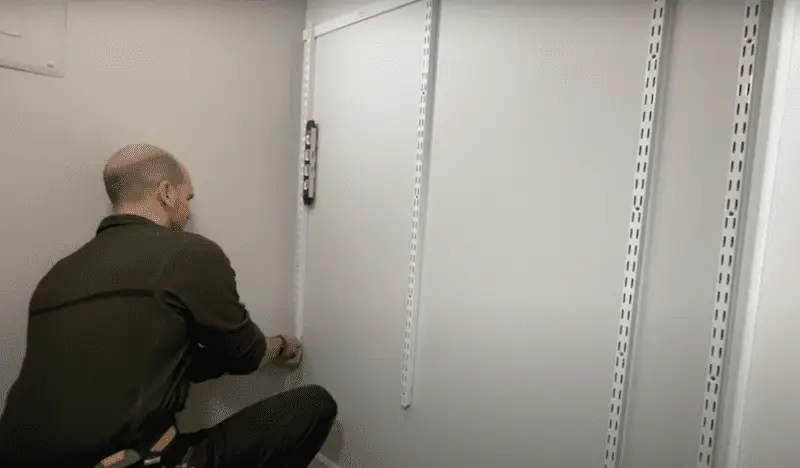
From here, use each of the four uprights and instead of the 6” gap to the wall, which is recommended, I’m going to take 2” so I can use all four of them and have two different slots spaced at 23” from the center of each upright. This will give me flexibility later on if I want to do the shoe racks, another shelf, baskets, etc. So ensure the top rail covers are spaced exactly.
If you’re only going to do a top rail and clothing rod, you have more flexibility with these uprights – you can put them where you want more accurately spaced then get a more secure shelf on the top because you’ll have closer spacing.
3. Secure the uprights to the wall with toggle bolts
How do you secure these uprights to the wall? The first preference is always to use the wood screws in the studs.
Here’s the issue: the wood screws that came with the kit are 2” long. That works great for this top rail because the top rail is only about ⅛”. But in this case I would only have 1” for the upright bracket width and another ½” of drywall, so that’s only leaving about a ½” of threads to go into the stud – and that’s not going to work.
Why not? It would lead to over-tightening and it’s going to pull out from the stud and not going to get a secure hole. So if you can secure this to a stud, do it! But you’re going to need 2 ½” wood screws.
Instead of using the anchors they give you with the kit, I use toggle bolts. Here’s how to set them up:
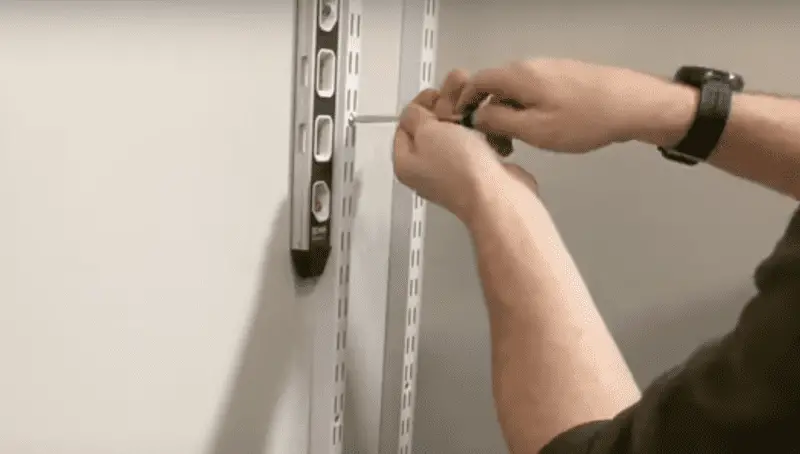
- Make sure your covers to the top rail are all spaced correctly. This will hold your vertical braces in place. So check that they’re plumb and then mark each of the two holes with a screw.
- Looking at all the marked holes, go through and drill the ½” holes for the toggle bolts, pass it through, and then put the wing nut on the other side. (Note: I found a stud on the corner, so I used the 2.5” wood screws.)
- Once it’s secured and rock solid, get the torpedo level back out and put on the upright. Then, do the toggle bolts. You’ll have two different holes that you need to get set up before you start securing things down. And you’ll pass the toggle bolts through and then put the spring nut on the back side.
- Then you collapse it, push it through the drywall – sometimes it takes a little bit of force but you can wiggle it back and forth – and just push it through enough to hear the spring spring out.
- You need to do your bottom one before you tighten anything up and then we’ll do the same thing down below.
- Finally, hand-tighten. I tighten it down by hand at the end but you have a lot of thread you have to make up. What I usually do is apply light pressure on the back side and then use my compact nut driver to just speed this screw in where it starts to get tightened up but not all the way down.
Tip: Usually you can also pull the bar out and use that to apply pressure. If you just push it in and turn it, that spring nut can be spinning in the wall and it can take some time to actually tighten up.
These steps are going to give a superior hold. Between the five screws going into studs and two toggle bolts on each of these uprights, you’ll have a bulletproof install. That said, it will take more time. But I think it’s worth it so you don’t have to mess with it later and deal with it pulling away from the wall.
4. Plug and play
If you did everything right up to this point, it’s pretty much just plugging and playing from here. So put the top brackets in, which hold the top shelf, and two also will hold the clothing rod.

I’m going to use the two long sections of the shelf and expand them out to fit the closet with one a little bit wider than the other. This will allow them to fit in the back channel correctly to securely be held down. Then in the front part of the bracket, you’ll want to make sure that it goes through a space between the wires.
Once you get everything lined up, then clip the backs to hold the shelf down. I put the J hooks into the bracket, which is going to hold the clothing rod.
I also used the two long sections, one will fit inside the other, putting the end caps on and then expanding them out to fit the closet width and push that down.
The Wrap Up
That’s it! I hope this tutorial helps you improve your closet organization for years to come. It’s an easy process but the details do matter. I recommend spending a little time at the start getting your plan of attack depending on what closet configuration you want. There are many other configurations you can do with the accessories, which are available at home improvement stores and/or Amazon. Let me know your thoughts in the comments!


