
 My Account
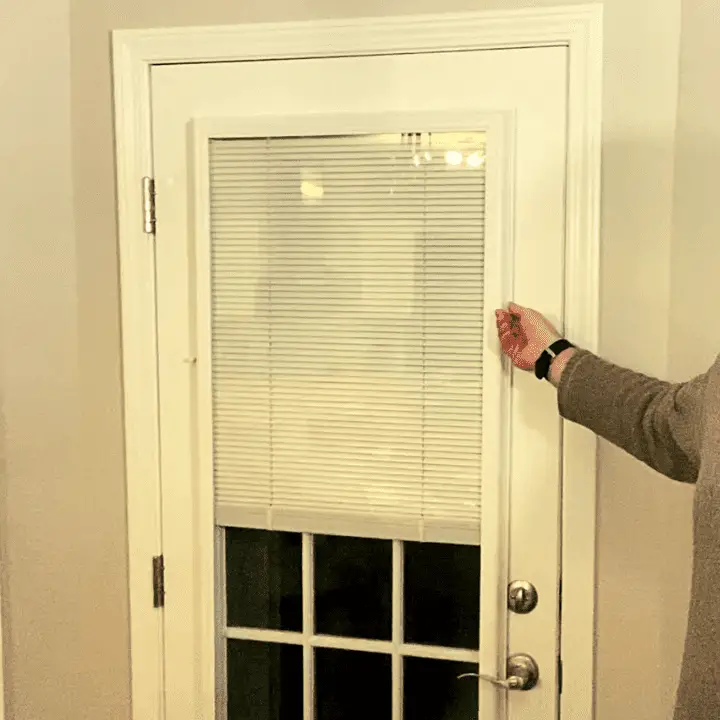
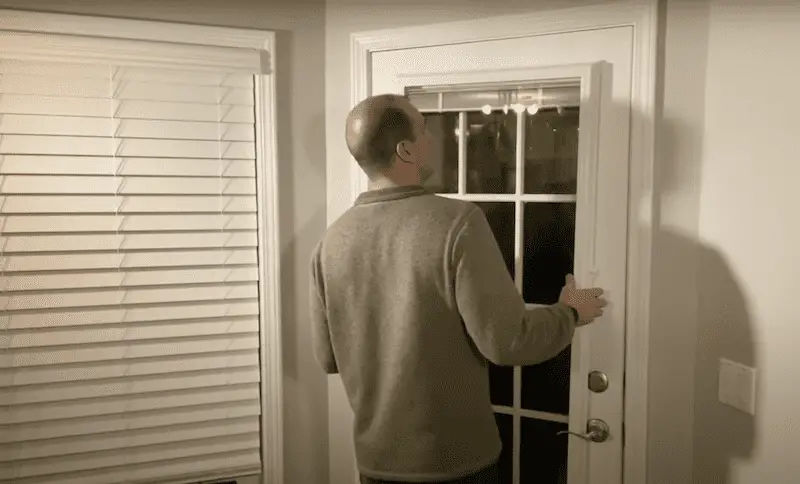
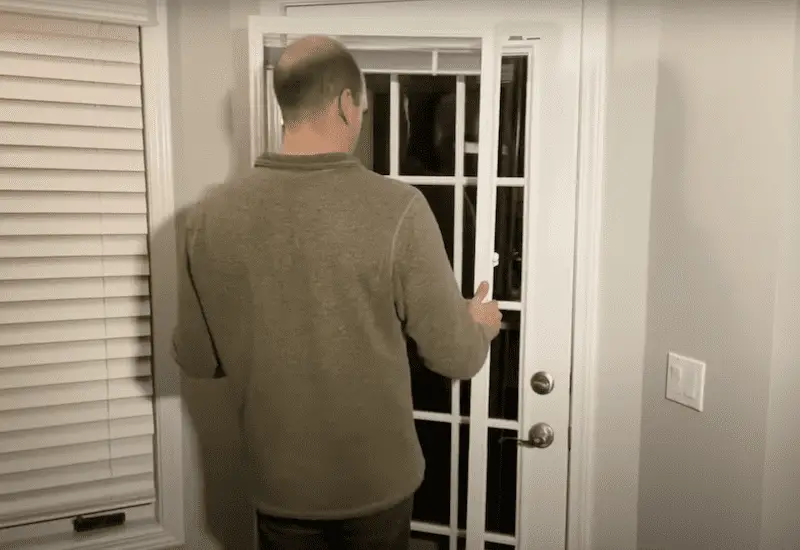
When we were adding blinds to our house, we gave extra attention to a door that goes to the outdoor patio and backyard. We knew we wanted three things for our blinds:
- Easy and simple functionality
- Something that wouldn’t flap around or get damaged by pets or small kids pulling on them
- And most importantly, be safe for children and pets
With these ideas in mind, we went with an add-on unit from ODL that has the blinds built-in with no exposed cord. In this blog, I’ll show you how easy it is to install these add-on blinds in 8 simple steps. Plus, I’ll share some of the features and functionality of this unit.
Rather watch than read? Check out this 8-minute video.👇
Tools + A Brief Background on ODL Blinds
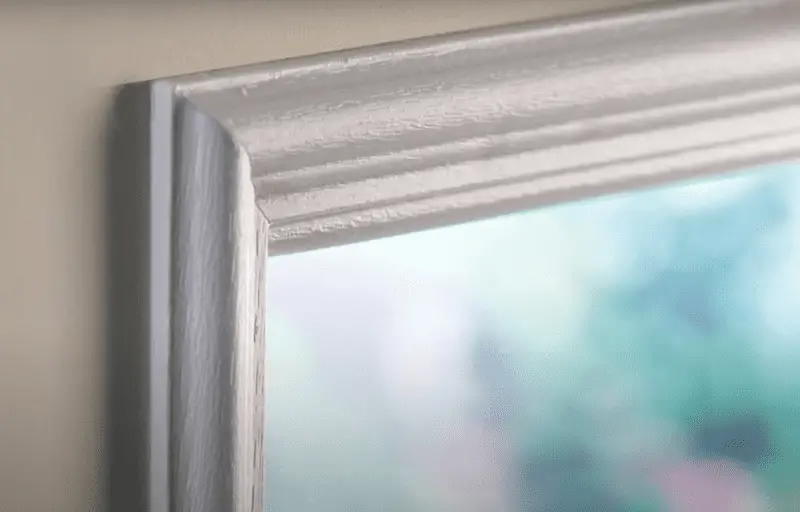
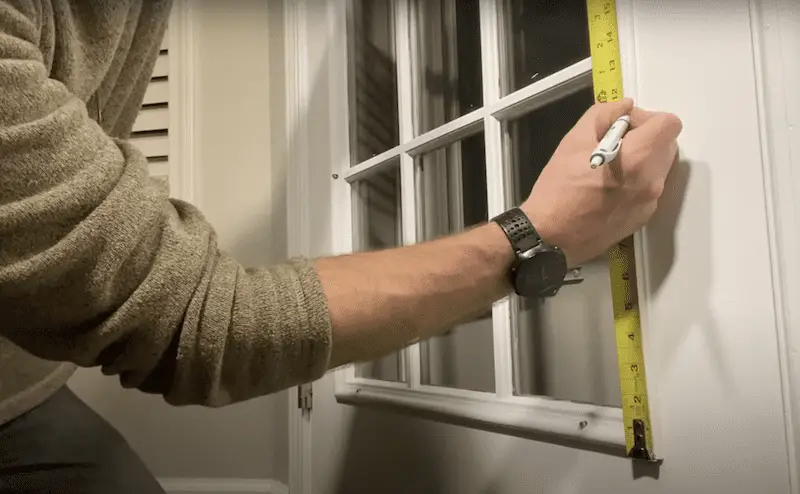
You’ll need to know your door’s measurements when deciding on which unit to purchase. For us, our door was pretty standard (23.75” W and 65.75″H) with a full-length window and a raised frame for the window (see below). This is key because it’s how the unit is going to mount.**
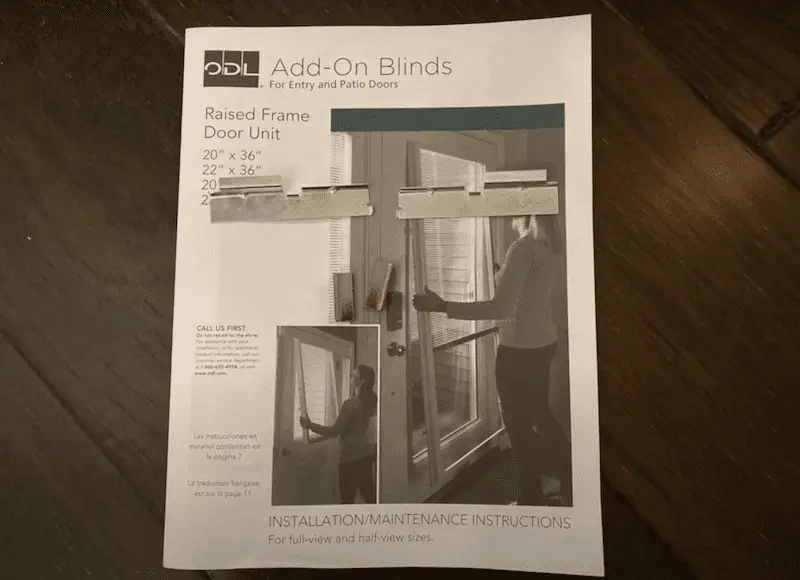
The ODL kit also comes with instructions, two top mounting brackets, and two side shims. But you’ll also want to have a tape measure, screwdriver, and step stool handy.
DISCLAIMER: This blog contains affiliate links, which means that if you click on one of the product links, I’ll receive a small commission.
8 Steps: How to Install “Add On” Blinds to Patio/Outside Door
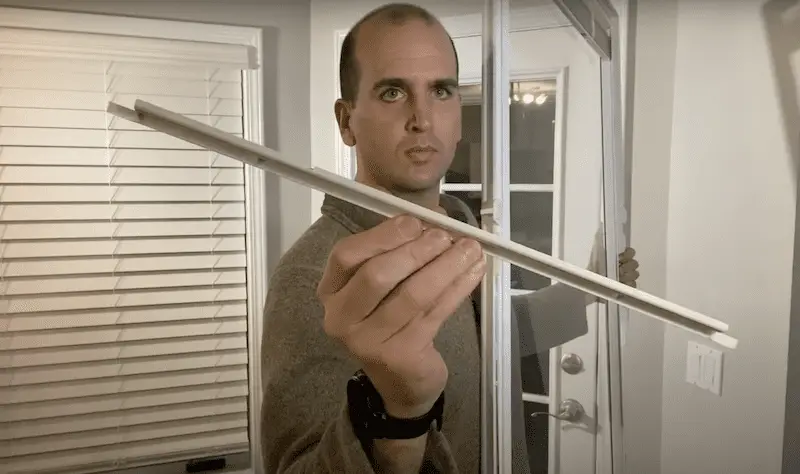
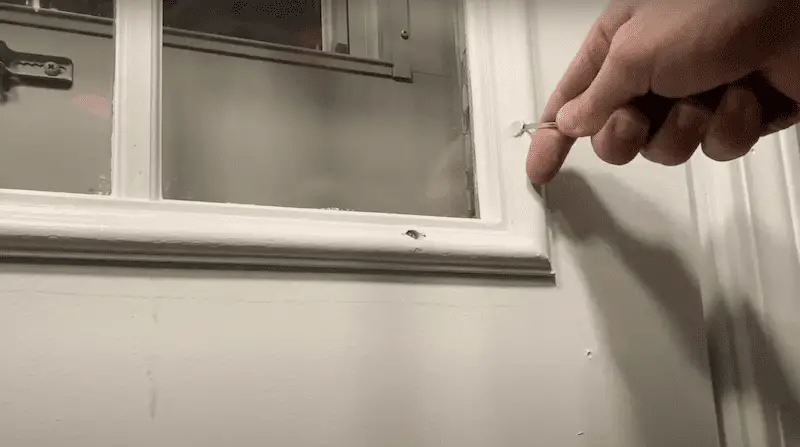
1. Remove the red clip
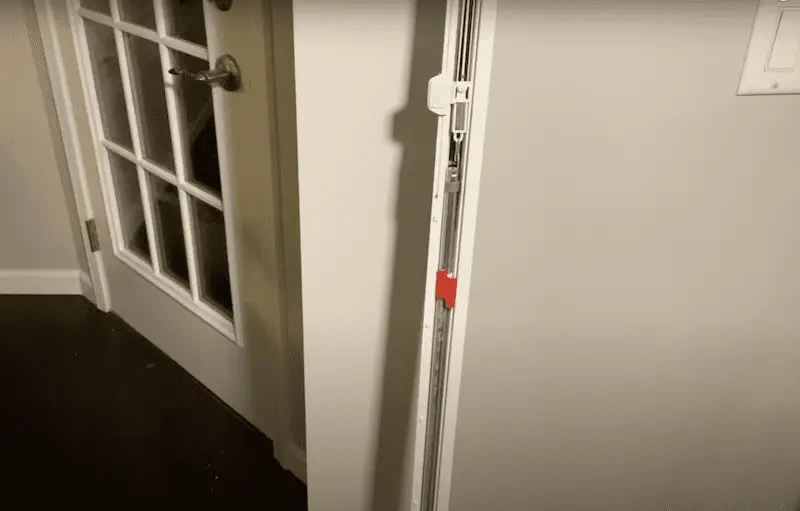
First, remove the red clip (seen above). This clip secures the weight on the inside of the ODL frame and is what helps you raise the blinds.
2. Do a dry fit
Before you get too far into a project, it’s always a good idea to make sure that your product is going to fit your door and your hardware. I have a door handle, which is not just a knob, so there was more of a chance of interference.
With a loose door handle, mount it up and see if it fits nicely to the door surface all the way around. Check to make sure it does not interfere with the raised frame that’s holding in the glass. Once you’ve confirmed that everything looks good on both sides – bottom and top – then go ahead and start to install the unit.
I needed to remove the insert from the side, so everything would fit correctly.
3. Score between door surface and frame
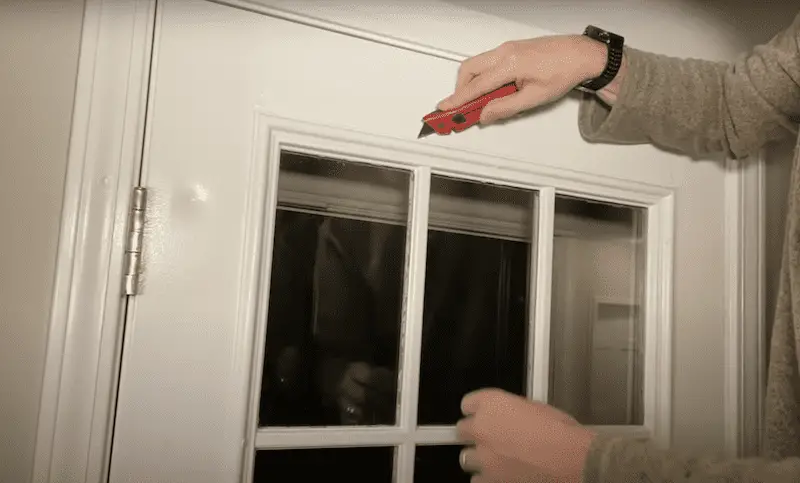
If you have a door that’s been painted in the past, take a razor blade and go all the way around the top, sides, and bottom of that raised frame. You want to score between the door surface and the frame. This will help you when you raise the frame off, which you’ll do in a few steps.
4. Remove inserts
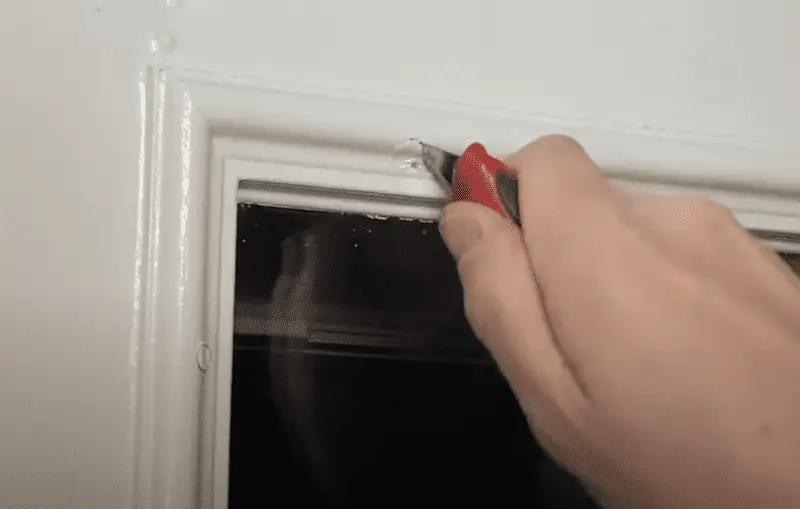
Using the same razor blade, remove the inserts so you can get access to the Phillips head screws and insert the mounting brackets. Keep in mind, this will be a lot easier if you have a newer door and it hasn’t been painted.
For me, my door had been painted, so I used a flathead screwdriver to loosen and pry the inserts out. Take your time! I wanted to reinstall them even though you don’t really have to.
Repeat this process on all the door corners.
5. Pry the frame off the door for the mounting bracket
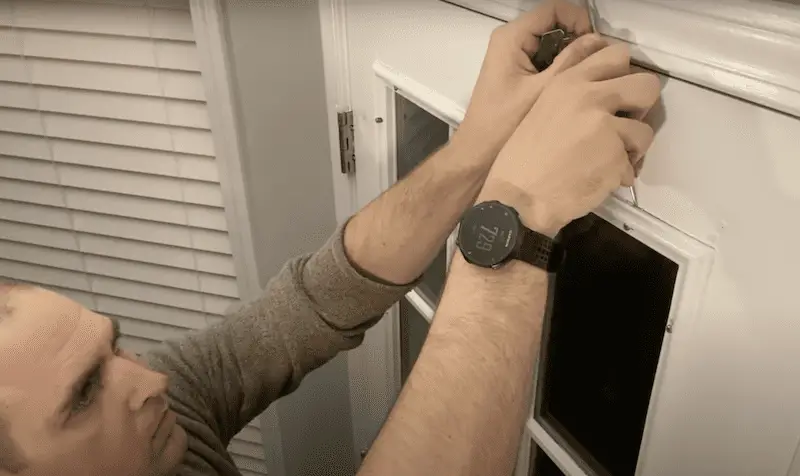
After you loosen the 4 Phillips head screws, starting at the top, take a thin flat-head screwdriver and pry the frame off of the door.
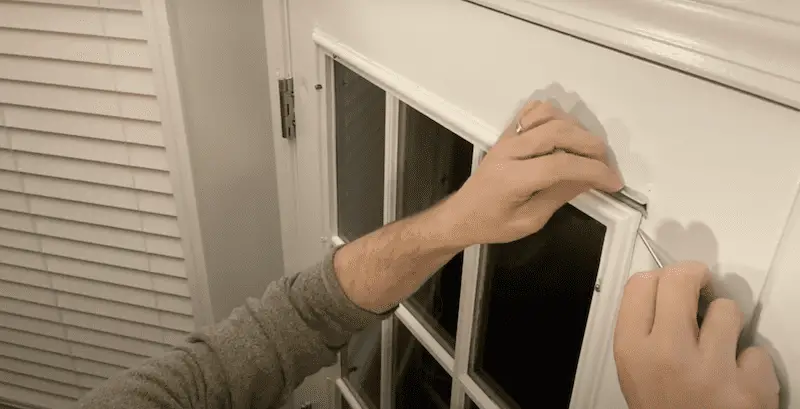
Then, fit the upper right-hand bracket into place, which will slide behind the frame. You’ll see that there are two small little tabs that you’ll push flush on the side and top to make sure it’s positioned correctly.
6. Tighten screws & mounting bracket
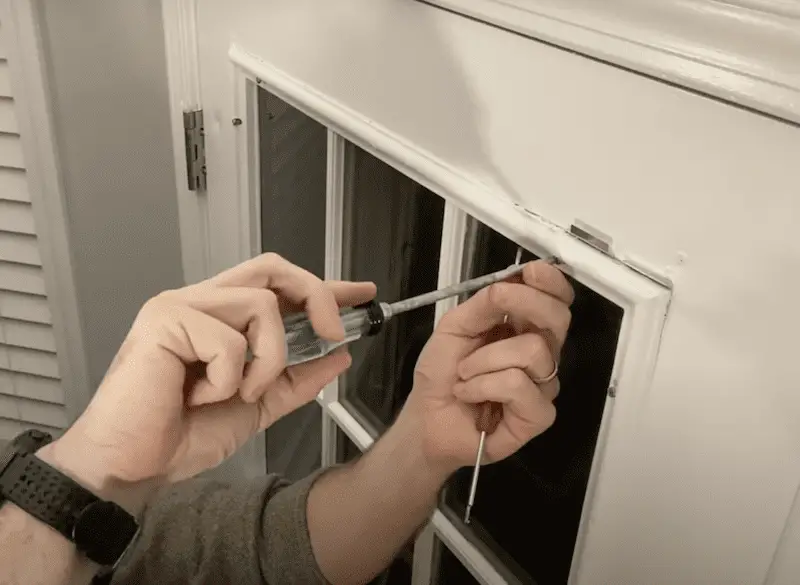
Once you get it in place, tighten up your screws. Then, the mounting bracket will be secured. Go over to the left-hand side and do the same process.
8. Install the shims at the bottom
For the bottom, you need to install some shims. This is going to help provide room for the retaining brackets that slide into place. (You’ll do the same process – loosen the Phillips head screws with a flathead screwdriver.)
I measured 11.5” up for my door and put the shim in place. Then, I continued to reinsert all the plugs. And then repeat the same process on the left side.
(One thing to note: I did remove one more insert and loosen up one more screw higher than the two in the corner.)
8. Mount the “add on” blinds unit for the patio door
Now, we’re ready to mount the actual blinds unit for the patio door! You’ll first get in place and raise it up. There are two little tabs on each of the mounting brackets that you need to fit into slots on the top of the unit. It’s key that they’re not just partially hanging there – so I would check them out to make sure they’re fully secured.
There are also two little tabs on the bottom that you’ll swing in – that’s what those shims were used for: to give you a room to go behind the frame. From there, your unit is secured and done!
The Wrap Up
Overall, this was really easy to install and I’m very happy with the quality of the add-on unit from ODL. I was especially impressed with the ability to have the knockout if you needed it – and we did have some interference with our deadbolt and the door handle. So that was a nice feature to have.
The operation is very smooth with the side slider units: one to raise and lower and the other that adjusts the blinds. And I love that the blinds are enclosed with no exposed cord so I don’t have to think about them causing any harm to children or pets – one less thing to worry about! So if this option works for you I would say go for it. It is a little bit on the expensive side – around $125 to $150. But if you ask me, it’s worth the investment.


