
 My Account
You might be just getting back from work – or possibly it’s late at night. You hear a *super* annoying chirping/beeping sound coming from your smoke detector (and there’s no fire, smoke, or signs of a carbon monoxide leak). It’s the last thing you feel like dealing with. But. It. Just. Won’t. Stop. If you’re frustratingly nodding along while reading this, I’ve got three potential solutions for you to stop the chirping ASAP.
Please note: these three options are under the assumption you do not have a smoke/fire/carbon monoxide situation happening in your home! If so, call 911 and get help.
Rather watch than read? Check out this 5-minute video below.
DISCLAIMER: This blog contains affiliate links, which means that if you click on one of the product links, I’ll receive a small commission.
3 Quick Fixes – Stop a Smoke Detector From Chirping / Beeping
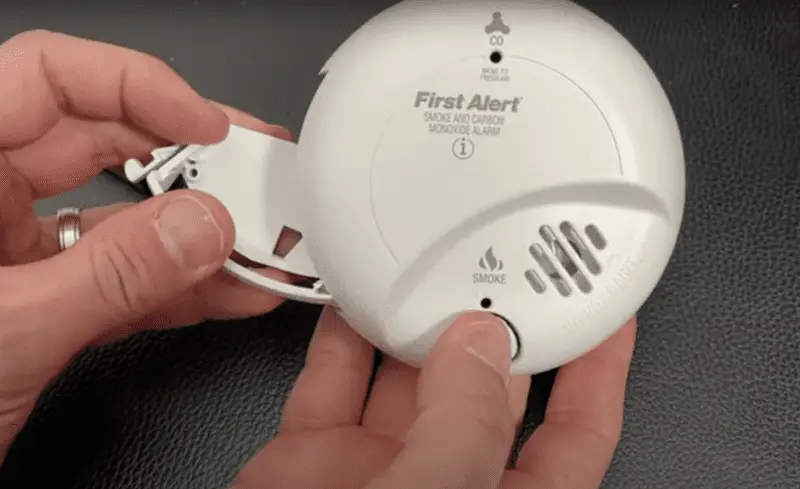
Option 1: Replace the Batteries
Generally, one chirp every minute or so means your battery is low or dead.
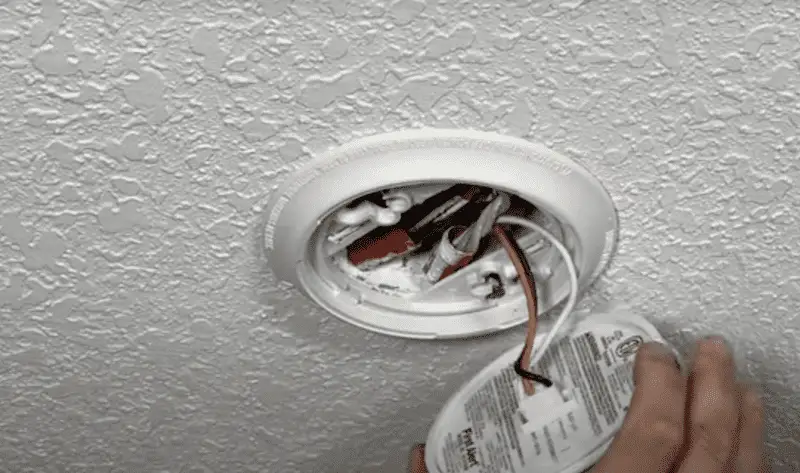
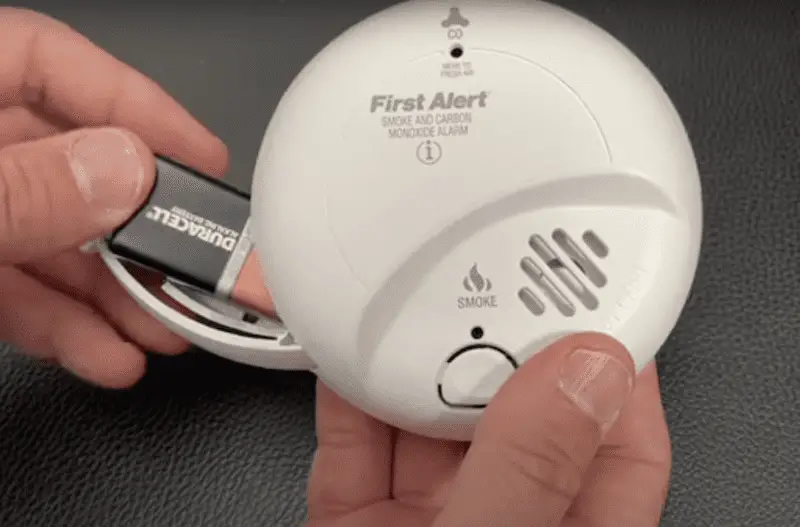
If your smoke detector is hardwired like mine, you’ll just open the door to remove the 9-volt (seen above). And then replace it with a new one. It will only go back in one way, so if you have it reversed with the positive and negative on the wrong side – the door will not close properly. Alternatively, if you have just a battery-powered detector, you might have three AA batteries to replace.
Either way, once you replace the batteries, wait 60 seconds. Then, if you hear the chirp – you still have some troubleshooting to do. (See option 2 + 3)
Note: This scenario is super common, especially if your smoke detector is battery powered or a wired unit that’s also a carbon monoxide detector. Often people get confused why a hardwired unit would chirp if it’s getting power. But there’s a 9-volt battery backup that you can access by just opening a door on the side. It’s there so if the power goes off, you’ll still be protected by the detector from smoke, fire, or carbon monoxide.
Option 2: Reset & Replace
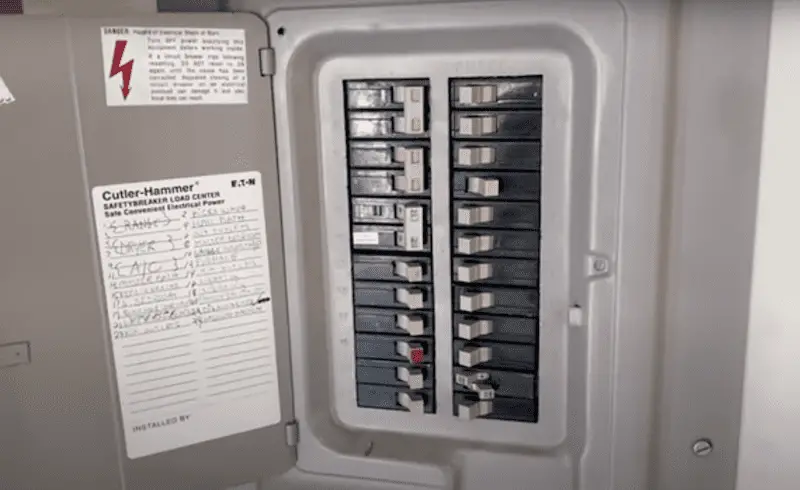
Replacing the batteries didn’t do the trick? If your smoke detector is hardwired, go out to the circuit breaker and turn the power off to the smoke detector. This allows you to remove the connector safely.
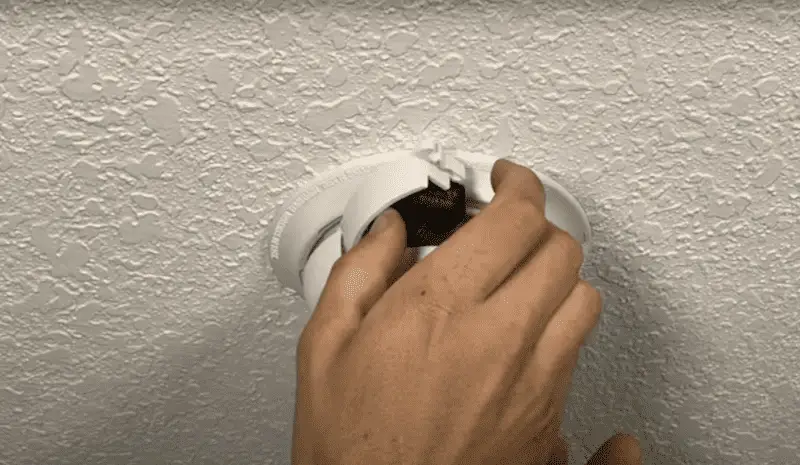
- First, rotate the unit and you’ll see there’s a small connector in the back with three wires
- Unplug the three wires and then take the smoke detector down
- Remove the battery
- Press and hold the test or reset button for 30 seconds (for some models, this helps take the energy out of the capacitors and/or helps reset the unit)
- Put the new battery back in and close the door – you might hear a small chirp!
- Finally, reinstall the smoke alarm and turn on the breaker
- Once the breaker’s on – wait 60 seconds to see if the chirp is still happening
Still got a chirp? Try option 3!
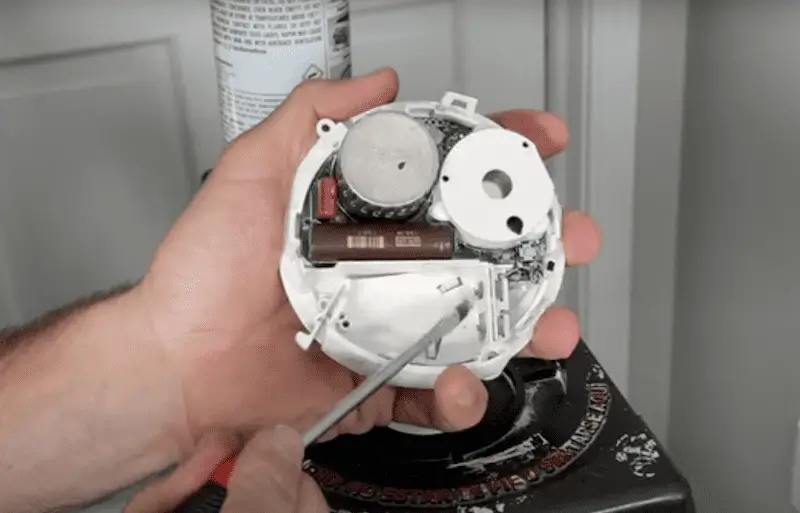
Option 3: Clean the Unit
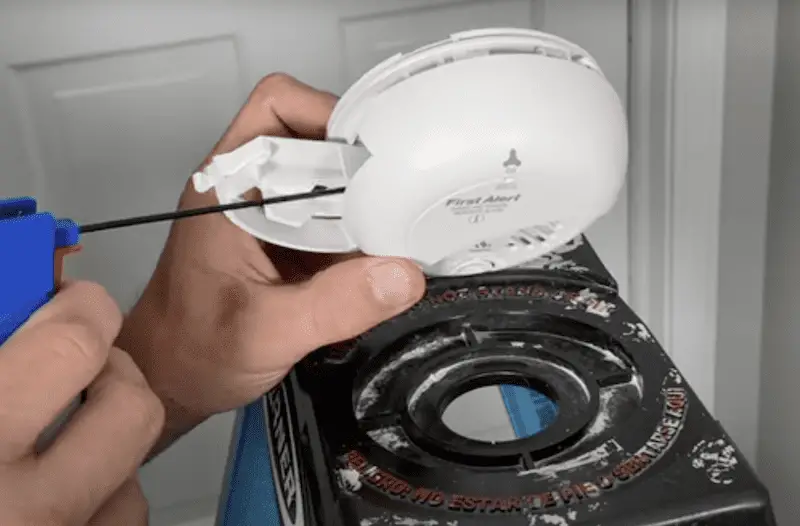
Remove the unit again, making sure to turn off the breaker. Get a compressed air can to blow out any dust or debris inside the unit itself. This could help clean things up and solve your issue.
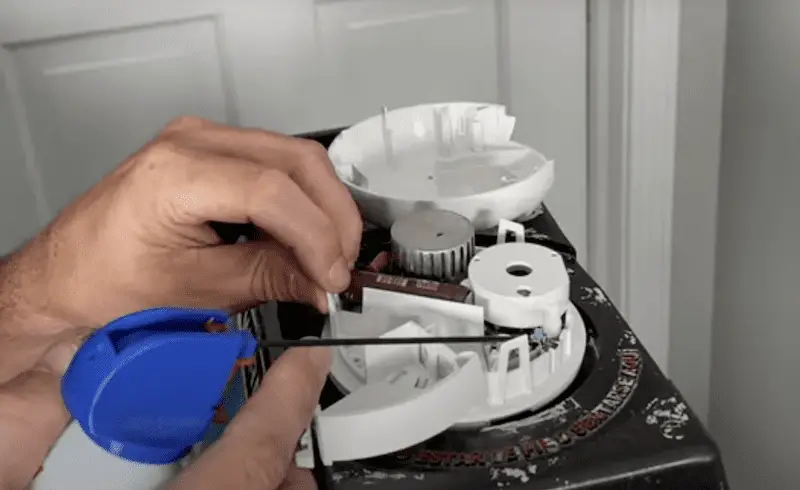
If you want to get a deeper clean, using a standard screwdriver, press in lightly on the three tabs to get the top to pop off. From there, you can see any dust build-up or lint inside the smoke/carbon monoxide detector. With the housing out, you have better access and can blow all the components off and get it as clean as possible.
Pro tip: make sure that the contacts for the positive and negative on the 9-volt are not pushed in and deformed. Check that they’re pulled out and making solid contact with the battery.
Once you’ve done that, then put the housing back into place and re-insert the battery to re-install the smoke alarm/carbon monoxide detector.
The Wrap Up
For me, cleaning out the internal unit of debris and dust stopped the chirping (phew). But let me know in the comments if you were able to fix it and what step worked for you. Did you have to reset it or did you have to blow out the internals and adjust the contacts? (And if you need a laugh after being completely frustrated by your smoke alarm, check out this relatable 3-minute video from Friends!)
Last note: Smoke detectors don’t last forever! So check the back of your detector for the manufacture date. If you have a combination smoke alarm/carbon monoxide detector they usually last five to seven years. On the other hand, if you have a dedicated smoke alarm, then it generally has a 10-year useful life. Some new models have integrated batteries that are supposed to last 10 years, so you may want to look out for those when you’re looking for a new detector.


