
 My Account
Your flooring plays a huge role in the way you experience your home. It’s generally the first place you physically connect with and it sets the tone for the rest of your home. Especially if you’re thinking of selling – sprucing up flooring in different rooms is a huge way to boost your home’s value and overall appeal. You can have the best natural light and a fresh coat of paint on the walls – but if the flooring is in bad shape, it can be very off-putting for some folks.
That said, flooring is also one of the first places to show wear and tear. After all – we’re constantly stepping on it! In this blog, I’ll walk you through how to install glue-down vinyl plank on concrete floor. It’s a very approachable project for DIYers with really satisfying results. You’ll also save a ton of money doing it yourself. But like anything, the first time you do it, it will take a little extra time.
I’ll be breaking this project down into three phases:
- 1: removing the old floor to get it down to the concrete & prepping the surface
- 2: laying down the actual glue or adhesive
- 3: laying down the planks
For my situation, I was tackling a small bathroom, which was about five feet by five and a half feet. So overall, I was replacing old sheet vinyl flooring with new glue down vinyl plank flooring over about 25 square feet of space. The flooring that I’m using is a pretty thin product. It’s only 2mm thick, but because I’m gluing it down – I really didn’t need 7mm of a floating vinyl plank flooring. It still feels awesome and gave me a great finished product.
If you’d also like to watch this project, check out this 18-minute video below.👇
Supplies Used
- Vinyl Plank (Plank I used was a local supplier the above one from Home Depot is similar just .5 inches wider)
- Glue (This is not the exact glue I used but will perform the same with a color change when the glue is ready)
Pro tip: The glue down vinyl plank flooring I used is made by Applebee Valley, which I found at my local flooring supply center. While you may have looked at flooring at places like Home Depot, Lowe’s or your big box store, I recommend looking in your area for a specific flooring supply house or professional flooring provider. These specialty stores generally have awesome stock and true professionals with a ton of knowledge. It’s also where all the flooring pros will go to get their products.
Tools Used
- Trowel (1/16 inch notches)
- Utility Knife
- Stiff Scraper
- Speed square
- Stanley Tape Measure
- Micro Side Cutters
- Flooring Roller
DISCLAIMER: This blog contains affiliate links, which means that if you click on one of the product links, I’ll receive a small commission.
How To Install Glue-Down Vinyl Plank Flooring on Concrete – 3 Steps
Step 1a: Remove the old floor
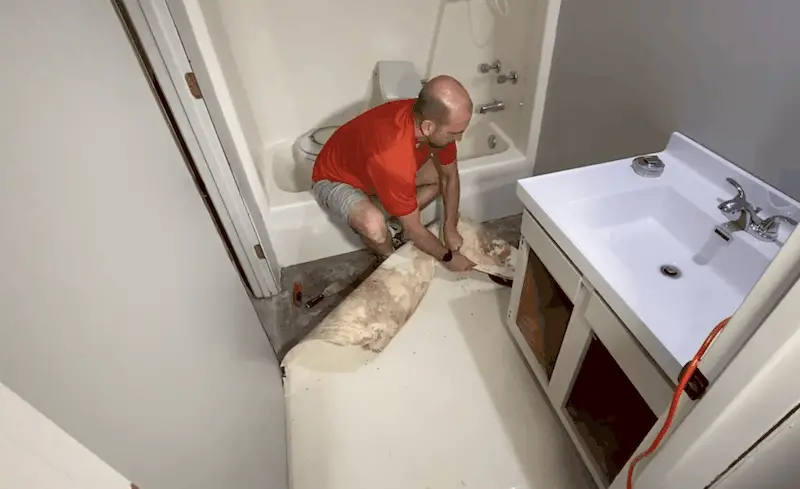
Tools for step 1: heat gun, razor blade, small scraper, large scraper (this will give you more leverage if you need it). Note: your project may be slightly different – so you might use all of these tools or you may just need the hand scraper.
Start off in one corner. Since I have a little doorway to a utility room, that’s where I started. Overall, the flooring came up really easily and I was able to only use the hand scraper without applying any heat.
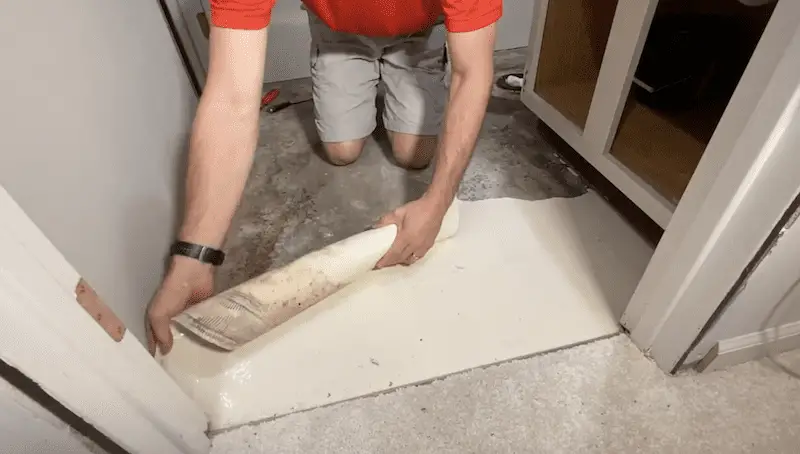
Continue to progress through and pull the flooring up. Be careful around your drywall and around your vanity! You don’t want to pull too hard and damage the drywall or your paint. So take your time.
As you progress through, you can cut off or rip off the piece of flooring. This will give you a little bit more room to work especially if you’re in a small bathroom.
Once you come to the gripper bar where the carpet will interface with the flooring, get the vinyl pulled out underneath the gripper bar. You do not want it to break at the threshold where there’s still some flooring underneath the gripper bar. For my situation, I tried to pull it out around the nails that were holding the gripper bar into the concrete.
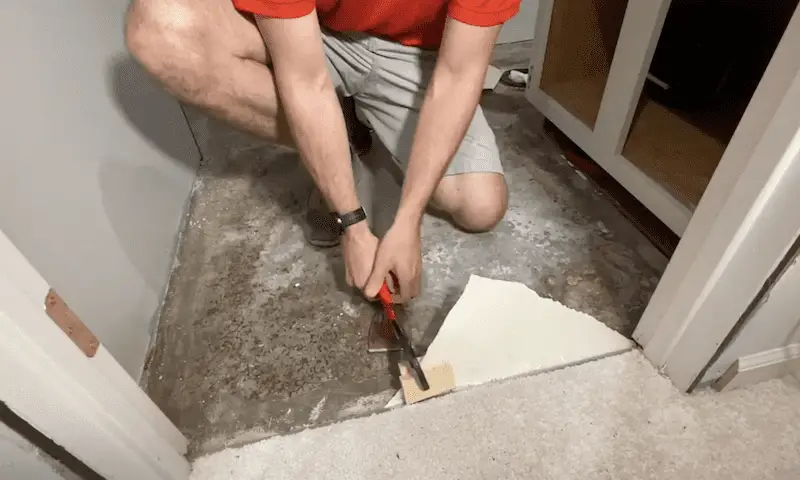
Then, I removed all the glue and tried to get leverage to pull around the nails. This isn’t the easiest thing to do! I ended using some channel locks and two small pieces of scrap wood to distribute out the force. This way, I could get a good hold of things and not just rip it.
Once you see there’s no flooring underneath the gripper bar – you’re in a good position to get the vinyl plank underneath that will result in a nice professional-looking transition.
Step 1b: Prep the floor’s surface
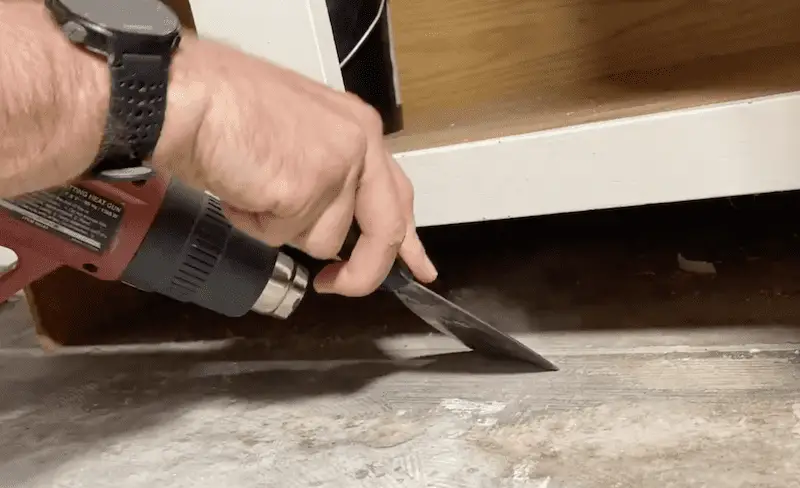
In this step, you’ll prep the surface to make sure all the old debris, glue, etc is removed. You’ll even want to remove caulk along the tub or on the vanity.
I recommend using a scraper and if necessary, applying some heat to remove whatever debris is left. However, don’t apply too much heat or you’ll end up melting the glue and making a mess!
Once you have all the glue removed, vacuum the debris and use a degreaser to ensure the surface is grime-free.

Finally, give your floor a quick check for any holes. If you have any, you’ll want to fill them. Especially if your flooring is only 2 mm thick like mine – any bumps or holes will show through. Use a pre-mixed skimcoat or patch (available at any hardware store) and strike it off with the scraper you used before.
Step 2a: Making a plan for the flooring
Tools for step 2: Pencil, straight edge, glue, Goo Gone, trowel
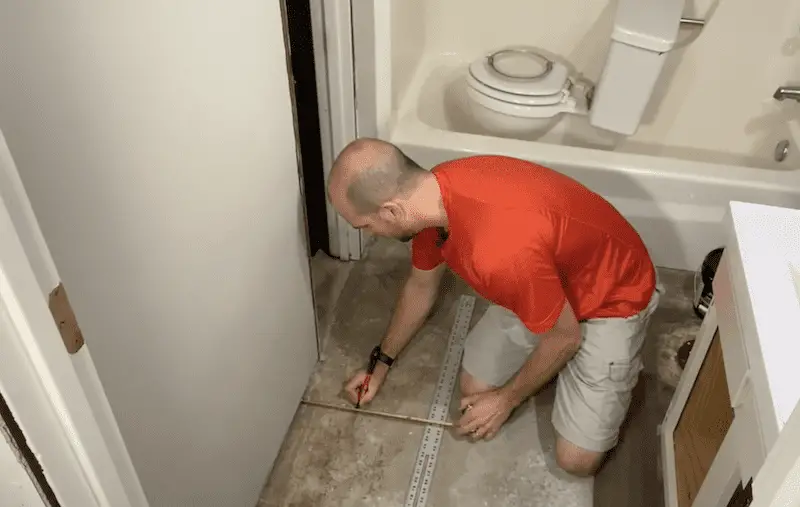
You’ll start off step two by making a plan for the flooring. So you’ll first want to get a reference line to use for the first plank that’s going to go down.
Here’s how I planned for my bathroom:
- I measured 6” back from one wall (width of my planks) and made two reference marks, referencing the wall
- I then used a straight edge to mark the lines for where I’ll be laying the plank – and I continued the line all the way to the tub surface (I didn’t stop at the wall that’s against the tub because I can tell it’s not perpendicular to the tub)
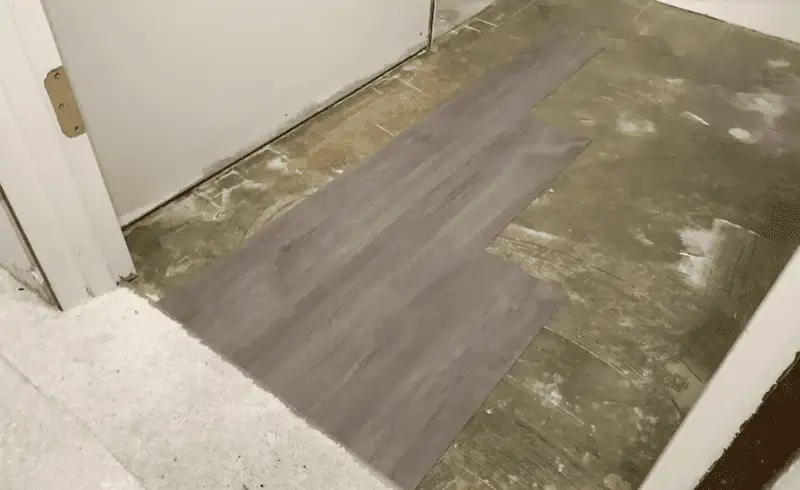
- Using a straight line for reference, I put plank starting from the door that goes under the gripper bar (48″ Plank)
- Then, I’ll bring in a 32” piece also going under the gripper bar
- Finally, I’ll finish off with a 16” piece.
This will be my staggered seam that I’ll use to fill everything in! So, I staggered the initial seams at 32″, 24″, and 16.”
Then, grab the glue that goes with your flooring – and be sure you have enough glue to put on the whole floor. I used Bostick glue which I got from the same flooring outlet store.
You’ll also need a trowel. My trowel has square notches that are 1/16” thick, which is recommended for this glue. You don’t want bigger notches than that because it’ll leave behind too much glue. This is not only wasteful, but it also takes longer to set up and can possibly squish up between the planks – which is a pain to clean up!
Step 2b: Setting the glue or adhesive
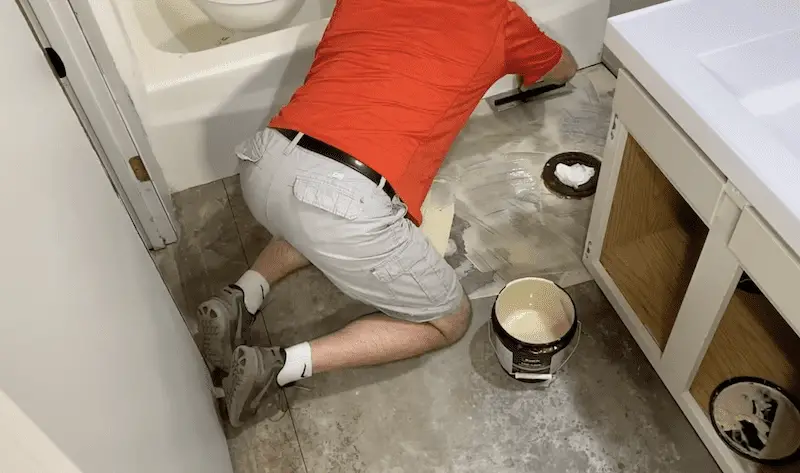
Starting in one corner, start spreading out the glue. I’m not a pro at this – so i’m not going to spend a lot of time on my technique! But I used about a 45-degree angle to spread the glue and used the thinner side when going up against the wall/tub. And I used the wider side to spread across the floor.

Again, everything is 1/16” high made by the the u-shaped troll and make sure you’re not leaving excess glue anywhere! It could cause you issues later on. I used Goo Gone to clean up any excess glue that got on the trowel or other places. It’s an awesome product that I highly recommend for a clean and smooth finish.
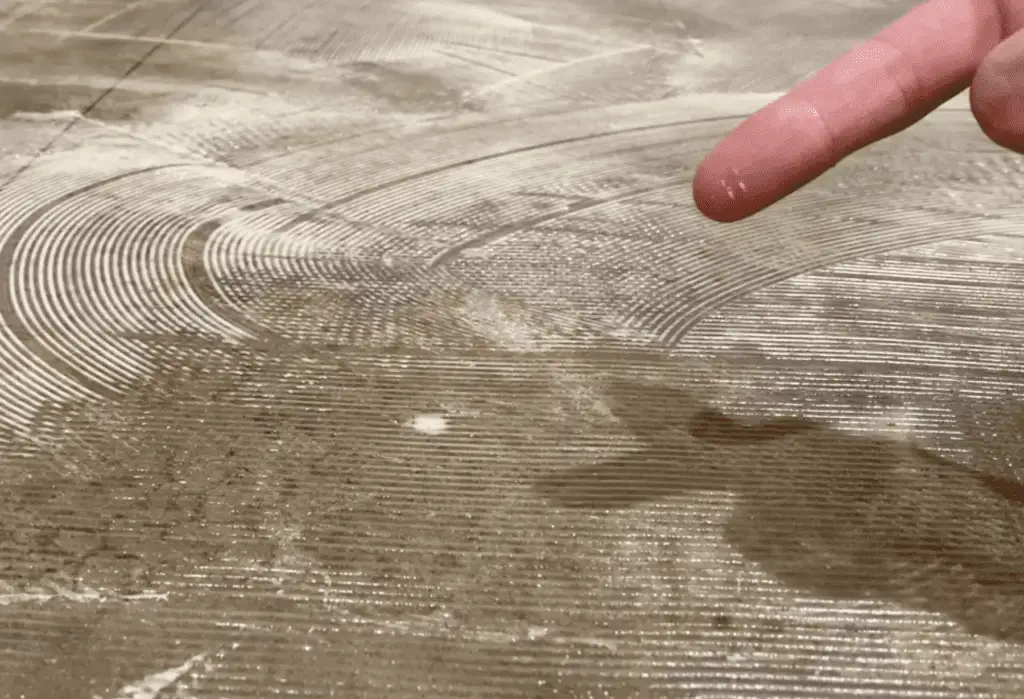
Finally, let the glue sit for about an hour or so until it’s ready. How do you know when it’s ready? You’ll want to see the glue be transparent and sticky but not a yellow/cream color or overly wet texture. If your glue is wet and yellow-ish, there’s a chance that the glue will come up between your seams. This is a mess and definitely something you want to avoid!
Step 3: Lay down the planks
Tools for step 3: tape measure, speed square, and sharp razor blade
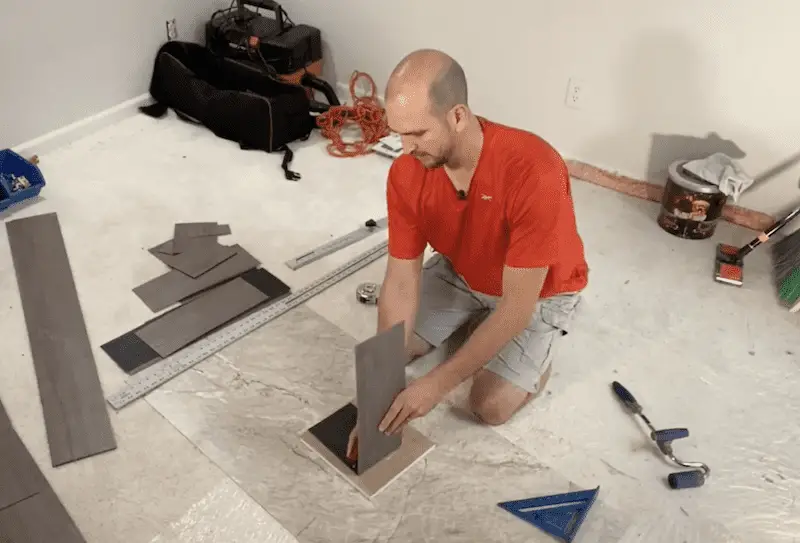
Once you’ve made it to this point, you’re ready to install the actual flooring. So you’ll first cut the planks to length. I used an old sheet of vinyl and a piece of drywall to cut on top of.
When cutting planks to length I made sure the vinyl plank was pressed up against the speed square to confirm I was cutting a perpendicular line. Then, I got my measurement and moved the speed square into place. Finally, I applied pressure down to the speed square and took the razor blade – cutting along the line to score the top surface.
You can do one pass or two passes – whichever you prefer because you’ll then flip over, bend, and get that crease with the backing still in place (as seen above). It isn’t a complete cut, so you’ll crease it and then cut along the inside with the razor blade. While cutting plank to length is by far the most common cut you’re going to do, there will be a few other cuts – like cutting around the toilet flange.
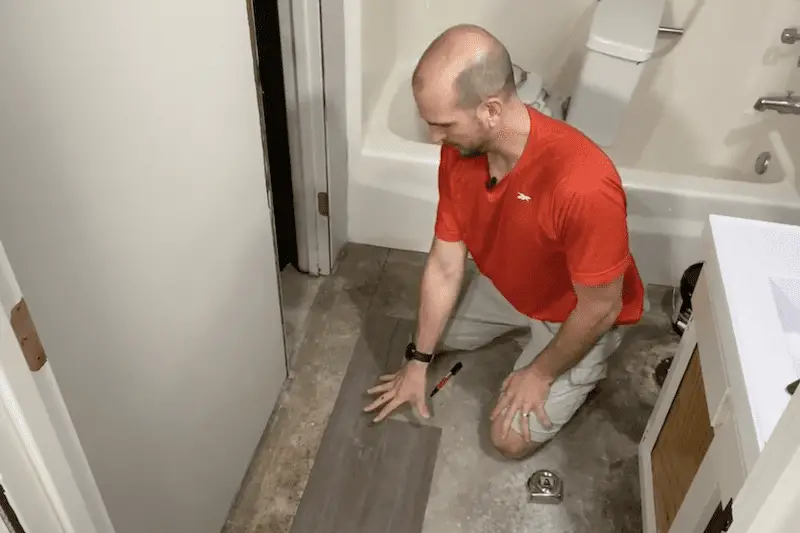
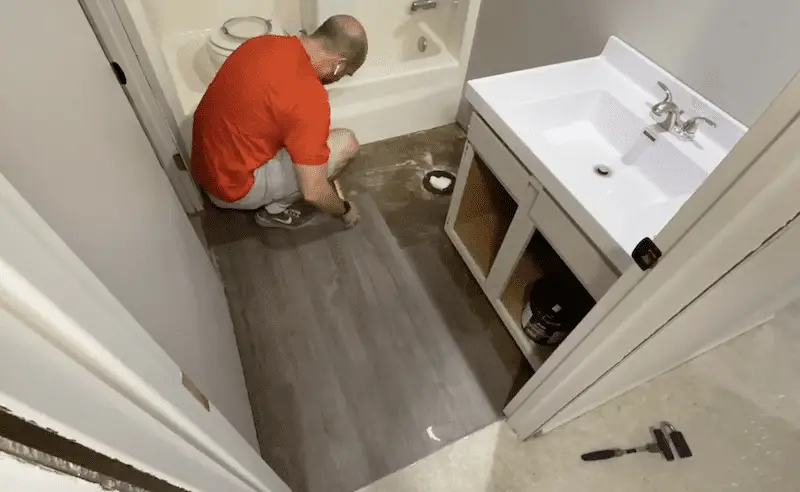
But first, start laying a few pieces of flooring on the bathroom floor – keeping in mind your plan of attack that you made in Step 2.
- For me, I started with a 48” piece and worked that piece underneath the gripper bar for the carpet. Then I put it right alongside a line that I set before putting the glue down.
- Next will be a 32” piece taking my time to get it under the gripper bar and also making sure that it lines up perfectly with the first plank.
- Then we’ll finish off these first three with a 16” piece.
That’s the pattern that will basically establish all other planks that we put into place. Then I’ll roll those out slightly and roll it in the opposite direction – so essentially side to side.
If you’re like me, you’ll have to notch out some of the planks to fit. This is fairly common depending on your walls, vanity, doorways, thresholds, and anything else that you have to work around.
I recommend finishing off the first line because everything will be based on that. Then, fill in the left side – so you’ll be working from left to right across the bathroom. And finally, start knocking out the rest of the floor.
Each of our scenarios will be a little bit different. In my bathroom, the tub was set at a small angle with respect to the door. Usually I was seeing about a 1/8th” difference across the width of a plank that I had to account for. I would cut the line closest to the tub to angle that 1/8” to follow the line of the tub. If i didn’t do that i would have a gap on the one side of each of the planks.
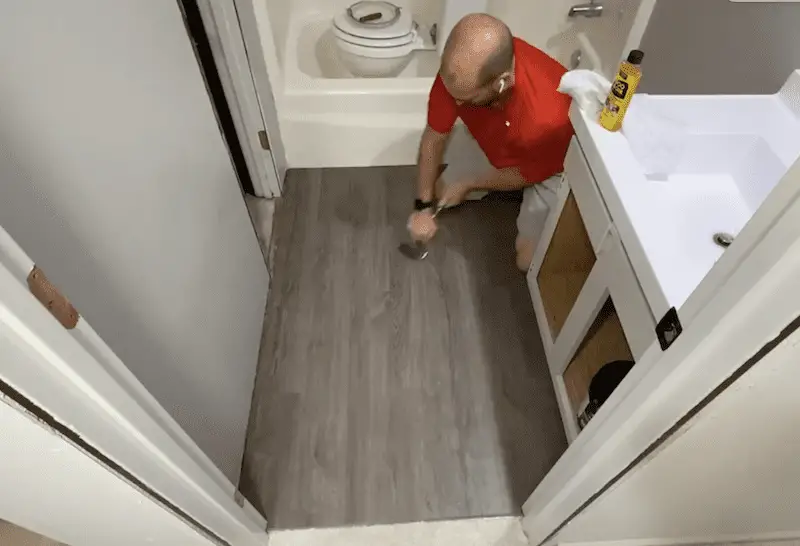
Once everything is in place – go back through and roll everything side to side. If you have a bigger floor, consider renting a 100-pound roller. Then, take the goo gone and a rag and remove any excess glue.
Notes on the Toilet Flange
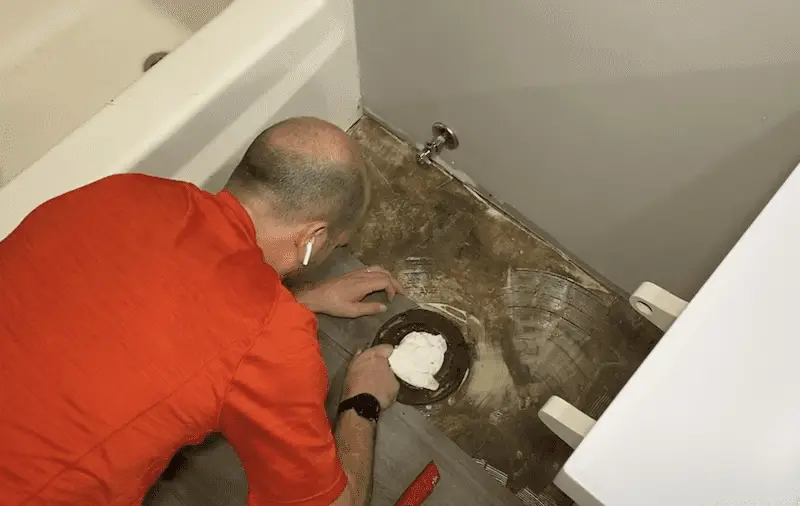
I cut a piece in half because I had to cut around the toilet flange. I started off using a razor blade – but I quickly turned to side cutters. These are usually used for electrical work, but with 2mm thick vinyl – it was super handy to get a nice fit around the toilet flange.
Remember when you’re trimming around the toilet flange – you’re not putting the plank fully in place. But you do need to make sure that the one side that will be against the already-secured plank is lined up. If it’s not lined up – then the radius you’re cutting might not be correct once you get everything secured down to the floor.
Advantages & Disadvantages of Glue Down Vinyl Plank Flooring
Personally, I love glue-down vinyl plank – but it does come with its drawbacks. Here are a few of the advantages & disadvantages.
Pros:
- It’s a cheaper option compared to hardwood or porcelain
- I find the glue-down very useful for rentals or high traffic areas. For me, the bathroom I’m updating is for a rental. So I’ll be able to heat up one plank, remove it and address the damage to that one plank – rather than messing with the whole floor.
- It is very durable and extends the life of the floor (at least from my perspective).
- If you’re deciding between laminate and vinyl – I’d keep in mind that vinyl is waterproof and laminate isn’t always
Cons:
- It can take longer to install – especially if you’re doing it right, it can be tedious
- If improperly installed, it can be less durable and resilient
- As mentioned above, if you don’t skimcoat the subfloor- you’ll feel imperfections/holes in the floor
- I’ve heard that heavy appliances can bend/dent it
- Lastly, some researchers say that vinyl can present a health risk to children. I urge you to do your own research to make sure you’re comfortable with what you’re putting in your home.
The Wrap Up
Overall, I love the way the floor looks and feels. When I put the baseboards back in and ran a bit of caulk by the tub – it looked exactly the way I wanted. And I loved using the side cutter as my secret weapon when cutting around the toilet flange. Let me know in the comments if you have any questions!


