
 My Account
If you’re a DIYer you probably already know that the smallest details often have the most significant impact. This is certainly true when it comes to soft close hinges for cabinets.
Soft-close hinges allow cabinet doors to shut quietly and smoothly, and they will likely extend the life of your cabinets since there will be less pressure and stress from cabinets “slamming” shut. It’s also a fairly easy improvement that you can do in a matter of an hour or so – depending on how many cabinets you have in your kitchen- and it’s relatively cheap. While cabinet installation is estimated to cost an average of $5,362, this project is more moderate and generally costs about $12 per cabinet.
For this blog, I’m going to walk you through how I replaced a pretty typical concealed cabinet hinge with a soft-close hinge. This is a great project if you have damaged hinges in which the doors stay ajar because they don’t close completely on their own (like mine) or you’re just ready for an upgrade without a huge time or financial investment.
I used Blum 39C Hinge & Plates because they matched our cabinets. And if you want some guidance on how to get the correct measurements, check out this video: How to Measure & Pick Replacement Cabinet Hinges.
Pro Tip: The most common mistake DIYers run across in this project is ordering the wrong hinge and once the parts arrive things don’t line up correctly. Make sure you know the “overlay” for the hinges you are replacing. If you get a wrong overlay the result will be a gap or interference between your 2 cabinet doors. Need a little more guidance on selecting the correct hinge? We got you covered with this video.
Tools:
- Soft Close Hinges (Blum)
- Centering Drill Bit (5/64)
- Drill
- Phillips-head screwdriver
- Side Cutters
DISCLAIMER: This blog contains affiliate links, which means that if you click on one of the product links, I’ll receive a small commission.
Rather watch than read? Check out this 9-minute video below of the project from start to finish 👇
How to Install Soft Close Hinges On Existing Kitchen Cabinets – 7 Steps
1. Remove the cabinet doors
First, this job is best when you have two people. But if you’re by yourself, take your time removing the cabinet doors. Make sure you have a good hold on the cabinets as you take them off, so you don’t damage anything.
2. Get rid of the old hinges on your kitchen cabinet doors
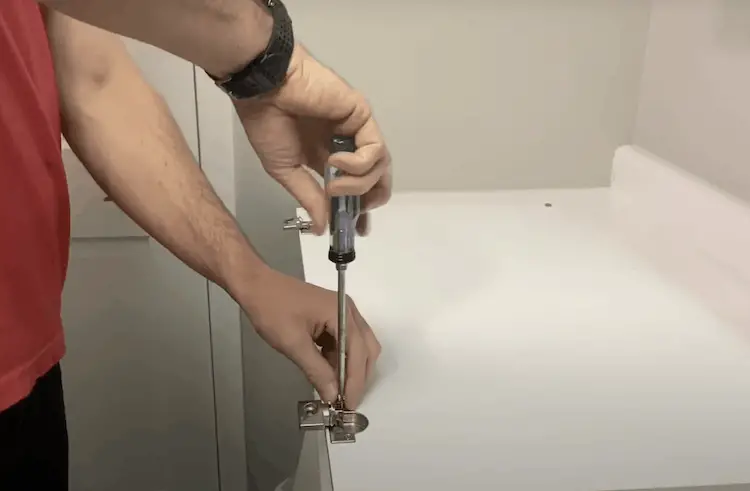
Once you get all the kitchen cabinet doors removed, place them on the flat surface. Then, remove the old hinges out of the door. I reused the hardware because the new Blum hinges did not come with new hardware, so I took my time and made sure I didn’t strip any of those screws.
Once you pull all the screws out, squiggle back and forth lightly, and the concealed hinges should come right out of the cup whole in the cabinet door.
3. Cut the plastic lip

This is where the side cutters come in handy. When I tried to install the new hinges, the little plastic plug for the old screw mounting points got in the way. If you find yourself in the same situation – get a sharp side cutter and trim off the plastic lip. This will get you to a flush surface for the install of the new concealed hinges.
Pro tip: It’s critical to take your time during all of these steps. These projects get a lot longer if you damage the existing door!
4. Align the Blum soft-close hinges & start to drill
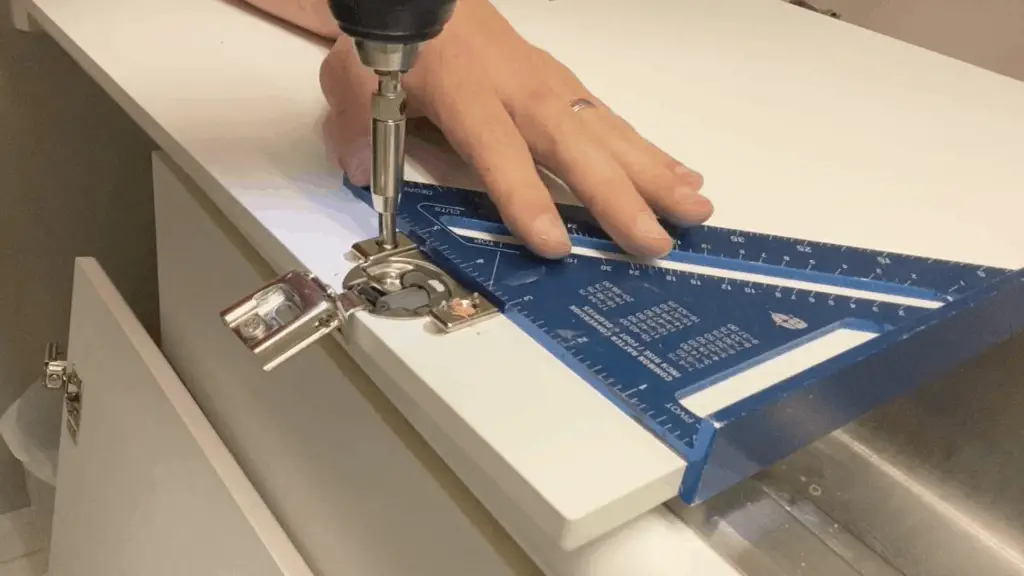
Once the plastic lips are off – you should see a nice flat surface. Then you’ll use a speed square to make sure the hinge is aligned before drilling the holes with the centering drill bit. As soon as you have everything lined up – get a good hold on both the square and the hinge. Then, start to drill your hole again. You can do this with just a 5/64 drill bit, but if you have a centering bit or you want to purchase one for this project it does make things a bit easier.
With both of those holes drilled, I then used the wood screws that were from the old hardware. Because this is not a solid wood door, I took my time to get the threads started before I started to screw it down to prevent cross-threading or any other issues that would extend the project.
Then, tighten it down and move on to get the rest of the hinges done.
5. Hang the doors on the frame
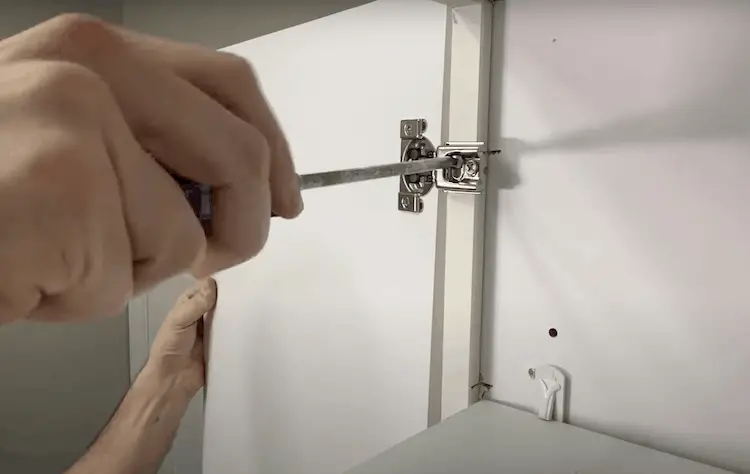
The next step is to hang the doors on the frame. If you do have somebody who can lend you a hand – this is a great time to ask them to hold the door up while you get these screws screwed into the frame. That said, I did it myself. So if you’re doing this solo – it requires a bit of a balancing act, but it is doable. (Go to minute @5:22 in the video above to get a better idea of how I managed to do this alone.)
- Hold the door up & get the Phillips head with a screw on it. Then with one hand, start the top screw and get it threaded.
- Let the cabinet rest on the lowest position – do not tighten it all the way because you’ll then jump down to the bottom one. Get the bottom one aligned and started and then screw it in as well. Then get them both tightened down before moving on to the right-hand door.
- Get them all set up and then check the alignment of the door. Make any adjustments you need before tightening everything back up and checking the two doors.
6. Soft-close kitchen cabinet adjustment & final touches
Check to make sure the left and right are both in the same vertical position. If they’re not, you can loosen up the main mounting screws and make the adjustment vertically up or down – and then tighten it back up.
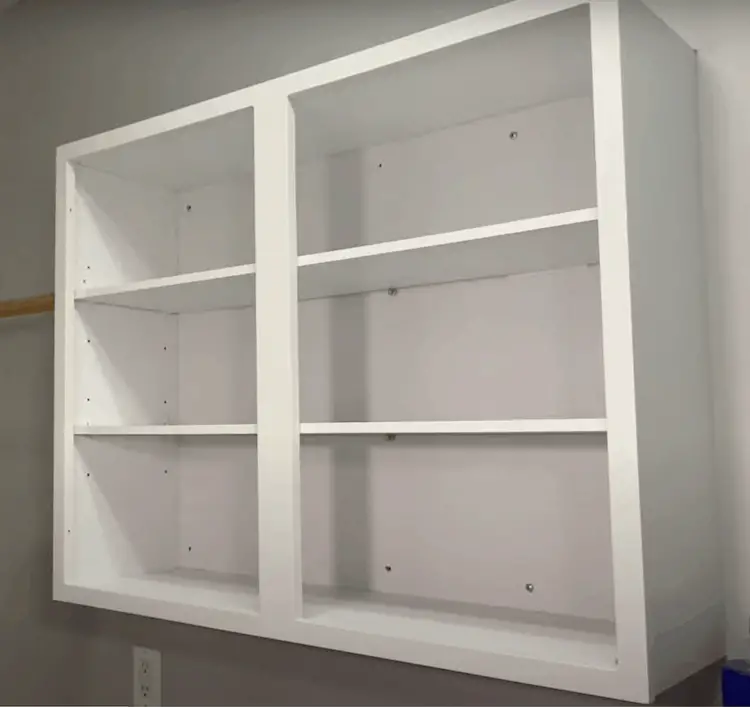
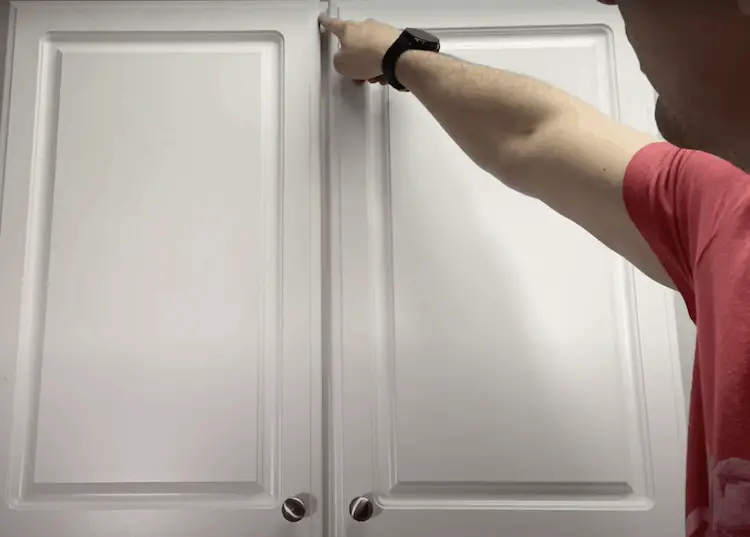
Finally, check to see if there’s a consistent gap from top to bottom in the space between the doors (seen in the picture above). If you don’t see a consistent gap, adjust the screw on either the top or bottom hinge and you’ll be able to get that consistent gap. That’s all there is to it!
The Wrap Up
Overall, I’d estimate adding soft-close hinges to kitchen cabinets takes about 10 to 15 minutes per cabinet. For these types of hinges, it was $12 per cabinet to get them upgraded to a soft close. I’m really happy with how this project turned out – the cabinets are smooth and they don’t take too long to shut – but they get a nice smooth soft close.


