
 My Account
Fixing a damaged window screen is one of the most accessible and cheap DIY projects – and it has a big payoff! You’ll be able to open your doors and get fresh air… without welcoming bugs and other critters into your home. Keep reading to find out how you can take on a window screen repair project and get them back to new with about a $10 investment.
Rather watch than read? Check out this 5-minute video!
Tools:
- Roller Tool
- New fiberglass screens
- Spline (unless you plan to reuse your current spline)
- Razor Blade
- Flathead screw driver
Cost to repair a window screen: $10 (more or less) and the more window screens you fix in your home the cheaper it will be per screen.
DISCLAIMER: This blog contains affiliate links, which means that if you click on one of the product links, I’ll receive a small commission.
Step 1: Gather your materials (spline & screen)
In addition to getting some new fiberglass screens, you might need some new spline. I reused my spline, but depending on how old your spline is you may need to get some new spline to make sure you can secure the screen into the channel.
How to figure out what size spline you need for your screen?
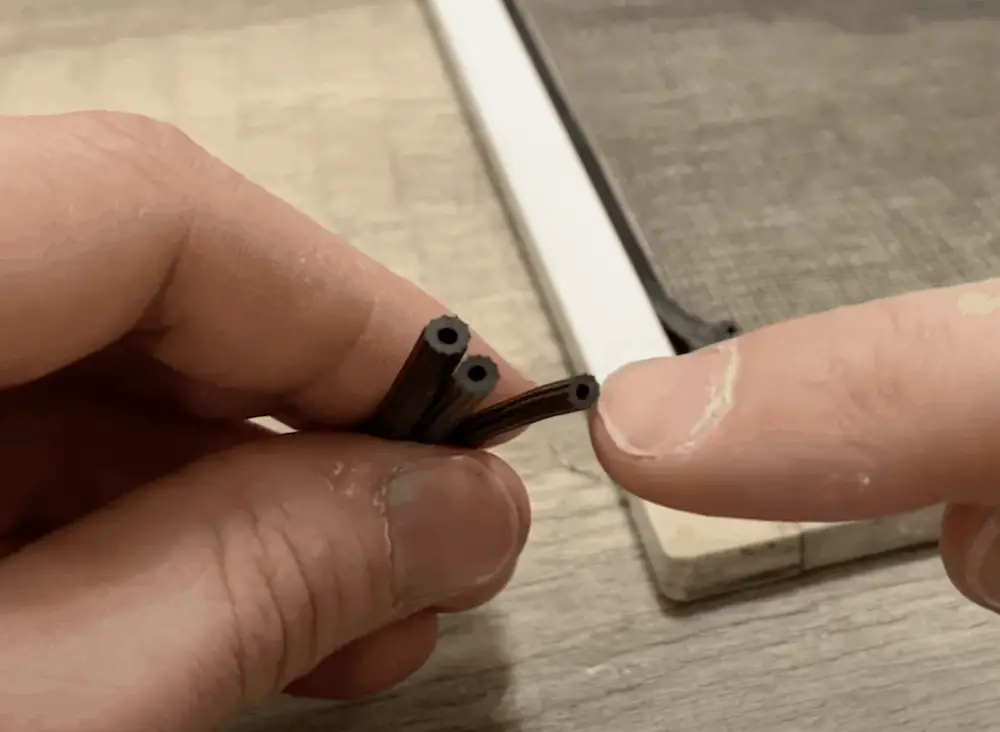
The most common size in residential spaces is 0.125 inch. But there’s also a 0.14 and a 0.16. If you’re having a hard time measuring or comparing the splines in Home Depot or Lowe’s, I recommend picking up a pack that comes with all three sizes.
Step 2: Remove the old spline
Take your time removing the spline especially if you want to reuse it. The one I was dealing with was all one piece. But yours might have separate sections for each side. If the spline is dried out or damaged it is best to replace it during this screen repair process.
Step 3: Remove the old window screen
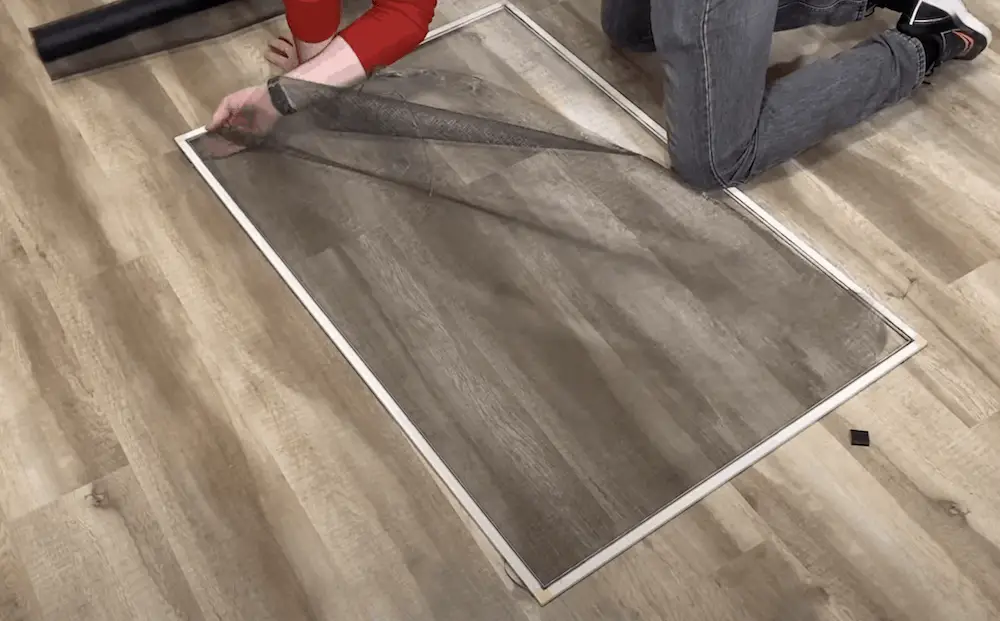
Once the spline is removed, you’ll then remove the old screen. If it’s a newer screen, it will usually pop out and all the material will also come out without any issues. If it’s a little older, you’ll probably deal with some ripping. Just take your time to try to get all the material out.
Can’t get it all out in one go? Go back through with a flathead screwdriver and remove any of the extra fibers before putting in the new screen and spline.
Note: Don’t worry if you break or bend any of the parts of your old screen – like the corner plastic pieces. Most of these parts will be available at your local big-box home-improvement store.
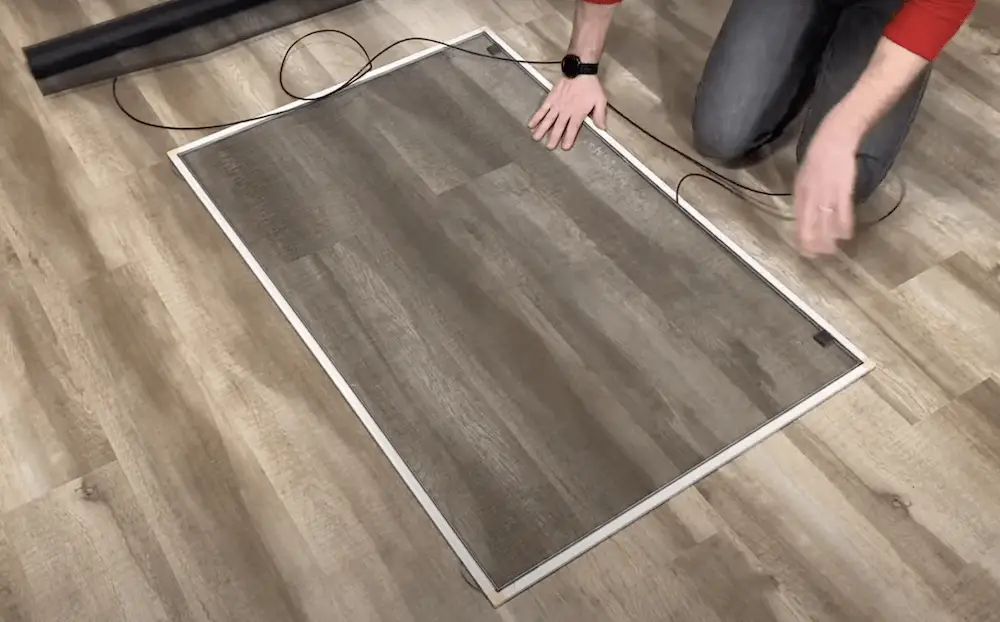
Step 4: Lay out the new fiberglass window screen roll
For the example screen I used a 48-inch fiberglass screen roll, simply roll it out and get enough material for your screen with about two to three inches excess on each side. Fiberglass screens cut easily, so a sharp razor blade can easily cut them to size.
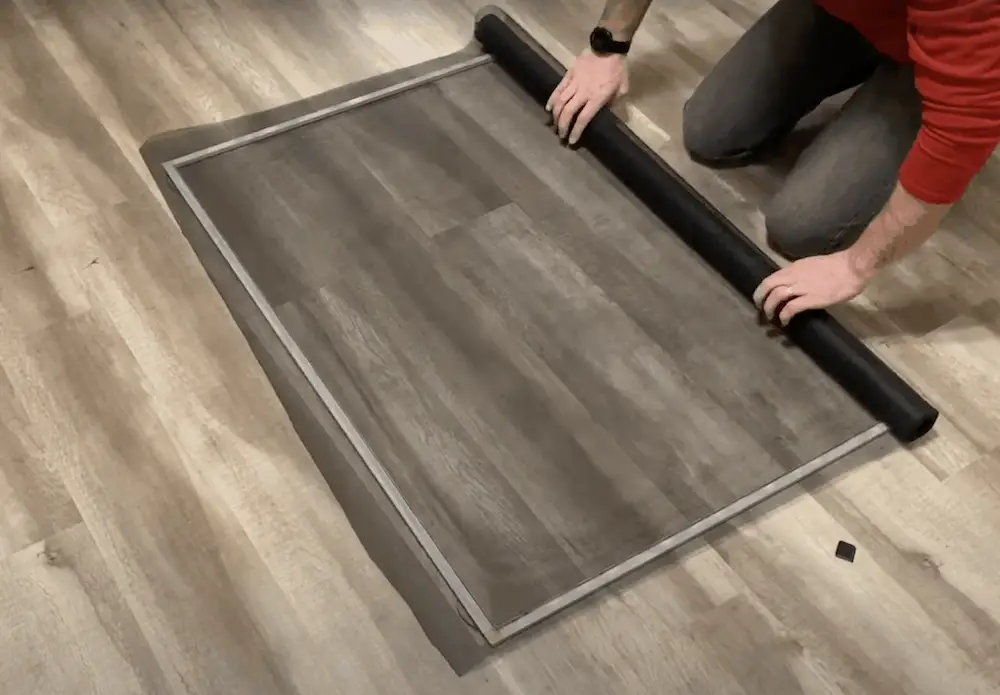
Step 5: Press & roll the spine into the channel
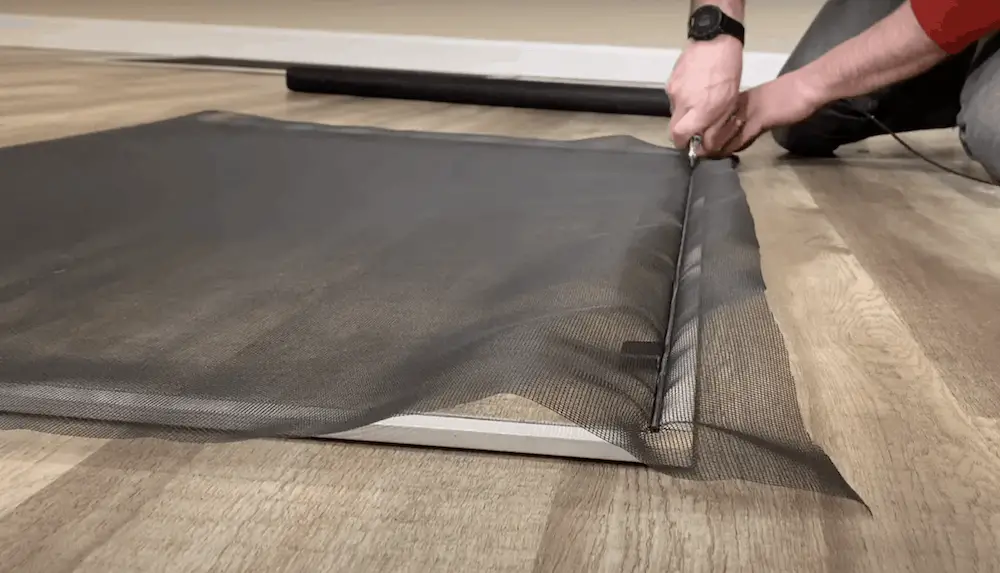
Starting in the corner, use a roller tool and start to press and roll the spline into the channel. Layout the spline about six to twelve inches ahead of the roller and then work through the channel. If you’ve done this many times you can work through this quickly. But if this is your first or second screen, take your time! If you rush you’ll be more likely to damage the screen and have to start over.
Pro tip: Once it’s all laid out – do one quick little one over with a flathead screwdriver in the corners to make sure the spines laid down won’t pop out.
Step 6: Cut the extra fiberglass screen
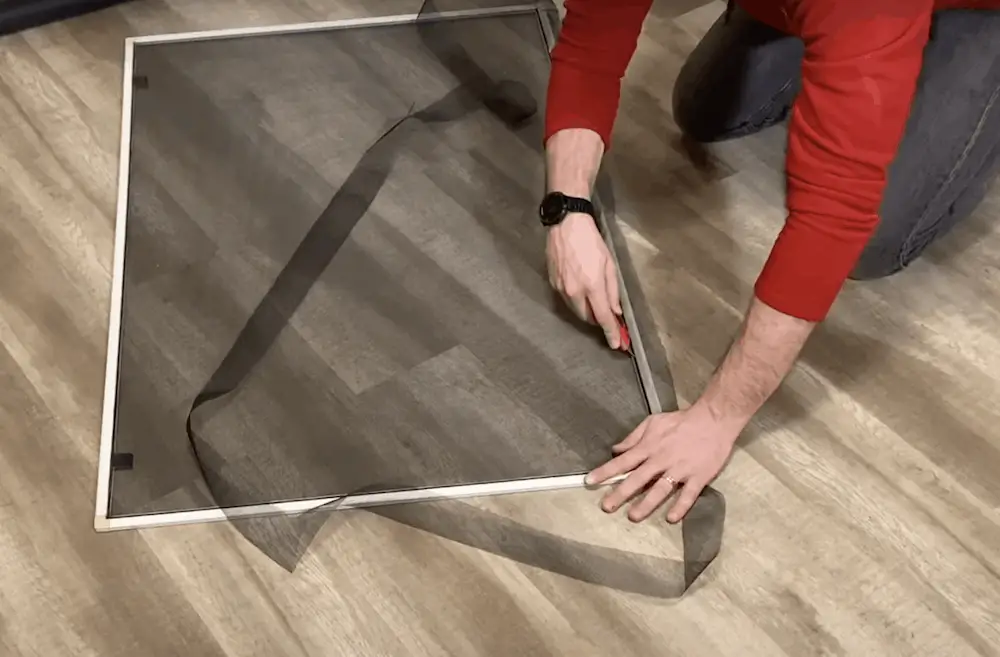
With a sharp razor blade, go to the outside edge of the spline and put light pressure on the channel, and you’ll be able to easily cut the excess portions of the fiberglass screen.
Remember to take your time! If your blade jumps over to the inner edge, you’ll cut the screen you just assembled. It’s best to take a couple more seconds and do it right!
Need To Build A Whole New Screen? We Got You Covered!
The Wrap Up
Again, this is a relatively quick and easy project without a large investment in tools or money. So if there’s a big hole in one of your screens that’s been bothering you for years – I hope this blog inspires you to upgrade!


