
 My Account
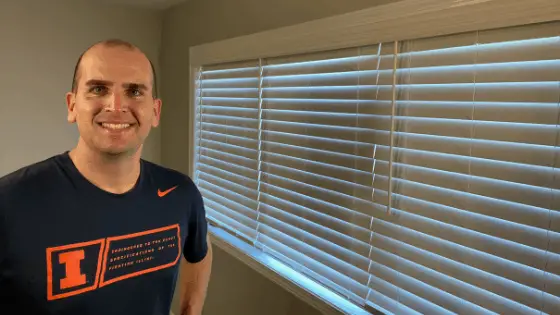
Chances are you don’t want to wake up with the sun every day and you want privacy in your home. These are two of the many reasons why blinds are an essential part of any home. Plus, they make a large impact on your interior design in as little as one day. Sounds pretty good, right?
From my experience, blinds are also a great place to start when diving into the world of DIY projects. Not only will this be a satisfying project which helps to build your confidence for future home improvement projects, but it can also save you a TON of money.
By Installing our own 2 1/2 inch faux wood blinds on 19 windows of various sizes we were able to save $3,701 (spending only $1,025) compared to the average quote of $4,726 from 2 professional blind installers.
Below I will walk you through:
- What to consider when selecting and installing blinds, from the tools you need to the process of measuring and mounting.
- Additionally, towards the end, you will find a full breakdown of what we paid for each window compared to the quotes from both professional blind installers.
** Total time invested was 3 days with 1 day for measuring, planning, and ordering then the remaining 2 days (8 total hours of work) installing. You can expect to spend 30 minutes installing the first set of blinds but by the end, you will cut that time by 50% or more.
Blinds Installation: Tools Needed
- Cordless Drill
- Philips-Head Drill Bit (5 – 6 inches long)
- Tape Measure
- Pencil
How to Choose the Right Types of Blinds
It can be overwhelming the first time you dive into the world of blinds. Here are a few things to consider which will help narrow your search.
- Blinds Material Type: Vinyl, wood, faux wood, or metal
- Slant Size: most common are 1 inch, 2 inches, and 2 1/2 inches
- Cord or Cordless: This is in regards to how you will raise and lower the blinds
- Mounting: Inside or outside (more info below)
- Overall Width and Height (more info below)
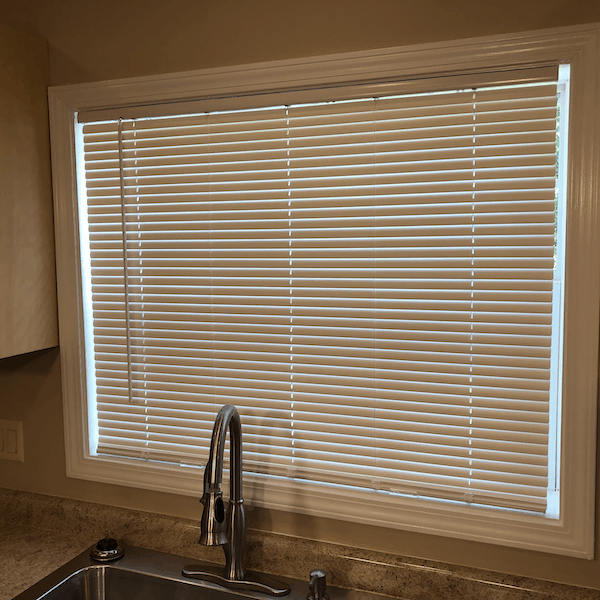
My choice: I use standard 1-inch vinyl blinds for my rental properties because they are very relatively cheap blinds and often when the blinds get damaged I can buy a new one and use the old mounting brackets which saves me time. For our home, I go with Cordless 2 1/2 inch faux wood blinds because of the look and the price although much higher than 1-inch vinyl is still reasonable.
How to Decide Between Inside or Outside Mount Blinds?
To ensure you get the right measurements you will need to lock in on your type of mounting. Will you be mounting inside or outside the interior window casing?
Inside mount is preferred because the overall look will be more professional but this is not always possible depending on the depth of your window casing. The mounting hardware for any blind will be compatible with either inside or outside mounts, so you do need to look for “inside mount blinds” when searching for the right option for your windows and home. It is always best to refer to the specification section of the product page for confirmation on the window depth requirements for inside mounting.
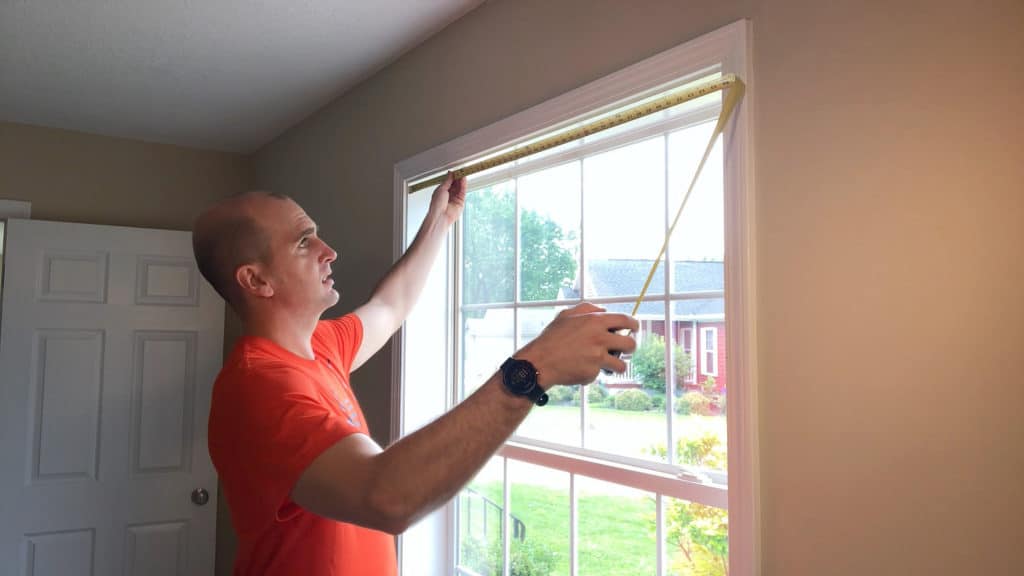
Blinds Measurements: Measure Twice Order Once
You will measure the window width at the top, middle, and bottom using the smallest measurement as the width of your window. You should be looking for 1/4 inch of gap on each side. For example, if you have a 27 inch wide window the actual blind should be 26 1/2 inches wide to provide the appropriate gap. You will notice that most blinds labeled 27 inches wide are actually cut to 26 1/2 inches to account for this desired spacing.
Additionally, you will measure the height of the window and unless you are getting custom blinds you will select a height of 48, 64, or 72 inches in most cases.
Pro tip: Make sure you always go larger than your measured height as the blinds can be shortened if desired. Shortening the blinds is as easy as removing the desired number of slats and trimming the support strings which run the height of the blinds.
So, what is different when measuring for outside mount blinds? Similar to the inside mount you will want to measure the window width but outside mount needs extra width to ensure light is properly being blocked. To accomplish this – add 3 inches extra to your width measurement and this will help keep the lights out when the blinds are closed.
Height measurement and selection will be the same as the inside mount accounting for the additional length needed since you will now be mounting the blind headrail above the window casing. You will need at least 2 inches of flat surface to mount the blinds and you will want to check your specific window trim dimensions. Then, you’ll cross reference the size of the blind headrail to make sure you will not encounter issues during install.
Additional Note: Temporary Window Coverings
What if you need more time to select the right blinds for your home but also don’t want to be on display for your neighbors each night? If you are in a pinch you can get temporary window coverings to ensure you have privacy while you plan, order, and install your window blinds.
Video Showing the Blinds Installation
Watch this 10-minute video for step-by-step instructions of how to install 2 1/2 inch faux wood blinds from Home Depot. I’m a big fan of these blinds for the overall look, quality, and price. (This is a link to the blinds from Home Depot I used.)
Blinds Cost Comparison (Real Example of How I Saved More Than $3,000)
Show Me The Money!!!! Below is an example from our home and like originally stated we saved $3,701, which is just awesome. I do want to be fair and state the quality of the 2 1/2 inch faux wood blinds as priced by both professional blind installers compared to those we purchased from Home Depot was advertised to be of higher quality. I usually lean towards higher quality products but paying thousands more for blinds seemed a bit excessive.
| Room | Blind Width (in) | Blind Length (In) | HD Cost | Company 1 | Company 2 |
| Living Room | 69 | 72 | $99 | $495 | $453 |
| Living Room | 21 | 72 | $32 | $205 | $149 |
| Living Room | 21 | 72 | $32 | $205 | $149 |
| Breakfast Area | 69 | 64 | $96 | $426 | $358 |
| Breakfast Area | 21 | 64 | $31 | $174 | $146 |
| Kitchen | 39 | 48 | $47 | $199 | $124 |
| Dining Room | 69 | 64 | $96 | $426 | $358 |
| Formal Living Room | 69 | 64 | $96 | $426 | $358 |
| Office | 30 | 64 | $40 | $150 | $130 |
| Office | 30 | 64 | $40 | $150 | $130 |
| Office | 30 | 64 | $40 | $194 | $167 |
| Bedroom 1 | 30 | 48 | $39 | $150 | $130 |
| Bedroom 1 | 30 | 48 | $39 | $150 | $130 |
| Bedroom 1 | 30 | 48 | $39 | $194 | $109 |
| Bedroom 2 | 57 | 48 | $72 | $313 | $248 |
| Bedroom 3 | 57 | 48 | $72 | $313 | $248 |
| Master | 30 | 48 | $39 | $150 | $130 |
| Master | 30 | 48 | $39 | $150 | $130 |
| Master | 30 | 48 | $39 | $194 | $109 |
| Labor | $724 | $309 | |||
| Total Cost | $1,025 | $5,388 | $4,064 |


