
 My Account
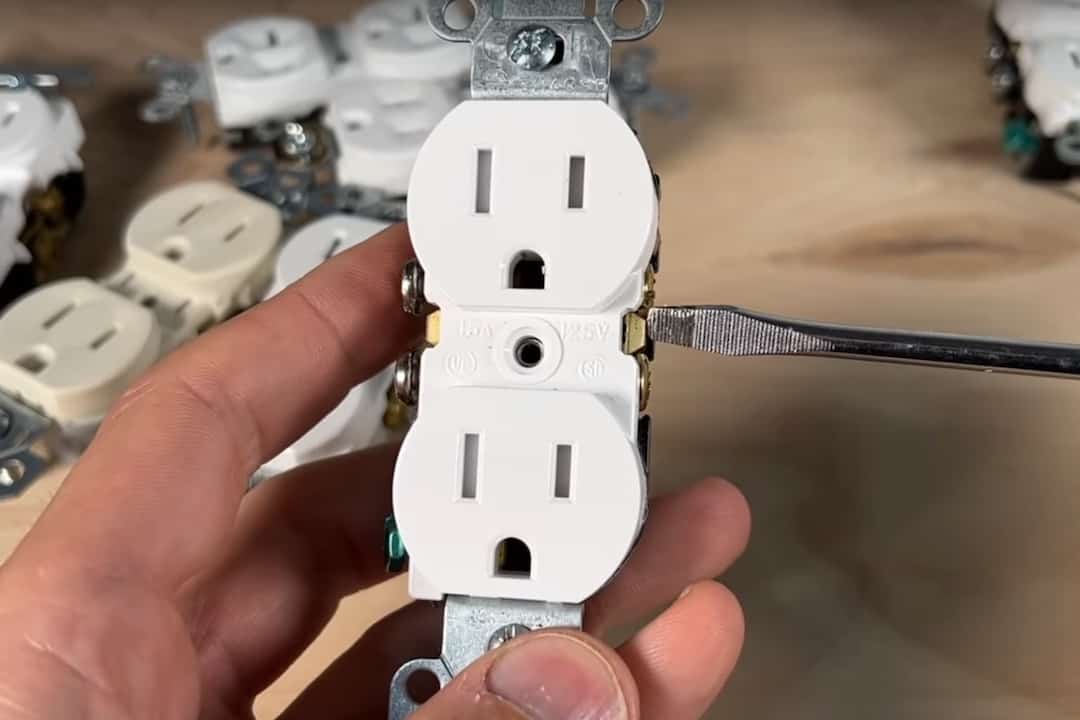
An electrical receptacle is more interesting than you thought! Our run-down of twenty-one facts and features of a standard outlet may surprise you and should provide you with some useful information as you’re doing electrical projects around the house.
Facts and Features of an Outlet: Rather Watch than Read?
If you don’t feel like reading to get all the facts and features of an outlet, check out our 9-minute video:
DISCLAIMER: This video and description contain affiliate links, which means that if you click on one of the product links, I’ll receive a small commission.
Facts and Features of an Outlet: Recommended Tools
For easy reference to the hybrid screwdriver I discuss in Point 9:
To see all the tools and supplies I rely on for electrical work, check out the Electrical section of our Amazon store.
Twenty-One Facts and Features of a Standard Outlet
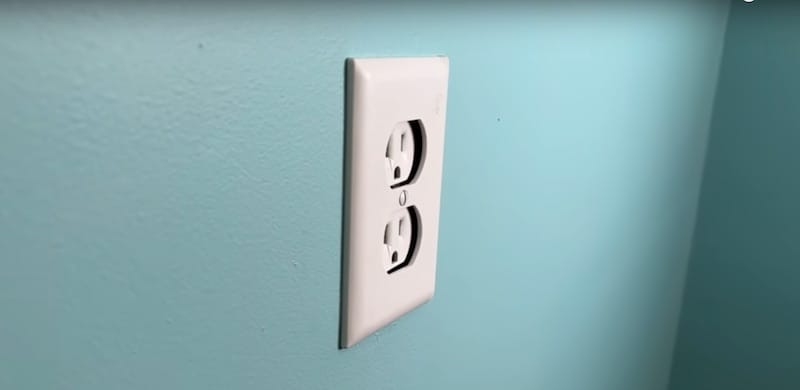
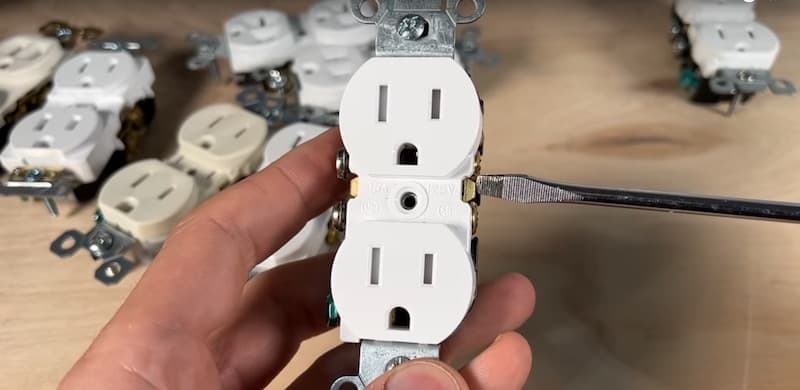
1. Slopes around the Outlet Slots
On the front face of some duplex outlets, the area around the outlet slots slopes downward from the face. This is handy if the receptacle is hard to reach or the lighting is dim or the receptacle isn’t in easy view because it will lead the plug into the slots.
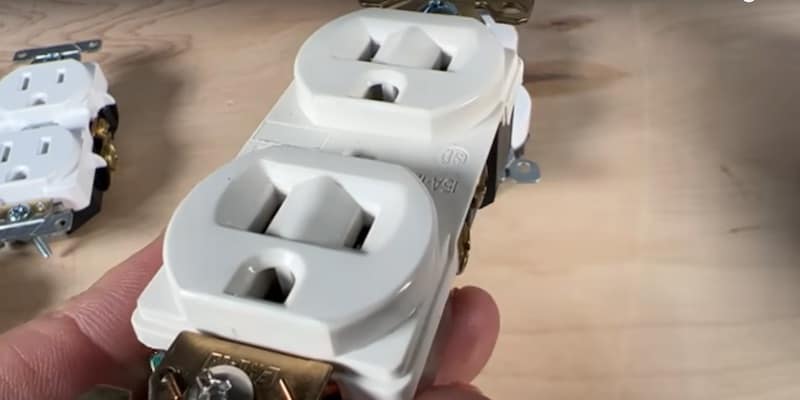
Note that not all outlets are created equal; some have a flat face (no slopes towards the slots). The look is a bit more modern but it will be a little harder to get your plug into the slots in some situations.
2. Different-Sized Slots
The slots of a receptacle are actually two different sizes. The smaller slot corresponds to the hot side of the circuit and the larger slot corresponds to neutral.
Depending on what kind of plug you’re using, this may or may not matter.
If you have a non-polarized plug where the prongs are the same dimensions, it doesn’t matter. You can insert the plug either way.
When it comes to polarized plugs where one prong is larger than the other, however, there is only one way to insert the plug. This ensures that your appliance is connected safely.
3. Special Slots for 20-Amp Receptacles
You can quickly tell the difference between a 15-amp and 20-amp receptacle by looking at the slots.
On the 20-amp outlet, the neutral slot is in the shape of a “T”. This outlet can accommodate the plug of a 20-amp device, where the neutral prong is sideways (in other words, perpendicular to the smaller hot prong.)
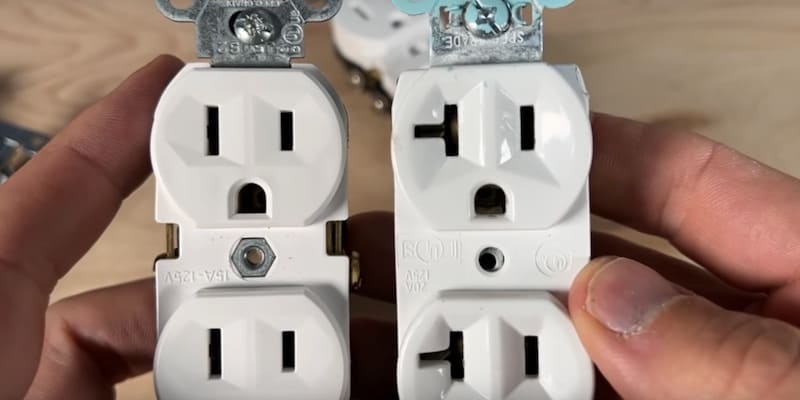
Obviously, you can also plug 15-amp devices into a 20-amp receptacle; that’s why the neutral slot goes in both directions.
4. Metal Tabs Make the Receptacle Sit Flush on the Wall
The little metal cradle that goes around the exterior of the receptacle on the back side is called a yoke. The yoke has little tabs on each end that can look a bit like Mickey Mouse ears, as in this example:
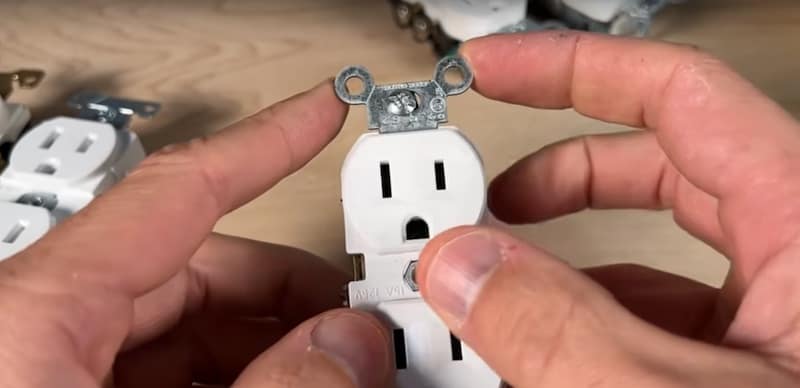
These tabs are there to hold the receptacle on the drywall so that the whole assembly sits flush on the wall. When you put the face plate on, they ensure that everything lines up and looks good and that the outlet isn’t sunken in like in this example.
A sunken outlet like this is definitely not desirable.
5. Metal Tabs Are Scored to Break Off
Still talking about the metal tabs of the yoke, you’ll notice that the tab is scored where the circular sections that hold the screw join it. You guessed it; the scoring is there so that you can take your pliers or wire strippers and break them off.
You’d use this feature when you’re installing the receptacles in a metal box, like in this example.
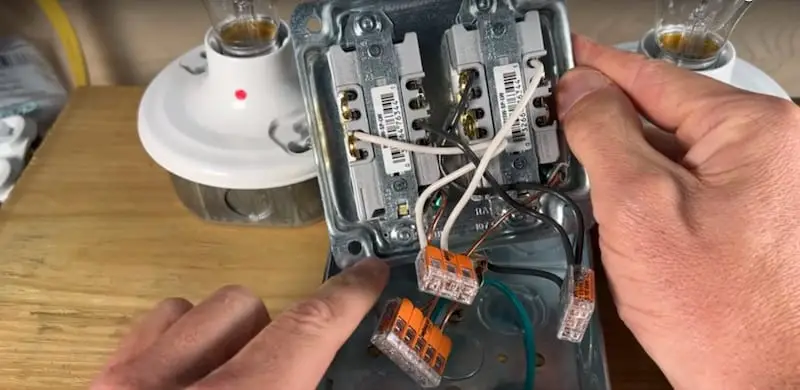
You can see that the tabs are broken off the receptacles so that everything fits properly in the metal box.
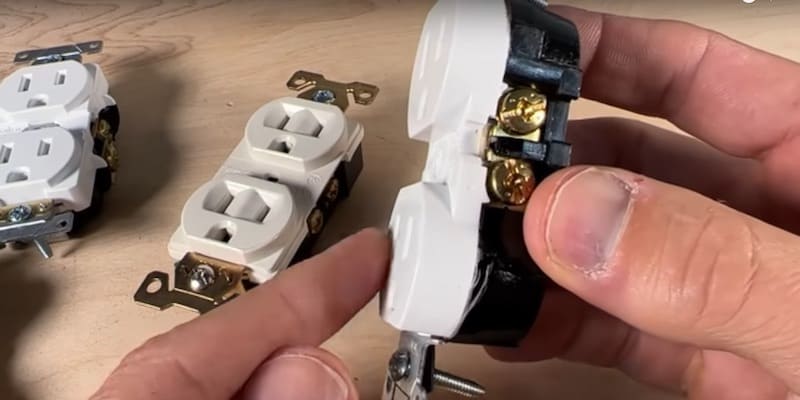
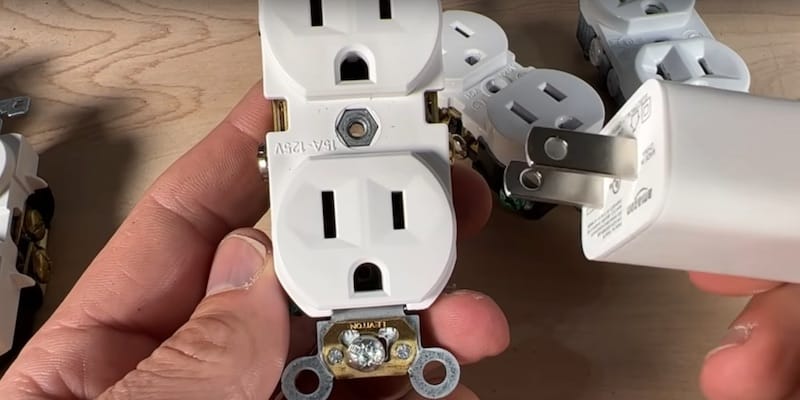
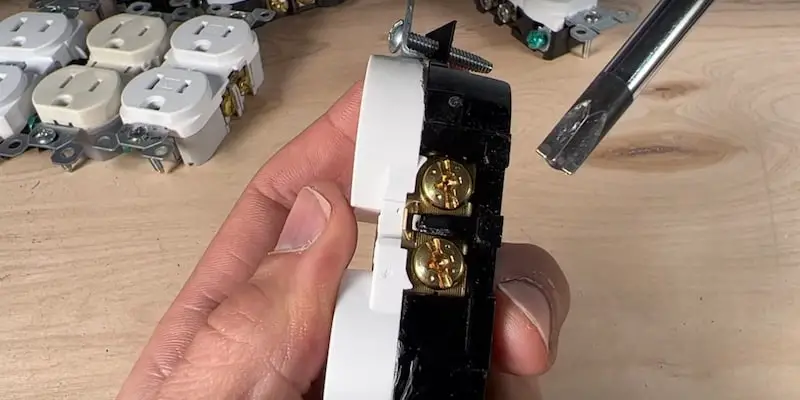
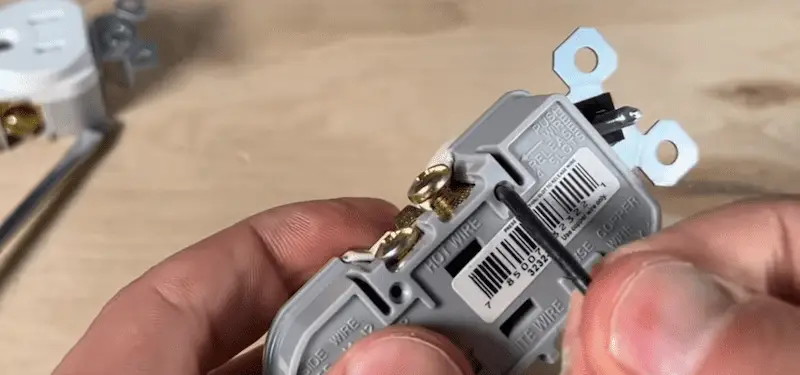
6. Standard Colors of Screw Terminals
The color of the screw terminal tells you which wire to connect. Gold terminals are for hot, silver terminals are for neutral, and green is for your ground.
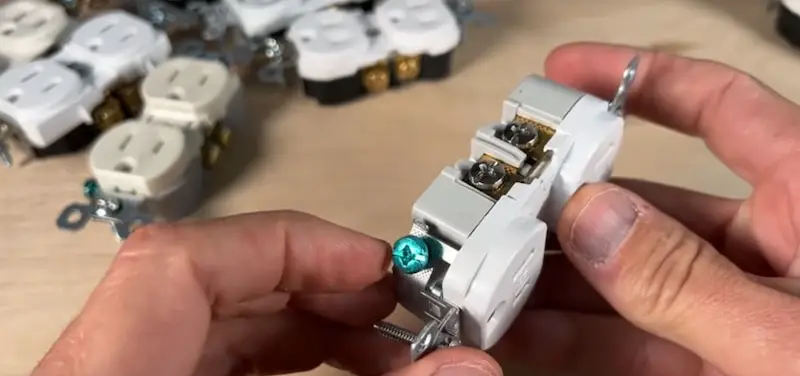
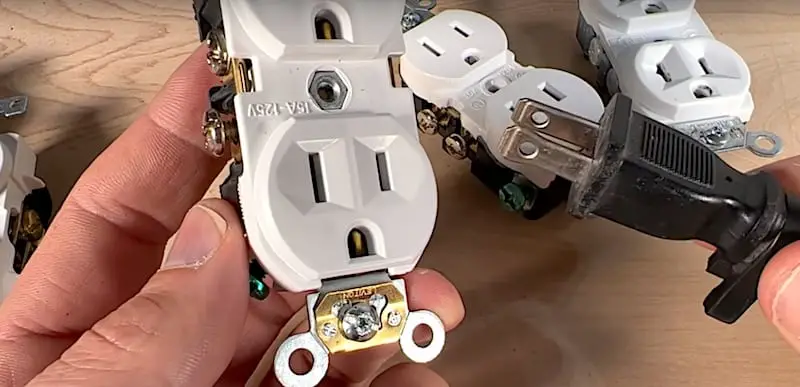
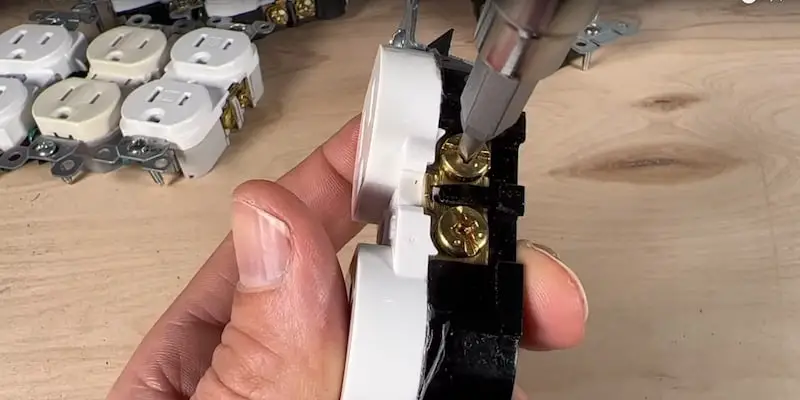
7. Black Hot Terminals
Every once in a while you’ll see a receptacle with black terminals for your hot wires instead of gold.
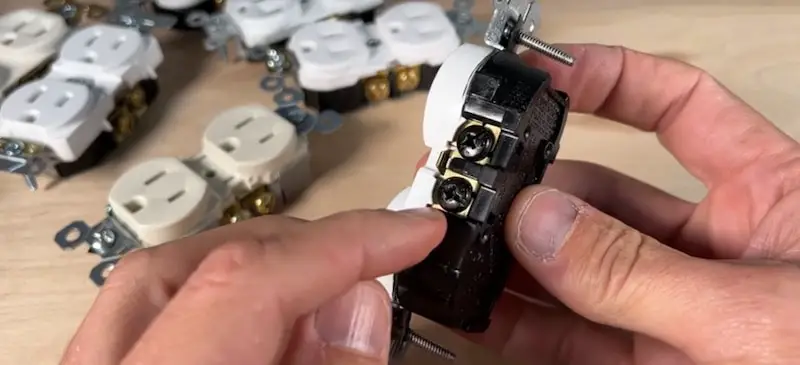
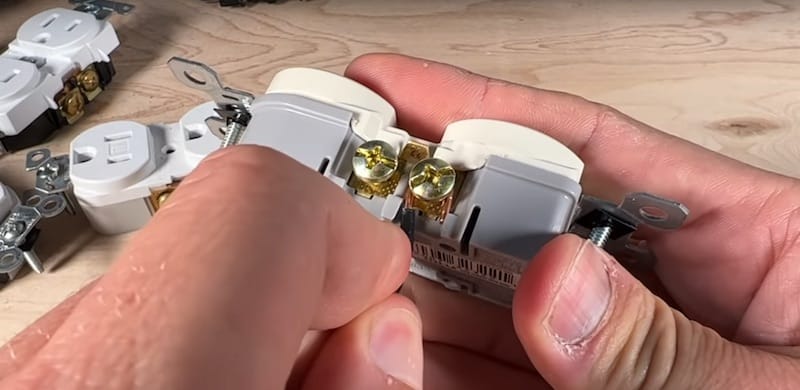
8. Tab to Separate Hot Terminals
Between the screw terminals, there is a little metal tab. This tab can be broken off in the event you want to isolate the top and bottom receptacles.
Isolating the top and bottom receptacles is a useful feature if you want to dedicate one receptacle to a lamp, for example.
By breaking the tab that connects the two hot terminals, you would isolate each receptacle. In the vast majority of instances, you’d only need to do this for the hot side of the outlet.
9. Phillips Screwdriver: Not the Best Tool for Outlets
A common misconception is that a Phillips-head screwdriver is the proper tool for tightening down screw terminals. A Phillips will work but it’s not the best.
The screw terminals on a receptacle are actually made to fit a #1 Robertson screwdriver or Milwaukee ECX hybrid.
The Robertson is common up in Canada (it was invented by a Canadian) and is ideal for this kind of electrical work. The square drive of the Robertson is designed to stay totally seated inside the screw so you can get the torque you need.
Better yet is the Milwaukee ECX screwdriver. This hybrid tool is my favorite. It combines both the Robertson square drive with a slotted (flathead) drive so you get the best of both worlds. With the additional contact of the slotted drive, you get maximum torque.
For a more in-depth discussion about screwdrivers for electrical work, have a look at our article “The Best Screwdrivers for DIY Electrical Projects”.
10. Built-In J-Hook Maker
The channel around the screw terminal of your receptacle can be used to make a J-hook. The leverage you get by placing the wire against the side of the channel enables you to bend the wire around the screw into the perfect shape.
Going a little past center at the end of your bending will help close the hook around the screw.
11. J-Hook Should Go in a Clockwise Direction
The hook of a J-Hook should be situated in a clockwise orientation around the screw terminal. That way, when you tighten down the screw, the wire will be pulled into the center of the terminal, resulting in a more secure install.
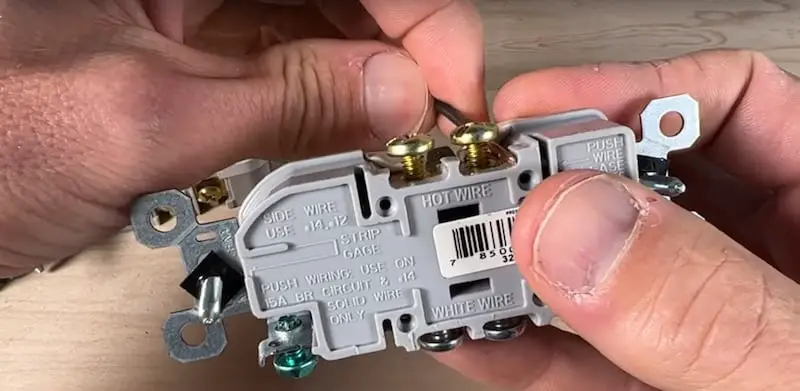
12. Holes for Speed Wiring
If you’re using a component that has these holes on the back side for what’s commonly called “speed wiring” (the writing on this component calls it “push wiring”) or “backstabbing”, you can only use 14-gauge wire.
I don’t recommend speed wiring for do-it-yourselfers. For a more in-depth look at why, check out our article “Dangers of Speed Wiring | Why Back Wiring an Outlet is Best”.
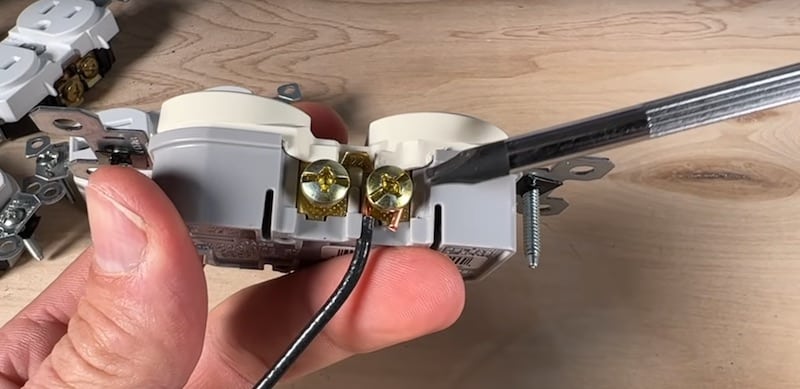
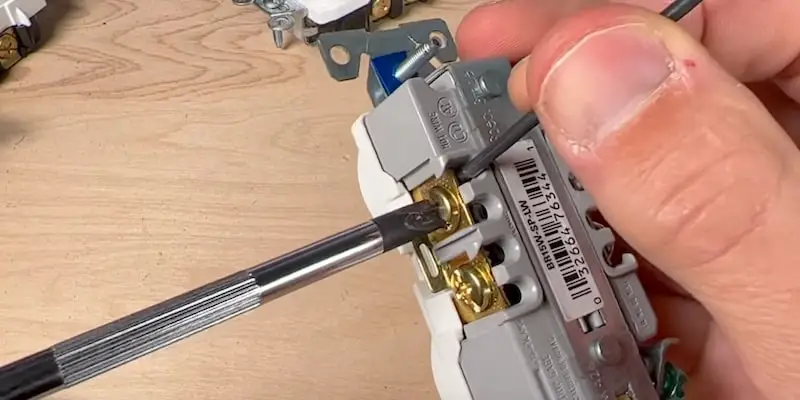
13. Slots to Release Speed Wires
A receptacle designed for speed wiring will have slots to release the wires.
To release the wire, you insert a flathead screwdriver into the slot.
Be aware that this release feature is “one and done” and should not be reused as it can compromise the amount of contact the speed-wiring clamp maintains on the wire.
14. Speed Wiring Holes Not Connected to Screw Terminals
The mechanism for speed wiring inside a component is not connected to the screw terminal. The little clamp that holds the wire when you use the speed-wiring / push-wiring / backstabbing feature is independent of the screw terminal.
As you can see in this example, the screw terminal has not been tightened down at all and the wire in the speed-wiring hole is still secure.
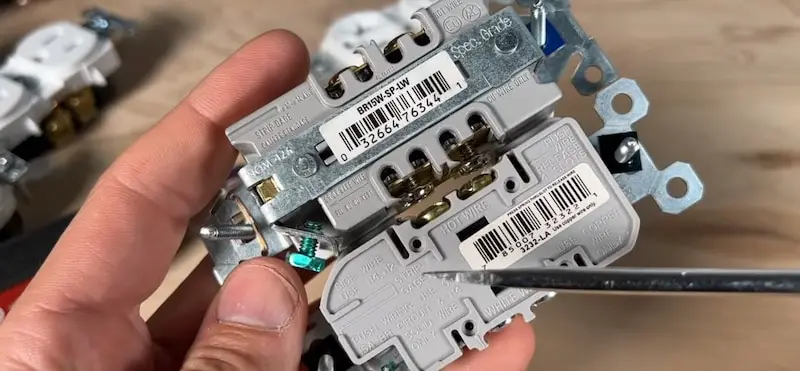
15. Back Wiring Feature on Commercial-Grade Outlets
I use commercial-grade (also called “spec-grade”) outlets for all my electrical projects, whether it’s my own home or my rental properties.
Most commercial-grade components have what’s called a “back wiring” feature (not to be confused with backstabbing, discussed in points 12 and 13). The back-wiring mechanism is a little plate that fully clamps down on the wire when you tighten the screw terminal.
The back wiring technique is simple and only takes a few seconds more than speed wiring. In my opinion, the improved contact you get with this approach is well worth the small difference in cost and time.
For a quick tutorial on back wiring, jump to that spot on our YouTube video.
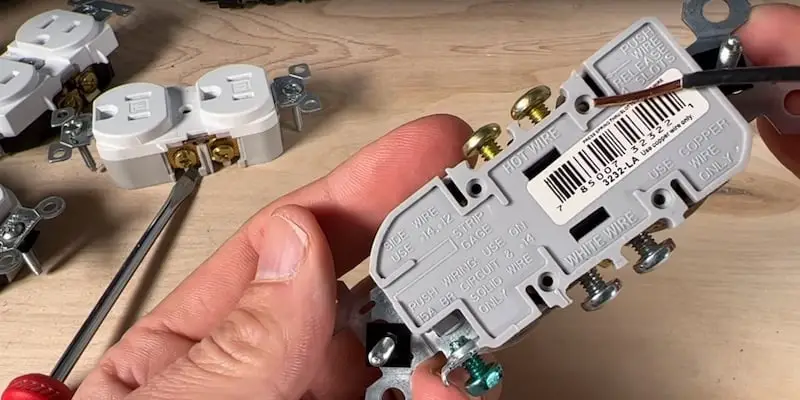
16. Strip Gauges
The strip gauges on the back of a component tell you how much copper you’ll need to expose, whether it’s for back wiring a commercial-grade outlet or speed wiring a residential-grade outlet.
If you’re going to do side wiring, where you make a J-hook and wrap the wire around the screw terminal, you’ll need a bit more copper than what’s called for on the strip gauge.
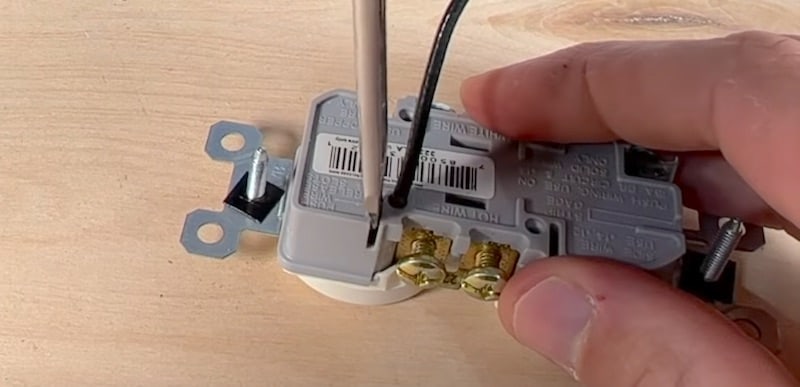
17. Little Hole by the Ground Terminal
Sometimes you’ll find a little hole by the ground terminal. Inserting your ground wire into this hole gives you a foothold so that you can easily wrap your wire around the terminal, forming a proper, clock-wise-oriented J-hook.

18. Best Practice: Tighten Down Unused Terminals
If you’re only using one hot and one neutral terminal on your receptacle, best practice is to tighten down the unused terminals. Keeping the screw flush with the housing, especially on the hot side, creates a safer electrical environment.
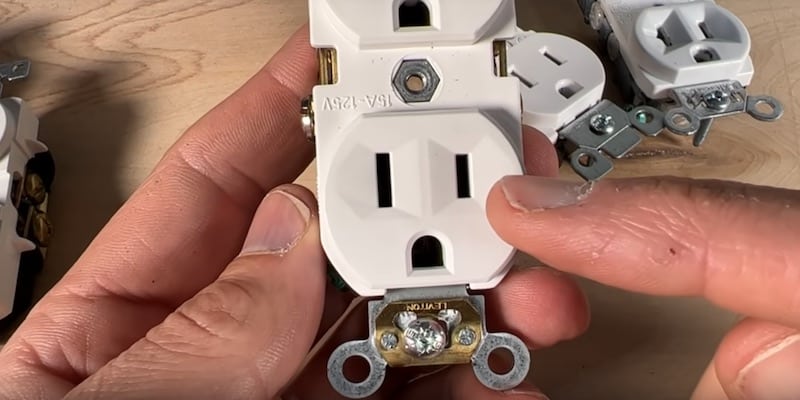
19. Mounting Screws
The mounting screws of an outlet are just 6-32 machine screws. There’s a little advantage to the standard machine screws, which is that the tip doesn’t have threads. This makes it easier to align the screw with the hole.
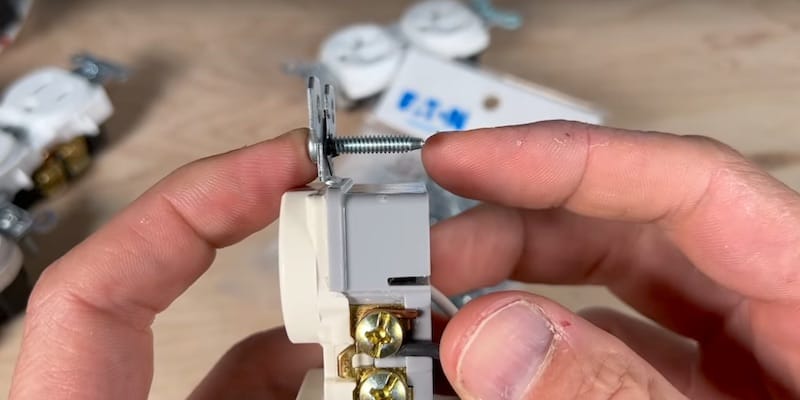
If you need longer screws, you can pick up extra-long mounting screws or 632 machine screws at any home improvement center.
20. Self-Grounding Feature on Commercial-Grade Outlets
Most commercial-grade receptacles have a self-grounding feature. This feature allows the metal yoke of the component to bond with a metal electrical box.
Likewise, if you have a ground to the yoke, that will also provide a ground to the metal electrical box.
The self-grounding mechanism is usually two small wires or a small golden plate on the end tabs of the yoke.
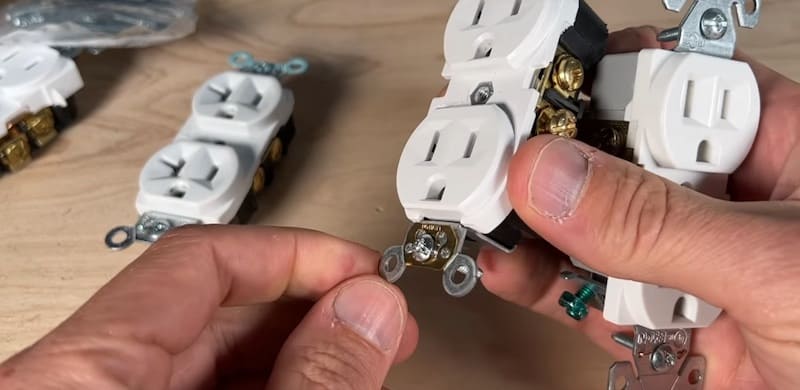
21. Built-In Wire Strippers
This last feature might not be so commonplace but it could be something that comes in handy someday.
This commercial-grade Eaton outlet has wire strippers integrated into the tab-ends of the yoke.
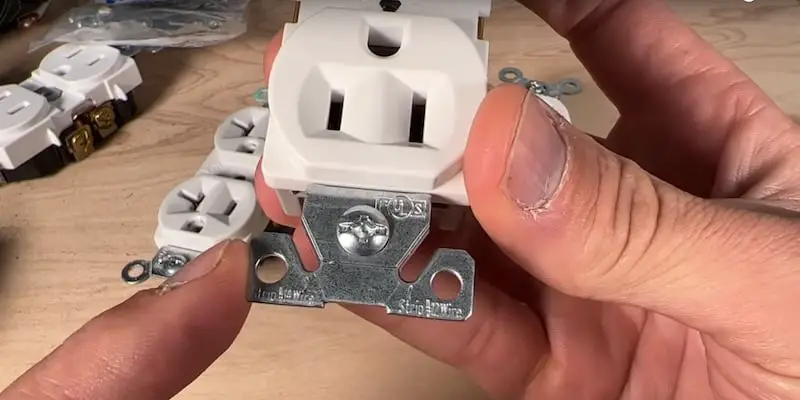
These channels with a curved bottom are marked for 14-gauge and 12-gauge wire. They might not be the most efficient wire strippers but they could be useful in a pinch.
Twenty-One Facts and Features of a Standard Outlet: Conclusion
That concludes our review of the facts and features of a standard outlet! Some things are pretty important for proper installation and safety, and some are convenient little attributes that might be helpful once in a while.
So how many of these twenty-one facts and features were new to you?
I always appreciate getting your feedback as it helps me to tailor future tutorials so that we can continue to grow together in our knowledge and take on more projects around the house with greater success.
To Leave Comments and Questions
Please feel free to leave comments and questions under the YouTube video. I check them on a daily basis.
Don’t forget to subscribe to our channel as we have weekly videos coming out to help you with your everyday home repairs.
Got electrical projects to tackle in an older home?
If you have an older home, you know about the challenges you can face when wanting to do something as seemingly simple as swapping out an outlet. If you’ve found yourself in a dilemma where you have extremely short wires and don’t know what to do, check out this video where I walk you through the three different options to minimize the hassle.
Thanks for joining us! Catch you on the next one.


