
 My Account
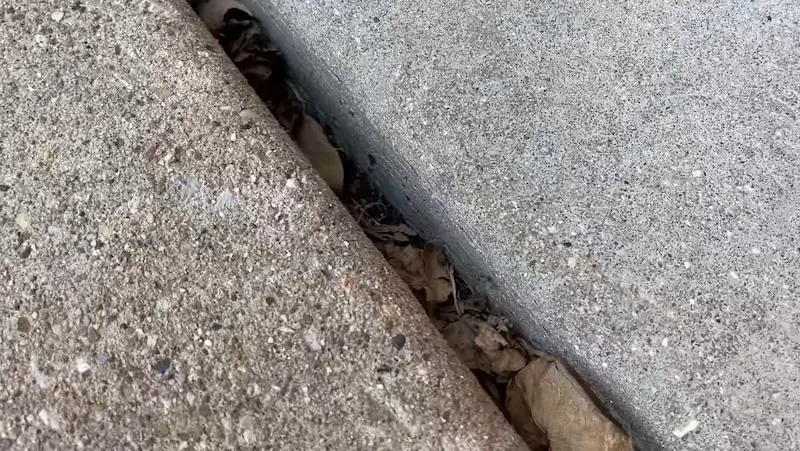
The joint where any two outdoor concrete slabs meet is critical. Water infiltration can lead to permanent damage, so it’s important for the joint to remain sealed.
A gap between your garage floor and driveway allows water to be directed right into the ground where it can easily undermine the base material supporting the slabs. It can even freeze in colder climates, resulting in cracks and further damage. Fortunately, sealing the joint is an easy repair any do-it-yourself can accomplish with reasonable effort and expense.
While our project in this tutorial is how to seal the gap between the garage floor and the driveway, these steps can be applied anywhere that two concrete slabs meet, such as a driveway and a sidewalk, or a patio and a walkway.
Filling and Sealing a Gap Between Garage Floor and Driveway: Step by Step Guide
In this step-by-step guide, we’ll show you how to fill and seal the gap between the driveway and the garage floor in three easy steps:
- Prep (clean debris out of the gap)
- Fill the voids
- Seal the joint
Rather watch than read? Check out this 7-minute video.
DISCLAIMER: This video and description contain affiliate links, which means that if you click on one of the product links, I’ll receive a small commission.
How to Fill and Seal a Gap Between Garage Floor and Driveway: Supplies, Tools, and Costs
Supplies
Tools
Estimated Costs
For a gap the length of a typical garage door, expect to spend $26-$42 (as of January 2022). All-purpose sand in 50 lb bags and backer rods in the most common lengths (20-25″) are available in most home centers for under $5. The self-leveling sealant is the pricey material here, costing approximately $16 per tube but the Sika products are worth every penny and will hold up for years.
How to Fill and Seal a Gap Between Garage Floor and Driveway: Considerations Before You Begin
While this technique for filling and sealing gaps between concrete slabs will work in most instances, there are a few important considerations to keep in mind before you begin:
- The adjoining concrete slabs should be near flush. It’s ok if one surface is slightly higher or lower than the other, or if the two slabs meet at a slight angle relative to the ground.
- Because the sealant is self-leveling, it’s important for the joint to be level along its length, otherwise you may have issues with the sealant traveling and pooling on the low end.
- For this same reason, the joint should also be closed at the ends so that the sealant doesn’t run out into the surrounding landscape.
Step 1: Prep (Cleaning Debris Out of the Gap)
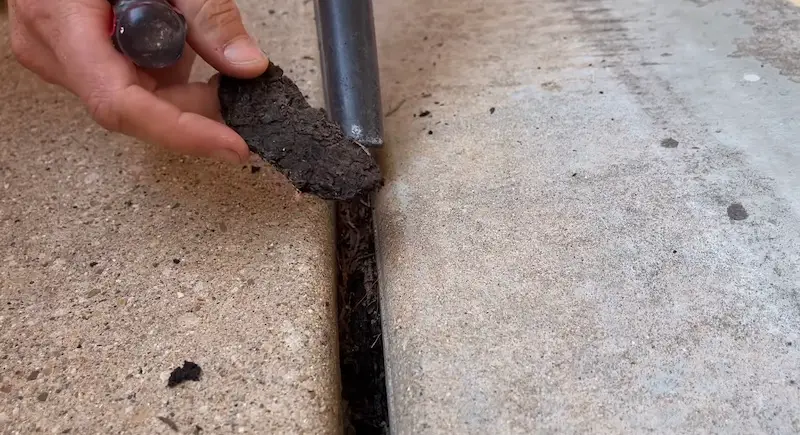
As with most jobs, preparation is key. It’s important for the gap between slabs to be clean and free of any loose debris or organic material before filling and sealing.
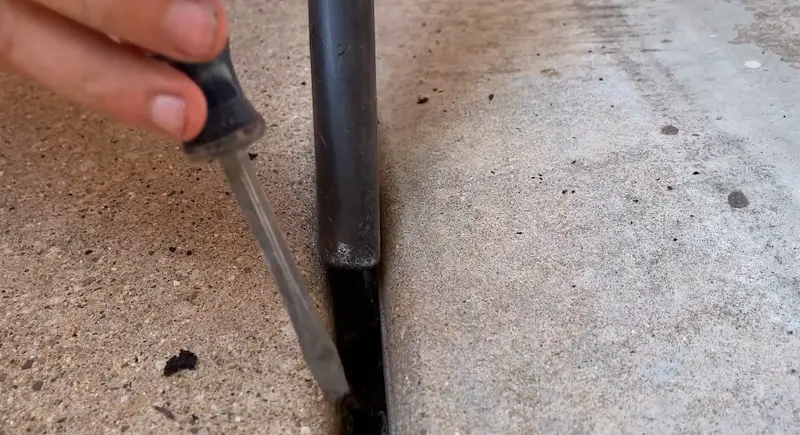
Various tools can be used to scrape material out of the joint, including screwdrivers and wire brushes. Sometimes the right tool can even be improvised; for example, a thin dowel, metal tent stake, or even a length of stiff wire.
It’s important to remove all loose material, including any small pieces of the concrete which may have broken or flaked off. In some cases, you might even find the deteriorated remains of the original expansion joint, usually made of a fiber or foam material. That, too, should be fully removed.
Following along with a shop-vac as you’re scraping up the loose material will make the process fairly quick and easy.
When you’re done prepping, you may find the gap has more voids than you realized or is wider or deeper than you expected. No worries, the next step is filling. It’s a simple but important step.
Step 2: Fill the Voids
Self-leveling sealant is expensive. Using an excessive amount of it to fill the entire joint would not be very cost-effective or reliable, for that matter. Instead, using filler helps to properly support the concrete while also allowing for the use of much less sealant.
Begin by using sand to fill any deep spaces, particularly those that extend under the edge of the concrete slab. Be sure to fill completely and pack in enough sand to fill the voids tightly and securely, up to at least the bottom of the slab.
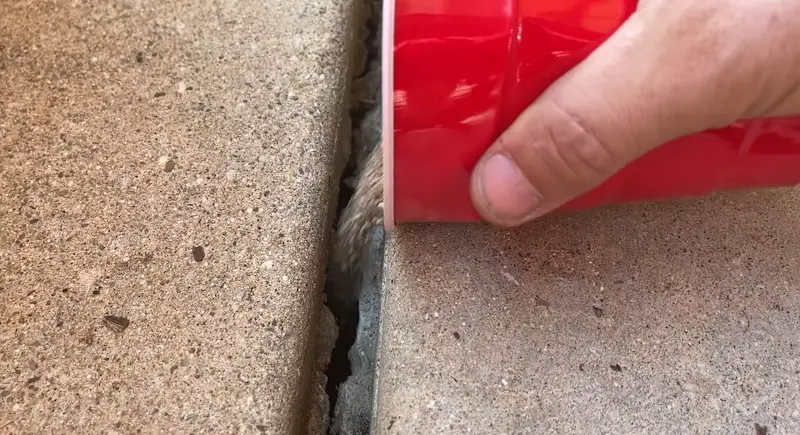
Pro Tip: A measuring cup with a spout or even a disposable plastic drinking cup can make it much easier to dispense sand evenly and accurately where you need it.
Once the voids are filled, foam backer rod can be used to fill the remaining gap. This is the final filler layer over which the self-leveling sealant will be applied.
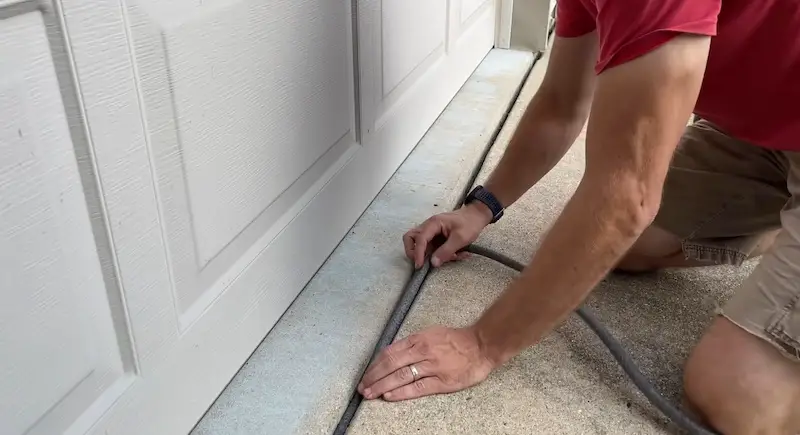
Backer rod is a comparatively cheap foam material that enables you to use much less of the expensive sealant.
While multiple pieces of backer rod can be twisted or braided together for larger gaps, it’s better to use a thicker backer rod. This is because the sealant will tend to sink into the creases between the twists or braids. The result is divots in the finished surface that will require additional sealant. This can double the amount of sealant needed, so it’s worthwhile to spend more for the thicker backer rod.
If correctly sized, the backer rod should fit snugly into the joint. Press it in so that it sits about a quarter-inch (but not more than a half-inch) below the finished surface of the concrete. Keeping the depth closer to a quarter inch is another way to help minimize the amount of sealant needed.
Step 3: Seal the Joint
With the filler material in place, it’s time to start sealing. Using the caulking gun, evenly dispense the sealant into the joint to completely cover the backer rod and join the adjacent concrete edges with a uniform, flat bead.
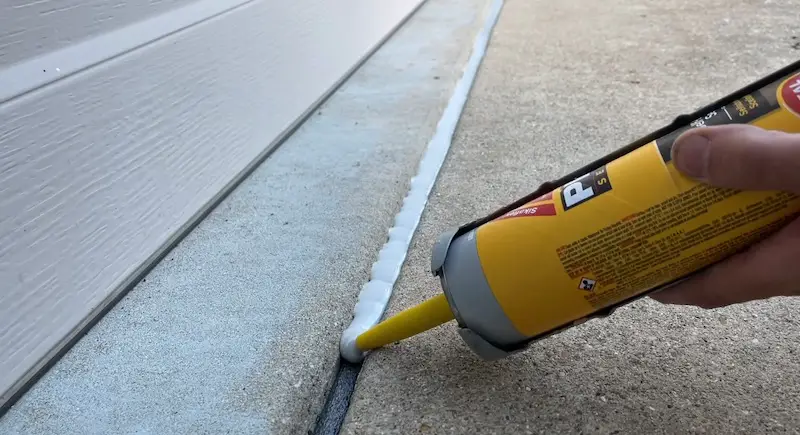
You’ll likely notice immediately that the sealant is much runnier than ordinary sealants or caulks. It will quickly sink into low spots and level itself, so go slowly. If the low spots are too large or too many, a second, thinner application of sealant may be required once the first application has been allowed to cure.
How to Fill and Seal a Gap Between Garage Floor and Driveway: Conclusion
A properly sealed joint between concrete slabs greatly increases the life of the concrete by protecting its structural integrity. An unsealed joint only worsens with every rain and every seasonal freeze and thaw. With these two facts in mind, this easy and relatively low-cost project is a no-brainer!
Concrete Slabs, Driveways, and Sidewalks: Other DIY Projects for Sealing Cracks and Gaps
Looking to pour your first concrete pad? Check out this complete step-by-step article on pouring a small stair landing pad for my back porch


