
 My Account
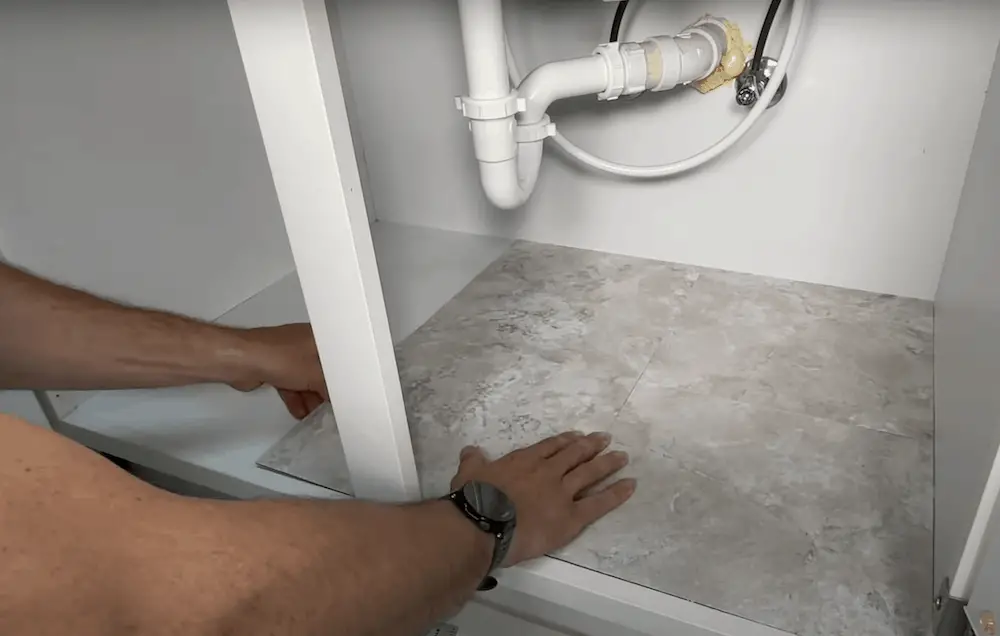
If you’re dealing with water leaks under your bathroom sink or kitchen cabinets, you’re not alone. Water leaks can occur from drain pipes or water lines – but whatever the origin, the best thing you can do is recognize the problem early.
Among my rental properties, I find water leaks in cabinets are especially prevalent because those spaces are often packed with stuff. So it makes sense that a leak could go on for months before anyone even notices. Not good! Worst case scenario: the leak is on the house’s second level and it goes unnoticed until there are water spots on the ceiling. This is a whole different issue you DEFINITELY want to avoid!
In an effort to prevent as much potential water damage as possible, I use a DIY waterproofing home hack that works as preventative maintenance with these types of water leaks. It’ll save you from having to replace the base or cabinet, or even worse, having to deal with expensive (and exhausting) water damage issues.
Rather watch than read? Check out this 5-minute video below!
Tools:
- Peel and Stick Tile** I usually look for anything that is discounted at Lowe’s – as long as it’s water-resistant and will fit in the cabinet space. Also, I recommend getting a couple of extra tiles, so you’re not running back to the store if you have an issue with the cuts or need more tiles than you think.
- Stanley Tape Measure
- Flooring Roller
- Milwaukee Fastback Utility Knife
- All-Purpose Silicone
- Caulking Gun
Cost: $5-ish (if you already have the other tools mentioned and only need to invest in the tiles)
DISCLAIMER: This blog contains affiliate links, which means that if you click on one of the product links, I’ll receive a small commission.
DIY Home Hack: How to Manage & Prevent Water Leaks in Kitchen & Bathroom Cabinets with Floor Tiles
1. Make sure the surface is clean
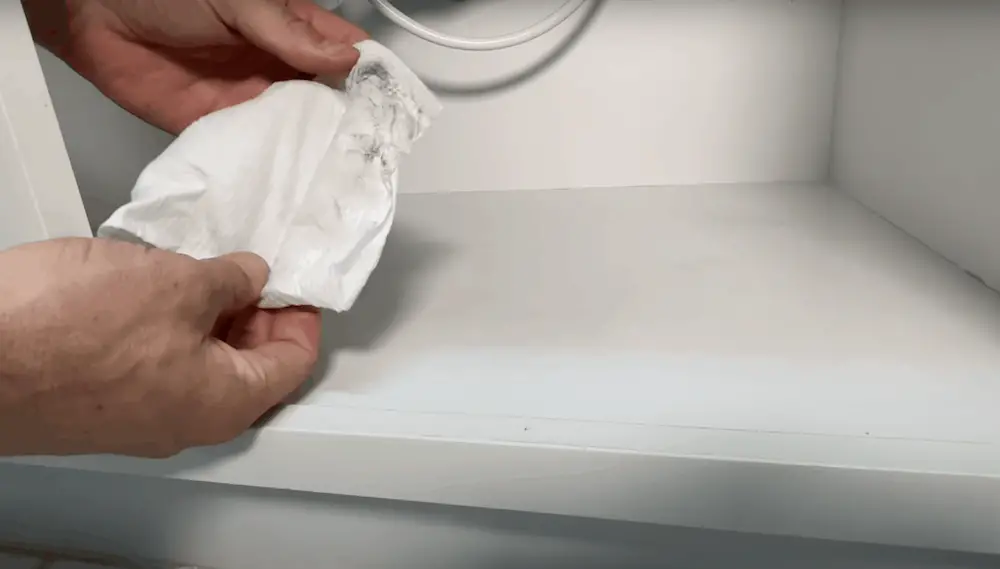
Get rid of all the dirt, dust, hair, and debris in the cabinet. (If I notice more residue, I’ll also use Goo Gone.) Once you feel the surface is clean, use a paper towel to swoop through one more time. Then, let it sit and dry.
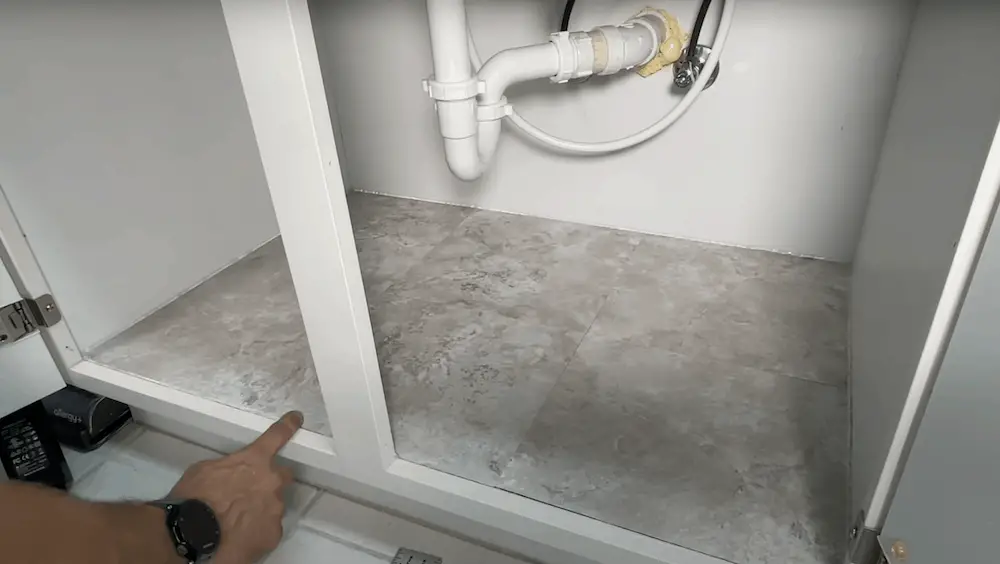
2. Put the first tile in with no cuts
Put your uncut first tile in the corner. Then, use a flooring roller to make sure the tile adheres to the base and the pressure is consistent on all edges.
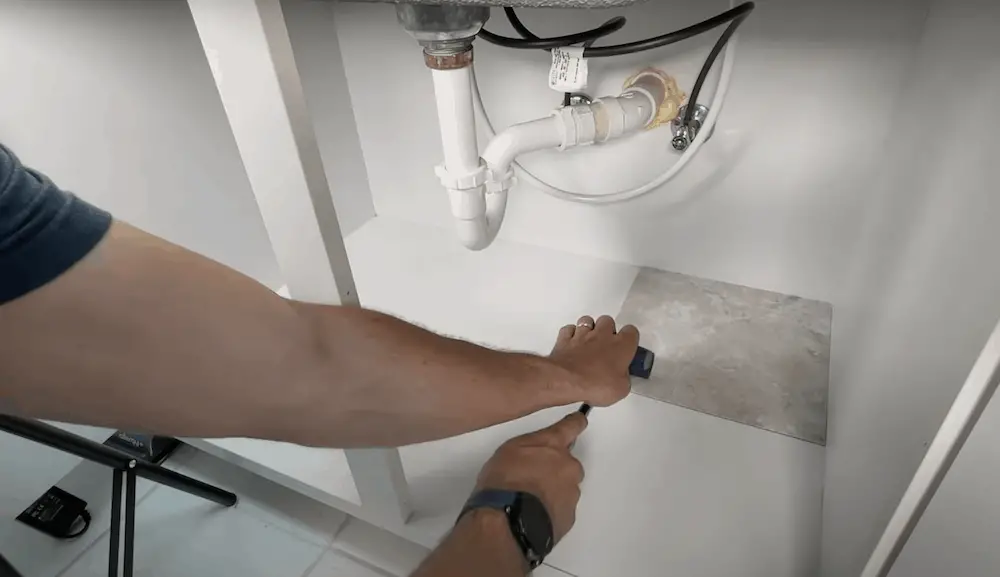
3. Take measurements and cut the next tile to fit your space
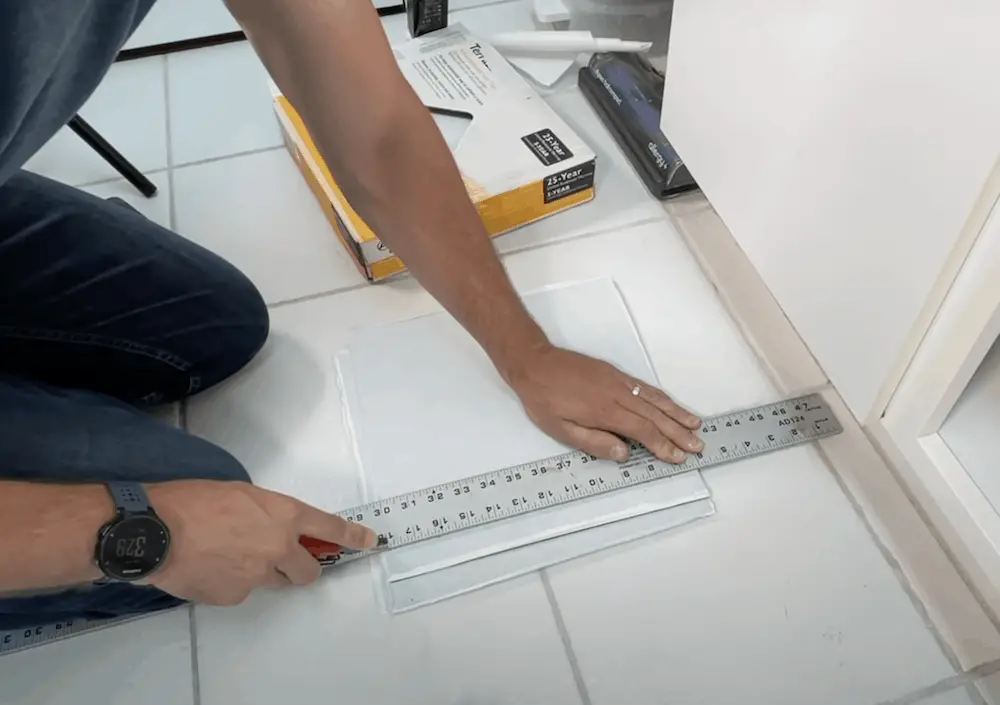
Take the measurements you need to find out how much you need to trim off the next tile. With a straight edge and razor blade, score the backside of the tile. Then, line it up in front of the first one – and roll it out as you did before to make sure it’s secure.
Tip: Be careful not to damage your floor when you’re cutting!
4. Repeat as necessary to fill your space
Continue the steps above until the cabinet floor space is covered with tile.
5. Apply silicone caulk to the perimeter

Get your silicone caulk and lay a bead down around the perimeter of the cabinet space. If water does start to leak, it will allow the water to flow out the front, so a big leak will be apparent.
Tip: After you put the bead of caulk in the front, wipe it off flush. You want to put just enough to fill in the gaps between the tile and the front of the cabinet. This will allow the water to still flow out and not get clogged.
What if there’s a big hole in my cabinet?
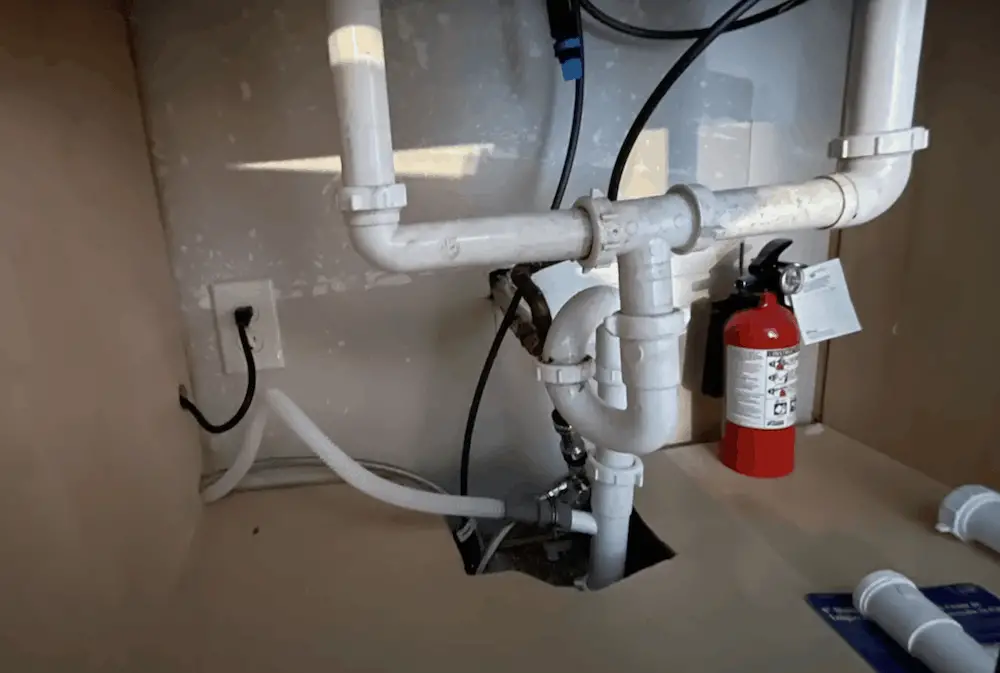
Do you have a situation where the plumbing is coming up through the cabinet and there’s a big hole? I recommend cutting the tile to the surface and running a bead of caulk from the side around the hole to the other side of the cabinet. This way, iif you have a bad water leak it will flow out the front and not down through the hole.
What if there are gaps between the tiles?
Once you are completed you might notice a small gap or 2 between tiles. You could use the same silicone caulk used for the perimeter and apply a small amount and to each of the gaps and then wipe off all excess so you are left with only silicone in the gap, resulting in a completely waterproof surface.
The Wrap Up
This is a super quick project that will make the base of your cabinets more robust. While it takes a bit of time upfront, it will save you maintenance in the long run. It’s also more budget-friendly compared to trays you can get online which are generally $30-$40. Plus, I think it can give a nice refresh to your cabinet if your base is a little beat up.
Would you try this DIY waterproofing home hack? Let me know your thoughts in the comments below!


