You’ve got new door knobs – but do you still have old door hinges that just don’t match? Especially if you’re updating a home from the 60s, 70s, or 80s – we know those old gold hinges can really stand out (and not in the best way!). We’ve got you covered on how to update old gold door hinges from looking scuffed up and worn down to painted and polished.
In this blog, you’ll learn how to remove old hinges and pins, clean them up, add new coats of paint, and secure your updated door hinges in place. Plus, I’ll share a big lesson I learned when it comes to how much paint you’ll likely need. Spoiler: don’t forget the back surface!
If you’d also like to watch this project, check out this 9-minute video below.👇
Tools:
- Stiff Putty Knife
- Wire Brush
- Channel Lock Pliers
- Paint (I wanted more of an aged bronze finish on the hinges. So I used Rust-Oleum Metallic Paint and Primer in One. It’s a great paint that I’ve used on projects before and it’s very forgiving in terms of getting a consistent coverage on a metallic surface or a metal surface. Plus, even if a little gold comes through the paint – it kind of goes with the aged bronze finish in general.)
- Drill or Nut Driver
- Heat Gun/Hair Dryer
- Cardboard
DISCLAIMER: This blog contains affiliate links, which means that if you click on one of the product links, I’ll receive a small commission.
How to Update Old Gold Door Hinges – 6 Steps
1. Remove the old hinges
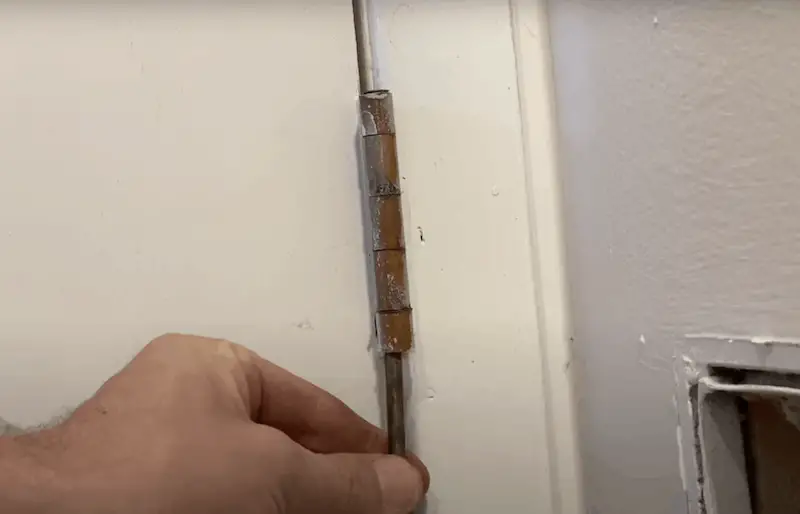
Starting off, you’ll need to remove the old hinges. To do this, tap all of the pins from the bottom with a small screwdriver (or another pin) to loosen it up. Once those pins are popped up – you’ll open the door and remove the pins with your hands. If you need more leverage, you can also grab a pair of pliers. From there, it should be easy to remove the door from the hinges.
For a deeper look at this step – see our guide for how to remove an interior door.
2. Remove the screws
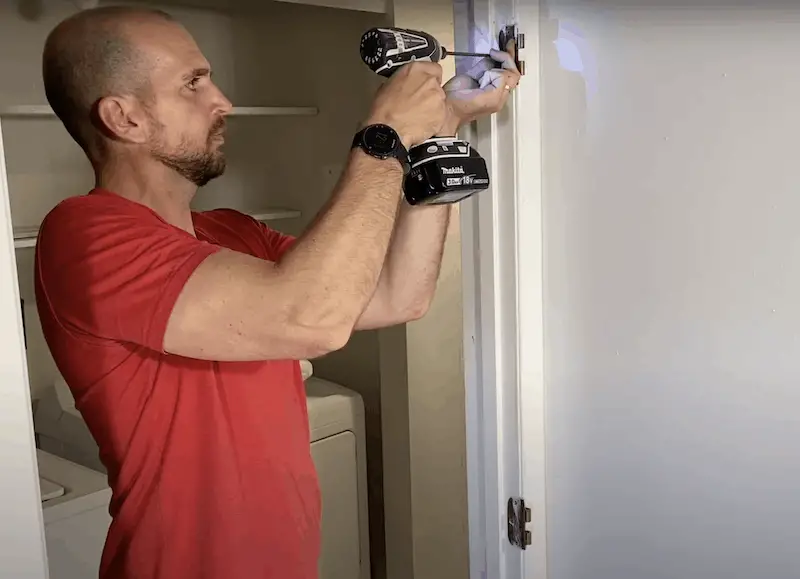
After the hinges are removed, you’ll remove all of the screws. You’re going to want a compact nut driver or a drill because you’ll be removing a lot of screws from all of your door jambs and doors. Take your time – don’t strip any of the screws out because you’ll be painting and reusing them (step 4).
Pro tip: Once you get to your last door – make sure to count all of the two knuckle hinges and three knuckle hinges along with the pins to make sure you have the parts needed. This will help you before you move into the prep phase so you’re not missing anything.
3. Heat and clean the hinges
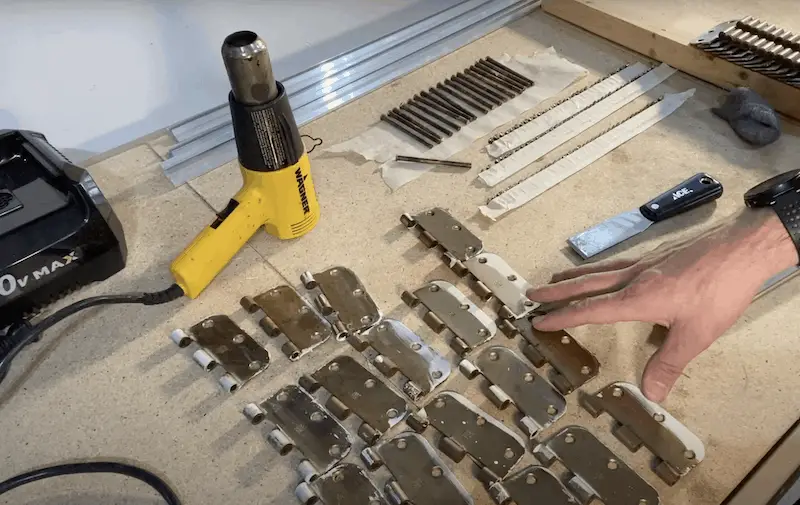
Here’s a rundown on the process to clean the hinges and get them ready to paint.
- Lay them all out on a flat surface
- Use a heat gun to heat up the surface.
- Then, grab them (one at a time) with channel locks so you don’t get burned.
- Use a stiff scraper and scrape off as much paint as possible and any other debris.
- Still holding the channel locks- use a wire brush and brush the surface to try and get it as clean as possible. (Note: You don’t need to get them perfect – especially because they’ll be painted over. You just want to get all the loose debris, dust, grime and stuff in between the knuckles.)
4. Prep and paint the screws and hinges
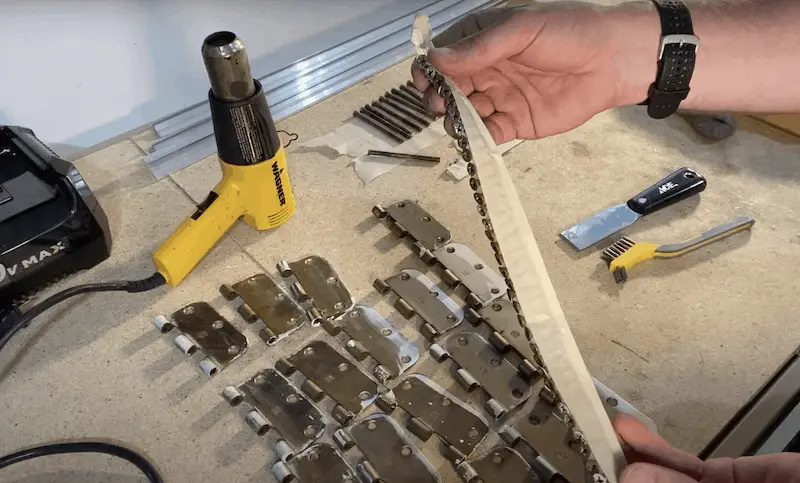
Gather all the screws and cover the threads with masking tape. This is because you want to only paint the heads of the screws. Otherwise, if the whole thing gets painted it can make it potentially harder to fit them back into the hinges.
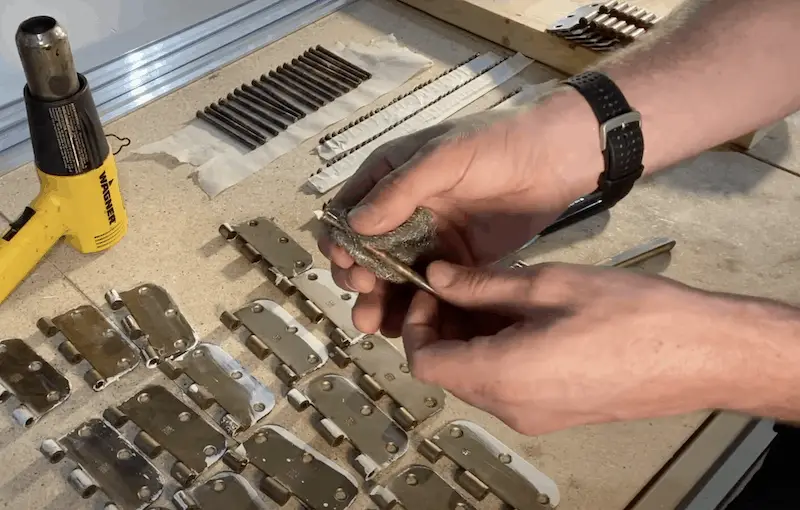
You’ll also rotate the pins through steel wool back and forth to clean up and deburr the surface to ensure they’ll fit back in the hinges. And for the surface that you’re going to paint, use a stiff scraper to scrape off any excess paint.
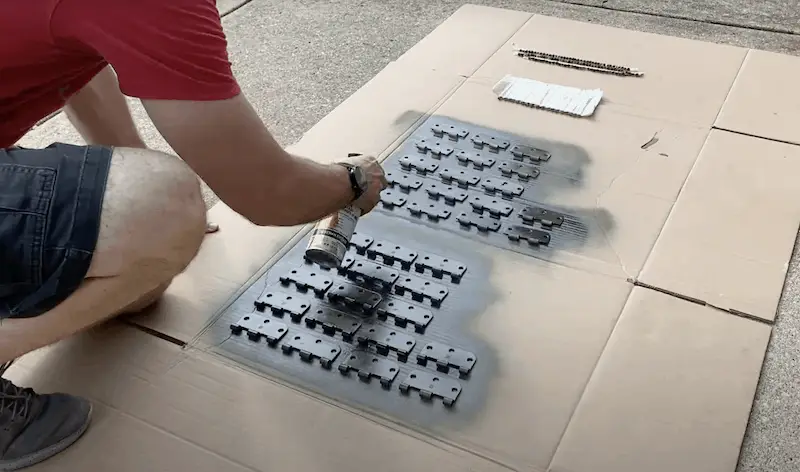
With all the hinges, pins and screws laid out on a piece of cardboard – you’ll do multiple passes of paint at different angles. I recommend holding the can about 12 inches away from the surface. Once the first pass is completed, do two more complete coats with a one hour dry time between. Let the second coat of paint dry for 24 hours to make sure it hardened and is ready for reinstall.
5. Re-install the hardware
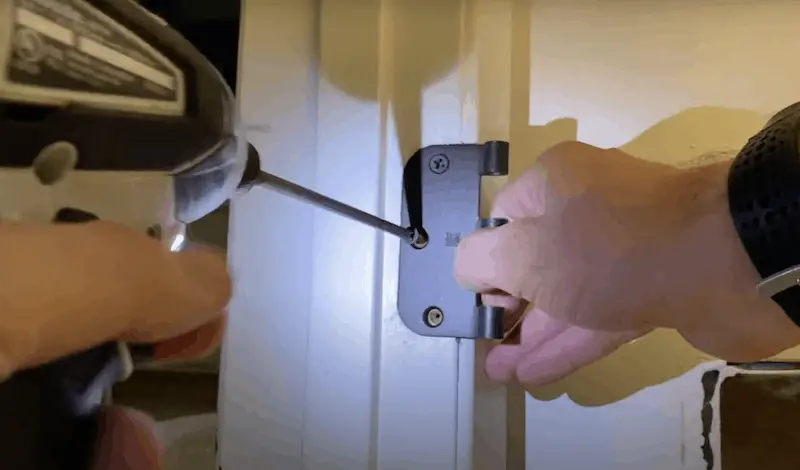
To reinstall your hardware – reversed the process you did for removal. Be consistent and keep your two knuckles on either your door jamb or your door and your three knuckles on the other, so you’re not mixing those up.
Also, take your time screwing them in. You don’t want to strip out the screws and going patiently will help you avoid paint chipping off so you get a nice finished surface.
6. Put the door back together
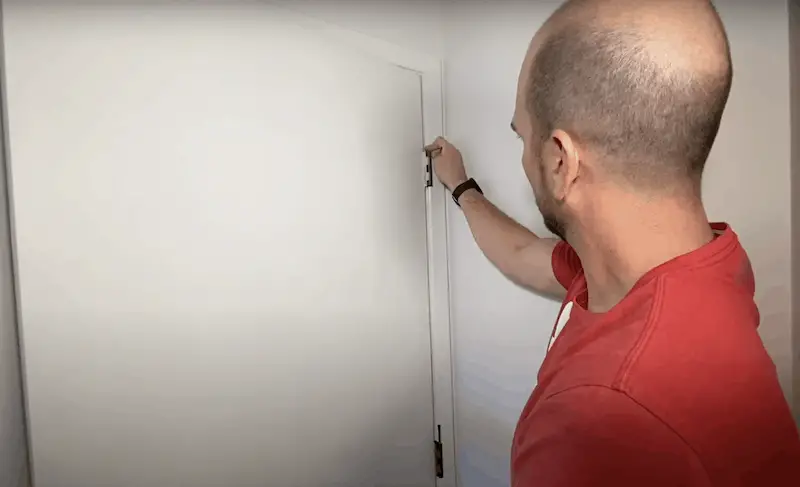
Now with the hinges installed, you can put the door back together. Once you have it set where the hinges are together – you can start dropping your pins in.
Again you can work that door open to kind of loosen things up and then press the pins down. But to get the pins all the way down, you’re probably going to need a block of wood or a piece of cardboard and then tap those down with a hammer.
The Wrap Up
Overall – I find the hinges have a nice finish and match much better to the new doorknobs. But there is one thing that I still need to go back and do! I didn’t give much attention to the back surface of the hinges because it goes against the door jamb or against the door.
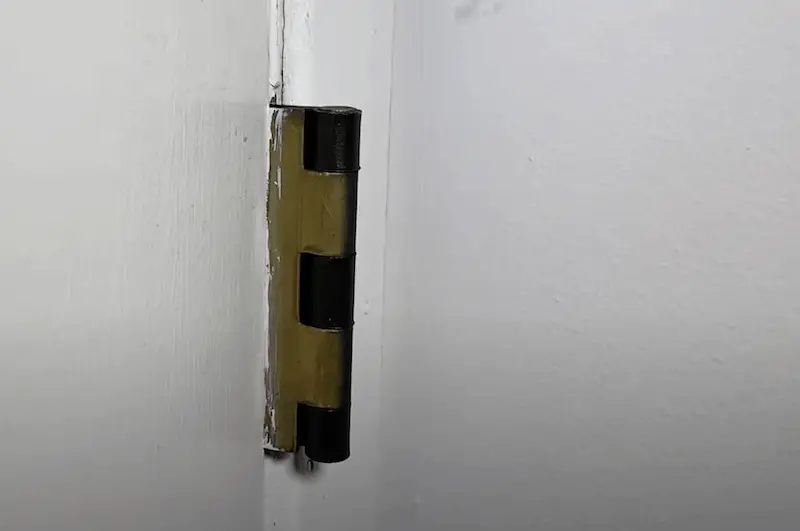
But in my case – the doors do not cover the full surface. I should have known from the paint streak that was common on one of my hinges, which is where the door will stop. But I left those pretty much unfinished because I only painted the one side and then went around the knuckles.
My recommendation: put two coats on the front and at least one solid coat (if not two) on the backside. This will put you in the best position to get a nice, smooth, and polished finish.


