
 My Account
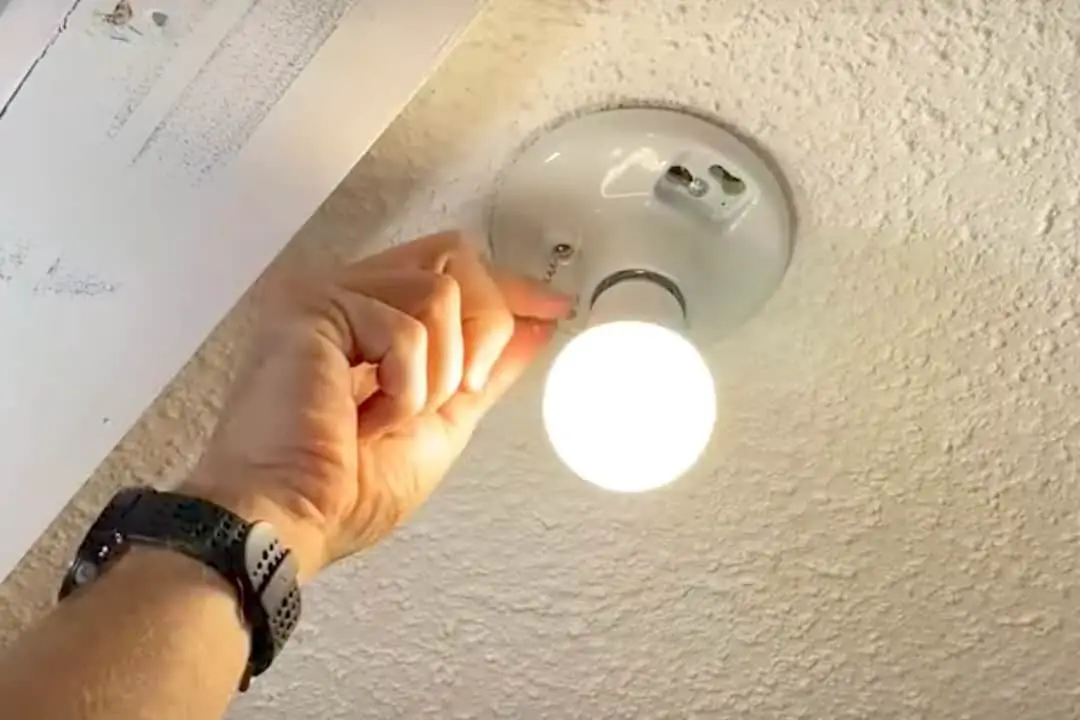
If you’ve been turning a light with a broken pull chain on and off by screwing the light bulb in and out, ‘fess up! Today we’re talking about a repair you’ve maybe been putting off for months or even years, and that is installing a light fixture with a pull chain.
No worries, this is a common problem because the pull chains on these lighting fixtures can break easily.
Replacing a Light Fixture with a Broken Pull Chain: Step-by-Step Guide
Replacing a lighting fixture with a broken pull chain is a straightforward DIY repair that costs about $5. Even if you’re unfamiliar with electrical work, you should find it pretty quick and easy to do.
In this how-to guide, I’ll walk you through the simple steps to remove the old, broken lampholder and replace it with a new light fixture with pull chain.
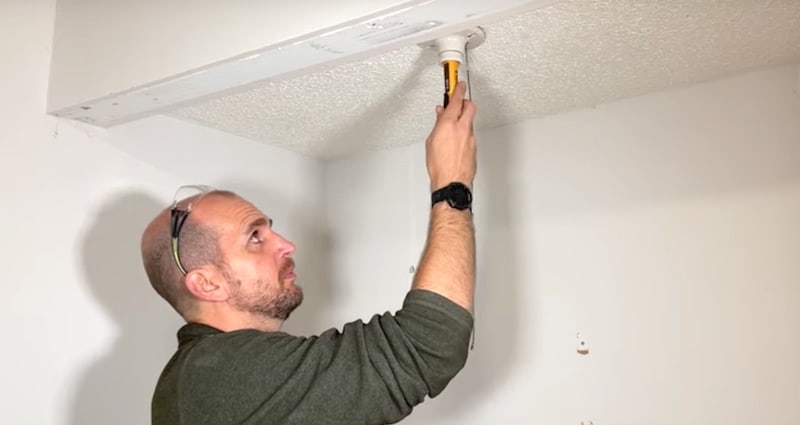
The subject of our project today is a light in a bedroom closet.
Note: This article is for general informational purposes. Whenever doing electrical work you will want to make sure you are following local code.
Rather watch than read? Check out this 7-minute video.
DISCLAIMER: This video and description contain affiliate links, which means that if you click on one of the product links, I’ll receive a small commission.
Replacing a Light Fixture with a Broken Pull Chain: Supplies and Tools
Supplies
Tools
Before Starting: Turn Off Power and Use Voltage Tester
With any electrical project, we want to turn off the power to the circuit and double-check that there is no current flowing prior to doing anything else.
Finding the Right Breaker
To make it easier to find the right breaker, I turned on the light that I’m going to replace before coming to the electrical box.
When trying to identify the breaker, the labels on the inside of the electrical panel are a first point of reference but I wouldn’t trust them completely, especially if someone else wrote them.
I was wise to be skeptical — the breaker indicated as “Bedroom” didn’t turn off the light!
Instead, the light went off when I flipped the “Hall and Lights” breaker.
Double-Checking the Socket and Hot Wire with a Voltage Tester
Even though I’ve found the correct circuit, I still want to confirm that there is no current flowing before starting to work. To do this, I’m going to remove the light bulb and double-check the socket with a voltage tester.
Note: A voltage tester is a very handy tool to have when you’re doing electrical work, well worth the cost.
I’ll just stick the voltage tester up into the socket to confirm there’s no current.
No reading on the voltage tester, so we’re good to remove the mounting screws of the light fixture.
With the screws removed and the fixture detached a bit from the surface, let’s take the voltage tester one more time and bring it near the black or red hot wire to make sure there’s no power.
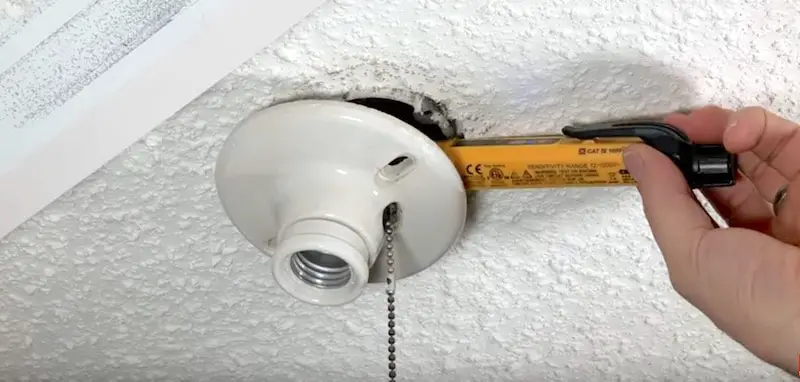
Now that we’re sure there’s no current in the circuit, let’s bring the wires out by pulling the light fixture gently down.
Understanding the Connections Inside the Light Fixture
Inside the light fixture we have two connections:
- The gold terminal connects to the hot wire (black or red).
- The silver terminal connects to the neutral wire (white).
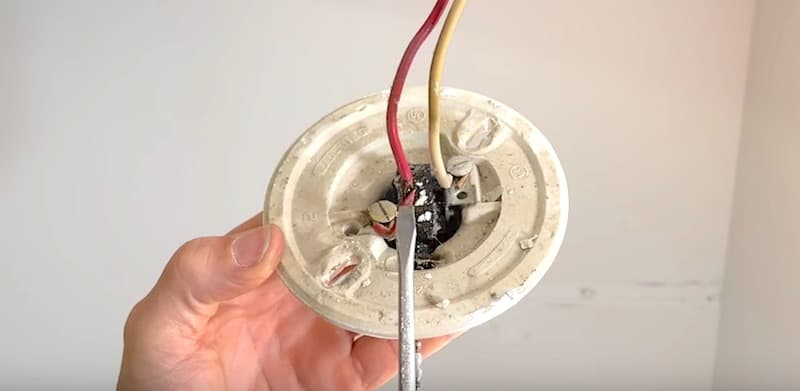
Take a look at the hot wire where my screwdriver is pointing. It’s a bit hard to see but the insulation has been cut, so we want to be very careful here.
Repairing Damaged Wiring Inside the Light Fixture
I’m going to trim up the wires to get rid of this dangerous, exposed section of my hot wire.
First, I’ll unscrew both the hot and neutral terminals and detach the wires from the fixture.
Then, I’ll cut both wires back past the point of damage.
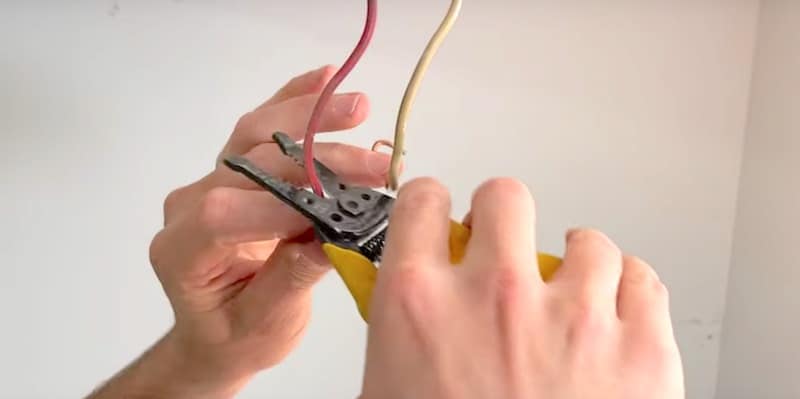
Next, I’ll strip the 5/8 of an inch or so of both wires with some wire strippers.
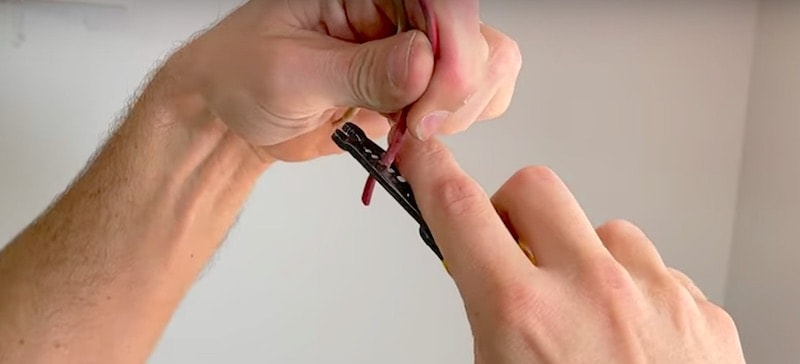
Pro TIp: To bend the wire into the hook you’ll need to go around your terminals, use the holes near the base of the wire stripper jaws. Just insert the end of the wire into the little hole and rotate the wire strippers.
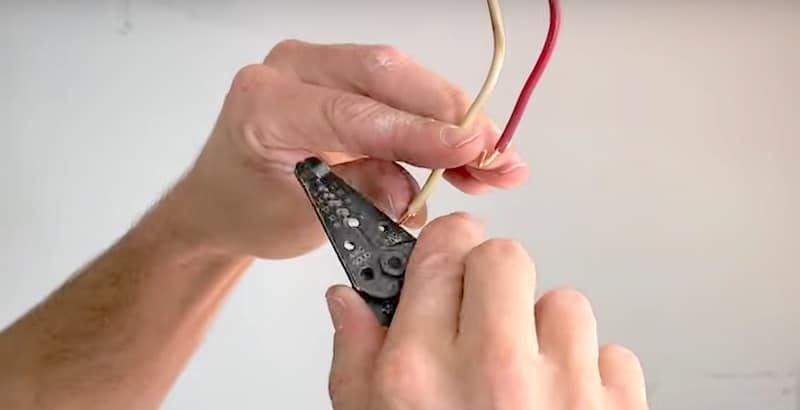
Utilizing the wire strippers this way will give your wire the right radius for wrapping around the terminal.
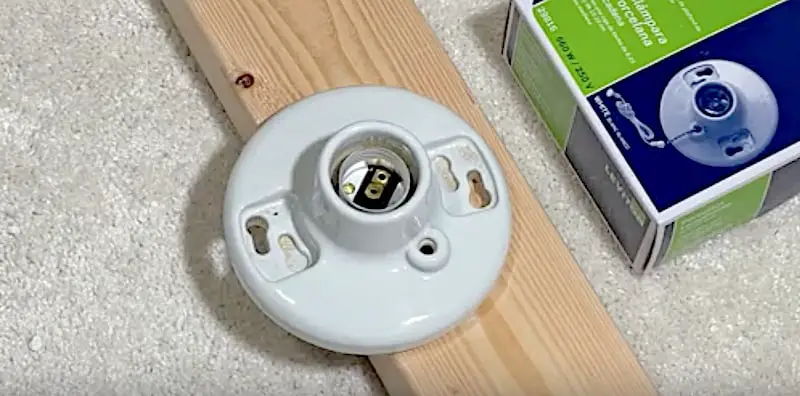
Replacement Light Fixture: Porcelain Lampholder with Pull Chain
My replacement fixture is a Leviton porcelain lampholder with pull chain.
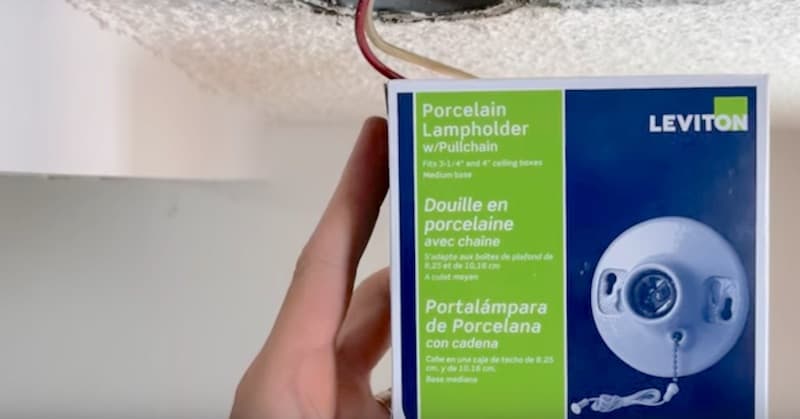
This is a basic fixture but it is porcelain, and that’s what I like about it. It’s also heavier-duty than plastic, and worth the small difference in cost. In the Supplies section, there is a link to this exact product if it’s useful to you.
This light fixture comes in other designs; for example, with a 3-prong outlet built-in. Just remember you’ll need a ground for those.
The Knockout Screw Holes
You might have noticed that there are two key-shaped sets of knockout screw holes on this new lampholder. These allow you to adapt the fixture to two different mounting screw spacings.
Note that when you take this Leviton light fixture out of the box, the exterior set of holes is already knocked out and the interior set is filled in.
I needed to remove the knockouts because my setup is older and the mounting screws are placed closer together.
For tips on how to open up the knockout holes of a porcelain lampholder without damaging the porcelain, check out this 2-minute video.
Modern electrical boxes use a wider spacing of mounting screws for this kind of lampholder. That’s why the fixture comes standard with the exterior set of mounting holes already knocked out.
Connecting the Wiring of the New Light Fixture
Now to connect the new light fixture to the wires.
Remember:
- The gold terminal goes to the hot wire (red or black) and the silver terminal is for neutral (white).
- “Righty tighty” — the terminal screws tighten when you turn them to the right (clockwise) AND you want the hook to be positioned in this direction as well.
I’ll hook my hot wire (in this case, red) around the gold terminal with the direction of the hook going clockwise.

To close up the eye of the hook, take the tip of your wire strippers or some needle-nose pliers and give it just a little crimp. A tighter loop will give you a better connection.
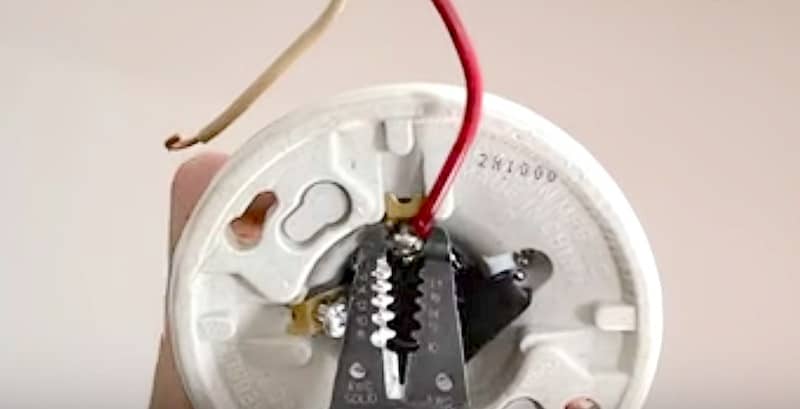
Tighten the terminal screw with a screwdriver. I’m using a Phillips-head screwdriver.
Pro tip: To really tighten down the terminal screw, use a flathead screwdriver at the end. It’ll give you more torque.
Next, we’ll connect the neutral wire to the silver terminal in the same way, with the hook going around the terminal in a clockwise orientation. Crimp the hook of the wire a bit and tighten down the screw of the terminal.
And that’s all there really is to wiring a new light fixture!
Mounting the New Light Fixture
To mount our new porcelain fixture, we’ll take the two screws that came with it in the box and start to thread them into their holes in the electrical box. Just get them started; there’s no need to go too far in.

Next, tuck the wires back up into the electrical box. Be careful when pushing the wires back into the box so that you don’t damage the insulation on the wiring.
After pushing the wires into the electrical box, it’s time to secure the porcelain part of the fixture.
Place the larger part of the screw holes over the mounting screws that you’ve already threaded into the box and rotate the fixture to bring the narrower part of the hole around the screws.

Tighten the screws with a screwdriver, being careful not to over-tighten as this could cause the porcelain to crack.
Now let’s flip the breaker back on, install a lightbulb, and test it out.
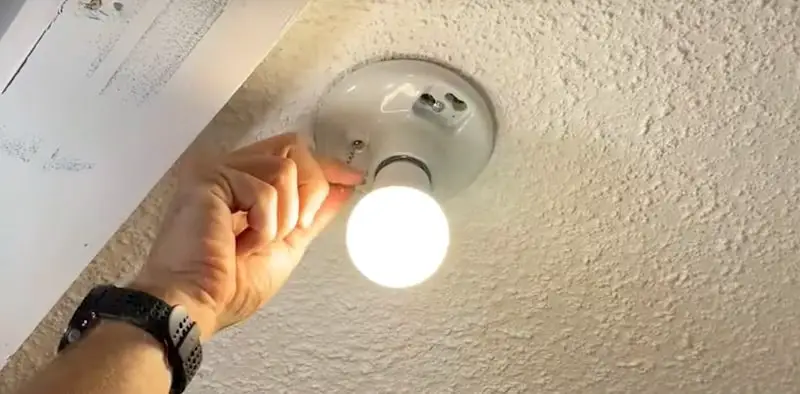
Perfect! We’re done.
Replacing a Light Fixture with a Broken Pull Chain: Conclusion
As promised, this is a super-quick repair. Once you get your new light fixture with pull chain installed and see how easy it is, you’re going to be kicking yourself for not having done it sooner!
Got other home repair projects to tackle?
For a related project, have a look at our article on How to Wire an Outlet.
For other home repair tutorials, please check out our YouTube channel.


