
 My Account
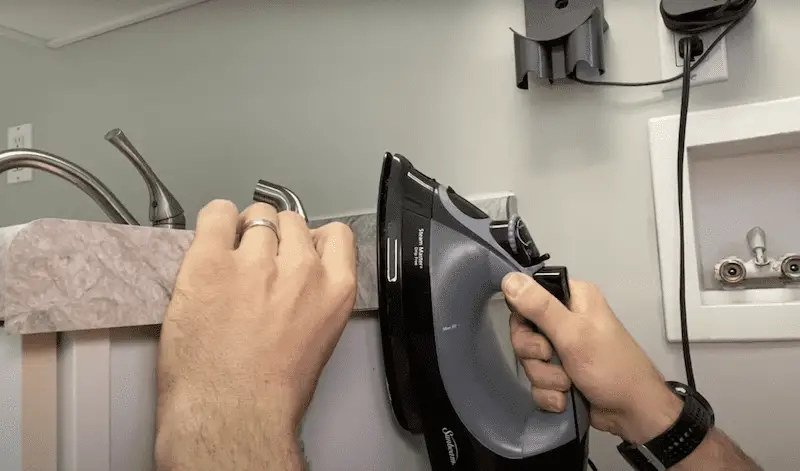
Are you finishing off your laminate countertops installation? Or looking to replace a damaged end cap? Either way, we’ve got you covered. In this blog – you’ll learn the steps to install laminate countertop end caps – from placing the filler strips to using a file for a nice, flush finish.
Tip: Ideally, you’ll install the end caps prior to the counter being in place. It’s going to be much easier and flexible- as long as you leave an inch (or so) countertop overhang on the side of the cabinet you are installing the end cap. This extra length is going to give you plenty of space to have the counter sit correctly on your cabinet and not have any filler strips interfere with the cabinet.
If you’d like to watch this project, check out this 7-minute video!👇
Tools:
- Hand file set
- Heat gun or iron
- Pencil or sharpie
- Scissors
- Hammer to secure filler strips
DISCLAIMER: This blog contains affiliate links, which means that if you click on one of the product links, I’ll receive a small commission.
How to Install Laminate Countertop End Caps/Edges – 5 Steps
1. Put the filler strips in place
For my situation, I have a backside filler strip. The challenge was: I already installed my countertop, so I couldn’t put the nails in the backside. Instead, I went with a friction fit against the wall. Then, I put a little wood glue between the filler strip and the backside of the countertop.
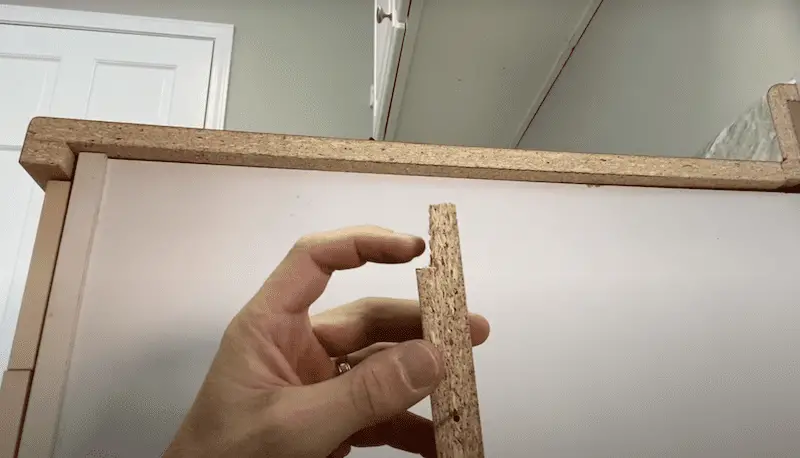
If you have a one-inch spacing all the way down – awesome you get to use the stock filler strip without any adjustments. If you’re like me and do not have the right spacing, you can put a notch out (see photo above) for the face of the cabinet. Just make sure you have a flush surface on the outside, which you can get using sandpaper, a chisel, or even a jigsaw.
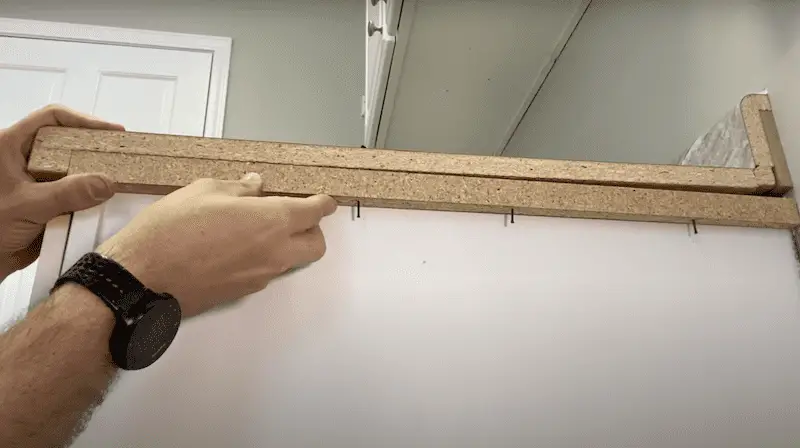
Make sure your nails are in place, so you can secure the filler strip with a hammer. Just remember to get your surface flush between the countertop and the filler strip to the outside, which is where the end cap is going to go into place.
2. Remove extra material

For this end cap, the majority of the extra material is going to be on the backside. So I wanted to figure out how much I could remove in advance to give me less to file in the future steps. (You’ll see, filing is a bit tedious!)
Here’s how to find out how much material to remove in advance:
- Get the end cap in place making sure the extra material is on the top side
- Grab a sharpie or pencil and put marks on the clearance that you need to trim off. I marked the extra material that I had both on the end close to the wall and also on the front edge.
- Then, I measure those both (for me, it came out to 1/2 of an inch).
- From there, knowing the extra material (both on the backsplash and also on the front edge), I marked 3/8 of an inch on the backside, which is what I trimmed off.
Why didn’t I mark ½”? Because I don’t want to go too short! You can always file more – but you can’t file less in retrospect.
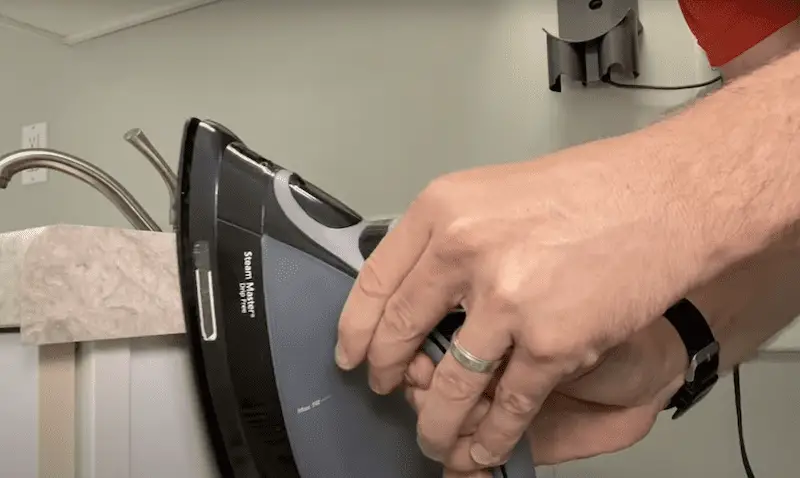
3. Iron your end cap in place

With the end cap properly sized, now it’s time to get it adhered in place. Using the iron (on hot), start in the center section – this heat will activate the glue of the end cap and secure it. I recommend spending about 10 seconds in each area to properly heat the glue.
You also want to have a damp rag handy to cool down the glue – and use it to apply pressure along the entire end cap.
4. Check the placement and make adjustments
Make sure everything is adhered properly. If there are any loose parts – grab the iron, heat those up, cool it down with a rag, and you should be good to go.
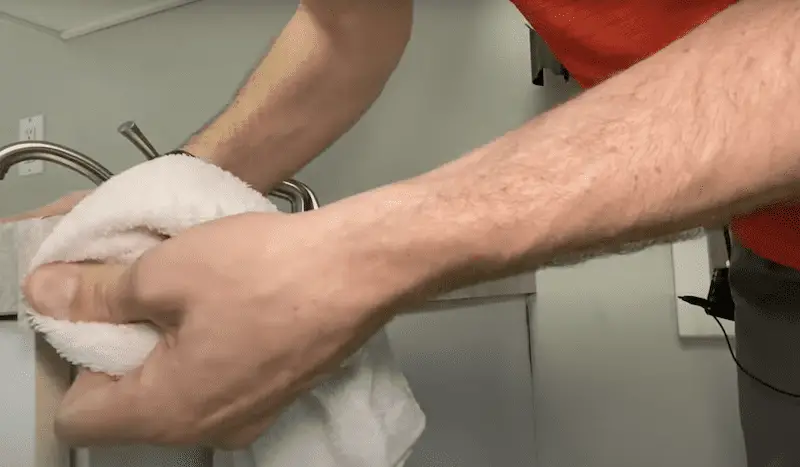
5. Start filing
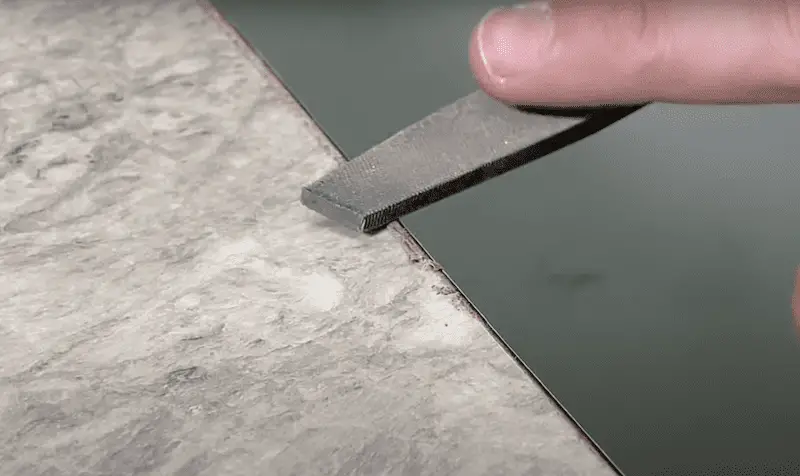
Last but not least- start filing away for a smooth, flush finish. This is the tedious part! But it’s also very important to get a polished look.
One question I had when I was doing this project was: how do I know if I’m filing too close to the counter surface? You don’t want to damage it – but you do want to remove the majority of the material. My recommendation is – once you get down to the end part, the glue on the backside will start folding over right on the surface (see photo below). That means you’re getting close!

So when you get to that area – make sure your filing angle is less aggressive. And if you have a fine file as opposed to a medium file – this is where you would want to switch. Right underneath that “folding” glue is where you’ll start to see the nice, flush surface.
The Wrap Up
Overall, it took a little longer to hand-file than I was expecting. But I’m very pleased with the finished product. If you’ll be doing this more than once, I’d recommend investing in a cheap router with a flush trim bit. (Check out this video at the 13:30 mark to see how to trim the end cap with a Makita cordless router with a flush trim bit.)


