
 My Account
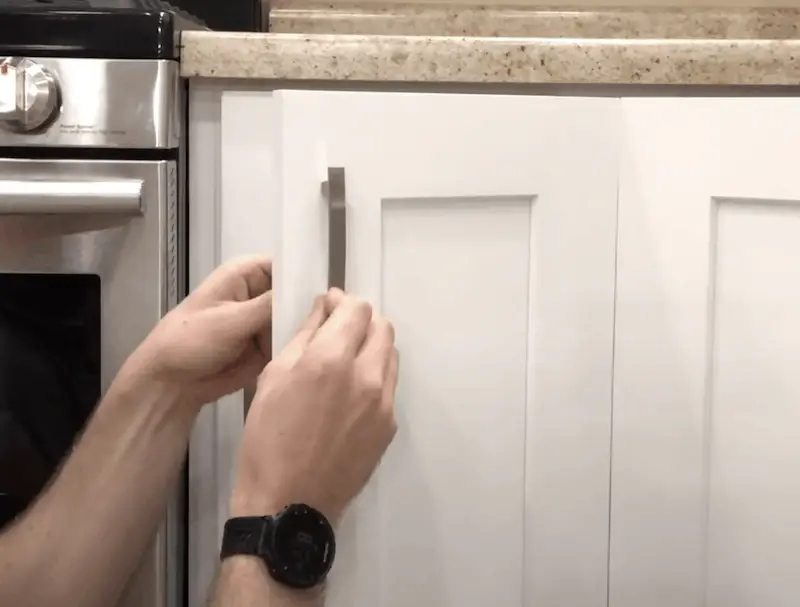
New drawer pulls can really spruce up your kitchen, and, of course, make it easier to open and close your drawers. But the process of adding drawer (or cabinet) pulls can be intimidating especially when you’re working with a bigger kitchen. Luckily, if you have the right tools and template, this project can be completed easily and quickly – while adding value and ease to your space.
Keep reading for step-by-step directions for how to install cabinet and drawer pulls/handles, a list of tools, and other tips to make the install as easy as possible.
Rather watch than read? Check out this 4-minute video👇
Tools:
- Drill with a 11/64 inch drill bit
- Phillips head drill bit
- Cabinet Jig / Template (don’t measure it by yourself! It’s worth the investment in terms of the amount of time and quality of the install)
- Cabinet Pulls (if you need some inspiration on which cabinet pulls to pick up – check out this kitchen hardware blog from HGTV and quirky DIY options from Country Living)
Cost of installing cabinet and drawer pulls/handles: The price will depend on the pulls you choose and how many you need. For example, the kitchen hardware I picked is available for about $15 for a 10-pack. Plus, the cabinet jig/template cost $8. All said and done, I spent about $80 on this project to install 45 pulls.
DISCLAIMER: This blog contains affiliate links, which means that if you click on one of the product links, I’ll receive a small commission.
Instructions: How to Install Cabinet and Drawer Pulls – 4 Steps
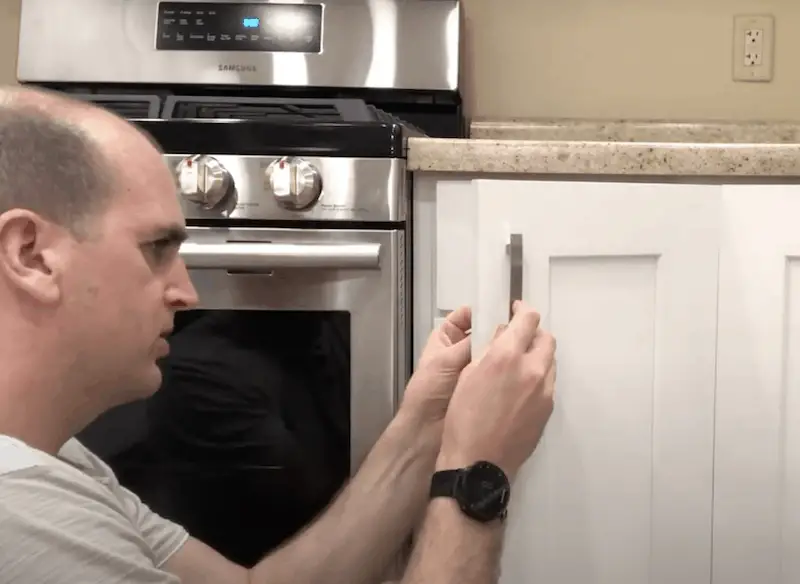
1. Gather your tools & take measurements
Once you’ve got the template and your kitchen hardware, you’ll want to know the spacing needed for your situation. (See above for an example of how I lined up the pull with the template to see exactly where I needed to put my cabinet pulls.)
There are a few different spacing options for where the screws will actually mount. For instance, I was working with a 3″ cabinet pull, so I needed to confirm that I knew where my pulls were going.
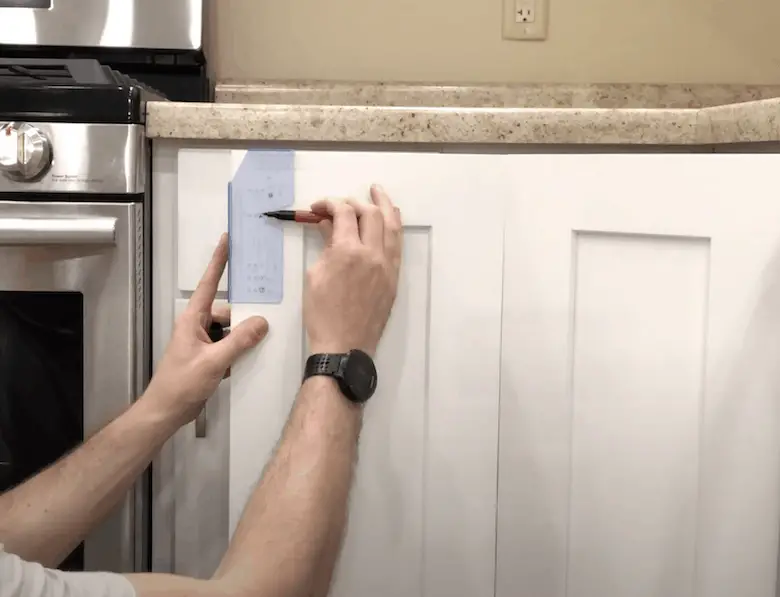
2. Mark holes with a sharpie
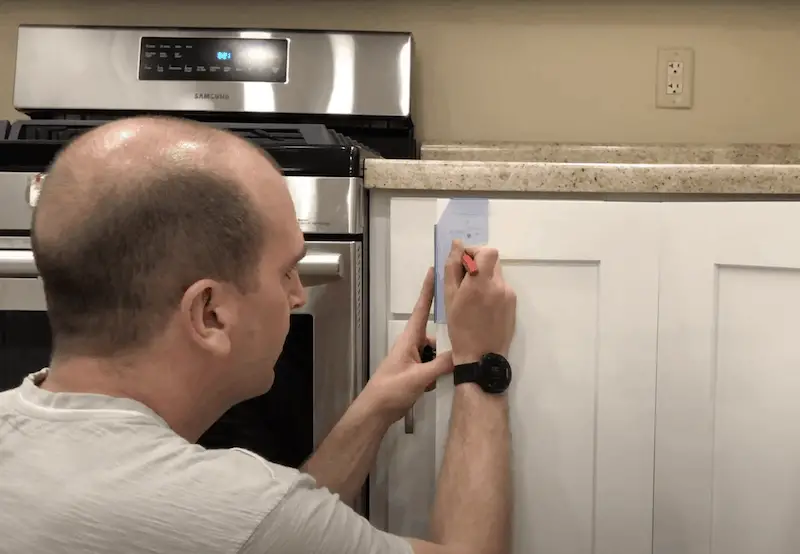
I decided to use the outside holes of the template, but you do have other options depending on the look that you’re going for. Once you’ve picked your spot, use the template to mark the holes with a sharpie on your cabinet/drawer. This spot will give you guidance when you’re drilling at the next step.
Pro tip: Before you start drilling, I recommend marking the holes of all the cabinets and drawers you’re working with. It’ll make it easier for you when you start drilling – so you don’t have to go back and forth with your tools.
3. Start drilling your cabinets or drawers
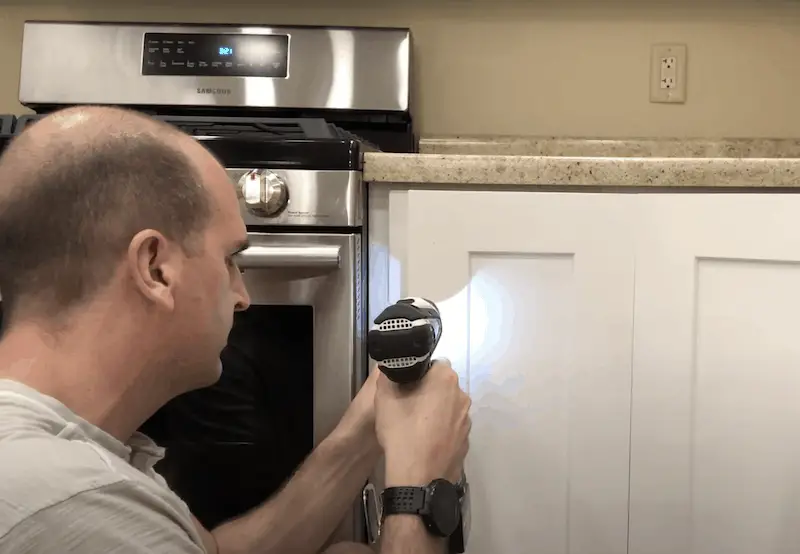
Then, grab the drill with the 11/64 drill bit. You’ll want to make sure nothing is behind it and center it up. Take your time getting any of the burrs off the back and don’t push too hard or you’ll risk blowing out the back and damaging your cabinet door. Depending on what your cabinet doors are made out of – it can splinter. You don’t want this to happen because it could potentially be seen on the outside of the handle, which will cause a bad finish.
4. Start the screws & complete the project
At this point, all the holes are sized up, so you can start the screws in the back. You’ll first want to get them lined up and ensure everything is secure. Then, with your Phillips head drill bit, you’ll secure the pulls in place. Then, repeat for as many drawers or cabinets as necessary.
Pro tip: Use a drop of Loctite thread locker (blue) which will ensure the screws stay secure and don’t back out and get loose over time. This is especially nice in rental units cutting down on future maintenance.
Tips for Making Kitchen Hardware Installation Easier
- Batch it out: Like many DIY projects, this installation will likely go faster when you do the beginning steps in batches. Rather than going one drawer at a time from start to finish – I’d mark all the holes with sharpies and then start all the screws and so forth.
- Consider getting 1.5” screws: Especially when you’re dealing with cabinet drawers, you might want to get the 1.5” screws. These don’t usually come standard – depending on the poles you get. I’d recommend measuring how thick your cabinets and drawers are so you can find out if the 1” might not do it for you.
- Pick up a Cabinet Jig Template: The template is a relatively small investment ($5-$10) with a big pay off in not only how much time you’ll spend measuring, but also the overall quality of the pulls.
- Invest in Loctite Threadlocker: If you want your cabinet hardware to stay on and not loosen up over time, Loctite thread locker(Blue) is a must. Check out this video for a full rundown of how to use it to fix loose door handles.
The Wrap Up
Overall, this is a pretty easy project and fast project. For me, it cost about $50 and took 90 minutes to install 45 poles – including the kitchen and the bathroom. Plus, cabinet pulls provide function and a nice refresh to a space. So if you’re looking for an update without a huge investment, it’s a great option!


