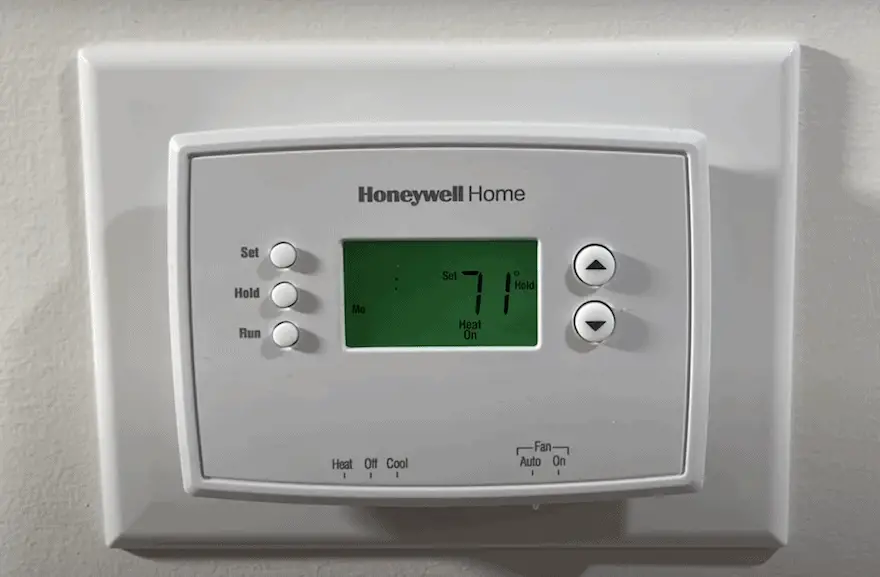
You’ve got a new Honeywell Thermostat, but how exactly do you replace the old one with the new one? In this blog, I’m going to quickly show you how to swap out a thermostat with step-by-step instructions. Plus I’ve got a $2 DIY Hack that will help if you have visible wall damage when you remove your old one.
Note: if you’re installing a thermostat that’s different than the Honeywell Thermostat, the overall points should still be applicable.
First, why did I choose Honeywell?
I chose the Honeywell 2300b thermostat because it was budget-friendly at $20 and I liked that it has backlighting so I can easily see it at night to adjust it. Also, it has some programming features, which make it easy to adjust the temperature throughout the day and potentially save a little energy.
Rather watch instead of read? Check out this 9 minute video below!
DISCLAIMER: This blog contains affiliate links, which means that if you click on one of the product links, I’ll receive a small commission.
Step by Step Instructions: Installing a Honeywell Thermostat
1. Take off your old thermostat safely
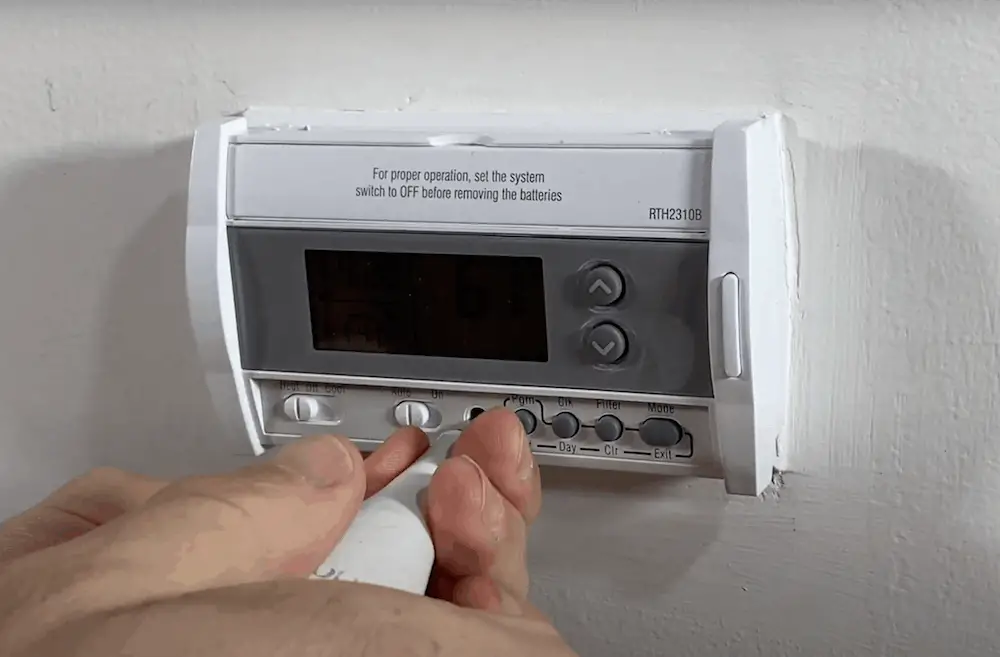
First, cut the power to your furnace before you start the furnace. Each thermostat is a little different – some you can just pull right off the base plate, others like this one have a small mounting screw that you can find and then just undo that mounting screw. This will loosen up the thermostat unit and then you can just pull it off the base plate.
Pro Tip: Take a picture before you undo any of the thermostat wires for future reference.
2. Score outside of thermostat and remove wires
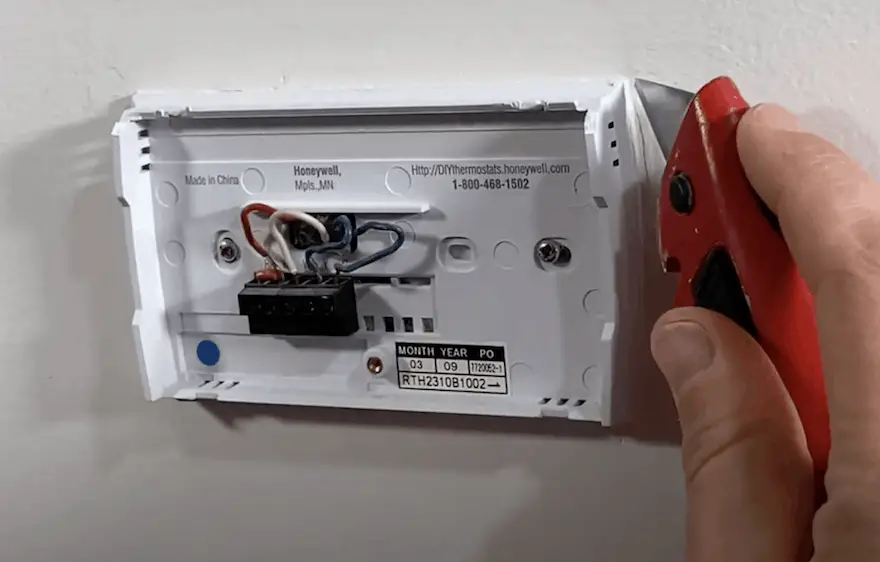
Score the outside of the thermostat to make sure you don’t cause any more damage to the paint. Then, start to remove the wires by undoing each of the terminal screws and remove the wires. From here, undo the two mounting screws that usually go into some type of drywall anchor – or sometimes they’re just very loosely held depending on the last install.
3. Get your new Honeywell Thermostat
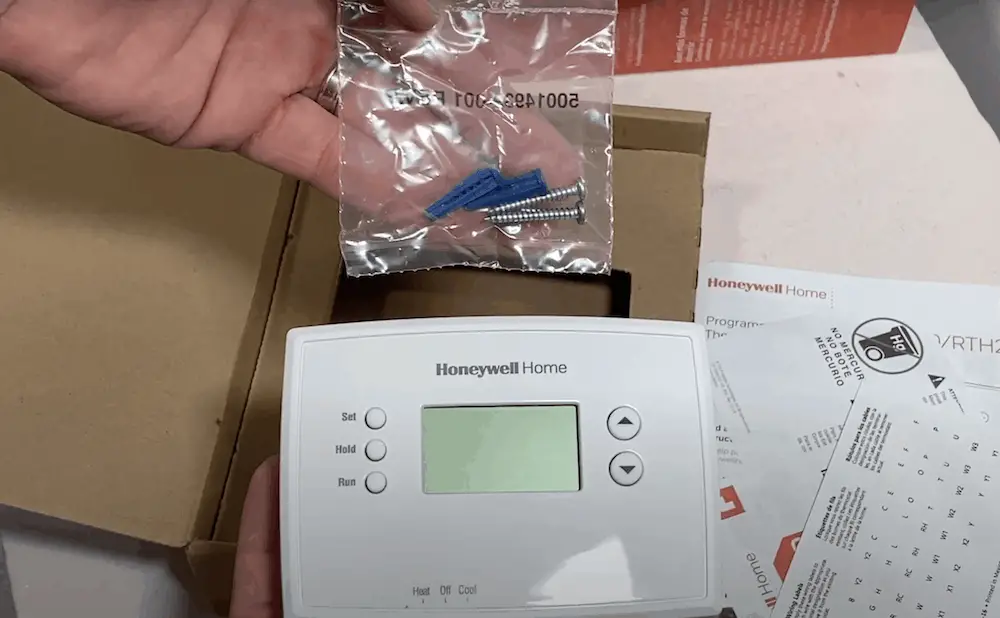
Now with everything removed – take a look at the new thermostat and base plate., along with the instructions, warnings, drywall anchors, screws, and labels. The labels are used to label your wires before removing them for future reference.
Pro Tip: some thermostats – like the Honeywell – do not come with batteries. Check the packaging at the store or online – and make sure you get the batteries if needed.
If you notice your new thermostat is smaller than your old one – and there are visible paint damage issues – see this $2 DIY hack below. If not, jump to step four.
*BONUS DIY HACK* Cover up any wall imperfections with a $2 switch wall plate
Over the years, I’ve seen one particular problem with thermostats: You take off the old thermostat and when you go to put on the new one, the base plate or the size of the new thermostat is different from the old one.
The reason that’s a pain is: your wall has probably been painted at least a few times over the years, which makes it very easy to see the old outline. And to put it bluntly, it looks pretty sloppy. In most scenarios, you don’t want to sand this down or you won’t have the matching paint color – so it can be a pretty big problem.
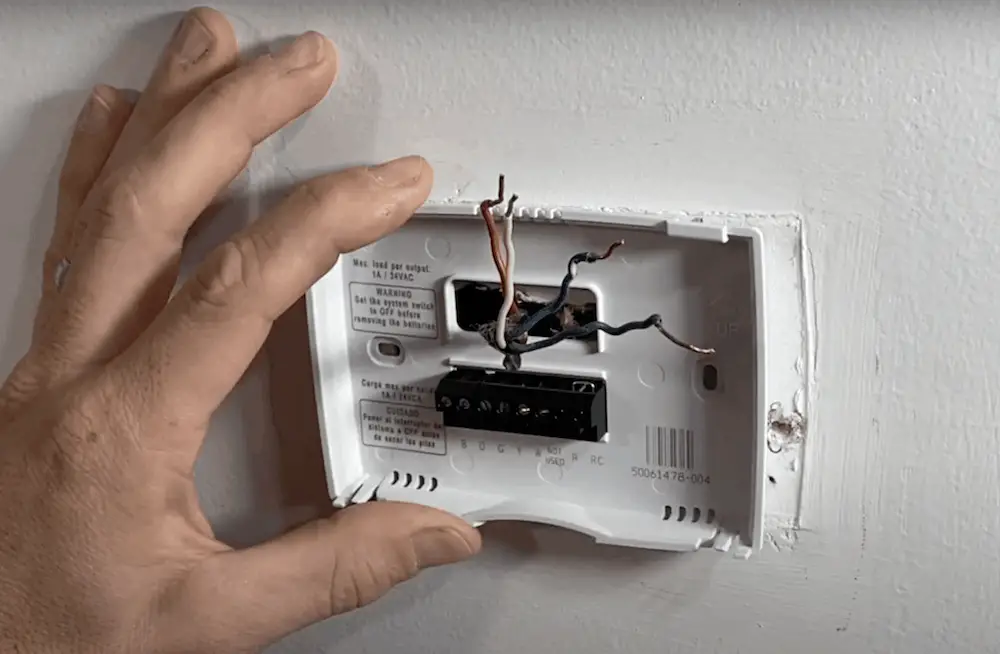
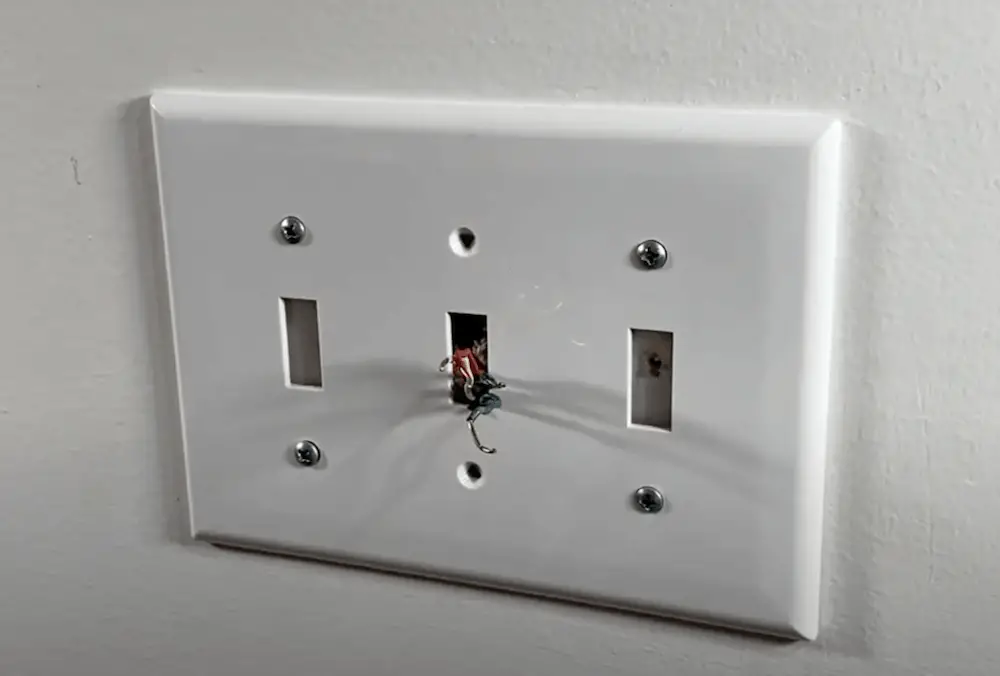
The easiest solution is to know the exact measurements of your old thermostat. And if you have some flexibility, select a thermostat that’s a little bit larger so it will cover up any paint damage. Also, Nest thermostats come with an enlarged base plate that will often solve that issue.
Alternatively, you can pick up a $2 – $3 Light Switch Faceplate at any home improvement store and mount it to the wall as an expanded base plate. This will cover all the imperfections. You’ll also need Drywall Anchors and Toggle Bolts.
[Go to minute @5:00 in the video above to see instructions on how to install the base plate to cover the imperfections.]
4. Connect the wires
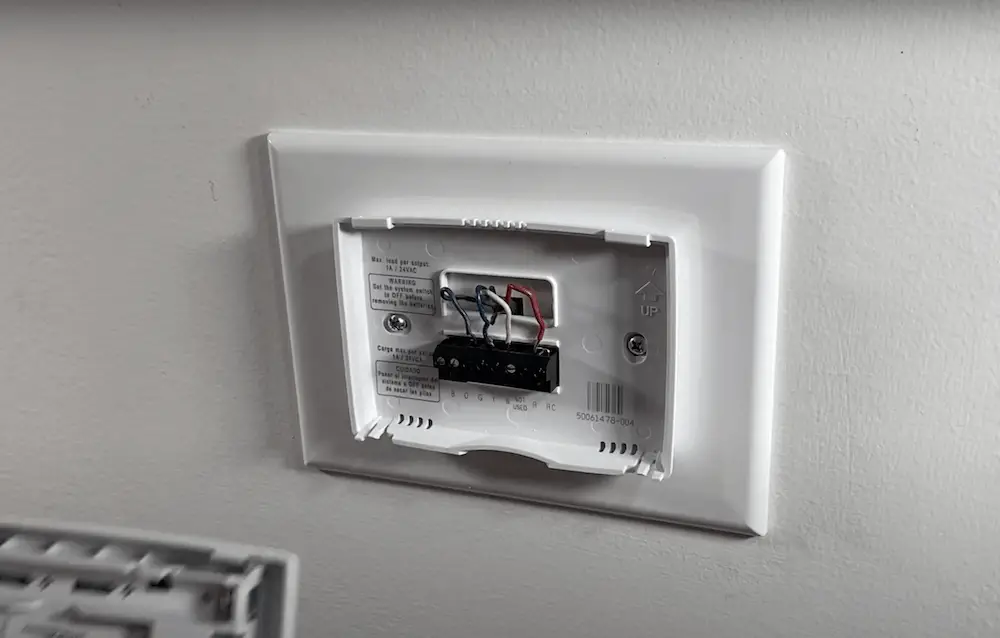
At this point, you’ll connect the wires into the terminals. This is where you’ll reference that picture you took earlier.
I started off with the power of the 24-volt red line and then work my way through – it’ pretty simple because the “w” terminal goes to the white wire, the “g’ terminal goes to the green wire. The only trick that I have in my setup is that the “y” terminal would usually be yellow actually goes to my blue wire.
Do a pull test to make sure all those wires are secure. Then, mount the thermostat onto the base plate or the wall plate – and it’ll pop into place.
5. Turn on your furnace & set the temperature
Now, turn back on the furnace, set it to heat and then, set it to the desired temperature. You’ll hear a little clicking sound and that’s the thermostat sending the signal. You’ll also hear the fan from the furnace if you’re by your furnace and eventually you’ll hear the flames kick-off. These are all indicators everything is working and heat is being driven by the thermostat.
6. Reset the time on the Honeywell Thermostat
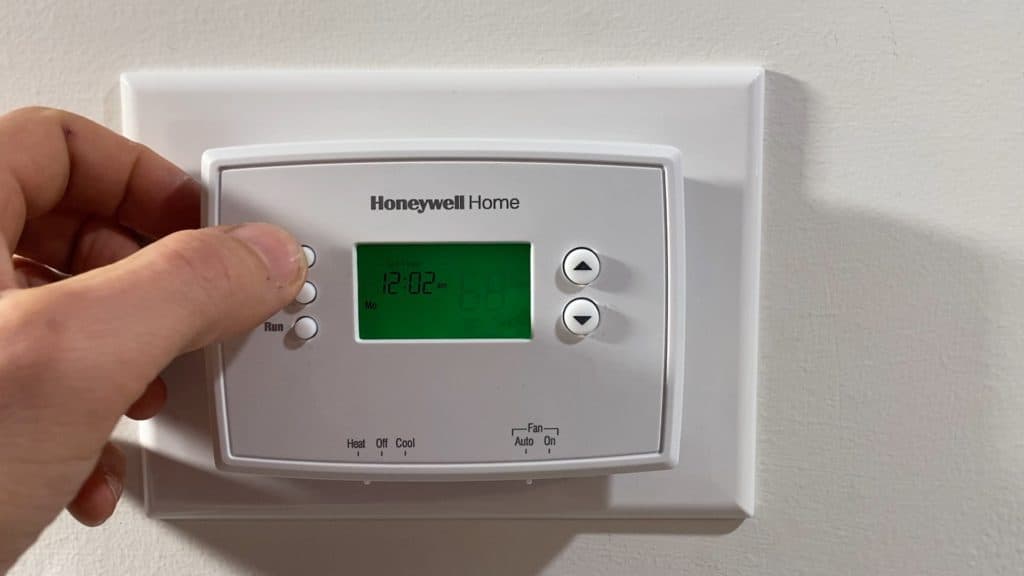
Lastly, you should set your time. You’ll press “set” and then you’ll set the time. Once you have that press set again and then move it to the appropriate day, and press run to lock it in.
Of course, we all have different scenarios because we have different ages and types of thermostats, along with different general setups. But I hope these step-by-step instructions helped!
