
 My Account
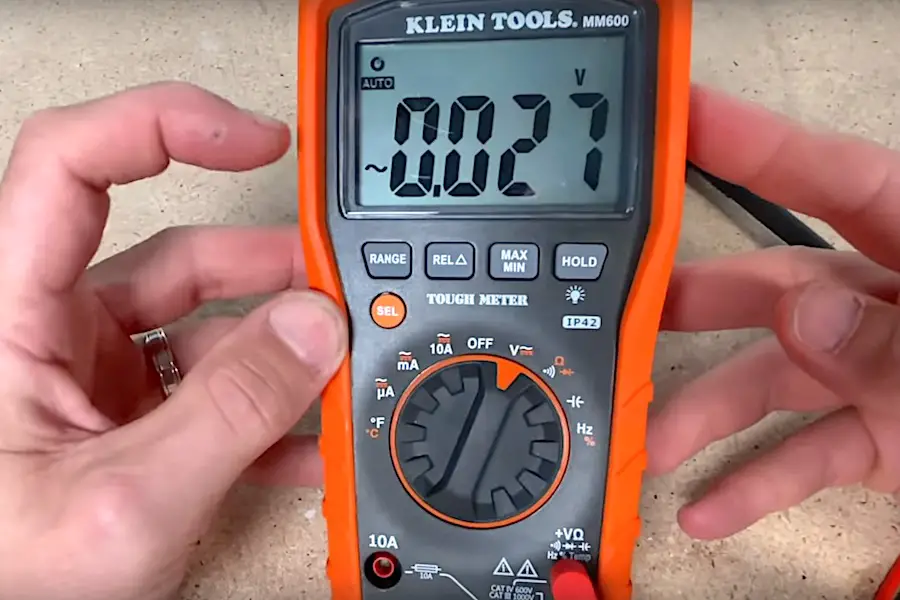
In this tutorial, I’m going to run you through how to use a digital multimeter.
The multimeter I’ll be demonstrating is the Klein Tools MM600. This is their mid-range model. It comes with a carrying case that I find very useful for storing (read “not losing”) all the accessories.
The goal of this how-to article is to get you comfortable with the most frequently used features of a multimeter as it pertains to common electrical and HVAC work and automotive troubleshooting: voltage, resistance, temperature, and capacitance.
I’ll also cover how to properly use a multimeter with regard to electrical safety issues.
Rather watch than read? Check out this 12-minute video.
DISCLAIMER: This video and description contain affiliate links, which means that if you click on one of the product links, I’ll receive a small commission.
How to Use a Multimeter: Basic Features of the Klein Tools MM600
Symbols on the Multimeter
On the dial of this multimeter, there are two sets of symbols: one in white and one in orange. The white symbols refer to the default setting for that item on the dial. The orange symbols are for the secondary option(s) that pertains to that item, which can be implemented by pressing the “SEL” (select) button.
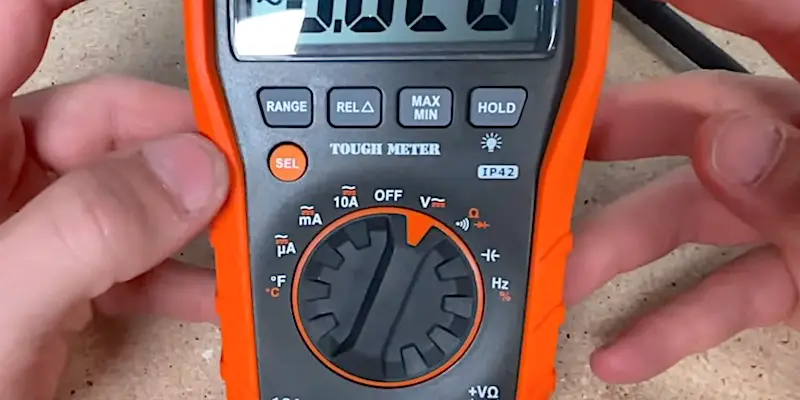
“Hold” (Lock Reading) and Backlight Features on the Multimeter
A useful feature of the Klein Tools MM600 multimeter is the ability to lock a reading on the display. Just press the “HOLD” button to activate and deactivate. Press briefly because holding the button will activate and deactivate the backlight.
Setting Minimum and Maximum Reading Parameters on the Multimeter
You can choose to track only the maximum or minimum values during your test period. Press the “MAX MIN” button to toggle these options. Pressing and holding this button resets the device to auto mode.
How to Use a Multimeter Safely
To avoid the risk of shock, there’s a simple order of operations to stick to when connecting the probes of a multimeter to an electrical source such as outlet.
You always want to start or end with the black probe, whether you’re inserting it into the neutral or the ground opening.
- With the black probe in place, it’s safe to introduce the red probe into the hot slot.
- When removing the probes, remove the red probe first.
It’s easy to create a dangerous situation with a multimeter because the black probe is live when the red probe is connected to the hot side of an outlet. For this reason, it’s important to be diligent about the insertion of the probes into a live source of current.
I’ll illustrate this with a non-contact voltage tester.
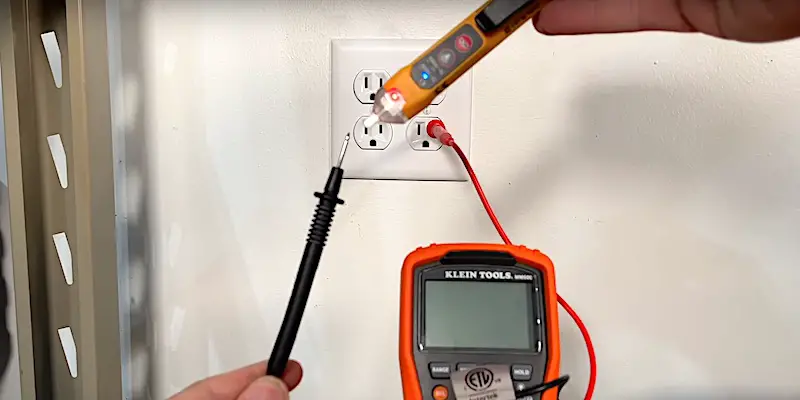
As you can see, the black probe is hot and can arc against anything that would ground it (your body being among them). To avoid a nasty shock or injury, remember to connect the black probe first and remove it last.
Measuring Voltage
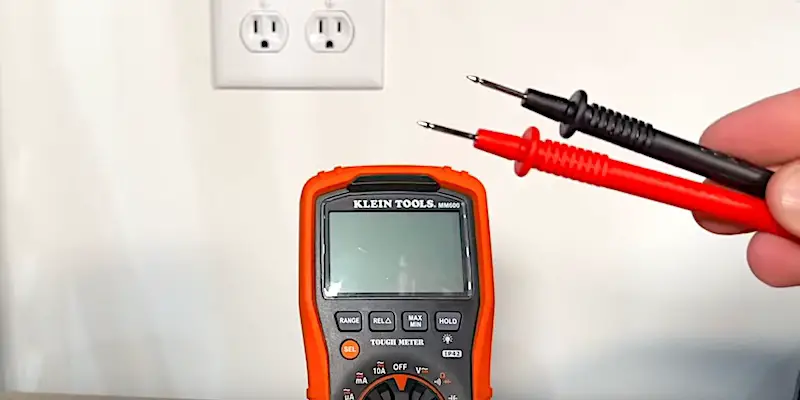
Measuring AC Voltage: Using a Multimeter to Check an Outlet
To measure the voltage in an outlet, you’ll need the full (Category 2) probe. If you just got your multimeter and the probes are covered with Category 3-4 covers, you’ll want to pop those off so that the full length of the probes is exposed.
Turn the selection dial to “V”.
The default for the Voltage selection is AC, indicated by a sine wave (in white on the dial and also on the digital screen).
A newer feature on multimeters is auto-ranging, which is a default setting. (Older device will have a variety of voltage ranges that you can manually choose from on the dial.)
To manually set the range on a digital multimeter, press the “RANGE” button and keep pressing until you toggle to the desired range.
NOTE: If you’ve manually selected the range and you’ve chosen the incorrect one, the MM600 will give you an “OL” reading when you insert the probes. “OL” stands for “outside the limit” of the range you’ve set.
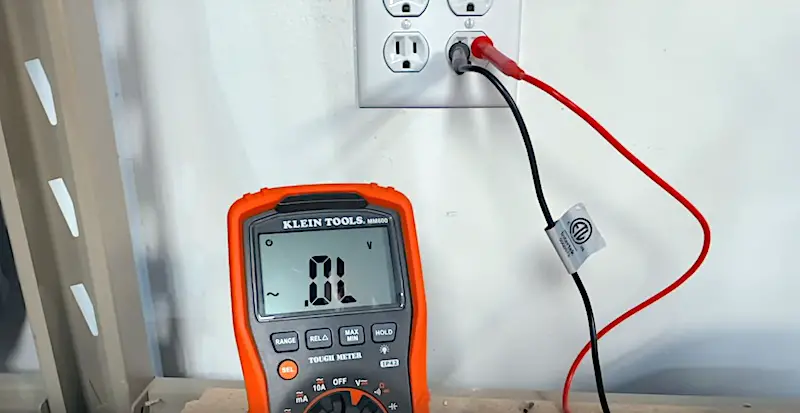
To measure the voltage in an outlet on a 120-volt circuit, I’ve set the range on the third setting, which goes up to 999.9 volts. I could have also left it in auto mode.
Measuring DC Voltage: Using the Multimeter to Check a Car Battery
A common application for the DC voltage setting on a multimeter is checking a car battery.
To test DC voltage, I’ll set the multimeter to Voltage and press the “SEL” button. The symbol of a straight line with a dashed lined under it appears on the screen, corresponding to the orange symbol on the dial of the multimeter.
With the motor off, I can check the charge in the battery by placing the black probe on the negative terminal and the red probe on the positive.
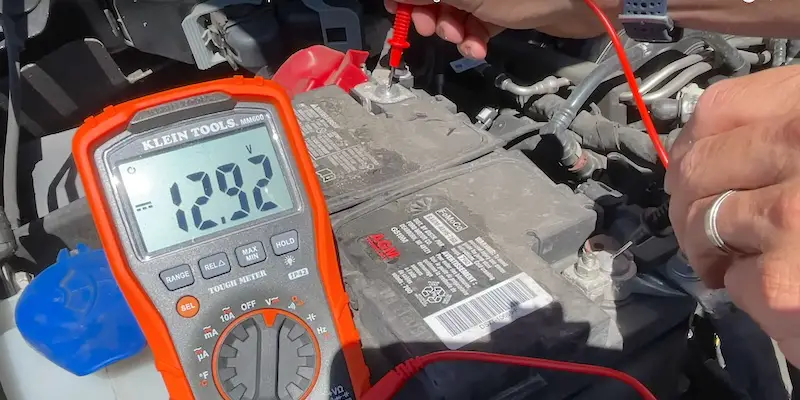
I get a reading of 12.92 volts, which indicates a healthy battery.
If I wanted to check my alternator, I’d start the engine and redo the test. If all is well, I’ll get a higher reading, indicating that the alternator is charging the battery.
Measuring Continuity in a Circuit
To the right of Voltage on the dial of my MM600 multimeter is the Audible Alarm, indicated by the white sound-waves icon. Resistance is a secondary setting at this spot, indicated by the Greek letter Omega (Ω) in orange.
I’m going to do a continuity check on an extension cord using this setting in default mode and a “wiggle test”. In this case, “continuity” refers to the integrity of the electrical path.
To do the wiggle test, I’ll attach the alligator clip to my black probe and place it between the prongs of the plug of the extension cord.
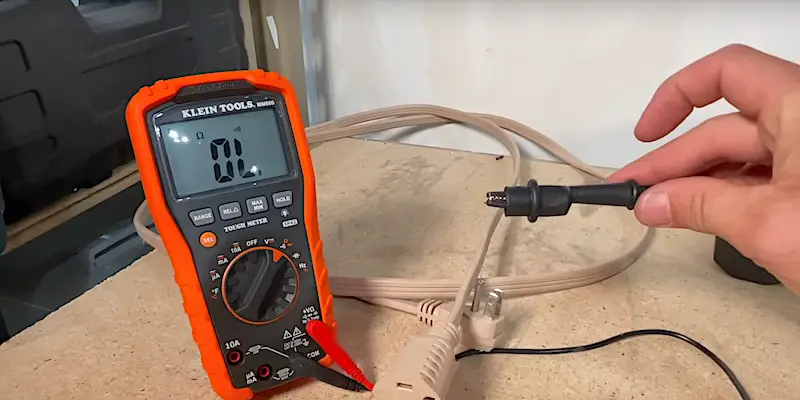
Then, I’ll place the red probe into the hot slot of the receptacle of the extension cord and bend the cord in a variety of directions.
If there’s any weakness inside the cord, such as wires that are compromised in some way and not making a solid connection when the cord is in a certain position, the audible alarm will stop sounding to let me know that continuity has been interrupted (and that I need to replace the extension cord).
Measuring Temperature
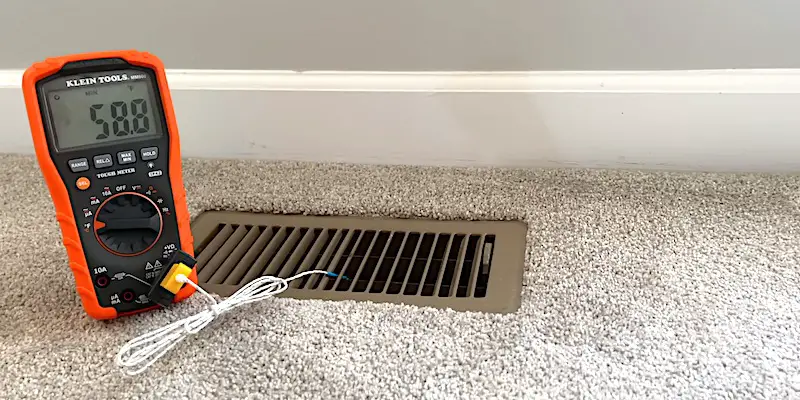
A pretty cool feature of the MM600 is Temperature. I use this a lot when I want to know how well the air conditioning is working or when I’m trying to balance out an HVAC system in a house with inconsistent temperatures throughout the rooms. By using the multimeter to measure the temperature of the air coming out of my vents for a test period, I can get a clear picture of the situation and what adjustments need to be made.
To use the Temperature feature of the MM600, I’ll use the little K-type adapter and thermocouple that came with the kit.
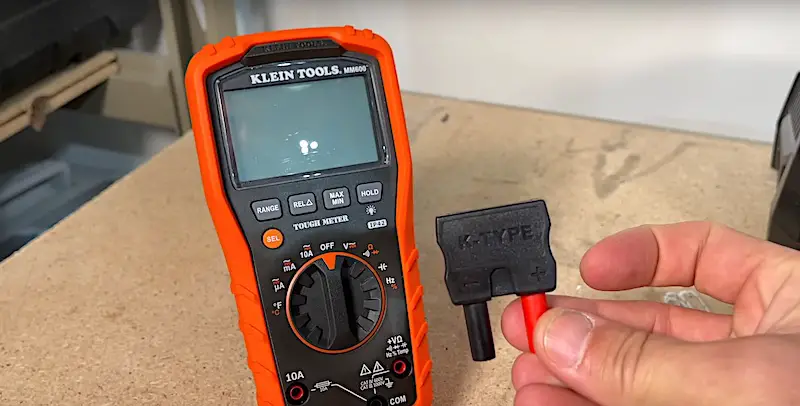
First, I’ll insert the adapter onto the multimeter. Then, I’ll insert the plug of the thermocouple itself into the top of the adapter housing.
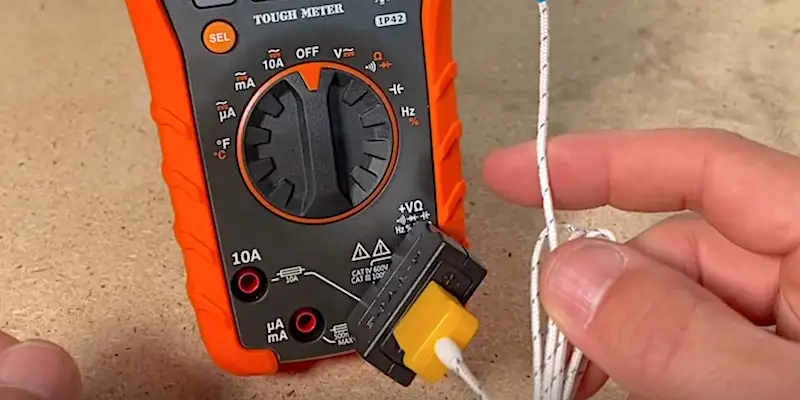
Finally, I’ll turn the dial to the Temperature setting, indicated by ℉ in white and ℃ in orange, and put the multimeter in place for a test period.
Measuring Capacitance
The Capacitance setting on a multimeter is another straightforward setting. On the MM600, this setting is to the right of Audible Alarm/Resistance.
I typically use this function to check out capacitors, usually those found within an HVAC system.
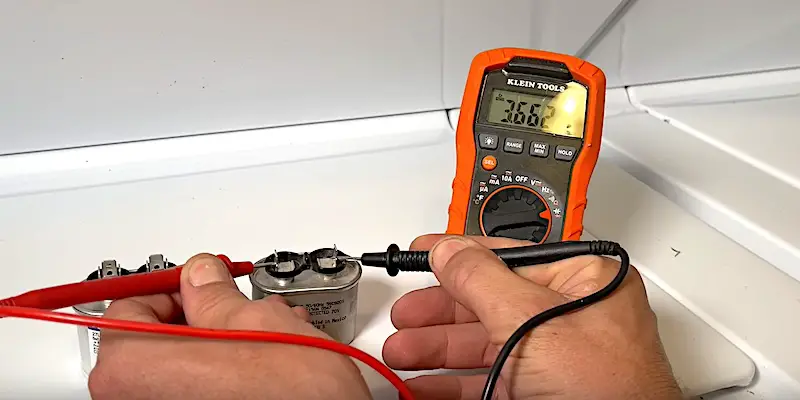
Identifying a defective component this way has saved me a ton of money and has resolved my issues faster than calling in a tech.
How to Use a Multimeter: Conclusion
We’ve reviewed how to use a multimeter to measure voltage (both AC and DC), resistance/continuity, temperature, and capacitance.
A multimeter is great if you need to step up your DIY troubleshooting capabilities but you should also have a non-contact voltage tester and an outlet tester in your tool kit. These are indispensable if you’re going to take on any electrical projects as a do-it-yourselfer. The voltage and outlet testers I trust are also made by Klein Tools.
I hope this information helps you out as you troubleshoot issues around the house or with your vehicles, or go about do-it-yourself electrical projects.
Electrical: Other Informational Articles and Videos
Reversed Hot and Neutral Wires in Your Home: The Hidden Danger: read the article or watch the video.
Twenty-One Facts and Features of a Standard Outlet: read the article or watch the video.
Check Out All Our DIY Electrical Projects
To see all our electrical-related DIY projects, please check out the Electrical section of the website.
To Leave Comments and Questions
If something doesn’t make sense or if you have something to contribute, please leave a comment under the YouTube video.
Don’t forget to subscribe to our channel as we have weekly videos coming out to help you with your everyday home repairs.
Thanks for stopping by! Take care.


