
 My Account
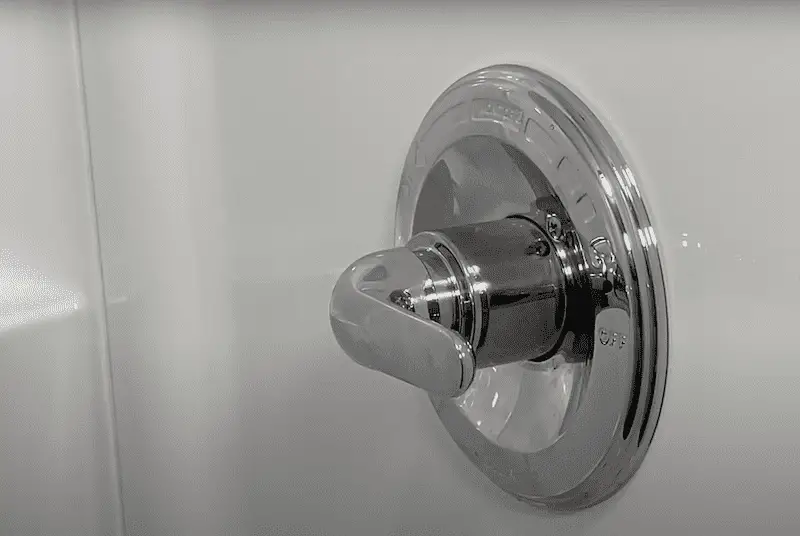
We can all probably agree that when we take a shower we expect the “hot” to be on the left, and the “cold” to be on the right. If you’re like me, you probably find it oddly irritating when it’s reversed! Some may learn to live with it, but if you want to learn how to switch the hot and cold water in your shower – it’s an easy DIY fix. The best part: you’ll likely only need one tool – an Allen Wrench.
In this blog, I’ll show you step-by-step how to switch the temperature (hot and cold) on a Delta shower valve, First, you’ll need to remove a few parts and shut off the main water valve. Then, you’ll reverse the cartridge valve to get things performing as expected.
Quick tip: In general with plumbing projects, whether you’re dealing with a kitchen faucet or a vanity faucet or a shower, your left-hand side should be “hot.”
If you’d like to watch this project, see the 5-minute video below.
Tools:
- Delta (RP46074) 13/14 Series Valve (This valve is the most common valve found in Delta single handle fixtures since 2007)
- Eklind Allen Wrench Set
DISCLAIMER: This blog contains affiliate links, which means that if you click on one of the product links, I’ll receive a small commission.
How to Switch/Reverse Hot and Cold (Delta Shower Valve) – 6 Steps
1. Remove the handle & trim piece
Before you shut off the water valve, you’ll want to remove the handle and the trim piece so you can get a good look at the cartridge valve. Usually, you’ll only need an Allen Wrench, at least if you’re dealing with a similar Delta Shower Valve.
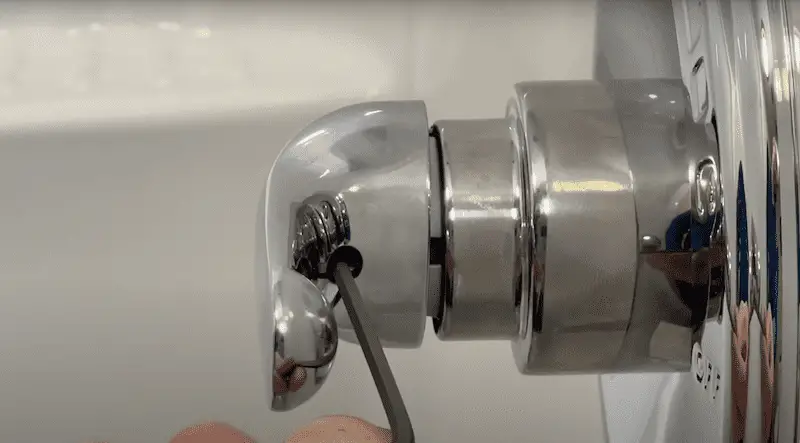
You’ll find a hole underneath the handle and insert the Allen wrench, rotate it to the left-hand side, and then undo it. From here, you’ll be able to pull the handle right off.
The trim piece is usually just a friction fit with an O-ring. So, you’ll simply pull that out and pull past that o-ring.
2. Turn off the main water shut off valve
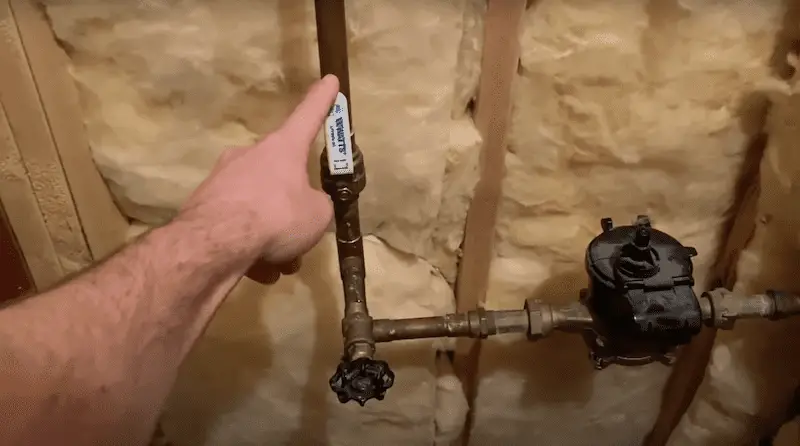
Next, turn the main water shut off to make sure that you’re safe to start working with the cartridge valve.
For me, the main water shut-off is in the basement. You can easily tell it is in the “ON” position because it’s parallel to the path of the pipe or flow of the water (seen above).
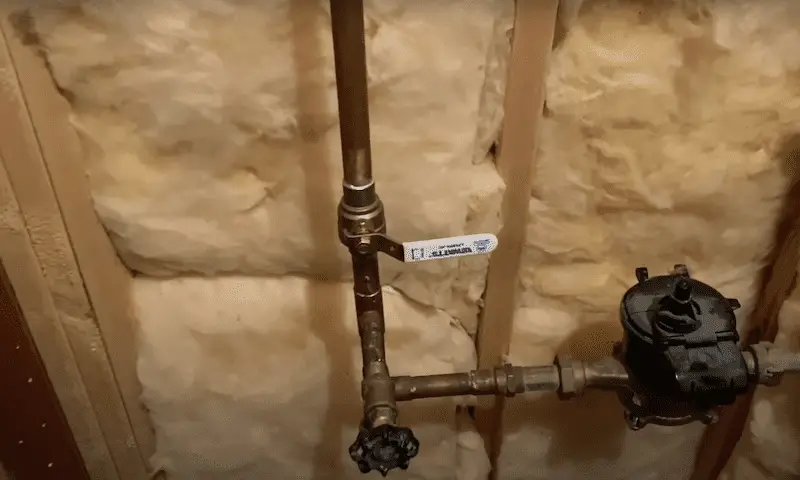
To turn it off, rotate the handle for the ball valve to the perpendicular position (seen above). You might also have a handle that needs to be rotated multiple times to completely close the valve. In this case, look at the handle for the direction of rotation to close the valve.

Then, go to the lowest level in your home. Open up the cold and hot side of a faucet or tub/shower combo to drain out all the remaining water.
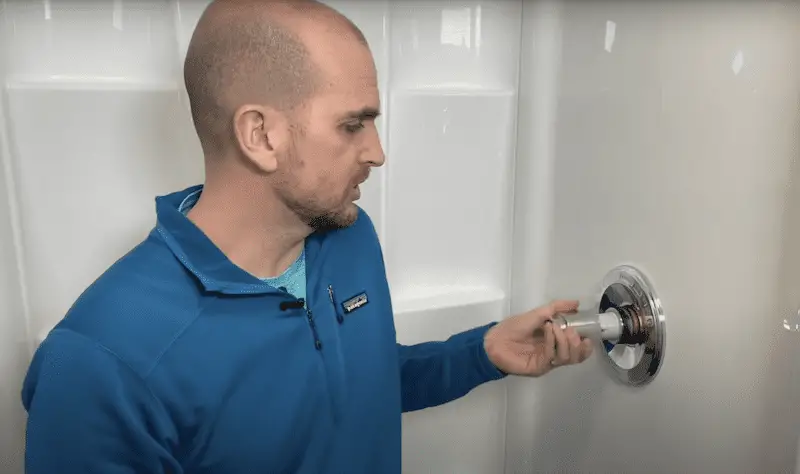
3. Remove the bonnet nut
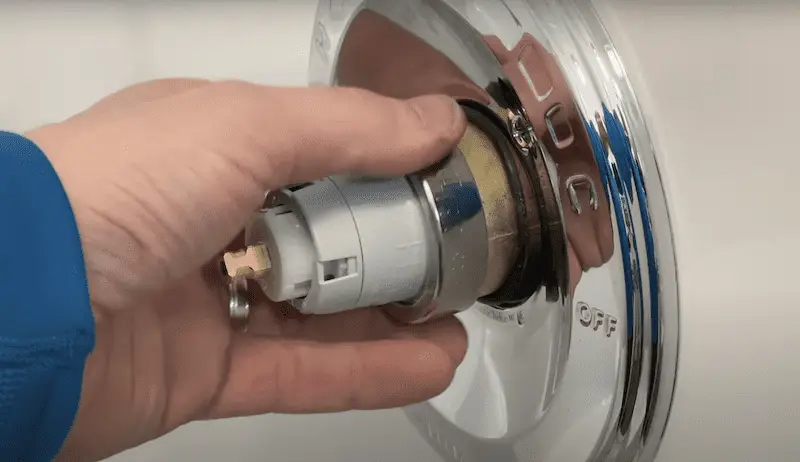
So now we’ll actually fix our issue! First, you’ll remove this bonnet nut, which you can possibly do with your bare hands or if you have gloves with grip – that might help. You’ll hold on to it and rotate it to the left, removing the nut.
4. Remove, rotate the cartridge valve, and put it back in place
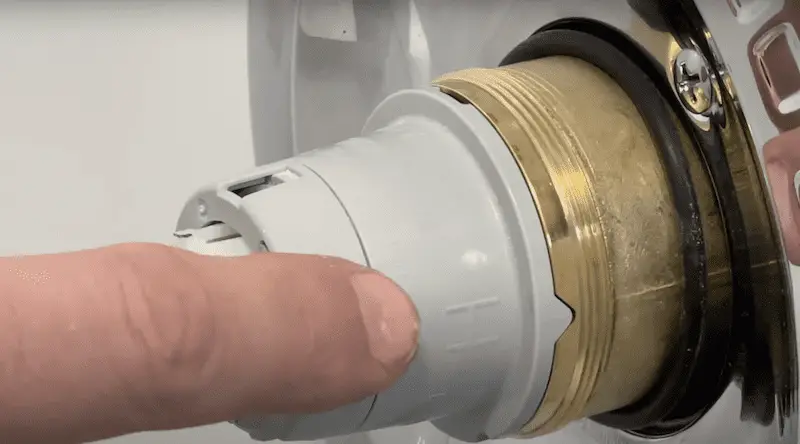
For my situation, the “h” is on the side of the plastic housing (seen above), indicating the hot side. Since mine is on the right-hand side – this shows me that my plumbing is probably correct, so I have hot coming into the left-hand side of the valve and then cold coming into the right-hand side.
The problem is: this cartridge valve is just 180 degrees rotated. So I need to remove it, rotate it, and put it back in. (Watch 3:15 in the video above to see this in action.)
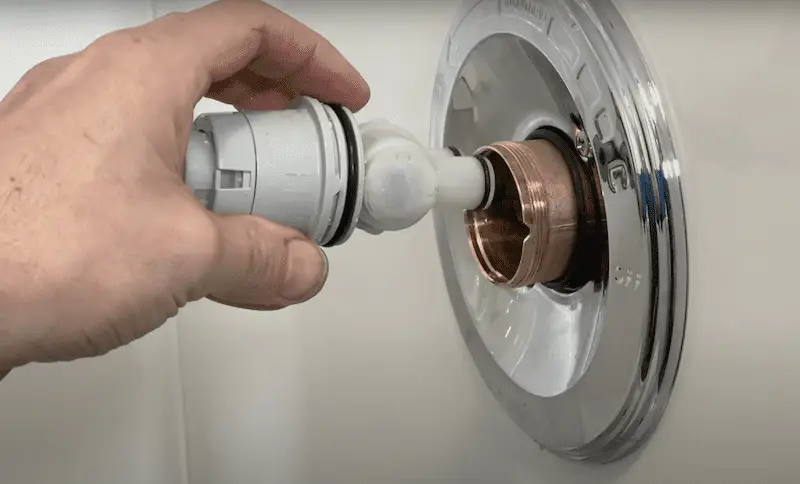
Now with all the water drained out, I will take the valve and rotate it 180 degrees from the original insulation.
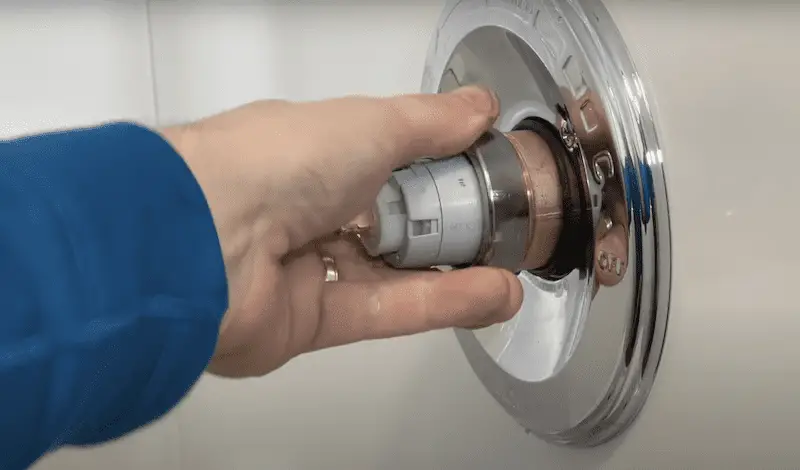
Then, I’ll press it in, take my bonnet nut, re-screw it on, and tighten it.
What if your plumbing was put in backward? It’s okay – you can correct that, but your hot will be on the right-hand side. Again, the most common setup is: hot is on the left-hand side.
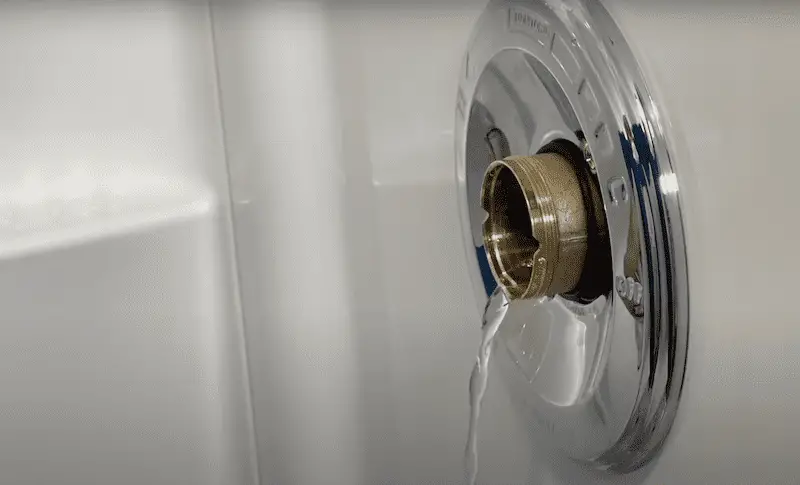
5. Put the shower handle back together
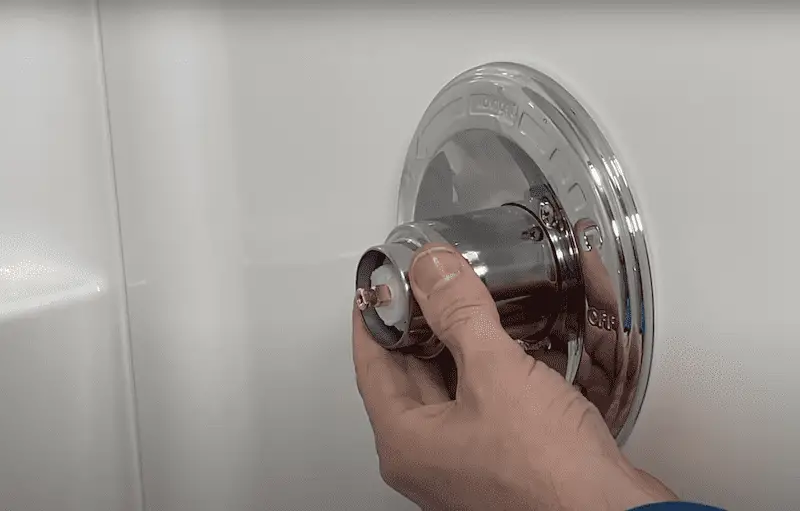
Put your trim piece back on, push it onto that o-ring, and then make it flush until the edge of the grey housing.
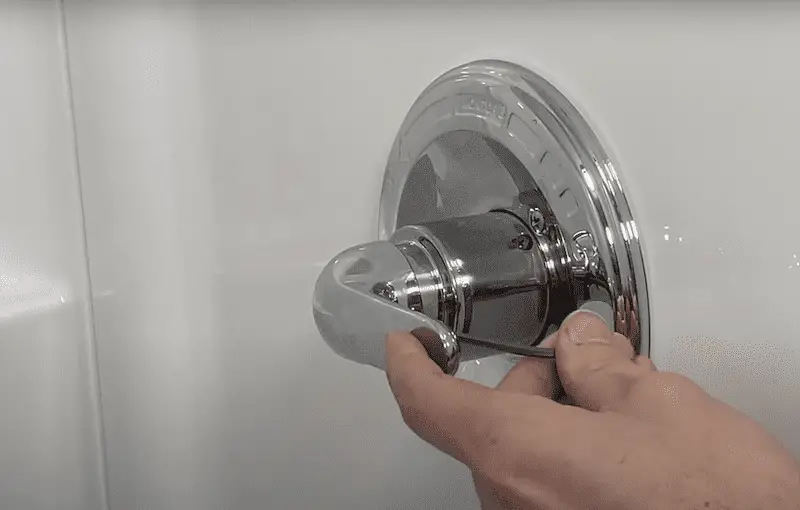
Reinstall the handle – and then with the Allen wrench, tighten it up!
6. Test
Now, go turn back on the water and test things out to make sure that the hot is on the left-hand side as opposed to the right. (Note: the maximum hot temperature will be 120F.)
The Wrap Up
For me, everything is back to expected: the hot is on the left-hand side and the cold is on the right-hand side. Good to go!
I hope this switch will help you get your hot temperature to where you want it. But if you get to this point and you’re still thinking “the hot is just not as hot as I would expect” – here are two videos that might help you out.
This video shows you how to adjust a limiter. This allows you to limit how high (or how hot) the temperature can get. (5 minutes and 15 seconds)
While this video will walk you through how to increase the heat for which the water temperature is inside your tank. (4 mins and 16 seconds)
Are you doing more home improvement projects in the bathroom? Check out these DIY shower projects: how to replace a showerhead and how to remove silicone caulk from a bath/shower.


