
 My Account
Dealing with a leaky old showerhead? Do you want to update your showerhead to one with more spray modes? We’ve got you covered. In this blog, you’ll learn how to swap out a showerhead easily in two to three minutes and only a few tools. Who doesn’t love an easy DIY project with a big reward?
Rather watch than read? Watch this 4-minute video!
Tools:
- Adjustable wrench (or channel locks)
- A new showerhead like this one from Moen. *Pro tip: when selecting a new showerhead, match the finish of the new shower head to the other trim pieces in the bathroom.
- An old toothbrush (this gets rid of any Teflon tape that’s on the threads if it needs to be cleaned off before you put the new showerhead)
- A little Teflon tape
DISCLAIMER: This blog contains affiliate links, which means that if you click on one of the product links, I’ll receive a small commission.
How to Replace a Showerhead – 4 Simple Steps
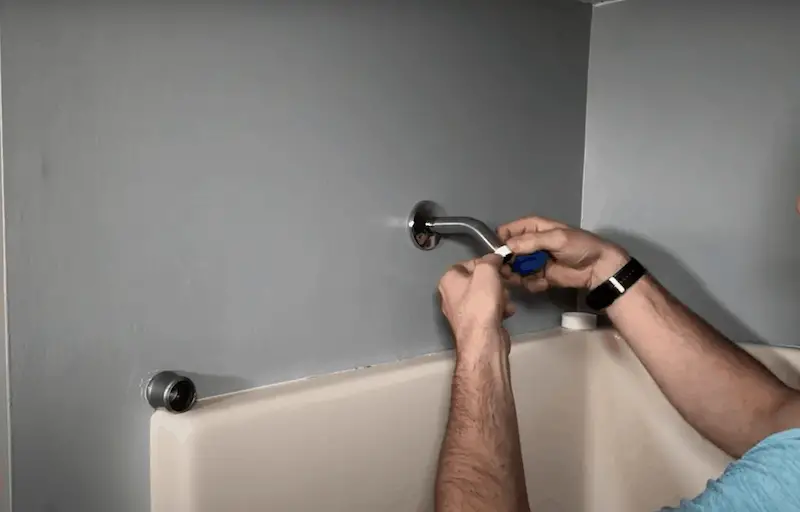
1. Take the Old Showerhead Off

With your adjustable wrench, hold on to the actual shower arm – and give the showerhead a few turns. From there, it should be pretty easy to take off. You’ll also want to remove the old Teflon tape with an old toothbrush, so you have nice threads to work and an overall clean surface.
2. Add Teflon Tape (Optional)
As I mentioned earlier, you do not need Teflon tape with these new sharp ends because they have a rubber washer. That said, you can add a few rounds if the rubber washer gets old and dries out over time. The tape can also help prevent water damage.
Pro Tip: When applying the teflon tape you should rotate in the clockwise direction for 2 to 3 complete rotations
3. Update the New Showerhead
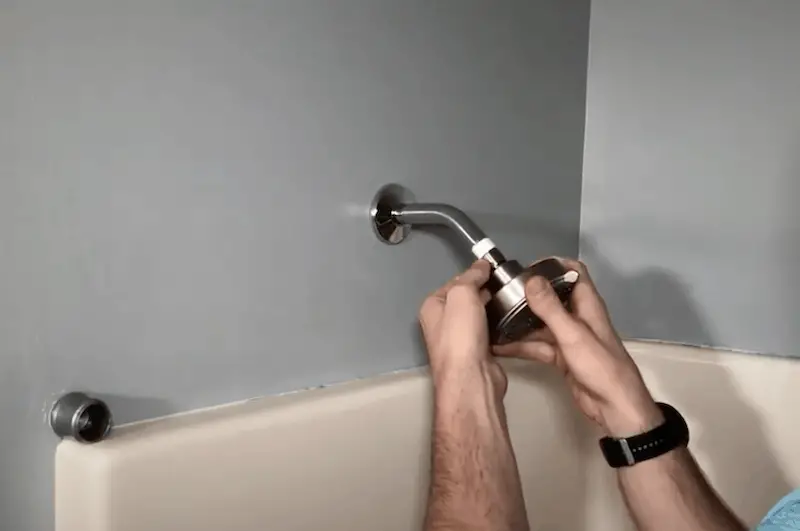
I used a multifunctional showerhead from Moen that was about $20. While this one has a metal-threaded end, many of them come in plastic. This is completely fine, just be mindful not to over-tighten it, which can crack the threaded fitting.
4. Complete the Final Tightening
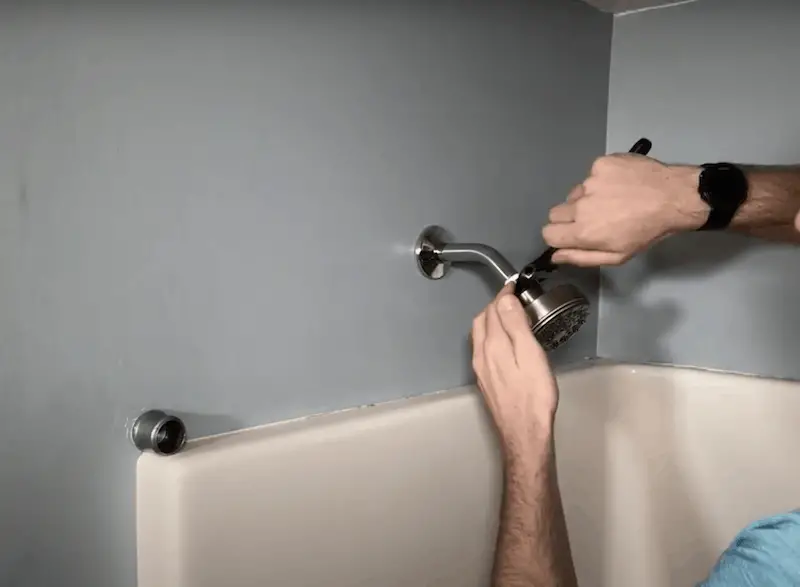
Especially if you’re using a metal showerhead, it usually has small flat sections so they’ll fit your adjustable wrench. Another option if you don’t have an adjustable wrench -use channel locks. Again, be careful not to over-tighten it, but you do want a nice snug fit.
How do I know when it’s time for a new showerhead?
If you have an old showerhead – you might be dealing with changes in water pressure, leaks, sediment build-up, or even mold. As soon as you notice any of these signs, it’s a good idea to update your showerhead. If you want to save some money and try to salvage your old shower you could try to soak the old shower head in vinegar or CLR which will help to break up the sediment build-up.
The Wrap Up
Overall, this is a super easy project that only requires a few tools and spare minutes. So if you’re a new DIYer – this is a great project to take on!


