
 My Account
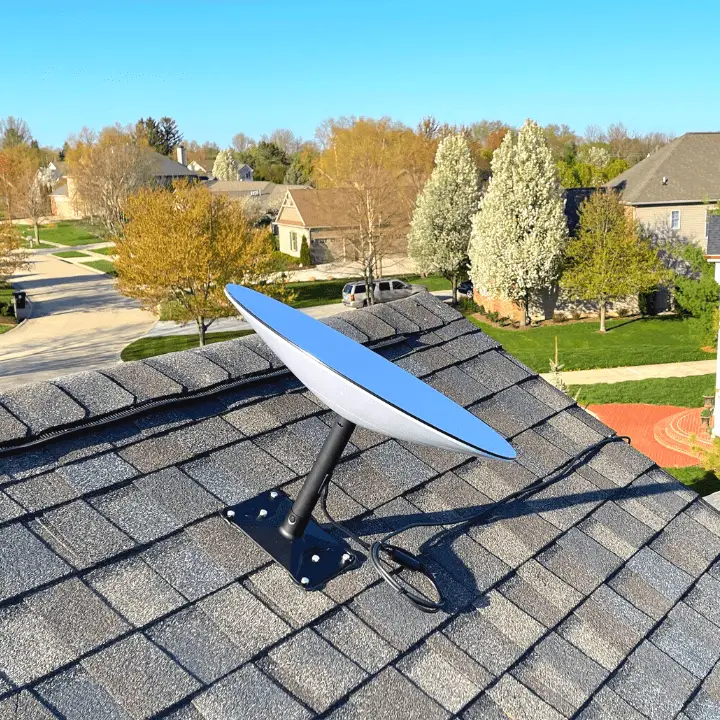
Did you get a Starlink but still unsure how you want mount it? Or are you curious about the install before you make the investment? Either way, this post is for you. I’ll show you how to permanently mount a Starlink unit on your roof in 8 steps.
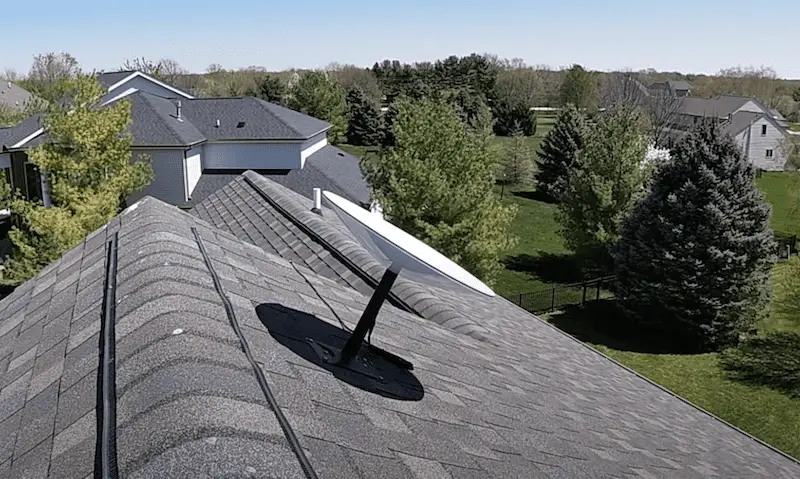
I went with the volcano mount, which you can get from Starlink. It comes with everything you need to get it installed on your roof. That said, depending on your roofline, trees, chimney, and other obstructions, each install will be a little different. But this is an example to help get you started. We’ll start off by going over the path of your wire, and then we’ll go through how I installed it on my roofline.
Rather watch than read? Check out this 15-minute video.
DISCLAIMER: This blog contains affiliate links, which means that if you click on one of the product links, I’ll receive a small commission
Mount a Starlink Unit on Your Roof in 8 Steps
1. Plan the path of your wire
First, you don’t want to jump on the roof and sink lag bolts through the plywood until you know exactly where you want the ethernet cable to go.
So a couple basic things to consider:
- You have 100 feet of cable to work with. This cable has all the integrated parts you need and is permanently fixed to the Starlink unit itself.
- Also, you need at least a ¾” hole to pass the internet cable through and get it inside your house.
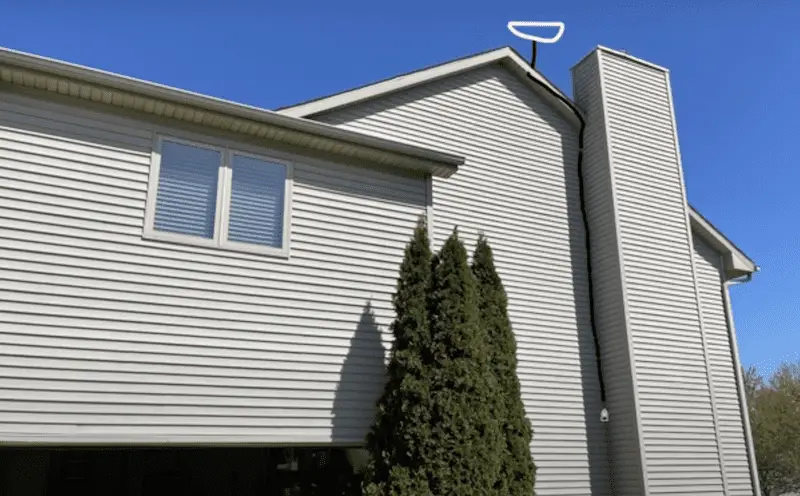
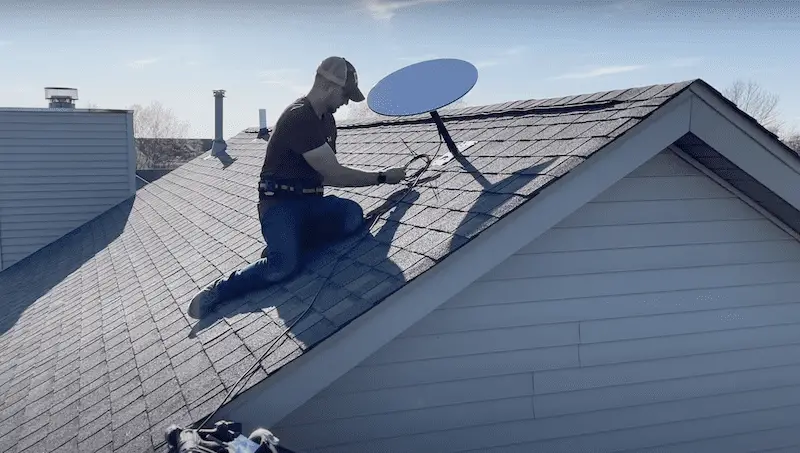
With that in mind, there are a few paths you can take inside your home. One, you can mount it on the roof by running it on the outside and going low through your home. Or, you can go high and run the cable a short distance so the cable’s running across the asphalt shingles and then loops down and goes high through the attic space (this is what I chose).
Why did I choose the latter option? I didn’t want to mess with the chimney and I didn’t like the look of the ethernet cable running down the vinyl siding.
2. Start drilling

While Starlink recommends that you use the longer lag bolts in the two center bolts and hit a rafter, I’m going to use a piece of 2×12 and position it between my rafters. This is so all six lag bolts have something more than just the OSB sheathing to sink into.
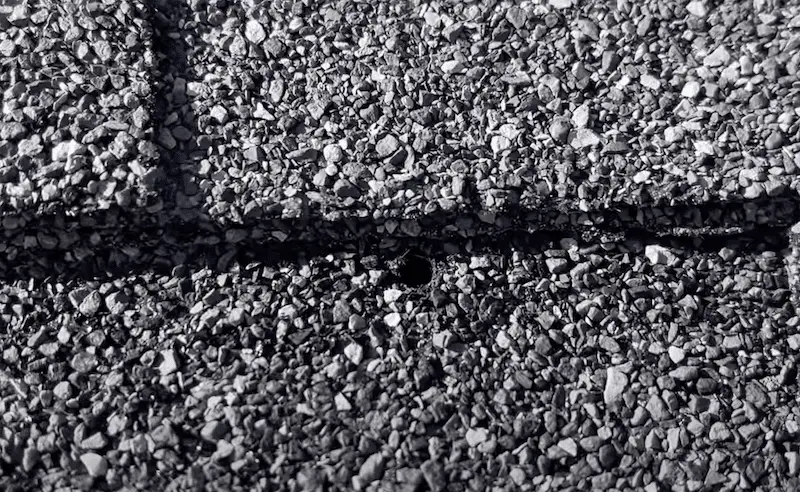
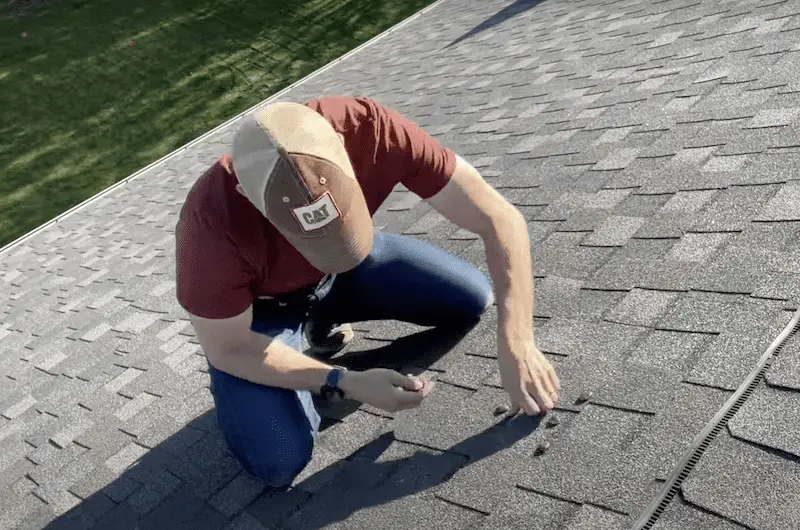
Then, I drilled one 5/32 pilot hole from the outside on the roof (seen above).
Reminder: whenever you’re working on the roof, please be careful and take all precautions necessary. Starlink does help you out a bit with a little sack that you can put the unit in (plus the 100 feet of cable) while you’re climbing up on the roof.
3. Position the Volcano Mount
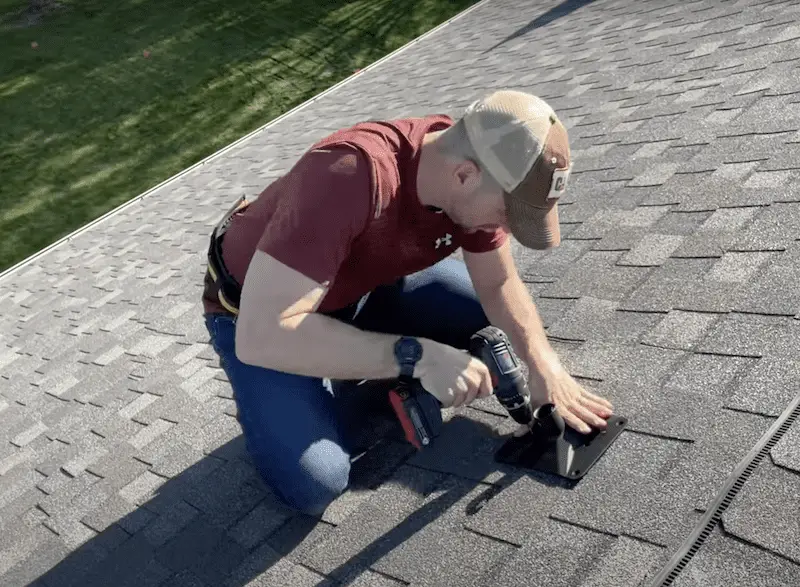
Take the volcano mount and position it over the pilot hole. Then drill six pilot holes.
Once the pilot hole is set, take each of the small little sealing patches and roll them in a ball. From there, apply those around each of the pilot holes, making sure you’re completely covered (go well beyond each pilot hole).
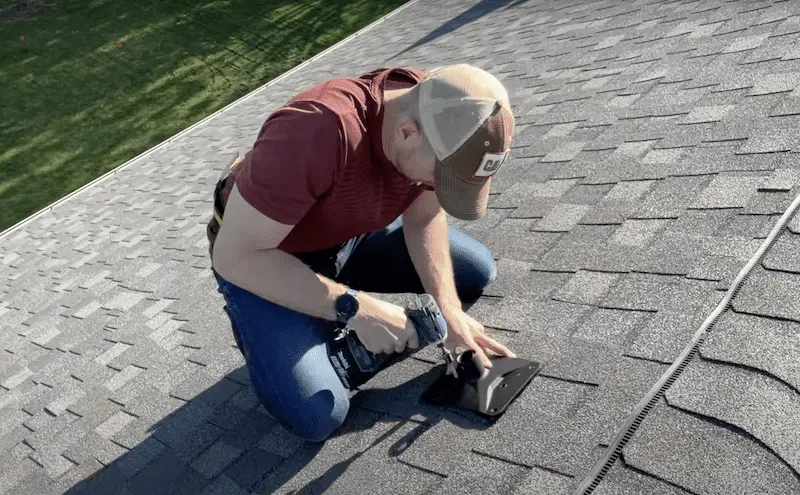
Once all six are in place, use the larger patches for the top and the bottom, and line up your Volcano Mount with your pilot holes. Sink the two longer lag bolts in the center. Tighten them down to about 90 percent with the impact driver.
Finally, come back through and hand-tighten them to make sure they’re all tight and also not stripped out. Once you get them tight, you’ll want to see that the sealant is actually squishing out from under the mount.
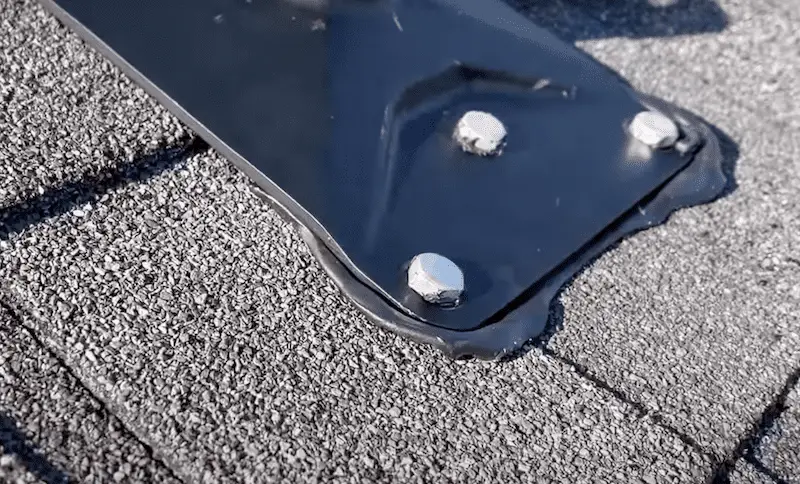
Additionally, it’s good to see it coming out from the actual lag bolts which gives confidence that this should seal well and won’t have future water leaks.
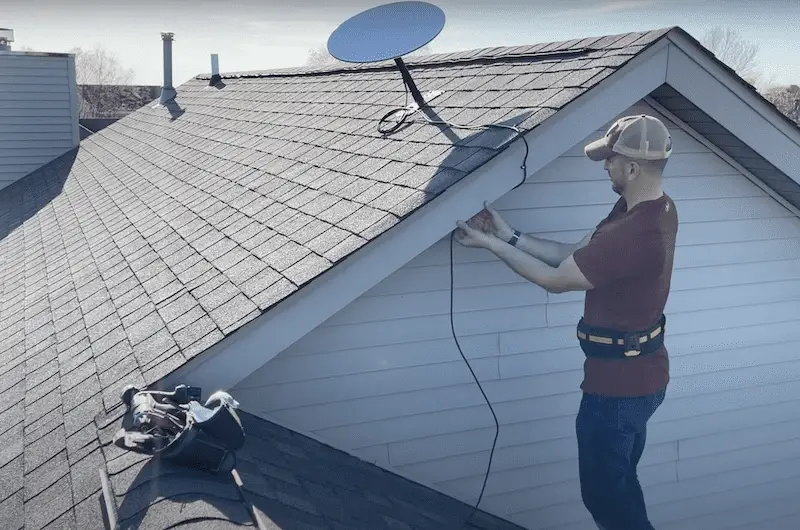
4. Secure in the Starlink
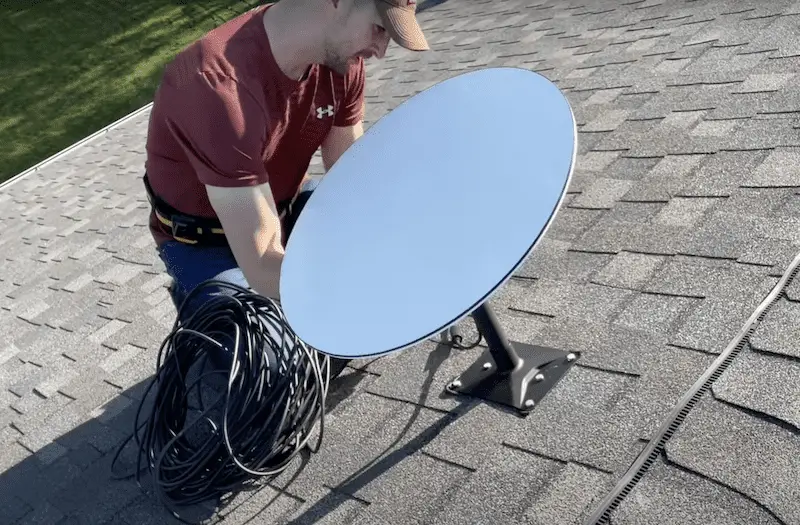
Once you have the mount secured, you’ll take your Starlink, set it in, and clip it into place. You’ll also have your hundred foot cord, so I just stretched it out to make sure I didn’t have any tangles before fishing it inside the house.
I also made a small loop and secured it with zip ties. This is the service loop, so if I ever need to take off the Starlink and do any service to it, I have a little bit of wire to play with.
Then, I took one of those routing clips and secured it to the outside board and one on the vertical surface.
Note: I left some slack because I didn’t want the internet cable rubbing on the edge of the asphalt shingles. Over time that would cause a failure in the cable as the shingles move slightly.
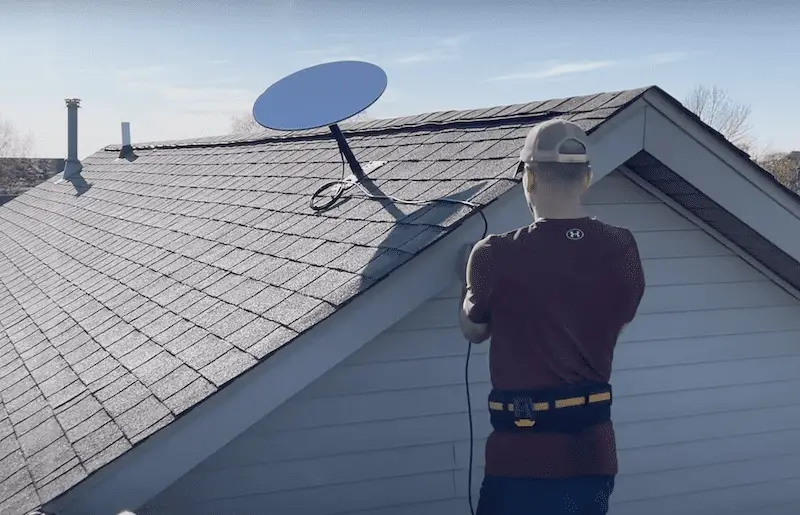
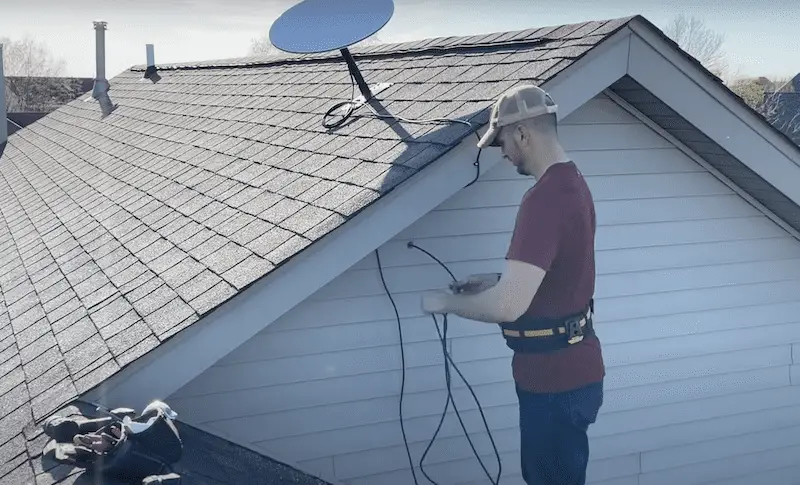
5. Route the cable
At this point, I routed the cable running along the edge of the fascia (a bit lower on the wall) and then mounted a routing clip to secure it to the vinyl siding.
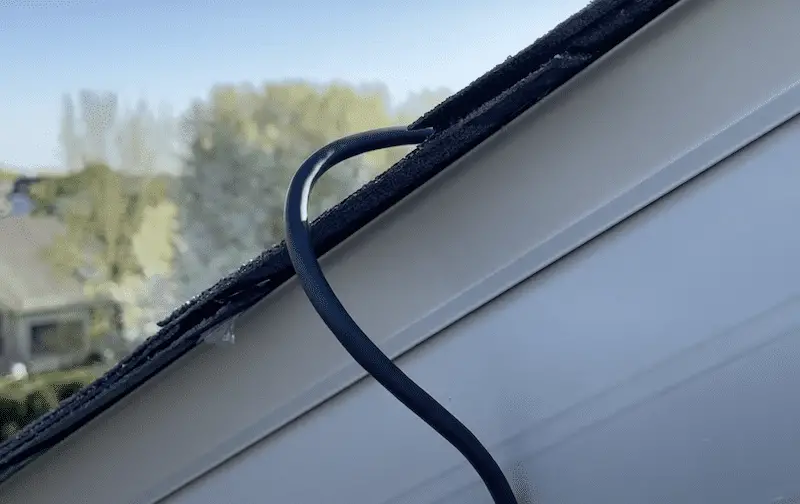
Then, I positioned my 1” diameter hole so I could start to fish the cable into the attic space. Once that hole is done, make sure that the end of your ethernet cable is covered with electrical tape and then go ahead and fish that into the space.
Once it got all “fished in” I made an additional small loop because I wanted to make sure if any water got on the cable it would drip down as opposed to coming into the attic space.
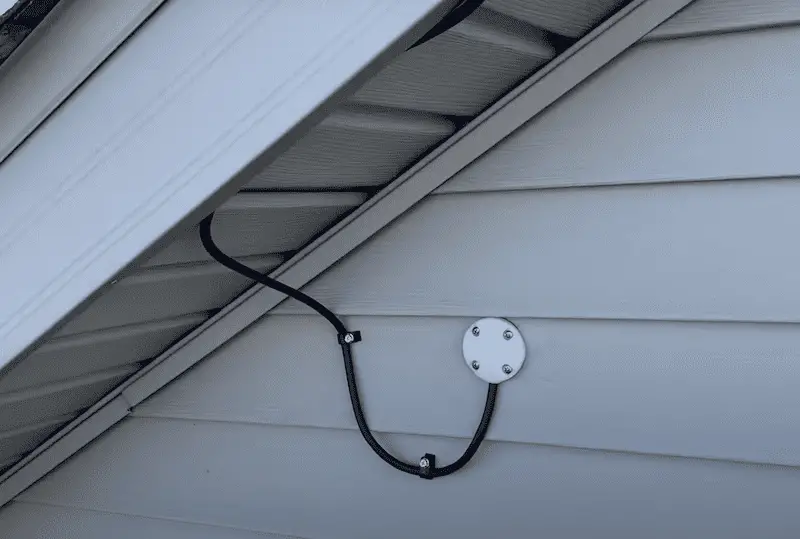
Additionally, I put on this cover which has four mounting screws (seen above) for extra protection.
At this point, everything should be water-tight, so now it’s time to start completing the routing inside and get everything set up for a speed check.
6. Complete the routing
Now, all of the wires are in place. I put most of the setup inside a closet so it’s just out of sight.
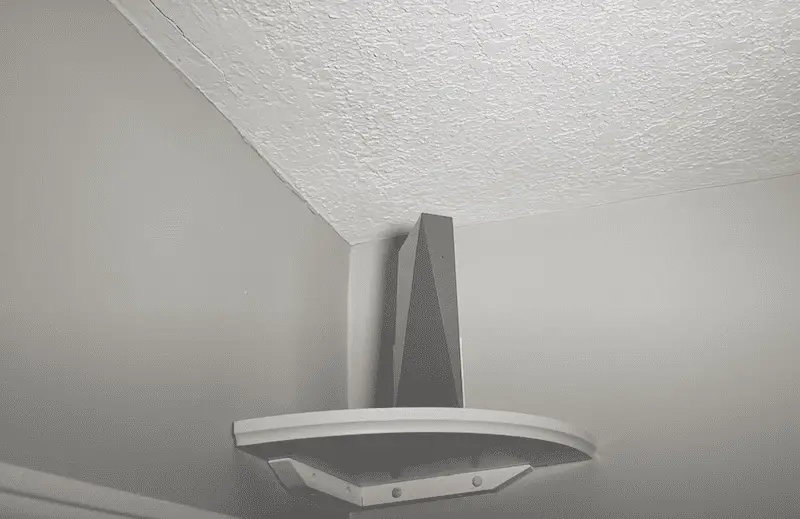
Then, on the other side of the wall in a nice centrally located open spot in the house, I have the wi-fi router positioned high off a shelf that I installed.
This was the best setup since I’m coming top down through the attic. However, if you’re going bottom-up through that rim joist, which is super common, you’re going to have a different setup.
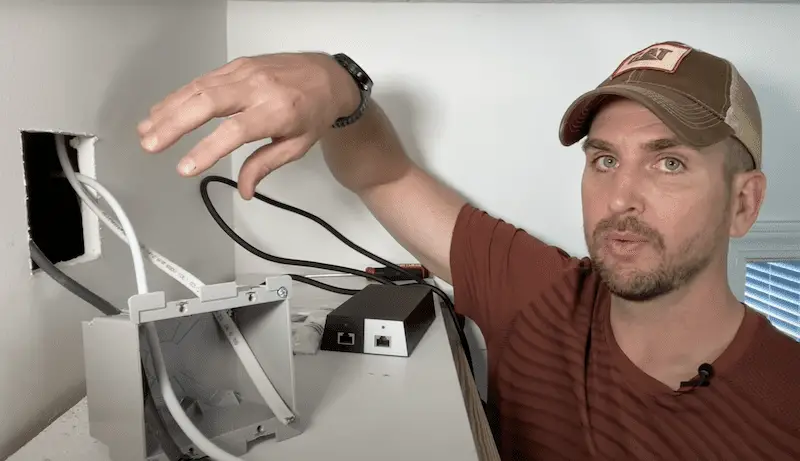
I installed an old work 2-gang box, which I modified slightly on the low voltage side to get the cable through. But I kept the low voltage on one side and then had my ROMEX and the receptacle on the other side. (Note: I’m still waiting for the low voltage insert, which wasn’t available at my local hardware store.)
In my area, it’s acceptable to put low voltage and high voltage in the same box, but you do need to have a divider plate to keep them separated.
Remember: if you’re doing electrical work, it’s on you to do it safely and know your local code. You may want to consult a professional if you’re uncertain.
7. Final touches
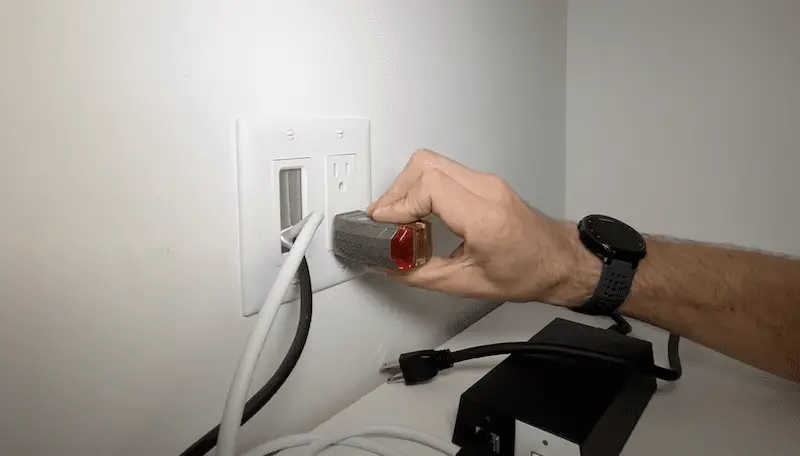
Once you get everything inserted in the wall and powered up, use your outlet tester to confirm you’re good to go. For my situation, I had the black cable coming from the dish and white that’s going out to the wi-fi router on the other side in the hallway.
Keep in mind that the dish is not stationary. So it’s going to establish itself and go through the initial calibration procedure where it’s trying to find the best angle in terms of the positions of satellites. Once the Starlink unit has established that optimal position, you can finally run your speed check.
8. Do a speed test of Starlink
Currently, I’m at about 50- 55 megabits per second on the download and then about 10 – 12 megabits on the upload with a pretty consistent 38- 40-second latency.
I have seen all the way up to about 110 – 120 on the download speeds and all the way up to about 25 or 30 megabits per second on the upload speeds.
So why do you see that wide of a variety of speeds? Check out https://satellitemap.space. This website will show you in real-time the position of all the Starlink satellites. And you can even focus on your area to see what kind of coverage you have. Pretty cool!
(See my full review on Starlink along with a temporary set up option at this video.)
The wrap up
Overall, my current speeds have increased. It is now even beating my Comcast 100 megabit download internet, so I’m planning on testing it out for a few more weeks to ensure it is a stable network. Then, I’ll cut the cord on Comcast and go full Starlink.
Do you have Starlink? If so, let me know in the comments if you did a similar setup and any thoughts about your experience so far!


