
 My Account
Whether or not you want to do any upgrades and actually work on your electrical panel, it’s still good to have some basic understanding of what’s going on. It’s right up there with how to turn off your main water shutoff valve and how to unclog a drain. They’re just good things to know as a responsible and aware homeowner!
In this blog, I’ll walk you through the basics of your electrical panel and circuit breaker.
- We’ll start off from the outside and point out a few of the features. I’ll share how to identify some of the basic specifications for your panel.
- Then, we’ll take the cover off and look internally at some of the components.
- Finally, we’ll finish off with a few of the different issues I’ve seen during home inspections. That way, you can take a look and proactively get ahead in case you want to buy or sell a house in the future.
Rather watch than read? Check out this 12-minute video.
DISCLAIMER: This video and description contain affiliate links, which means that if you click on one of the product links, I’ll receive a small commission.
First, what’s going on the outside of an electrical panel?
Electrical panel cover + types
Looking from the outside, you’ll see there’s an overall cover in the access door. You’re probably familiar with this because if you’ve had a circuit breaker trip, you’ve likely opened the door and reset the breaker.
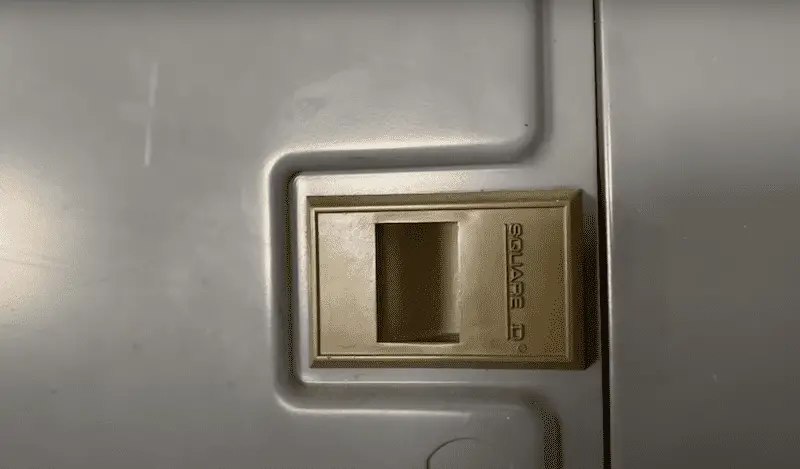
On the outside of the door or on the cover itself, you’ll also likely see the brand of electrical panel, which would be the same as the brand of the circuit breakers you’re using.
The 4 main ones that you can get readily available if you ever have to swap out a circuit breaker or do any maintenance include:
The Main Breaker
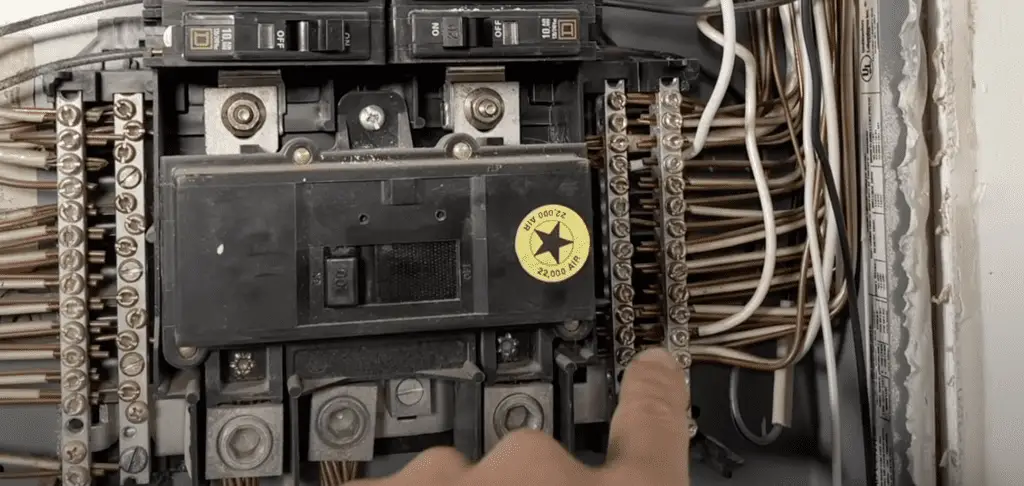
We’ll start off with the main breaker (for me it’s on the bottom). On the switch itself you’ll see a small label with either 200, 100 or possibly even 60. That is the overall amperage (or the amount of current that can go through the main breaker) before it would trip.
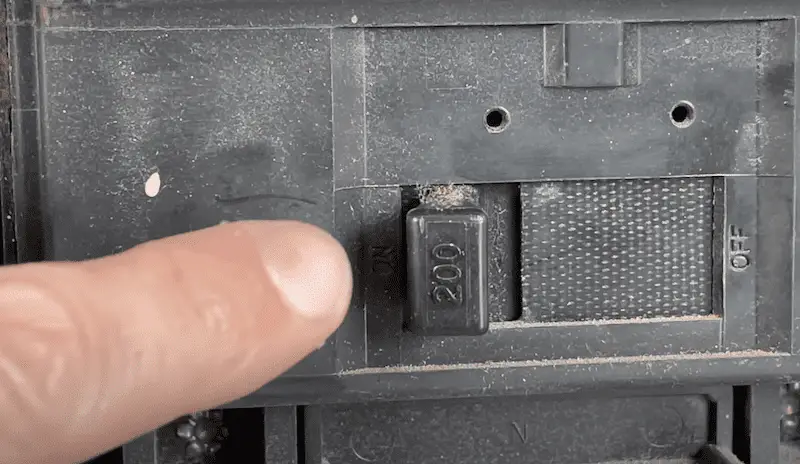
This is a 200 amp service that matches my electrical meter installed on the house. Mine is on the low side underground utilities are run in my community, so it comes up from the bottom. Most of the time you’ll have lines coming from a transformer on a pole over to a mast on your house and then down. So, your main is probably up top.
Electrical panel labels
Keep in mind, these labels are often way off! When your electrical surface was first installed, hopefully everything was labeled correctly. But depending on how much maintenance and who did the work over time, these can start to really change. Never trust whatever this says!
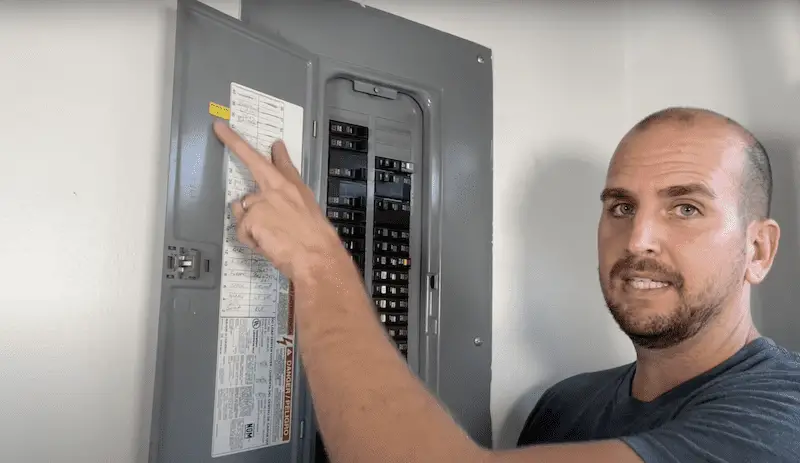
For example, if you hit the living room circuit and then you go start to swap out that outlet — you would always want to test that outlet (I recommend the Klein Tools Voltage Tester). That said, the labels should give you the direction of which breaker to hit. But again, it is by no means 100% accurate. To be honest usually there are quite a few errors on these.
Small circuit breakers vs. thick circuit breakers

You’ll also see smaller circuit breakers which will be labeled on the switch either 15 or 20, which means 15 amp or 20 amp. That is going to mean that that circuit has a maximum delivered amperage of either 15 or 20 for a 120-volt circuit.

Then, you’ll have the thicker breakers that are the thickness of two of the singles. This means it’ll provide power to a 240-volt circuit. Commonly these are for a dryer, stove, or air conditioning unit. And it is going to be the amperage for which is labeled on the switch (often 30, 40, 60 amps depending on the appliance it’s actually feeding power to).
What is going on the inside of the electrical panel?
SAFETY REMINDER: If you do not feel comfortable going into your electrical panel, call a pro. However, if you feel comfortable with your skills, it’s your own house, you’ve checked your local code, and you can do the work, then that’s a different story. There is a line between DIY and doing electrical work in your house. Calling in the pros is often the best bet. Above all, make sure you’re comfortable!
How to remove the electrical panel cover
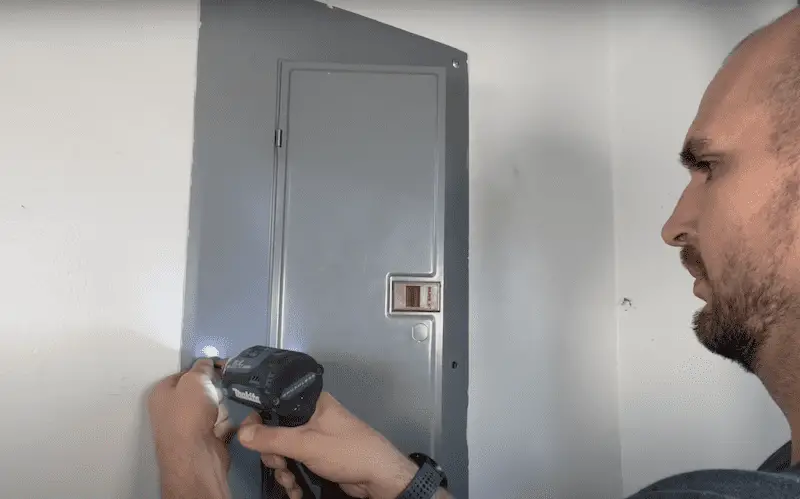
Usually there are 6 pan head bolts or screws that you need to remove.
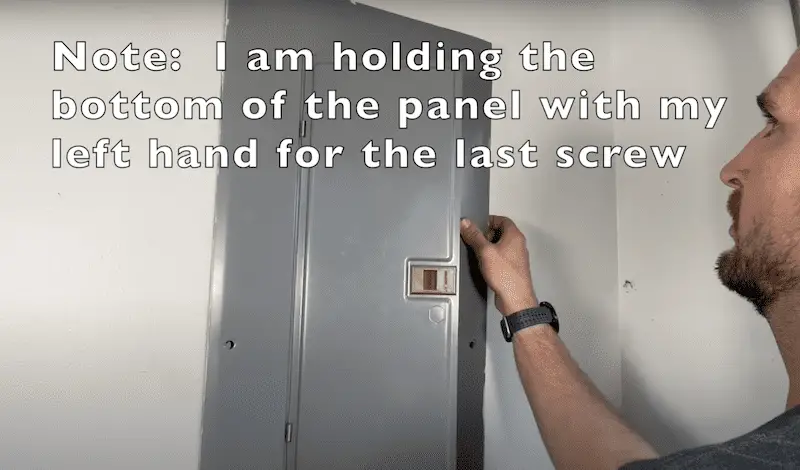
Make sure you have a good hold on the cover before you remove the last one. This is because the cover is going to come right off. You wouldn’t want the edge of a cover to go inside the electrical panel because that could create a short and be a very serious situation!!
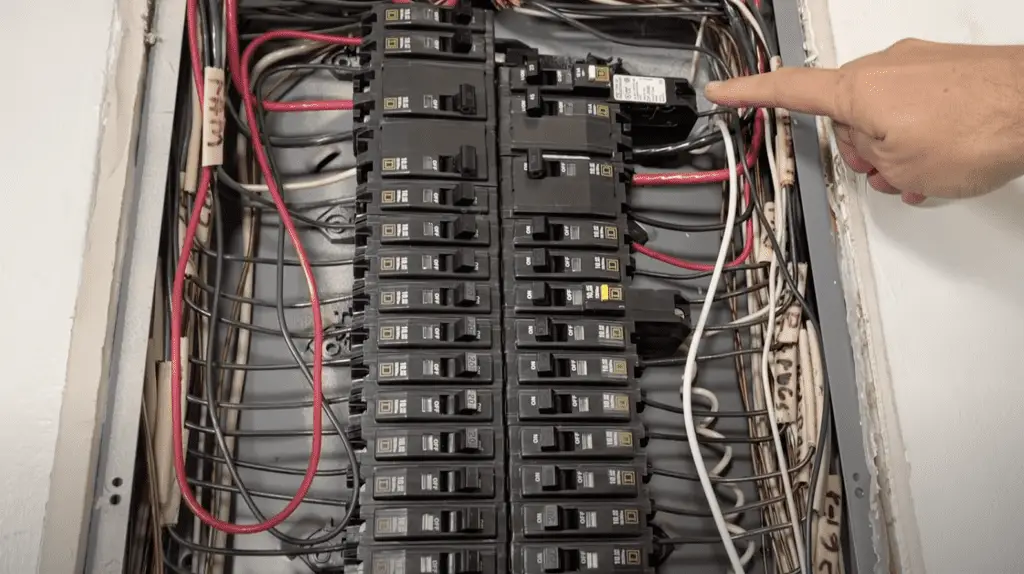
The internals of an electrical panel
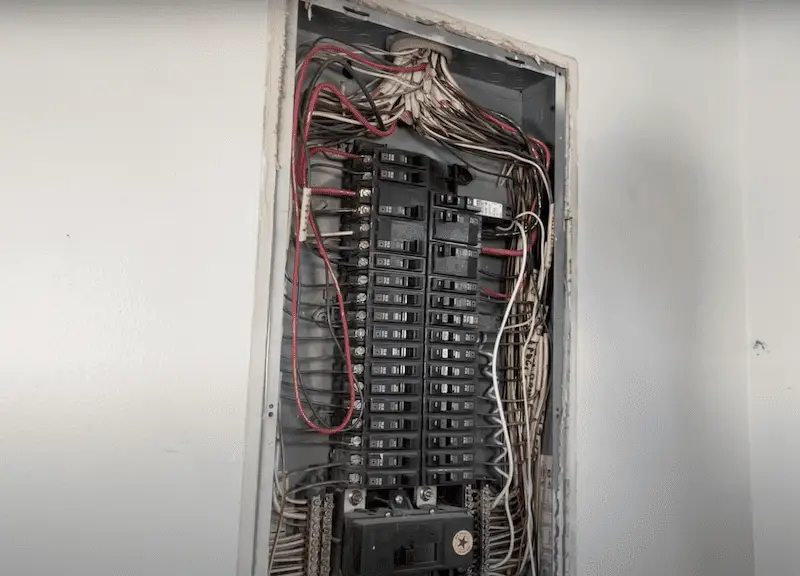
Depending on who did the install for you, it might look like a rat’s nest or it might be nicely routed. Most of my individual circuits are run with Romex and are coming from the top side and I have my main conductors coming from my meter on the bottom side. (This may be the inverse of what you see.)
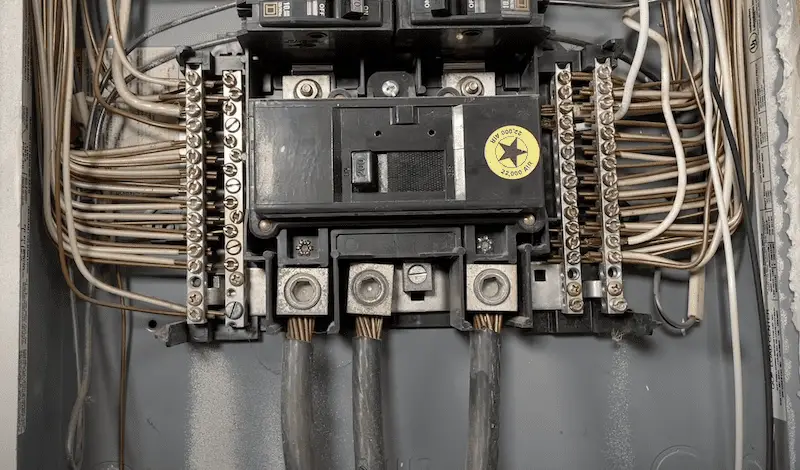
You’ll see there are three main wires coming from your meter – that’s what’s providing all the power through your main 200 amp breaker or whatever amp breaker you have.
- You’ll see a 120 hot coming on the right-hand side
- There’s a 120 hot coming on the left-hand side,
- Then, you’ll have your neutral coming in the middle and there’s a bus bar that will go out to all those screw terminals seen on the left and right-hand sides.
Remember even if you hit the main off, the wires coming in are still hot both on the left and right-hand side. So always take caution when you have the cover off your panel.
We did have one circuit that was added later on. This serves as a good example where you run the Romex to your panel and you would cut the outside sheathing off. Then you’d have your black (hot), your white (neutral), and then your bare copper ground — and all those individual wires would then branch to the outside and go to their independent location.
The white in this instance runs all the way up to this top breaker — and that is because this is a specific type of breaker called an arc fault: where you would have the neutral coming to the breaker for all these other breakers that are not extended back. They are not arc fault/not GFCI, so the only wires that you’ll see coming to these breakers are just your hot conductor from each circuit.
And then your white neutral wires would then run to these screw terminals.
Only in the instance of the AFCI or GFCI would you have your neutrals going all the way up to your breakers. Depending on when and where your home was built you might see no AFCI and GFCI breakers or you might see multiple examples of each.
How do I replace or change a circuit breaker?
Do you have an issue with a breaker always tripping? You might want to replace this 120-volt Square D 20 amp breaker. This is one of the most common things a homeowner might want to do. Luckily, it’s pretty easy!
First, turn the power off at the main breaker. That would turn off power to the 2 bus bars running up to all your breakers.
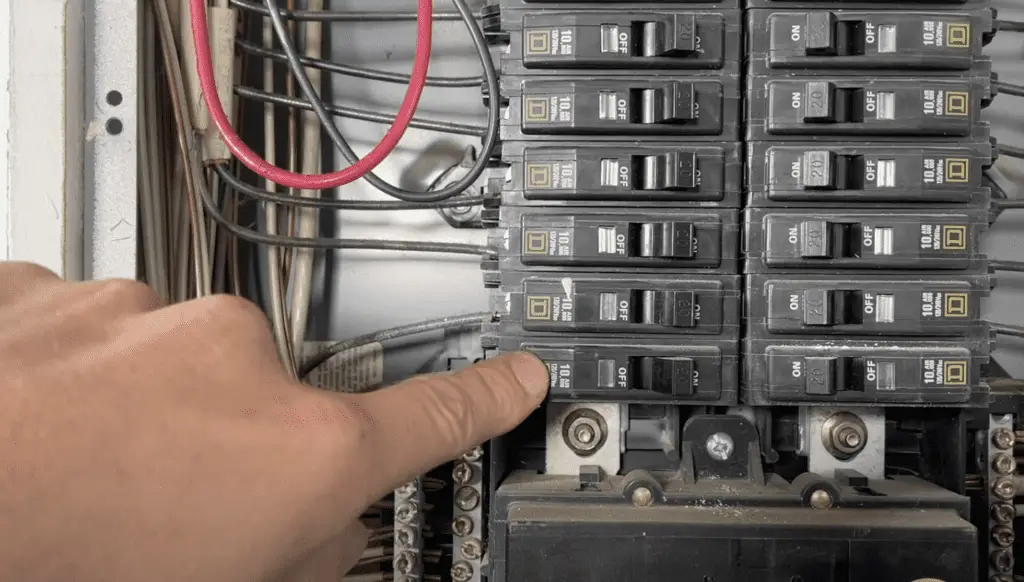
You could undo your screw terminal to get your hot wire off of this breaker. And then you’ll see a mounting clip in the front. This clip actually connects the breaker to the bus bar. So even though these both look like they might be connected to power, they’re not.
This is just a front mounting clip, so once you have the wire off here, you can just pull the breaker out. Then, you’d take that down to your home improvement store to match up the exact breaker. FYI, it’s not uncommon to have a few different designs even for the same brand.
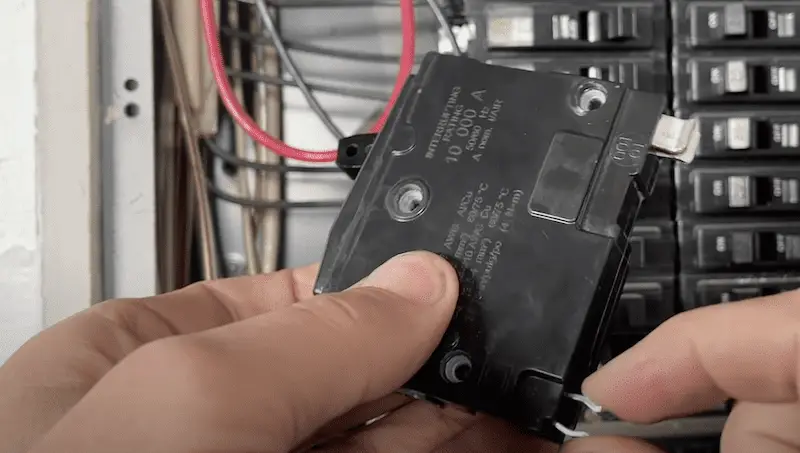
What is actually going on inside of these breakers?
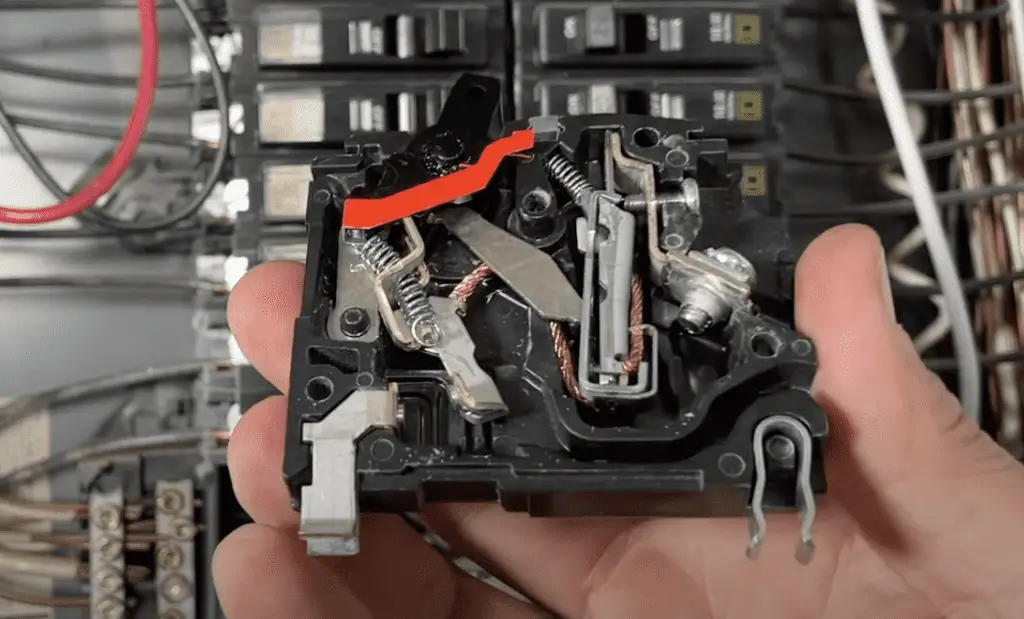
- Mounting clip, which can actually come out.
- Terminal that the wire goes into. This will then go out to your Romex, which connects up to this braided copper wire internally.
- Strip which is the main functional piece to the breaker.
- Braided wire comes over to this contact point. However, the breaker is open in this state because this contact is not connected up.
(Watch minute 9:00 in the video above to see a fuller explanation of these parts.)
Curious about what happens internally when a short happens? Watch this video.
3 helpful tips to know during inspections
When it comes to inspections there are 3 things that have come up for me in the past:
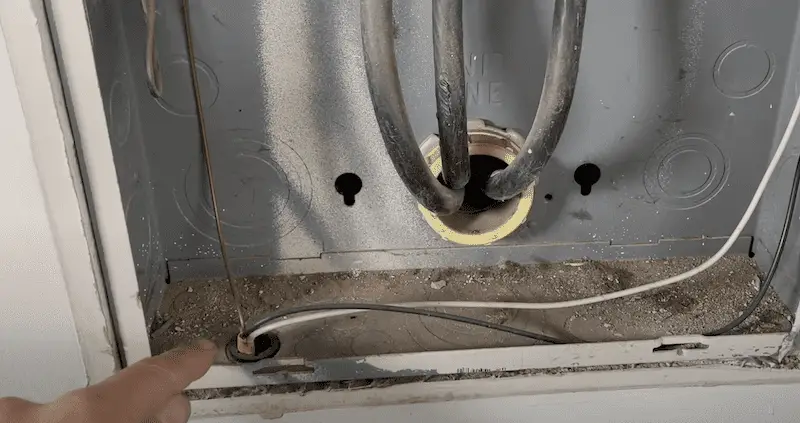
- You might see some knockouts with Romex coming up through with no cable, clamp, or anything protecting the Romex against the sharp edge of the box. That can be called out in an inspection. Why? It’s a dangerous situation that can cut into the insulation of your hot and create a short.
- Is the panel is completely full, take off the cover and see if you have one hot wire going to each of your circuits. Often if it’s a full panel, you might see two hot wires going into one breaker and that is not allowed (at least within my area).
- If you do not have a breaker in place but someone has popped the knockout out, you have an opening and a safety hazard. This is because somebody could put their fingers or something within the panel and get shocked. If it is removed and you need to patch the hole, you can get filler plates at pretty much any home improvement store. It’s not a big deal and actually one of the easiest fixes if that comes up in an inspection!
The Wrap Up
Hopefully, this information gets you a little more comfortable with your electrical panel and your circuit breakers. Overall, it’s just good information to know as an educated homeowner!


