
 My Account
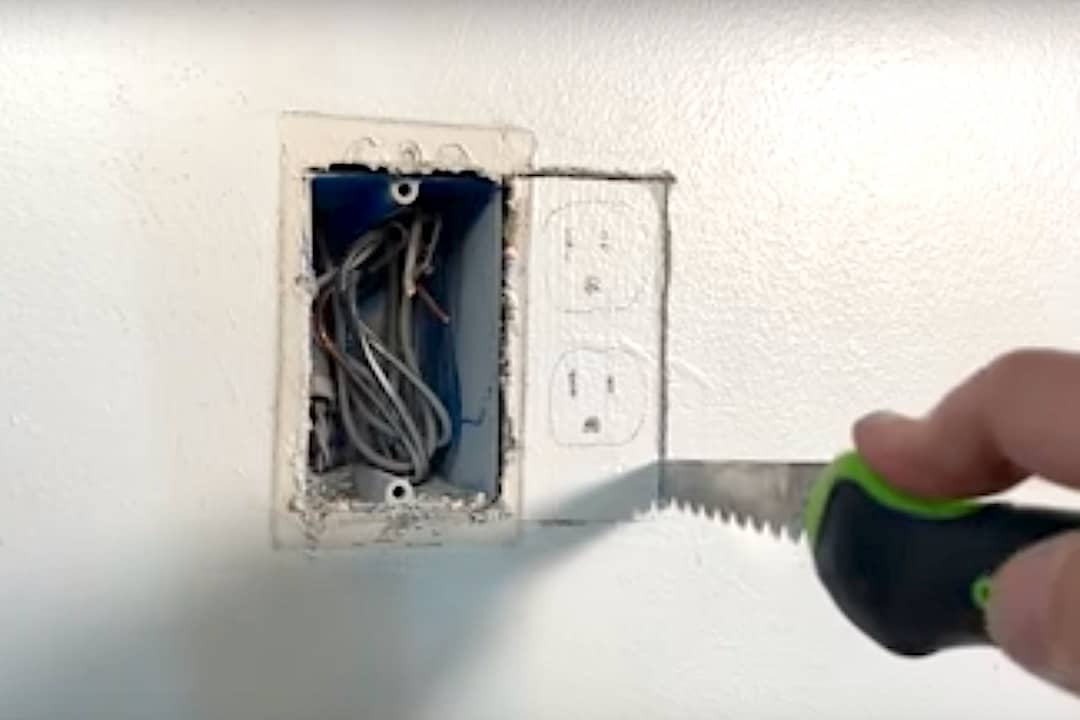
Like many of you, the number of things in my garage that I need to recharge has been expanding, and now I don’t have enough outlets for all the plugs at my workbench.
Today I’m going to show you how to double a duplex receptacle, turning two outlets into four. The time and expense are pretty minimal; figure about $10 in supplies and an hour of your time.
Turn a 2-Plug Outlet into a 4-Plug: Step-by-Step Guide
In this step-by-step guide, I’ll walk you through the simple steps to turn a 2-plug outlet into a 4-plug. This is a very approachable project for a do-it-yourselfer comfortable with electrical work.
We’ll cover how to:
- remove the old duplex outlet
- figure out which direction to put the new larger electrical box
- mark and cut the hole for the new box
- install and wire the new electrical box and receptacles
Let’s jump into it!
Rather watch than read? Check out this 10-minute video.
DISCLAIMER: This video and description contain affiliate links, which means that if you click on one of the product links, I’ll receive a small commission.
How to Double a Duplex Receptacle: Supplies & Tools
Supplies
Tools
Before Starting Any Electrical Project
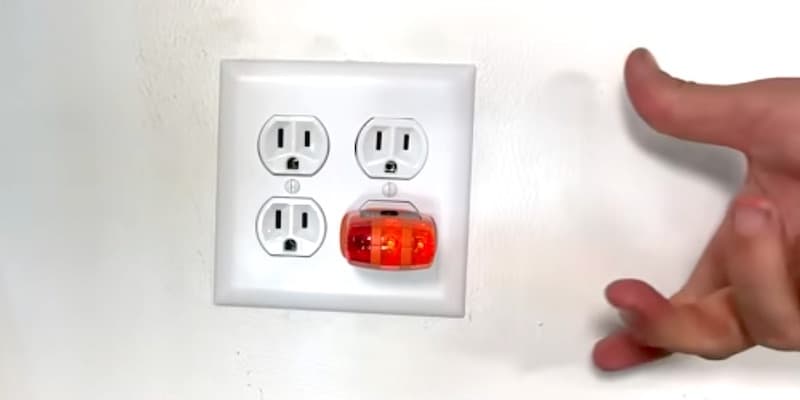
Before starting any electrical project, I want to ensure that I’m working safely.
With my outlet tester plugged into the receptacle, I’ll flip the breaker and confirm that the power is off.
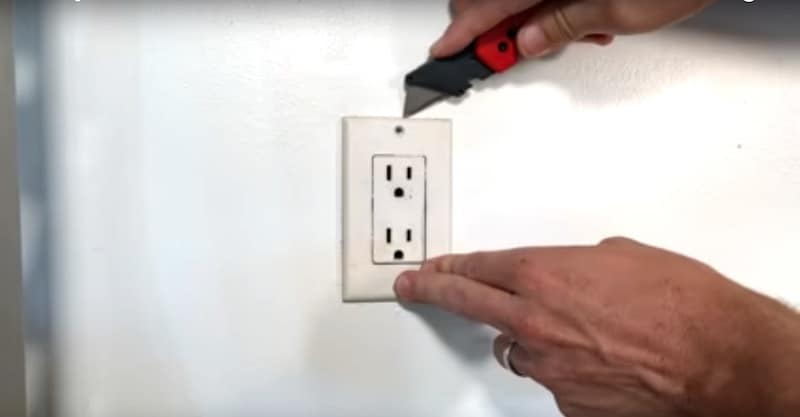
Prep: Removing the Old Duplex Outlet
To remove the old duplex outlet, I’ll first take out the screws and then use a utility knife or razor blade to score around the front plate so that I don’t damage the paint when I pull the plate off.
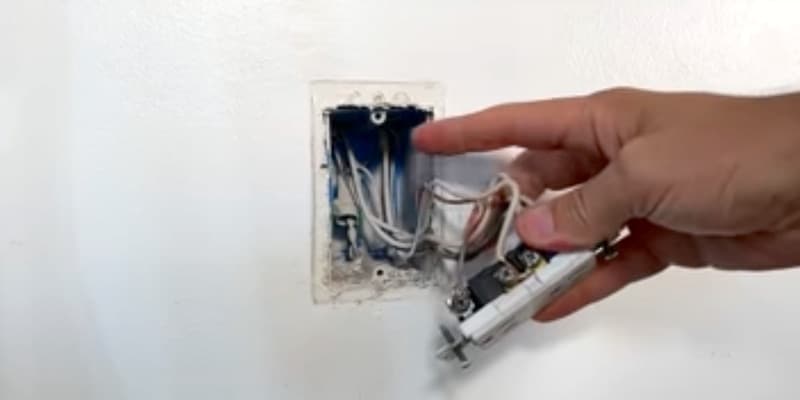
With the front plate off, I can remove the interior screws and pull the receptacle out.
Let’s see what we’re working with here.
SAFETY NOTE: Before touching anything inside the electrical box, I like to double-check the wires with a non-contact voltage tester to make sure nothing is live, like maybe a hot wire from another circuit.

Once I’ve double-checked that there is no power flowing inside the box, I’m clear to start taking the existing receptacle out.
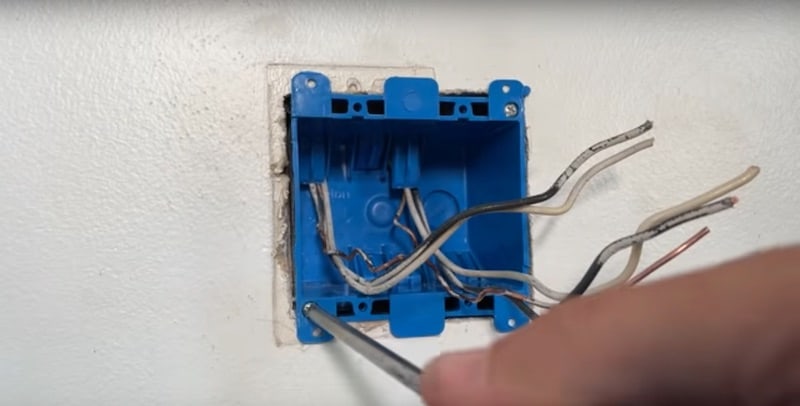
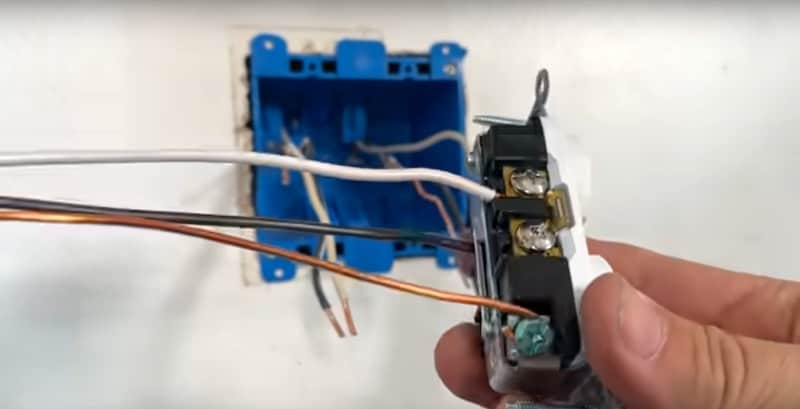
I’ll describe the wiring that I have here, just keep in mind we all have different setups.
I have:
- two blacks (hot)
- two whites (neutral)
- a pigtail for my ground coming from the two grounds back in the box
Regarding the two hots and two blacks — what this means is that power is being supplied to this outlet and also being passed to another outlet. This wiring is passing the hot, neutral, and ground downstream to another receptacle on the circuit.
Prep: Finding The Stud
The electrical box of my outlet is fastened to a stud, either to the left or to the right. It’s important to know which side because I’ll be expanding the outlet in the other direction.
For most of us, depending on how old the electrical system is, the type of electrical box we have in our walls is most likely what’s called a “new work” box.

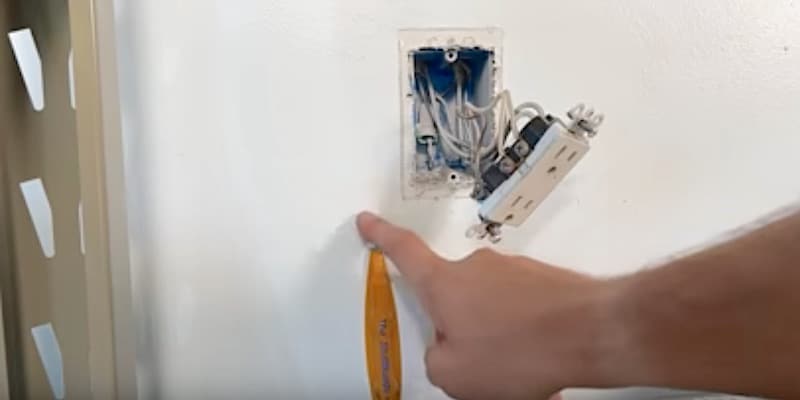
By pushing away the box a bit with a screwdriver, I can actually see the stud here on the left.
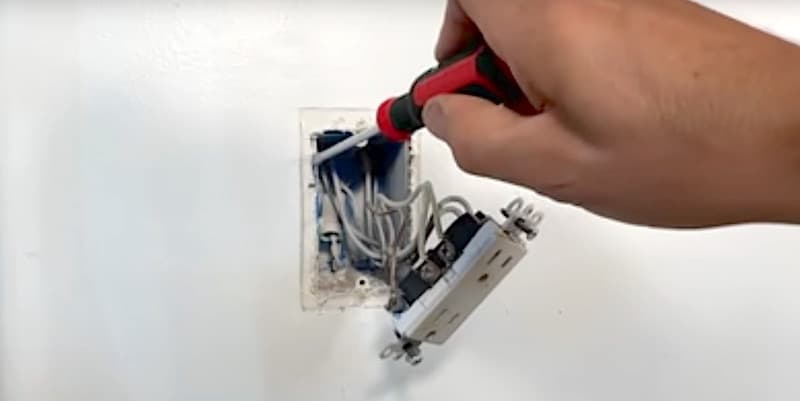
Knowing that the box is fastened on the left is important because it tells me where I’m going to cut a hole to expand the outlet, which in this case is obviously to the right.
Another way to find the stud is to use a magnetic stud finder. It will locate the fasteners holding the drywall to the stud.
To use the stud finder, just pass it along the wall until it finds something metallic and catches.
The stud finder has located drywall screws to the left of the electrical box, reconfirming that I need to expand out to the right of the existing box.
How to Double a Duplex Receptacle: Mounting The Old Work 2-Gang Box
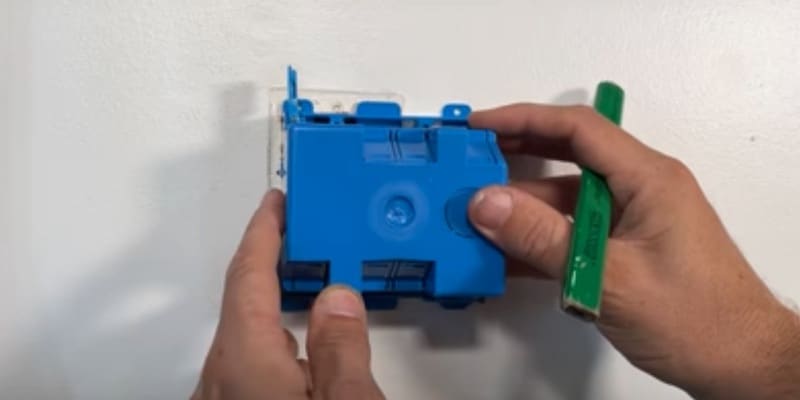
Ironically, the 2-gang box I’m going to be installing to double my duplex receptacle is called an “old work” box.
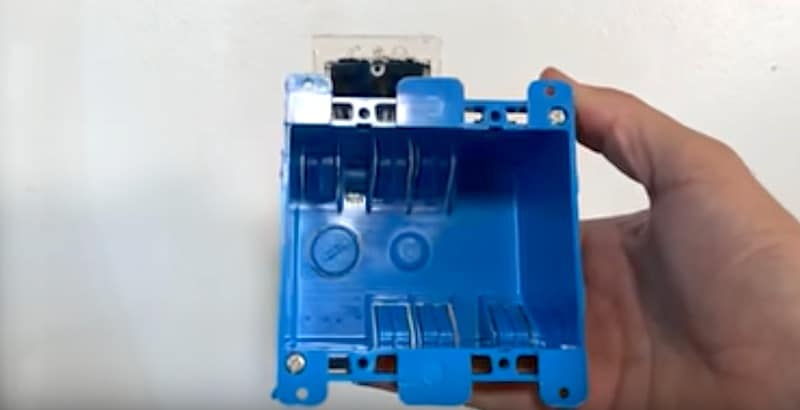
To mount this type of box, I just insert it into the hole. When I tighten the screws, these arms come up and pull the box into the drywall to hold it in place.
When expanding the opening for the larger box, you want to make sure that there are no obstructions when you’re cutting and that there is ample space for the old work box to fit.
Before marking the spot for the 2-gang box, I’m going to remove the old receptacle. I have plenty of wire here so I’ll just snip the wires with micro side cutters and start fresh.
Marking the Outline of the New Electrical Box
To mark where I need to cut a bigger hole for my electrical box, I’ll line up one of the corners.
In my case, the box is attached on its left side to the stud, so I’ll line up the top left corner of the new box with the top left corner of the existing one.
Then I’ll lightly mark a few spots to outline the shape of the new box.
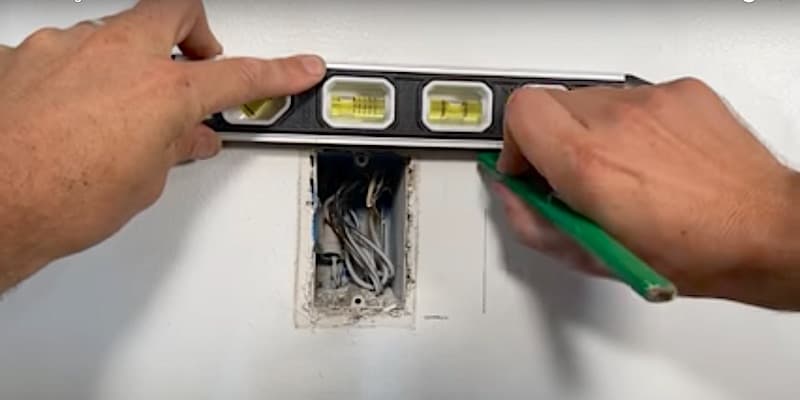
Next, I’ll use my Torpedo level to ensure that the hole I cut for the 2-gang box is level, marking the outline more heavily to correct my previous marks as necessary.
Cutting the Hole for the New Electrical Box
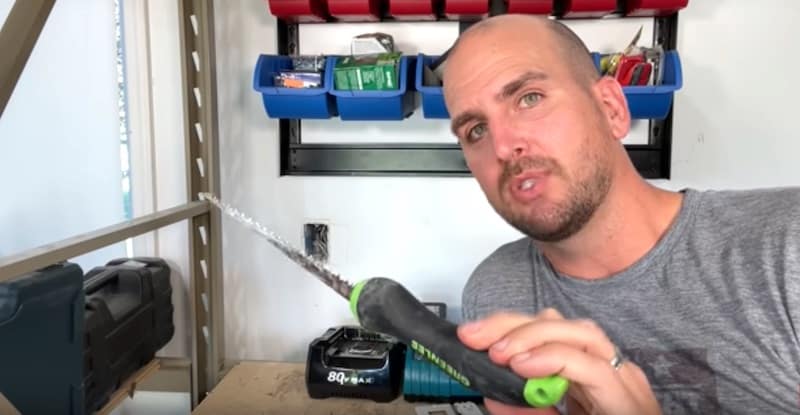
NOTE ABOUT TOOLS: To enlarge a hole like this, I usually prefer to use either a Rotozip, which makes fast work of cutting holes in drywall, or an oscillating tool, which is my favorite. Instead, for this demo, I’m going to cut the drywall with a simple jab saw, knowing that many people don’t have those more expensive tools.
A jab saw will work just fine for this project. You can purchase them for $5-10.
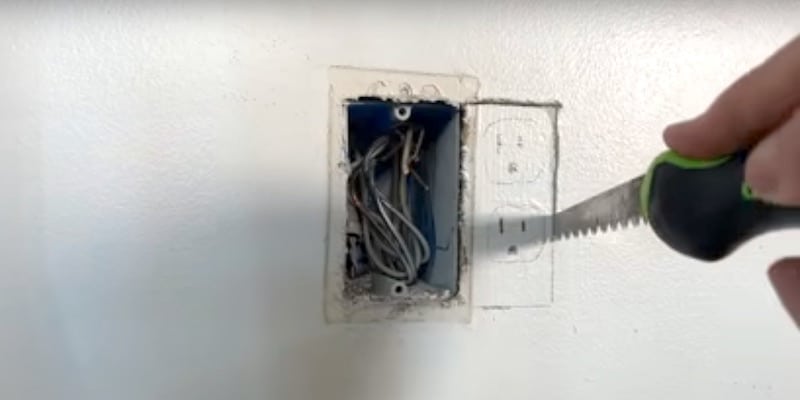
As the name implies, you simply jab the tip of the jab saw into the drywall to start.
I’ll saw all the way around the three sides I outlined and remove the piece of drywall when I’m done.
Then I’ll pry the existing electrical box loose a bit, untangle the wires, and remove the box.
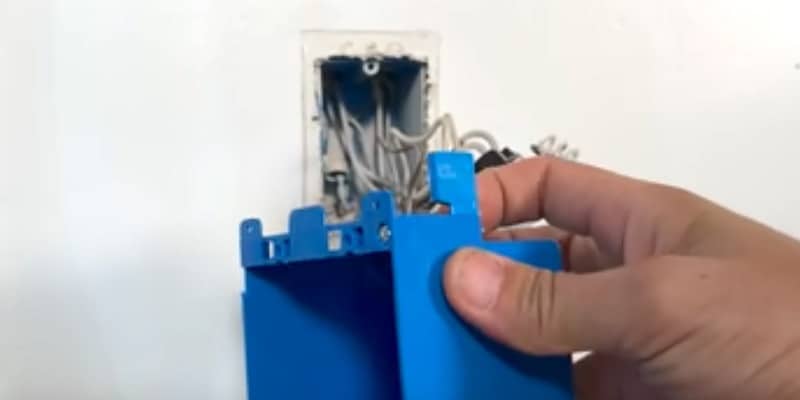
With the old box out, I’ll do a quick dry fit to make sure the hole is the right size. Looks good.
Wiring Up the New Electrical Box
Now I’m going to pull my two separate Romex lines into the box from the top and tighten the two mounting screws. A little pull test just to make sure the box is securely in place is always a good idea.
Before going on, let’s do a little review of the components I’m using here.
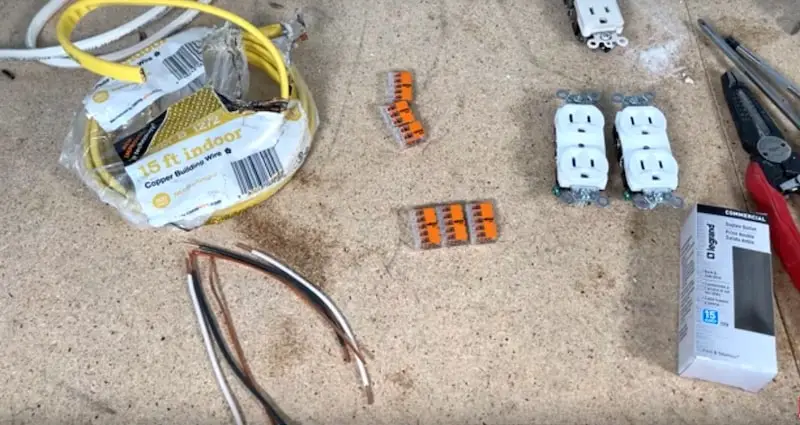
The Wire
I have 12-gauge wire coming in, even though these are 15-amp outlets. You could use 14-gauge.
I always have some 12/2 Romex lying around. From the Romex, I’ll cut two sets of pieces about 8 inches long and then strip them down. Each set is made up of a white neutral wire, a black hot wire, and a bare copper wire, which is my ground.
I’ve made two sets because I’ll be doing what’s called pigtailing. There are a few different ways to wire this up but I prefer the pigtail method. I’ll tell you why in just a bit.
The Connectors
Instead of wire nuts, I recommend Wago 221 lever nuts. They make electrical work go faster and give you a more consistent and solid connection. They come in 5-pin, 3-pin, and 2-pin. I keep some of these in my truck at all times.
The Wagos can be a little hard to find. Lowe’s and Home Depot don’t carry them; I’m not sure why. In my area, I can get them at Menard’s but I usually just buy them in bulk off Amazon.
The Receptacles
When it comes to the duplex receptacles themselves, I would use a Decora series flat face if this project were inside my home because they have a nice, modern look.
Since this project is in my garage, I don’t care so much about the esthetics so I’m using a Legrand commercial grade outlet. This is my favorite commercial-grade receptacle. Even though Leviton and Eaton are solid, the construction of the Legrand is a little heavier but with a compact design.
Wiring the Receptacles
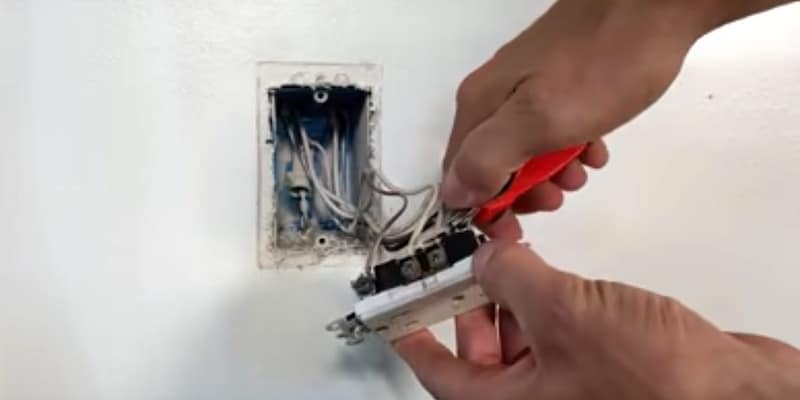
I’ll be using what’s called “back wiring” to wire up these receptacles.
With back wiring, you insert the wire through the back side of the receptacle. After you insert the wire, you just tighten down the side terminal to clamp the plate down.
This method is faster than running a J-hook (sometimes called a shepherd’s hook) around the screw, which can be a little intimidating for some people. The J-hook is the classic way of wiring and it does provide an optimal connection. It really isn’t that difficult to do but I like back wiring because it is faster and easier but still provides an excellent connection.
NOTE: Back wiring is not to be confused with backstabbing, which is also referred to as push-in, push-pin, or quick-wire, but more commonly known as speed wiring. With backstabbing/speed wiring, you use a different type of component where you simply push the wire into a clamp through the back side of the receptacle. It’s an industrial method of wiring things very quickly and inexpensively but I frankly don’t advise it for your home; the connection you get is inferior to back wiring by a considerable margin and the components themselves are not nearly as robust as commercial grade.
For a deeper dive into why back wiring is preferable, check out our article on Why Back Wiring An Outlet is Best.
Making J-Hooks for the Ground Wires
Even though I’m using back wiring, I will still need to make J-hooks for the ground wires.
Almost all wire strippers have a built-in J-hook maker, which is nothing more than a little hole, usually in the central part of the tool. You just insert the wire into the hole and bend it back to get a properly-sized J-hook.
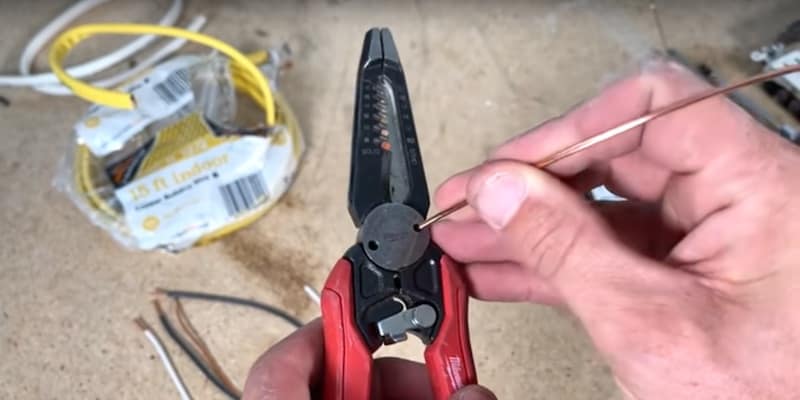
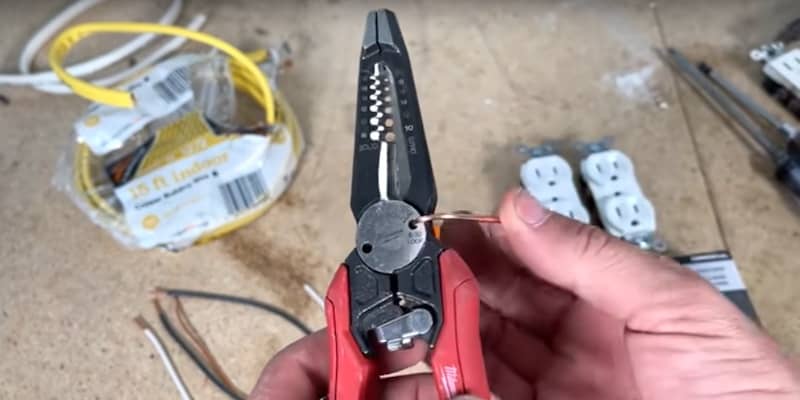

It’s old technology but it is an effective feature.
Making the Pigtails
Before wiring up the pigtails, I’ve pre-wired the receptacle with hot, ground, and neutral using the pieces I already cut from the 12/2 Romex and stripped.
Instead of wiring the incoming and outgoing Romex directly through the receptacle itself, I’m going to use a pigtail. The pigtail links the Romex to the receptacle via a connector such as a traditional wire nut or, as in this demo, a Wago 221 lever nut. This isolates the outlet so that, in case of a failure at this component, the outlets downstream don’t get knocked out. The pigtail also saves space inside the electrical box.
For more info on pigtails, check out our article Why Use a Pigtail When Wiring An Outlet?
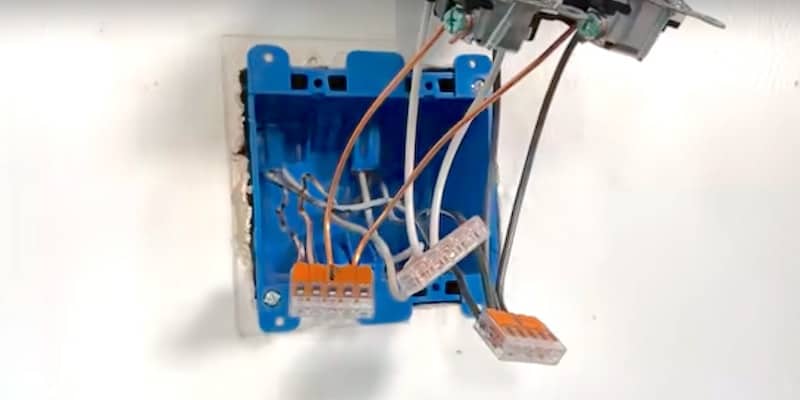
To make the pigtail, I’ll take three 5-pin Wago 221 lever nuts and connect one to each set of wires in the electrical box (hot with hot, neutral with neutral, and ground with ground).
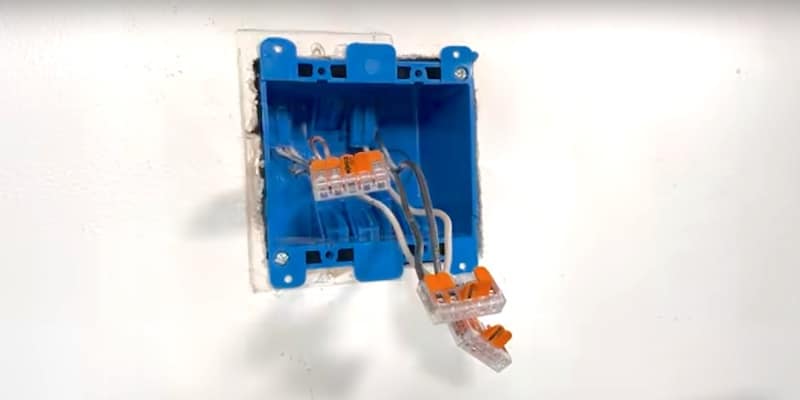
Then I’ll add the corresponding wires from each of my new receptacles to each of the lever nuts (hots with hots, neutrals with neutrals, grounds with grounds).
The nice thing about the clear housing on these lever nuts is that you can see if the wire is fully seated prior to closing the lever. I also recommend doing a pull test just to confirm that the connections are solid.
Once I have all four wires in each lever nut, I’ll tuck everything back into the box.
Securing the Outlets and Face Plate
With all the pigtails made and everything tucked into the box, I’m ready to start centering up the outlets and tightening down the screws.
I’ll do this in stages, eyeballing it to get the receptacles lined up squarely. I won’t secure them all the way until I do a check with the face plate.
To do the check with the face plate, I’ll simply hold it in place to see how things line up. If things don’t line up, I’ll adjust the positioning of the receptacles and recheck with the face plate as necessary.
Once the receptacles are squared and properly lined up with the openings in the face place, I’ll give the mounting screws a last couple of turns to fully tighten them down.
All that’s left to do now is put the mounting plate back on and secure it with the two screws.
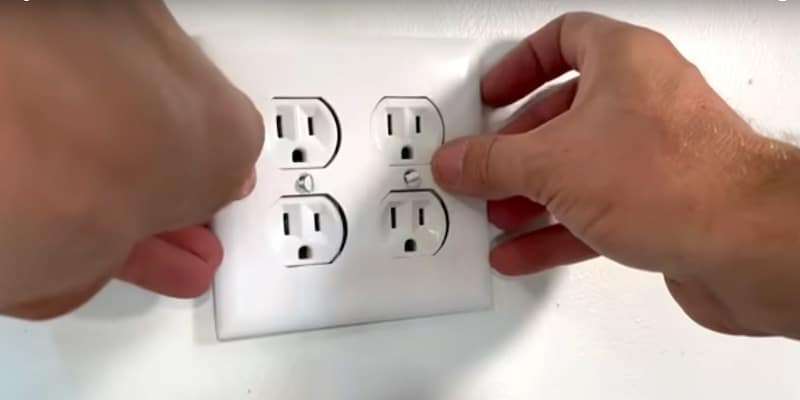
How to Double a Duplex Receptacle: Testing The Work
It’s time to check our work. Let’s flip the power back on and use the outlet tester to confirm that the new double duplex receptacle works.
And they do! It’s a good idea to test downstream outlets as well.
How to Double a Duplex Receptacle: Conclusion
Turning a 2-plug outlet into a 4-plug is a super-approachable DIY electrical project, even for beginners. The cost in time and money to double a duplex receptacle is only about $10 if you don’t have to buy any tools and about an hour out of your weekend.
Other Outlet-Related Videos and Articles
- 10 Things You Didn’t Know About Outlets (video)
- Dangers of Speed Wiring | Why Back Wiring an Outlet is Best (article)
- How to Wire a GFCI Outlet (article)
- Why Use a Pigtail When Wiring an Outlet (article)
To Leave Comments and Questions
If something about how to double a duplex receptacle doesn’t make sense or if your situation is a little different, please leave a comment under the YouTube video. I check the comments on a daily basis and am happy to help out.
Don’t forget to subscribe to our channel as we have weekly videos coming out to help you with your everyday home repairs.
We’ll catch you on the next one! Take care.


