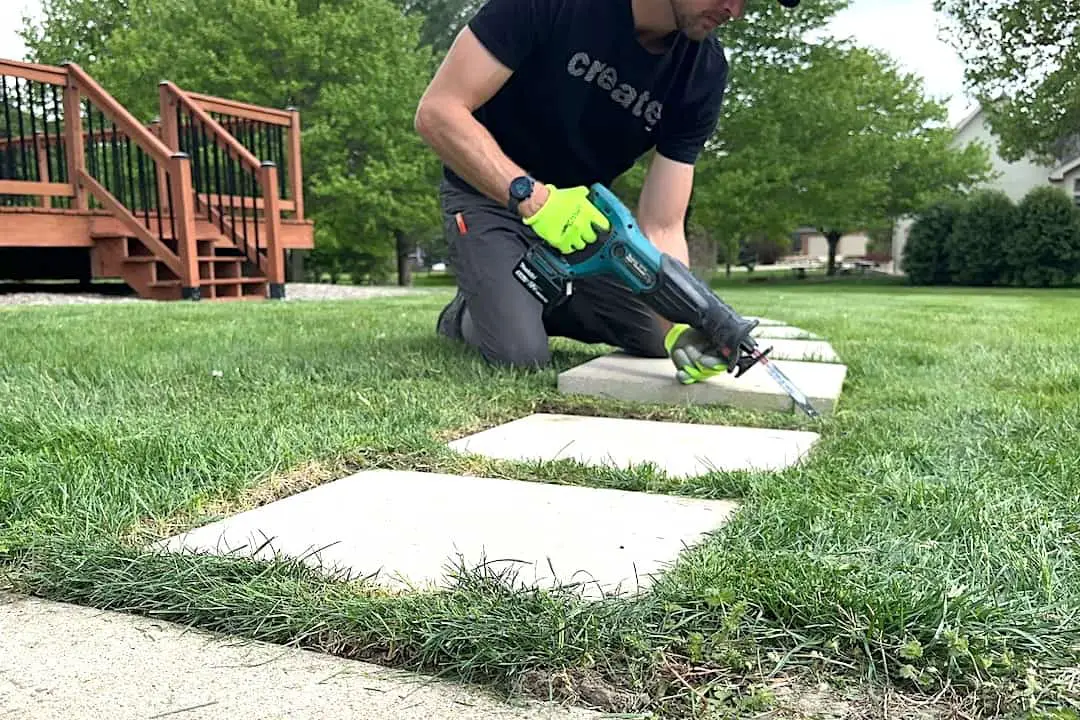
Today I’m going to show you how to create a stepping stone path. This is a super-approachable project for any do-it-yourselfer. With a stepping stone path, you get the most bang for your buck compared to other approaches such as pouring a concrete sidewalk or laying down a gravel path.
When you want to connect areas in your yard or create a more defined walkway to a garden bed or seating area, for example, a stepping stone path is an optimal solution in terms of both cost and time.
How to Create a Stepping Stone Path: Step-by-Step Guide
In this tutorial, I’m going to connect my driveway to my deck with a stepping stone path. I need to run about twenty-four feet.
I’ll be using simple square pavers that measure 20 x 20 inches in this how-to guide. If you wanted to use pavers of a different size or shape, or of a different material such as flagstone, the procedure would be the same.
In this step-by-step guide, we’ll first lay out the pattern and spacing of the stepping stones. Then I’ll walk you through how to set them into the lawn.
Rather watch than read? Check out this 7-minute video.
DISCLAIMER: This video and description contain affiliate links, which means that if you click on one of the product links, I’ll receive a small commission.
How to Create a Stepping Stone Path: Supplies, Tools, and Costs
Supplies
- Pavers of your choice (I’m using simple 20-inch-square pavers in this demo)
- Paving sand (I used about a half-bag of sand per paver for the pavers I chose)
NOTE: The pavers I’m using in this demo weigh 55-60 pounds each.
Tools
- An edger or flat-edge spade (for paving stones with straight edges)
- A reciprocating saw
- A heavy mallet
Costs
My 24-foot stretch of stepping stone path required thirteen pavers and six bags of sand. The cost of materials was about 125 US dollars. If you get fancier with your pavers, your costs could multiply several times (or even more).
In terms of time, I spent about five hours on this project from start to finish. This includes the time it took to go to my home improvement center and get the materials. Each paver took about fifteen minutes to set.
How to Create a Stepping Stone Path: Calculating the Number of Pavers
To calculate the number of pavers you’ll need, take the number of feet the path will cover and convert it to inches. Then divide by the length of your paver (in inches) plus a couple of inches to account for the space between the stepping stones.
Here’s how I calculated the number of 20-inch-square pavers I needed for my 24-foot stretch of path:
- 24 ft × 12 inches/ft = 288 inches
- 288 inches ÷ 22 inches (the size of my paver plus 2 inches) = 13 paving stones
How to Create a Stepping Stone Path: Laying Out the Pattern
The first step in creating a stepping stone path is to lay out the pattern and get the spacing between the pavers set correctly.
I’m going to create a simple arc to connect my driveway to my deck.
This stage of the process is quite intuitive. Just lay the pavers on the lawn and give yourself time to play around with the pattern and spacing.
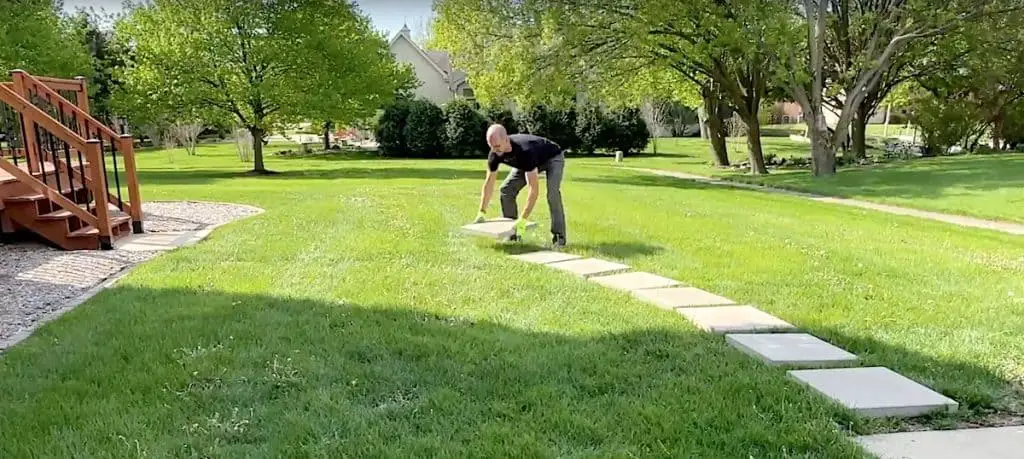
Once you have the basic shape of the path laid out, you might want to use a measuring tape to check the spacing between the pavers so you can get it very precise.
NOTE: These classic pavers weigh about sixty pounds each, which gives them stability for the job they have to do. If you have a bad back or have difficulty managing heavy objects, you might need some help hauling and positioning them.
How to Create a Stepping Stone Path: Setting the Pavers into the Lawn
Setting the pavers into the lawn is a simple three-step process: removing sod to create a depression, adding sand to create a good foundation, and then applying pressure to fix the paver in place.
Creating the Depression
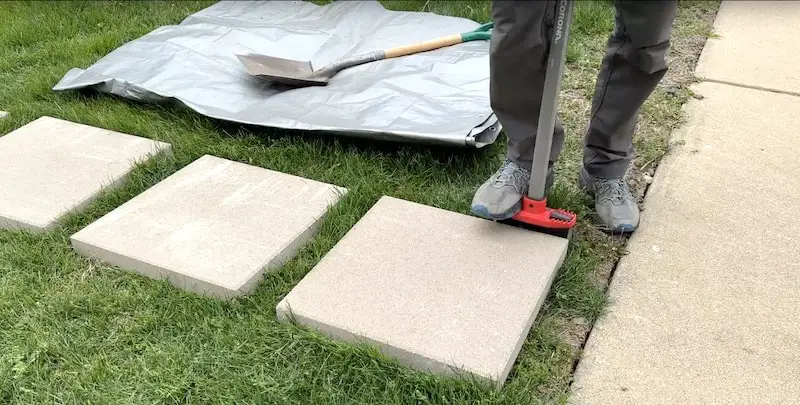
For square or rectangular pavers, an edger is great for cutting perfectly around the perimeter. A flat-edged spade will also work.
A reciprocating saw is also very handy for this task and it’s brilliant for irregular-shaped paving stones.
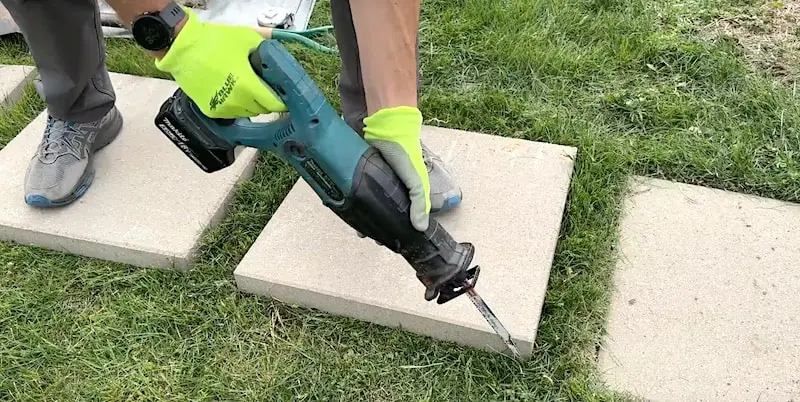
Even though the pavers are heavy, take care not to move them while you’re cutting around them.
TIP: If you’re using a reciprocating saw, employing a bit of a sawing motion will help it not get caught up on things like dandelion roots. I used a longer wood blade but any blade will do when cutting sod with a Sawzall, even a dull one.
Once you’ve perforated the grass around the paver, flip the paver out of the way and take up the sod using a shovel. I prefer to remove to work in smaller pieces, removing the sod in strips, but you could take it out as one big piece. Don’t forget that you can use the sod in other parts of your yard.
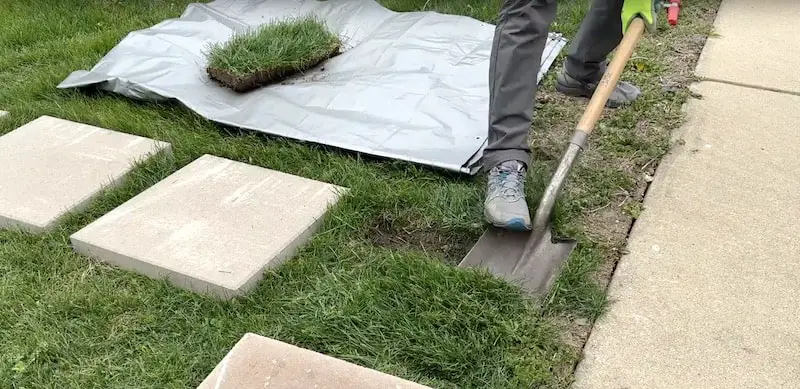
TIP: I like to toss the sod onto a tarp instead of into a wheelbarrow. I find it much easier to move a large quantity of material around the yard this way.
After taking out the grass, I’ll remove some of the underlying soil until I get to a depth of about three inches.
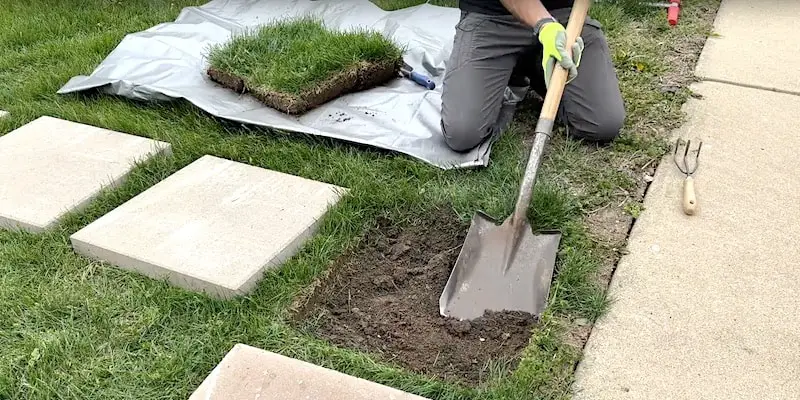
In my case, where my pavers are two inches tall, having a 3-inch-deep depression will allow me to lay down some sand. This will give my paving stones a better foundation and eliminate teeter-tottering.
Adding Sand
I’m going to add enough sand to the space to give me a depth of about a half inch. I’ll level out the sand by smoothing it around with my hands.
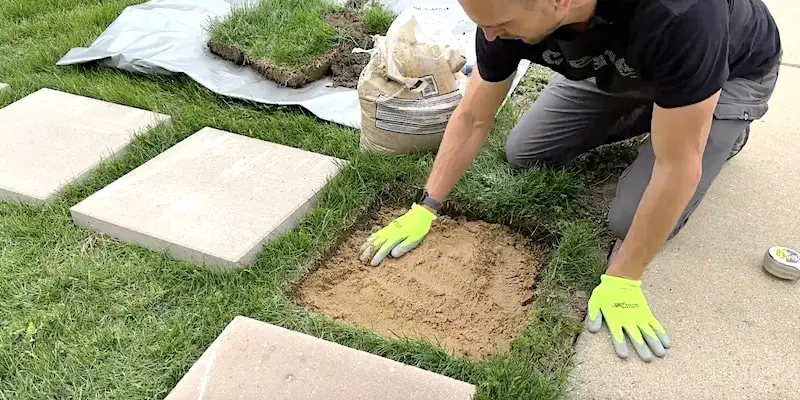
It’s a good idea to check the depth all around with a measuring tape before repositioning the paver. Some trial and error might be needed at this stage to get the correct depth of sand.
You could use a level once you’ve smoothed out the sand if your objective is perfectly-level paving stones but I’m just eyeballing it to follow the contour of the grass in each spot.
Tip: Leaving the pavers 1 inch above the surrounding ground (as opposed to flush with the surface) is probably not a bad idea as they will settle in a bit over time.
Setting the Pavers into Place
Flipping the paver back into place, you might find that it doesn’t set easily into the space. If after knocking it around with a mallet you still have interference, you’ll need to lift the paver out of the way and remove material as needed from the hole. Frequently the corners are the culprit when the paver won’t seat properly.
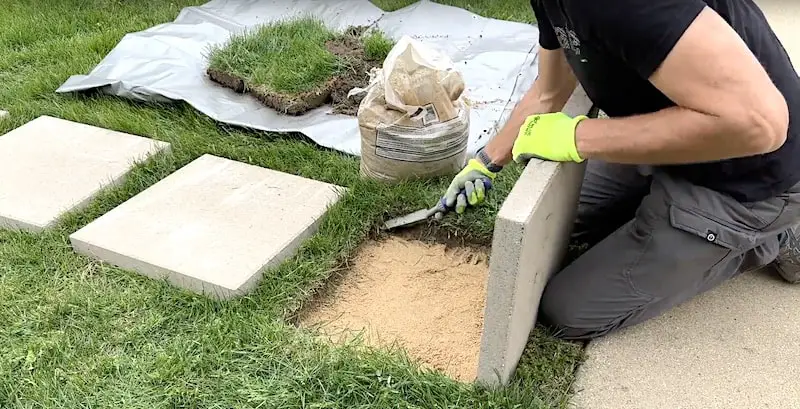
It’s ok if you have to coax the paving stone into the hole a bit with a mallet. You want it to have a nice, snug fit. Once the paver is in place, tamp the paver down with the mallet and then stand on it to make sure it doesn’t wobble.
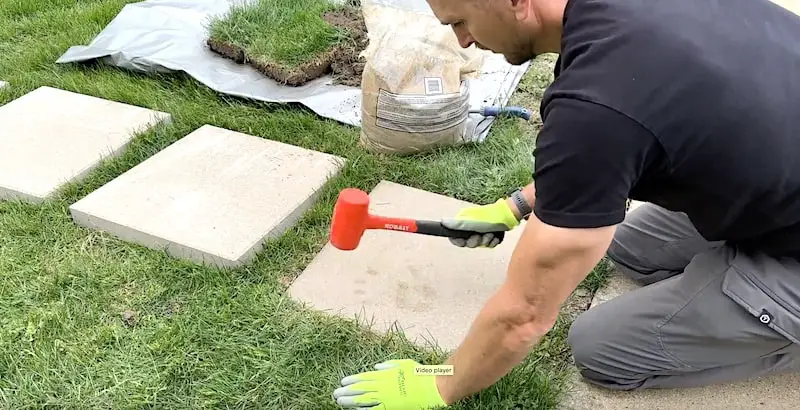
Do use care when using the mallet; if you apply too much force, you could crack the paving stone.
How to Create a Stepping Stone Path: Observations & Options
This process of creating a stepping stone path went pretty smoothly as a DIY project. It was quite a bit of physical work, however.
If you don’t have the time for this sort of project or if the amount of labor seems too much, check out our article that outlines the cost of hiring a professional.
Related Project: How To Pour A Small Concrete Pad
The ending point of my stepping stone path is a small concrete pad. A concrete pad has many applications — as a landing pad for deck stairs, at an entryway to a shed, or as a support for an air conditioning condenser, for example. Check out the YouTube video or read the step-by-step written guide, where I walk you through this straightforward DIY project.
To Leave Comments and Questions
If something doesn’t make sense or if your situation is a little different, please leave a comment under the YouTube video. I check the comments daily and am happy to help out.
Subscribe to our channel! We have weekly videos coming out to help you with your everyday home repairs.
Thanks for stopping by! Take care.
