
 My Account
Taking on a bathroom faucet replacement project may seem like a lot of work at first, but it’s approachable for the majority of homeowners. You don’t need very many tools and, best of all, doing it yourself will save you a significant amount of money. With $50, you can get a new faucet and make a major change to the look of your bathroom.
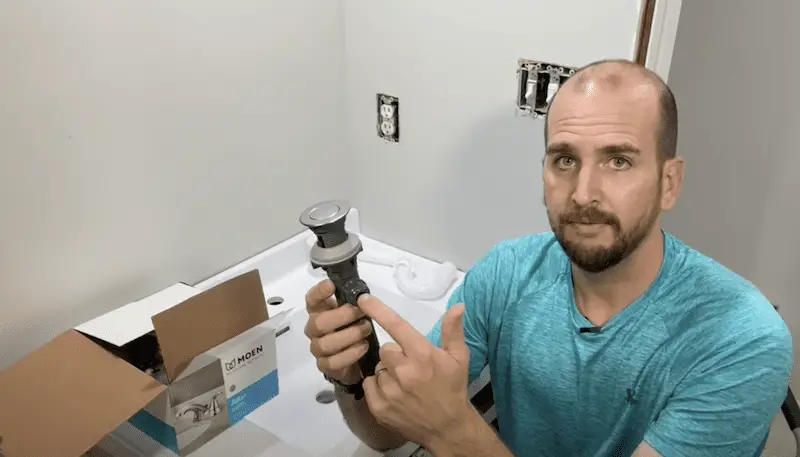
Ready to get started? Keep reading and I’ll go through step-by-step directions of how I swapped out an old faucet with a Moen Adler Faucet, which also comes with a matching drain/stopper assembly.
- Step 1: How to remove your old faucet
- Step 2: How to install the new one + the new drainpipe
- Step 3: Finish off with the complete testing, so you have the confidence to know that there’s not going to be any leaks at your water lines or your faucet or your drainpipe.
I’ll also share how to address your p-trap and make sure everything lines up, along with other tips to make this process smooth. If you haven’t done this before and you’re not comfortable with plumbing, this tutorial is for you.
Rather watch than read? Check out this 22-minute video.
Tools and Parts Used:
DISCLAIMER: This article contains affiliate links, which means that if you click on one of the product links, I’ll receive a small commission.
Step 1: Remove Your Old Faucet
A. Turn off the main water shutoff valve
READ: Don’t start this project until you know where your main water shutoff is located – and you’re confident it’s working properly.
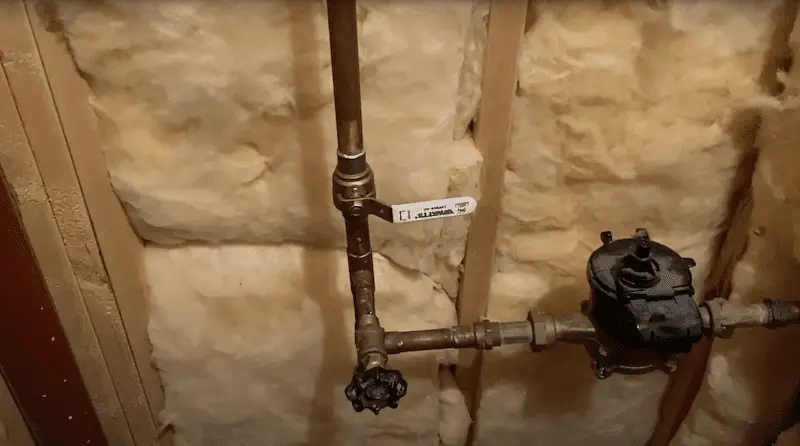
My main water shutoff is in the basement. You’ll be able to tell it’s in the “on” position because it’s parallel to the path of the pipe or flow of the water. To turn it off, put it in a perpendicular position.
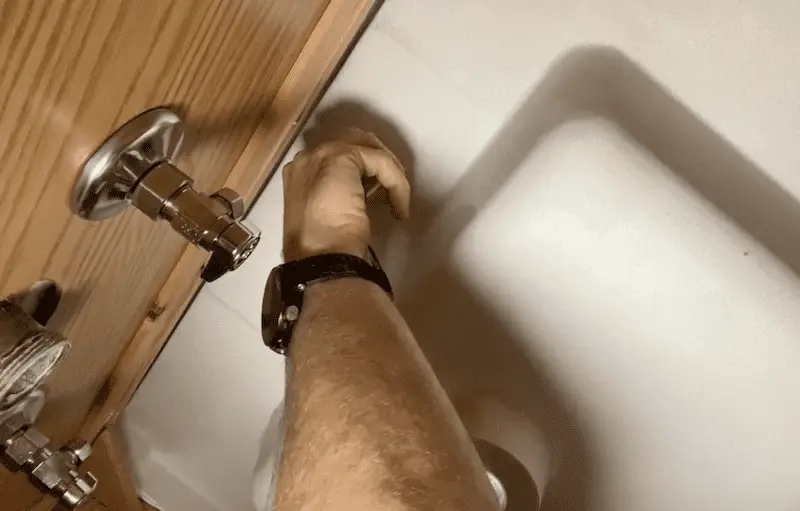
B. Remove the water line
If you have water valves at the fixture and they don’t leak, you can shut them down without an issue, but it’s still good to know where your main water shutoff valve is (in case there’s a leak and you need to shut down water to the home). I also capped off the 90-degree fittings, so I could pressurize the water to the rest of the home while we’re doing the project.
So if you also have fittings without water shutoff valves, find out how to remove those 90-degree fittings and install new shutoff valves.
If you run into plastic nuts, generally you can tighten and loosen them with your hands. I also used slip joint pliers and *slowly* tried to remove the nut. Keep in mind there could be corrosion and mineral deposits, so take your time. If you rush you could cause damage, which will extend your project.
Tip: Dealing with green mineral deposits? Vinegar can help break it up. If you have corrosion or rust, use WD-40 and try to penetrate through that rust and loosen up the nuts or components.
C. Remove the faucet
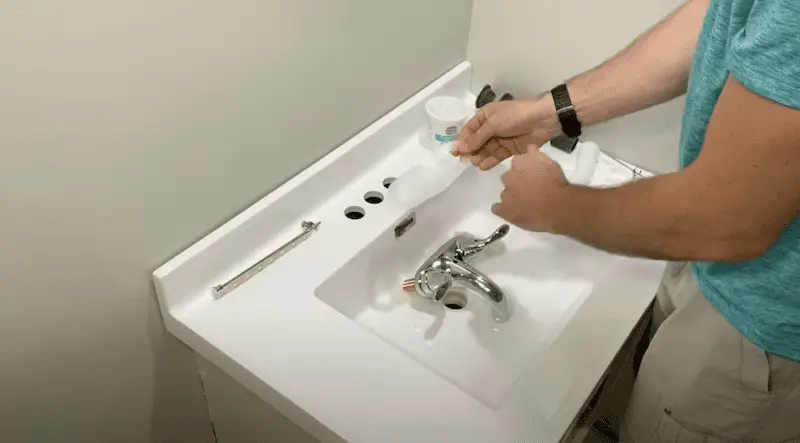
I removed the whole vanity top, but if you’re keeping your vanity top, you can start to remove your drain and stopper — and perhaps even the P-trap to give you more room while you install the new faucet and the water lines.
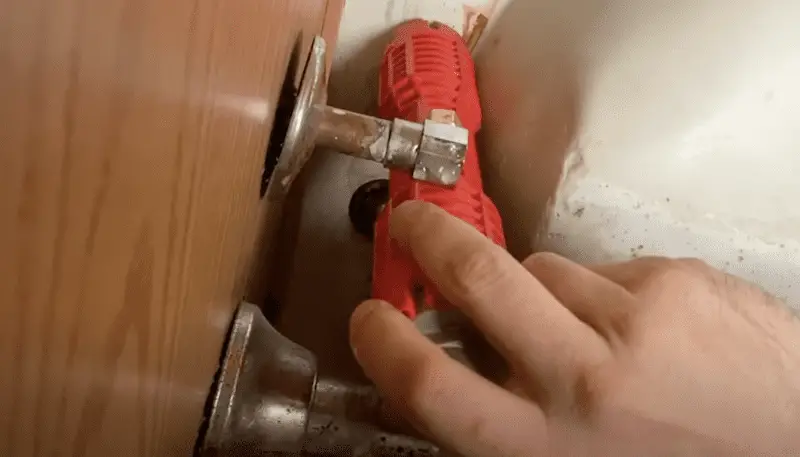
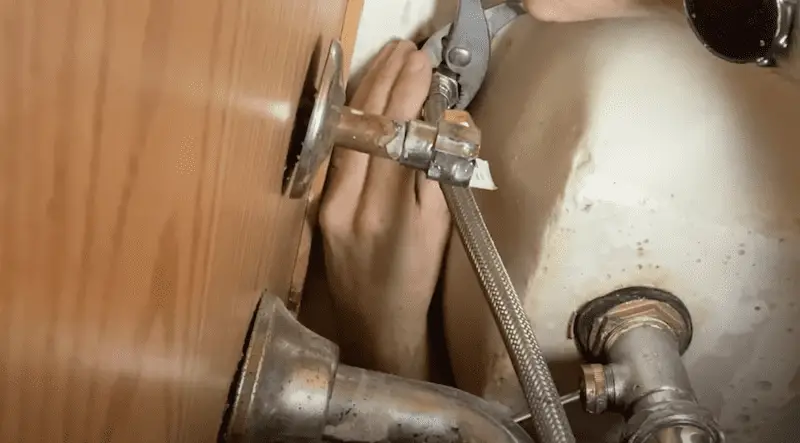
I had the metal nut on the one side and the plastic nut on the other holding the faucet in. For the plastic nut, I used a Rigid Sink and Faucet Multi-Tool that makes it really easy to remove the nuts. Since the metal nut was pretty thin, I also used channel locks to loosen it up.

Once both of those nuts are removed, you can go to the top side and pull off your faucet. If you’re keeping your vanity top in place, go ahead and get the spacer gasket out and clean the surface. At this point, you’re ready to install the new one.
Step 2: Put in your new parts
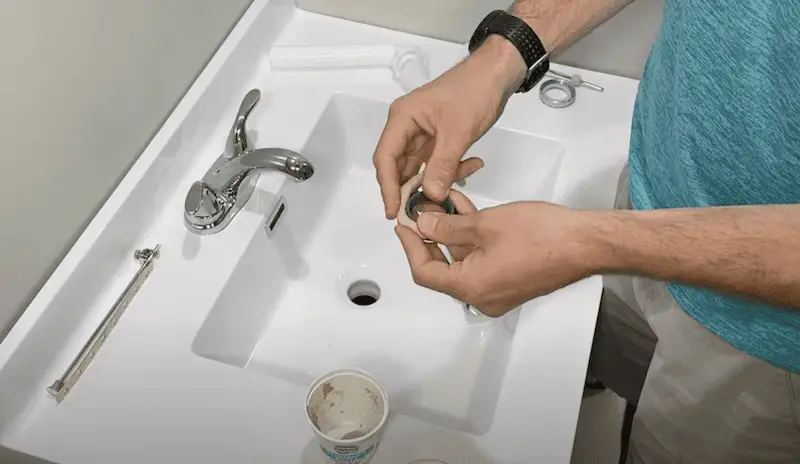
A. Get your drain and associated parts
The first step here is to take out your drain and associated parts, so you can put the new one in place.
If you haven’t done this before, keep in mind that most faucets — especially when you’re dealing with Moen or Delta — come with a new pop-up drain assembly that will be in the box. It’s nice to have those new components because it will get a bit grimy and your pivot rod can rust and break off and fail over time.
B. Put the faucet in first
Note: I put the faucet in first before the drain to save myself some space.
First, put the gasket in place using the “top front” label as a guide. Then you’ll take your faucet and get it roughly in place.
Under the sink, you’ll thread the two nuts on, tighten them by hand, and then make sure everything’s centered. Tip: You want the nuts to be tight enough where it resists your movement, so they will stay in place for the final tightening.
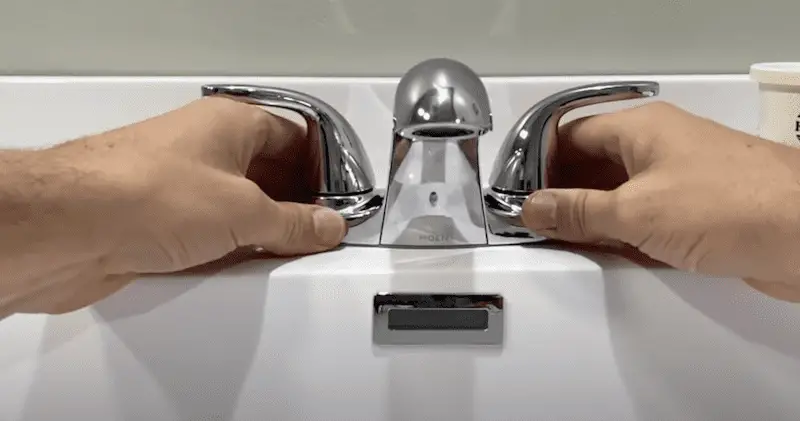
Once everything is centered where you want it, then carefully tighten it — but try not to move the faucet at all because you just centered it up where you want it.
C. Install the water lines
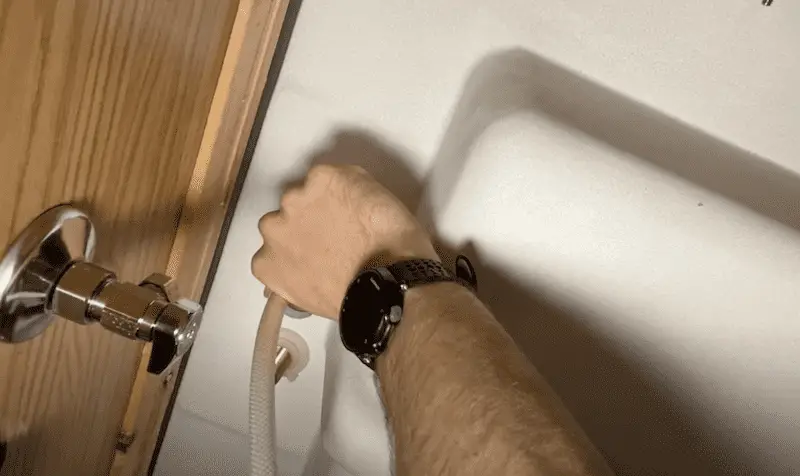
Without the drain in place, it’s much easier to get your water lines on. Get the rigid wrench that fits these water lines. Then pass the actual line through the tool and tighten it up.
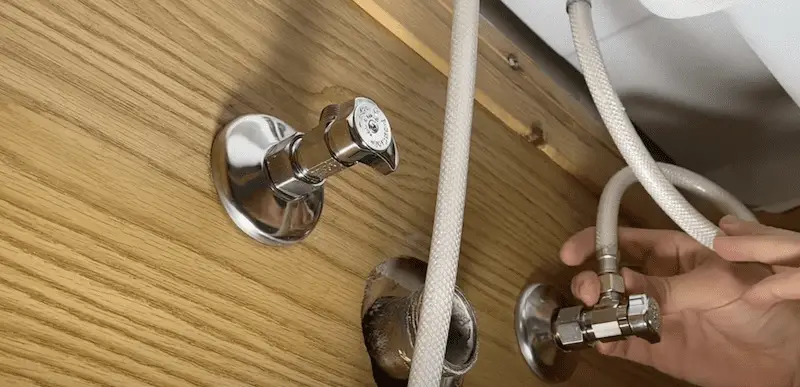
I also installed quarter-turn shutoff valves both on the hot and cold sides. To install the lines, put a loop in to clear up space for the drain. Hand tightened to start and then use the slip-joint pliers or crescent wrench again and slowly tighten.
D. Install the drain with Plumber’s Putty
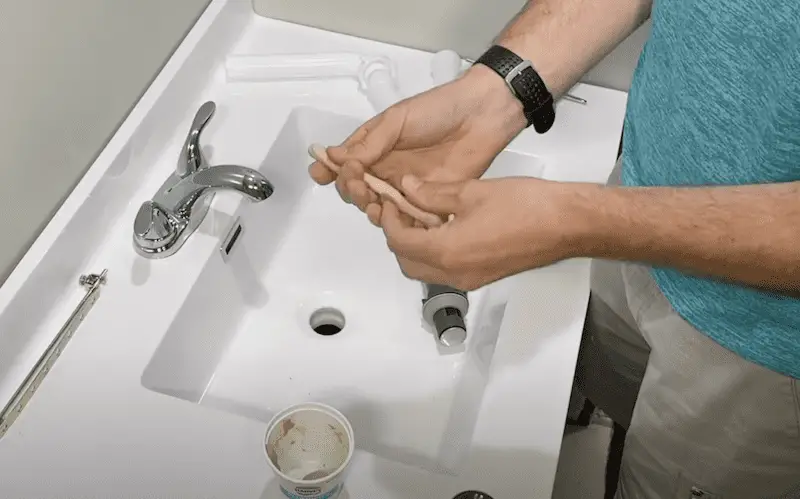
Start off by working the Plumber’s Putty into a snake.
Put a generous bead all the way around the rim. Why? This is going to seal the top surface to the actual sink itself. (Read more about Plumber’s Putty here.)
Tip: It’s also very important if you have your old vanity top to make sure this is completely clean, so you’ll get a good seal.
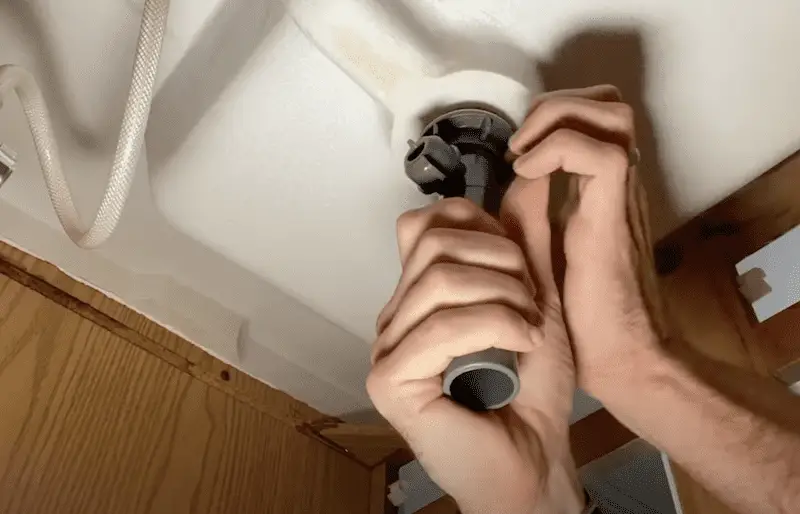
Face the pivot rod straight back, so it is centered. Now, you’ll start to tighten the bottom nut. So you’ll have a little white paper disc and then a large gasket — that disc allows the plastic nut to tighten without gripping onto that gasket. Usually, you can hand tighten this. If you need a little help, use channel locks – but be careful since it’s plastic and you can easily break off the teeth.

Once you are done tightening the nut from the bottom of the vanity, break off the extra Plumber’s Putty and put it back in your container. If you have a good seal, it’s going to squish out evenly all the way around the drain.
E. Install the Pivot Rod
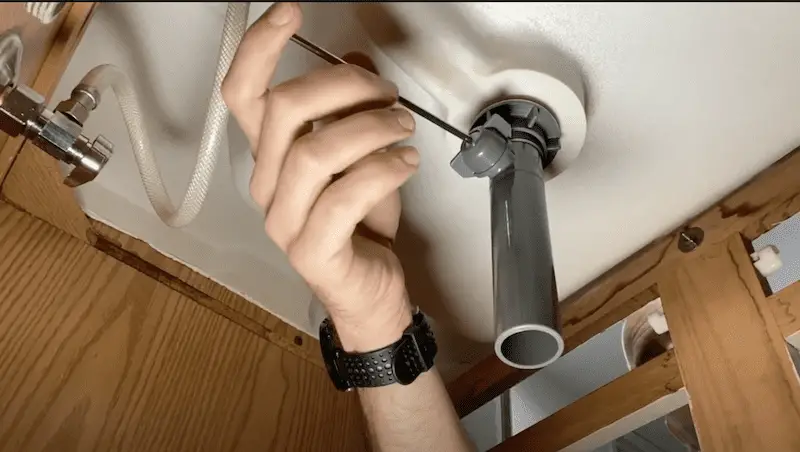
Insert the pivot rod by taking the wing nut off and inserting it. Make sure you can move the pivot rod up and down — and check that the drain goes up and down on the top side. Also, make sure the bottom loop on the drain is aligned so the pivot rod. You will know this is the case as when the pivot rod is installed you will not be able to pull the drain stopper out of the drain
Now you can install the lift rod from the top, tighten it to the clevis strap, and then connect the strap to the pivot rod with the use of the spring clip. This will take a little adjustment as you want the lift rod low when the drain stopper is up and then the lift rod should be higher when the drain stopper is all the way down. Make sure once everything is install you have for range of motion and can completely open and close the drain stoper.
Step 3: P-Trap and Testing
A. Testing and Cleaning
At this point, your drain and stopper are installed and everything’s connected up. If you have your p-trap in place you might be good to go now! Keep reading to see how to install the rest of the drain line (including the p-trap) and then that will complete this project
B. Install the P-trap
Make the connection to the wall with the drain pipe. I used a nut, which comes with two different washers: one would be for a 1 1/2″ drain pipe and the other is for a 1 1/4″ pipe. Since I’m doing a 1 1/4″ to this bathroom vanity that’s what I’ll be using.
First, insert the nut and then the washer with the angle facing the wall. Insert it on the pipe and then loosely tighten that up because you want everything to match up. Similar to before, you want to tighten it so everything stays in place, but you also want to be able to move the pipe in and out to get your P-trap lined up with the drain tailpiece.
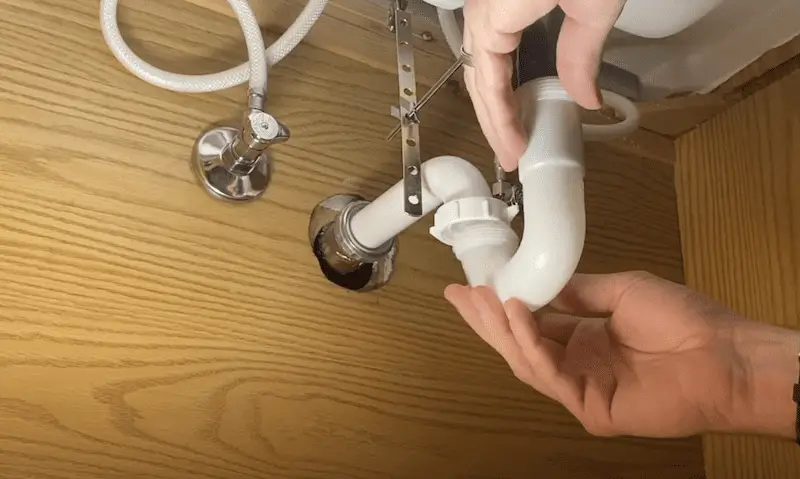
Then, put the p-trap into the drain tailpiece coming out of the sink and see how it lines up.

For me, since the pipe comes out of the wall and I’d like it to have a slight downward slope going to the wall, I measured it (about ¾”). Then with a hacksaw, I cut off an inch from the gray tailpiece to get a bit more clearance so everything will fit up perfectly

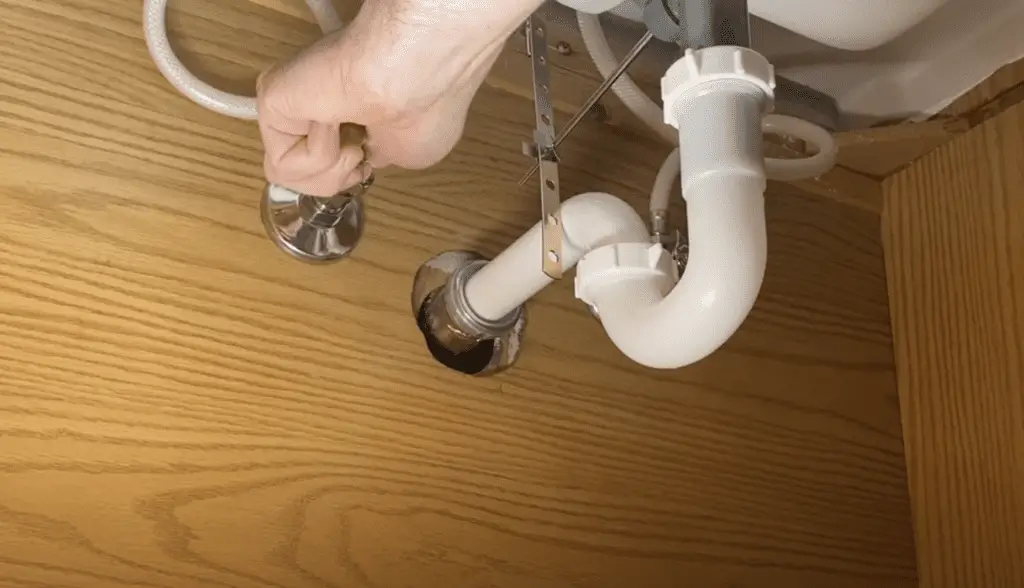
Now that everything is adjusted, and where I want it. I then tightened all of the white nuts to the p-trap by hand and finally, I tightened the nut closest to the wall with a pair of channel locks.
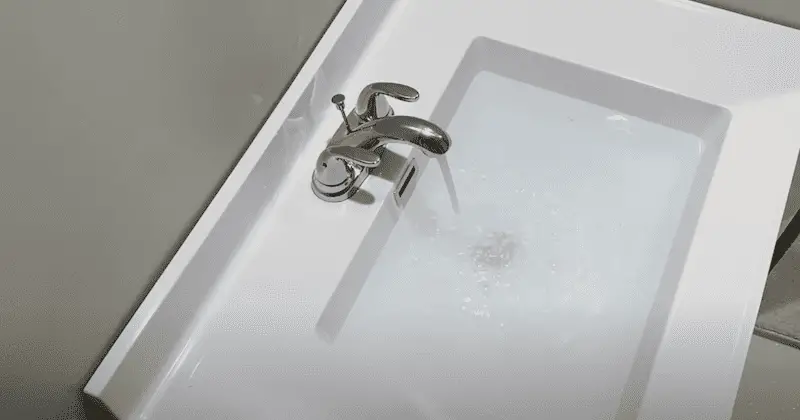
C. Final testings
Last but certainly not least, test everything out! With your faucet in the off position, you’ll turn on your water lines and let the water flow. Look for any leaks in the drain and water lines. Usually, you’ll get your leaks dripping down at some of the joints or dripping off the bottom of the P-trap.
Tip: I recommend having towels and a container handy just in case you run into a water leak
I also filled the sink all the way up because I wanted the water to go through the overflow. Why? It’s a different flow path on that drain pipe, so if I get water coming through the overflow and still have no leaks – that means we are good to go.
Final test: shut off your water at the faucet and open the drain. This is going to be the most pressure and flow going through your pipe as the entire sink drains. So if you’re clear, you’re good to go on all fronts!
The Wrap Up
Hopefully, now you have the confidence to swap out and get a new faucet installed. This replacement kit was only $50 bucks with a huge payoff. The goal: a spruced-up look and years of zero maintenance with this faucet and drain assembly.
Overall, I am super happy with this project and I’m always glad to save some money ($100-$150) and make a large change to my bathroom.


