At Everyday Home Repair, I talk a lot about ways to protect your home’s foundation from water — from adding extended downspouts to fixing water leaks. In this blog, I’ll cover another way to make sure your home isn’t getting moisture damage: removing old silicone caulk with a hair dryer. This process is not particularly hard, however, it does require a bit of patience!
First, what’s the purpose of silicone caulking + reasons to remove it
Silicone caulking is used as a clear, water-tight seal around plumbing fixtures like your bath, shower, or sink. Its main purpose is to prevent water from seeping through your wall, where it can cause issues like mold or even rotting. However, since it’s temporary it will likely get discolored and damaged over time. For example, if you notice bubbles in the caulk or find your fingernail can easily scrape pieces off — you’ll want to replace it. In this case, you’ll need to remove the old caulk first before adding new caulk for it to get the same watertight, protective seal.
Another reason you may want to remove caulk is if you’re doing a renovation like the project outlined in the below video where I was removing a shower door from a tub surround. Below we will outline the few tools and simple steps to follow to make this project pain-free. If you prefer a video How-To click on the below video which will give an example project I complete at my own house.
Watch a 4-minute video of this project from start to finish:
Tools You’ll Need:
- Putty Knife (good condition with a sharp edge and clean surface)
- Hair Dryer or heat gun
- Razor Blade
- Plastic Caulk Removal Tool (optional)
DISCLAIMER: This blog contains affiliate links, which means that if you click on one of the product links, I’ll receive a small commission.
Time: 30 minutes
Cost: Depending on how many tools you need to purchase, the cost of removing caulk should be less than $20. Heat guns are handy but for this project, the hair dryer you have in the vanity will do the trick!
How to easily remove silicone caulk – 5 Steps
1. Prep the Area
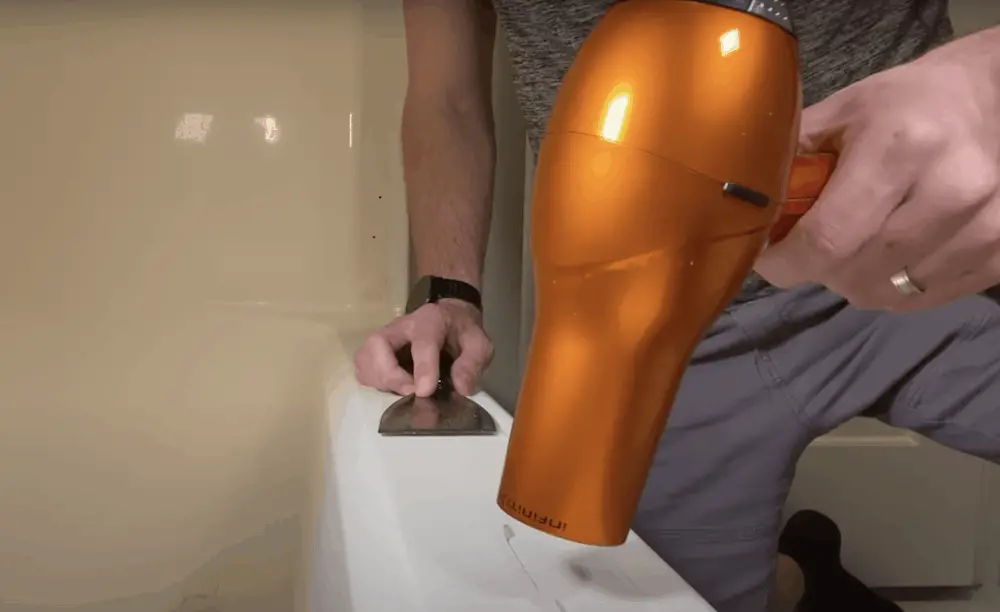
First, with your hair dryer – go back and forth heating up the silicone you’re trying to remove. This is a critical step to ensure you’re softening the caulk before you start the removal process. I recommend starting on the “low” setting on your hair dryer and going up from there if necessary. I usually start off by focusing on a 6″ section of caulk initially.
Caution: On all these steps take care when scraping with the putty knife and razor blade to not damage the tub surround. You want to apply enough pressure to remove the caulk but not dig into the fiberglass tub surround.
2. Use Putty Knife as a Silicone Remover Tool
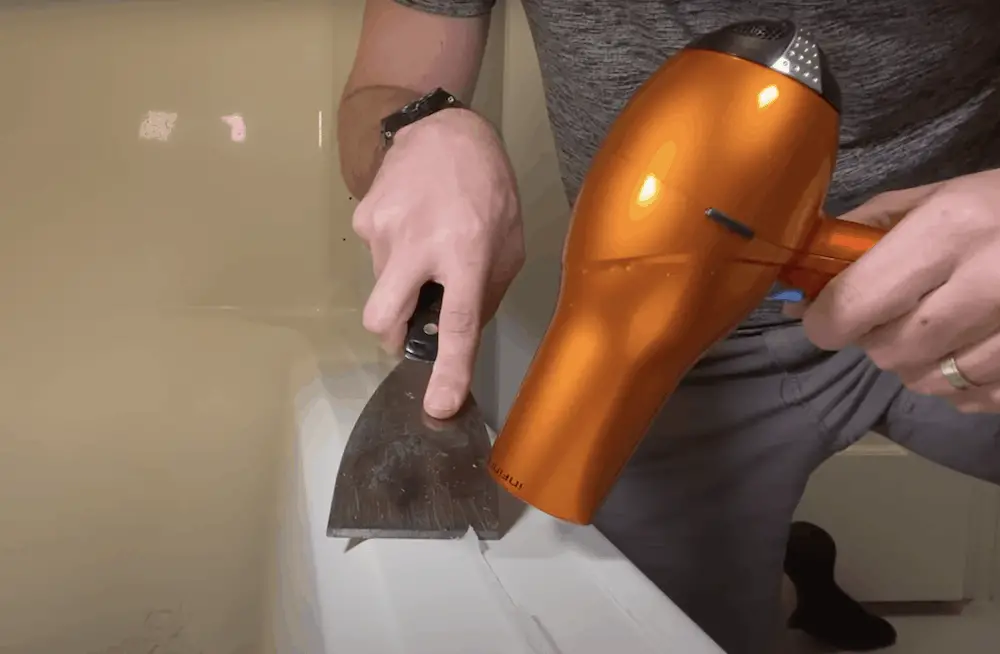
Then, place a putty knife at the starting point of your caulk while building the heat with the hair dryer right in front of the blade. Be sure to apply pressure down with your putty knife to get completely under the silicone – but allow the heat to do most of the work. The goal is to combine the heat and a little pressure to get the silicone off the tub in one strip.
Tip: Take your time! While this part can be tedious, by going slowly you’ll likely have fewer passes back and forth in the long run. (Think of it almost like ripping off a piece of tape – it’s easier to do it in one piece than small scraps at a time.)
3. Take-Two: Repeat Above Process
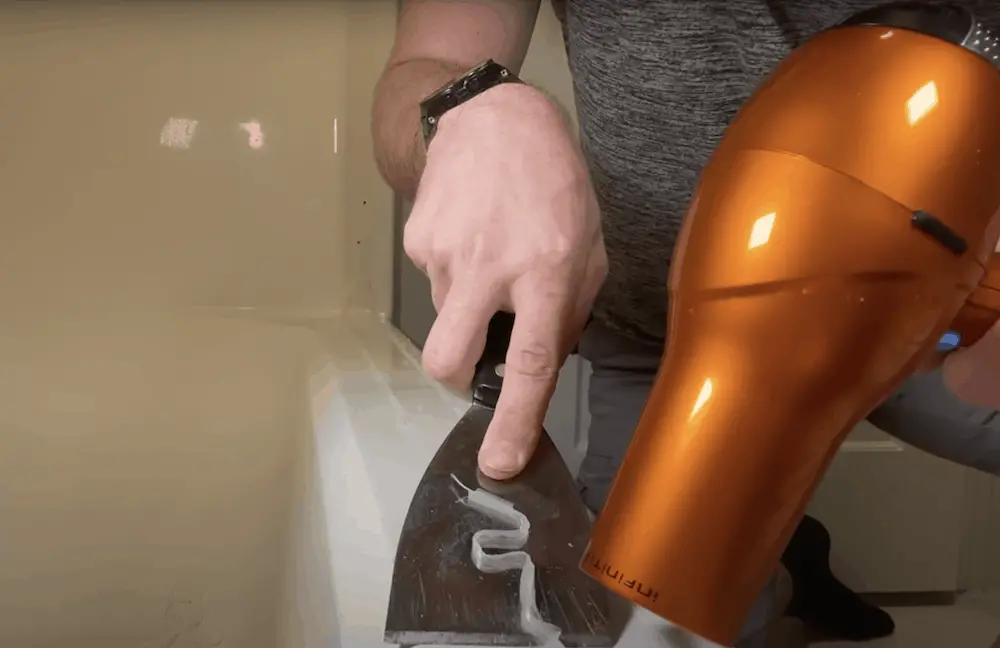
Afterward, you’ll probably still see some silicone residue on the surface. I recommend going back to where you started and doing the process again. This will put you in a better position for the next step.
4. Use a Straight Razor Blade to Remove Remaining Silicone Caulk Residue
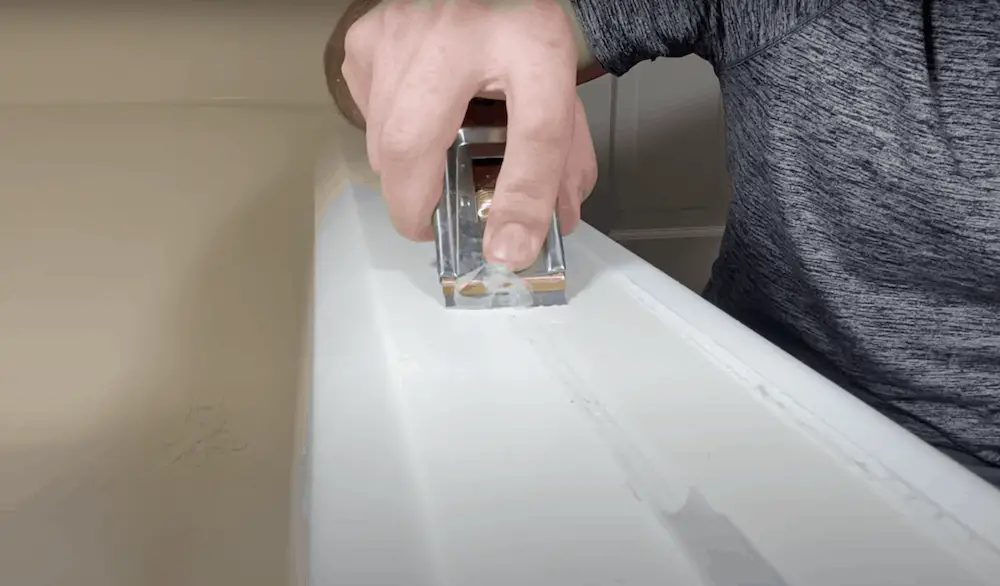
Before you apply pressure with your razor blade, be sure the silicone is still warm. If not, heat it up again with your hair dryer. Once it’s warmed up, angle the razor blade on your surface and apply pressure slowly. Be careful not to gouge the fiberglass!
Again, the goal is to get one continuous strip that will remove all the remaining residue.
5. Complete Finishing Touches
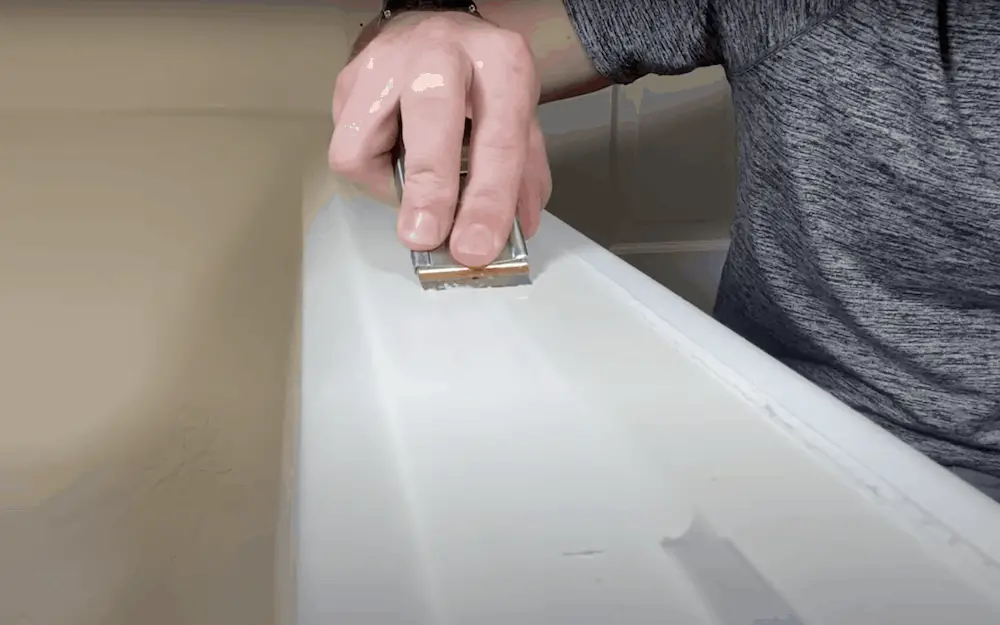
Similar to step three, I recommend doing one more pass with your razor blade to be sure your surface is as smooth as possible.
The Wrap Up
If you’re wondering why I started with a putty knife and didn’t go straight for the razor, here’s the reason: I find there’s more rigidity in the putty knife and a bit less opportunity to accidentally damage the surface as compared to the razor. For me, I felt comfortable transitioning to the razor blade to get the remaining residue off for a smooth surface once I got most of the silicone caulk off already.
Overall, this is an easy project with only a handful of tools – most of which you probably own. The hardest part is being patient and not rushing through the process.


