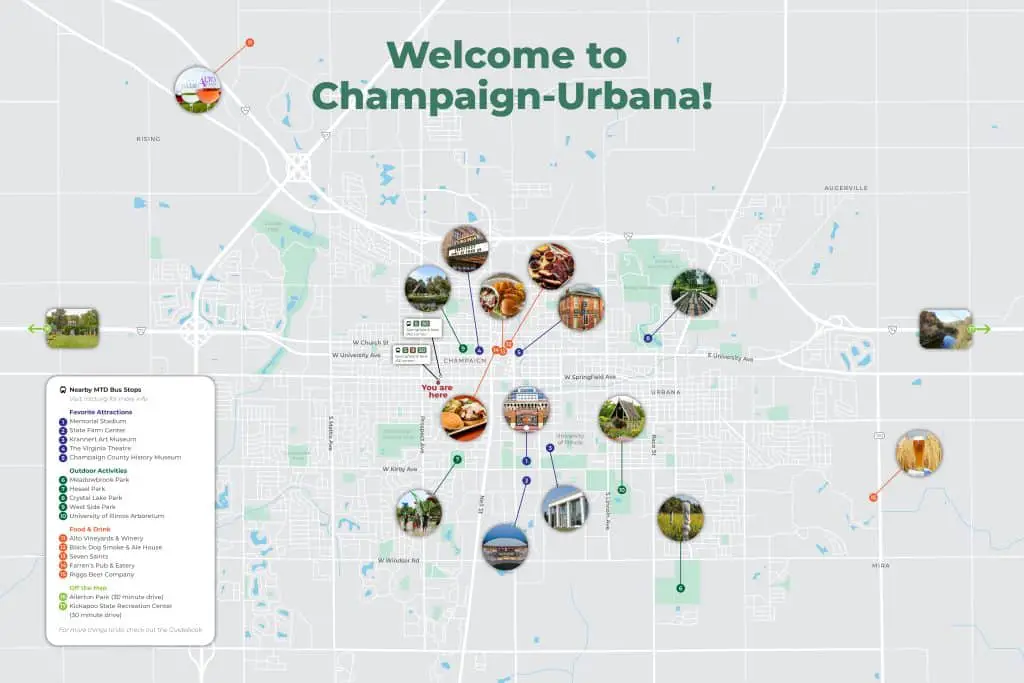
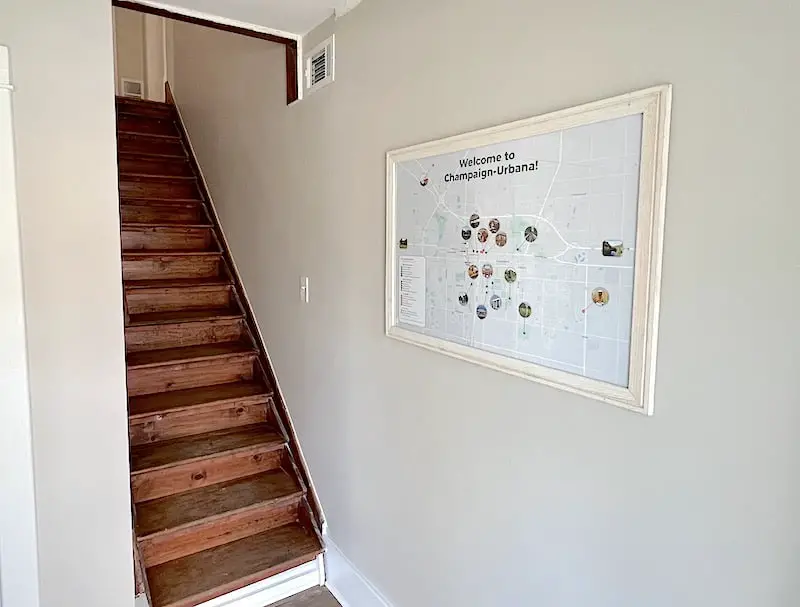
We just completed the conversion of a conventional rental unit into an Airbnb apartment. One of the things we did that specifically relates to the Airbnb market was to create a custom “Things to Do” map that meets our guests as they arrive. The map, which measures 24″ x 36″, is framed and hangs in a central location within the unit.

How to Create an Informative Map for Your Airbnb Rental: Step-by-Step Guide
In this step-by-step guide, I’ll walk you through the complete procedure to create a custom “Things To Do” map for your Airbnb rental. We’ll give some guidelines regarding what to consider as you decide what points of interest to put on your map as well as instructions and tips for creating the final product in a page-layout program such as Adobe Illustrator or presentation software like Powerpoint.
Custom “Things to Do” Airbnb Map: Equipment/Supplies
- A computer with some sort of page layout or presentation program such as Adobe Illustrator or Powerpoint
- Optional Adobe file of sample map (to help speed up the creation time)
Custom “Things to Do” Airbnb Map, Step 1: Decide on the Area to Include
The first step in creating a custom “Things to Do” map is to decide on the area you want to include. This could be the entire city or just the surrounding neighborhood.
Keep in mind the attractions you’d like to present to your guests, as this will obviously affect the area of your map.
Custom “Things to Do” Airbnb Map, Step 2: Create a PDF of the Map Area
Now that you’ve established the area to include on your custom map, go to Google Maps and search for the property’s address.
Zoom in and out to arrive at the desired area of your map.
Once you’re happy with the parameters, save a PDF of the map using your web browser.
- If using Safari, go to File > Export as PDF.
- If using Google Chrome, go to the browser menu, click Print, and change the destination to “Save as PDF”.
Custom “Things to Do” Airbnb Map, Step 3: Create the Base Map
We decided to create a 24″ x 36″ framed map, which is a good size for placement on a wall.

Seeing as we decided to create such a large map, we needed a high-resolution image to ensure good print quality. To do this, we opened the PDF in Adobe Illustrator and redrew the map using the Pen Tool.
Redrawing the map in this way takes a little time, but you’ll end up with a vector file that can be scaled to any size. You’ll also be able to easily edit colors and text on the map.
Notes about software:
- If you’re using Adobe Illustrator, it’s best to put the map PDF on its own layer and then trace the map on a separate layer. Download our map file and open it in Illustrator to see how we set it up! ADD LINK
- If you don’t have access to Adobe Illustrator or don’t know a graphic designer who can do this for you, you can use PowerPoint or another program available to you. In this case, the map will be a raster image and not a vector, so it will be blurry or pixelated if printed too large. If you use this method, we recommend printing your map no larger than 16″ x 20”.
Custom “Things to Do” Airbnb Map, Step 4: Add Points of Interest
After you have your basic map ready (in Illustrator or PowerPoint or whatever), you can start adding your landmarks and points of interest.
Choosing What to Highlight on the Map
What you choose to highlight on your map could be anything that you think your guests will enjoy. These can be places of historical or architectural significance, tourist sites, or your favorite places to hang out for a coffee or cocktail. You can also search TripAdvisor for more ideas.
Consider who might be staying at your Airbnb and why they’re staying there so you can tailor your recommendations. On our map, we highlighted a few restaurants, venues, and places for outdoor activities.
Include any other info that might be useful, such as transportation. For example, we included bus stops within walking distance of the apartment, as well as a couple of popular parks that are off the map.
Adding Visual Interest to the Map
To give some visual interest to your map, use photos to represent each point of interest. Simply do a Google Image search, find a good quality photo, save it to your computer, and then import it into your map file in whatever software you’re using.
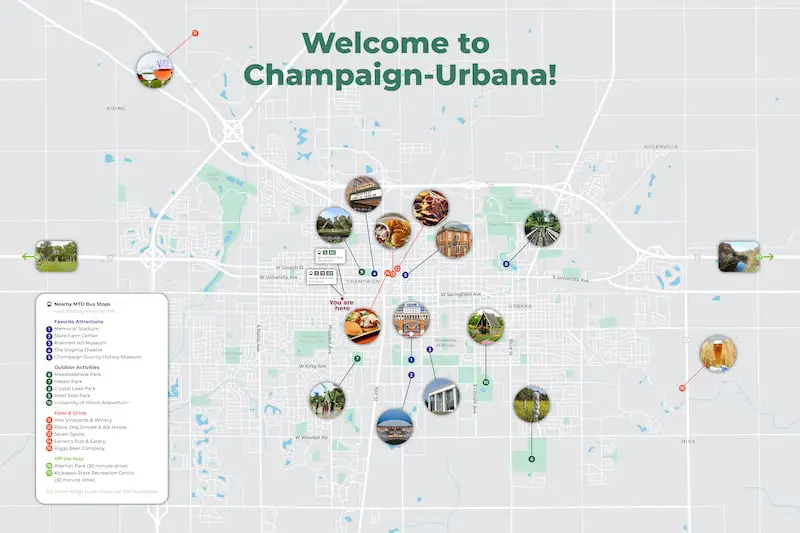
We used a number and photo to represent each point of interest on our map. The numbers then correspond to the items listed in the legend.

Of course, it’s not possible to include everything on your map, nor do you want to! Limiting items to the best of the best will enable guests to find things without being overwhelmed.
In the legend, you can include a note that says “See our guidebook for more.” Of course, then you’ll need to create the guidebook, but this is where you can include a more comprehensive list of things to do.
WHICH FILES ARE THESE? To view our map as an example, download this JPEG. Or if you have Adobe Illustrator, download this .ai file to see how we set it up!
Custom “Things to Do” Airbnb Map, Step 5: Optional Framing
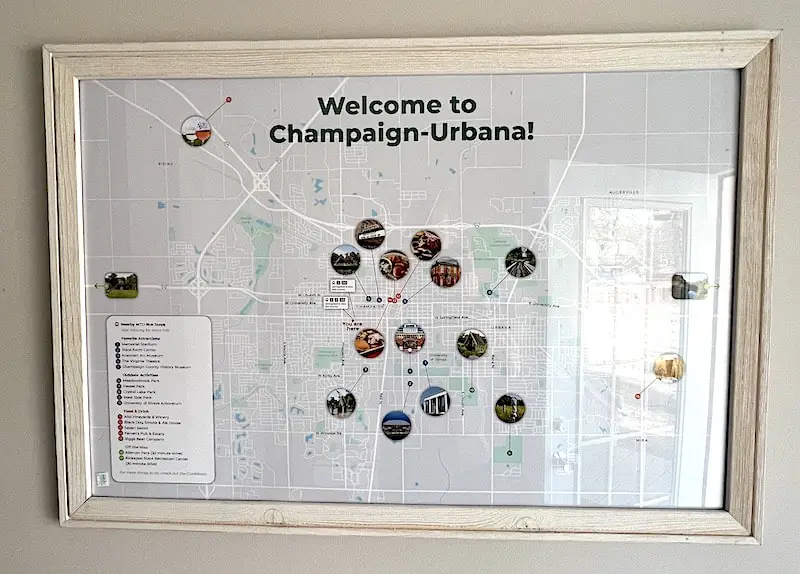
Of course, if you want to hang your map on a wall and keep it protected, a frame with glass is essential.
Here’s our finished, framed map close up:

Now you know all the steps to create an informative map for your Airbnb rental! Hopefully, the process is easier than you might have imagined.
Need to install or replace window blinds? DIY and save a bundle!
If you’ve got windows and doors that need blinds or have blinds that need to be replaced, check out our detailed guide, How To Install Blinds For Windows & Doors on a Budget.
Videos to Help with Your Do-It-Yourself Repairs and Projects
Subscribe to our YouTube channel for weekly videos that will help you with repairs and projects around the house.
We’ll catch you on the next one! Take care.


