
 My Account
In this tutorial, I’m going to show you how to select face mount hinges and replace them on a cabinet door. I’ll be working on an old bathroom vanity, but these steps and tips could pertain to any sort of cabinet or cupboard door in the kitchen or anywhere else in your house or garage.
I’ve already removed the door from the vanity. As you can see, it’s been painted, along with the hinges.
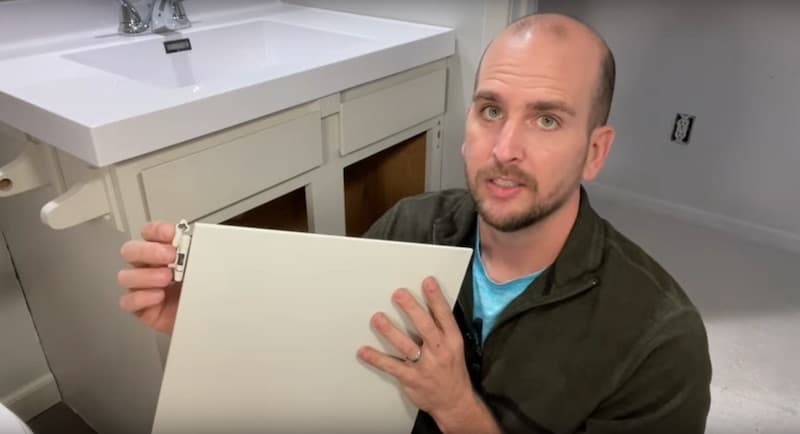
Instead of soaking the hinges and trying to get the old paint off, I’m going to get new ones. The cost is minimal, only a couple of dollars per hinge. It’s well worth the expense, as it will save me time and give me a better-looking product in the end.
Replacing Face Mount Hinges on a Cabinet Door: Step by Step Guide
In this how-to guide, the type of hinge we’ll be working with is a face mount hinge. It has a self-closing feature and no inset. If you don’t know what I mean by these things, no worries! I’m going to walk you through each of these features so that you’ll be able to select the right hinges the first time around.
After explaining what to keep in mind as you’re selecting new hinges, I’ll take you step by step through how to install them.
By following these simple steps for selecting and installing new hinges, you’ll save time and end up with a nice, updated look on your cabinetry.
So let’s jump in!
Rather watch than read? Check out this 6-minute video.
How to Replace Face Mount Hinges on a Cabinet Door: Supplies and Tools
Supplies
- A Sharpie or marker, such as the Milwaukee Inkzall marker
- Hinges (to order the hinges used in this tutorial, follow the link)
- Masking tape
Tools
- Utility knife or razor blade
- Small Phillips screwdriver
- Drill with 5/64″ bit
Removing the Old Hinges
First, remove the doors from the face frame. It’s best to do this manually with a screwdriver. Place the doors on a level work surface (even the floor will do).
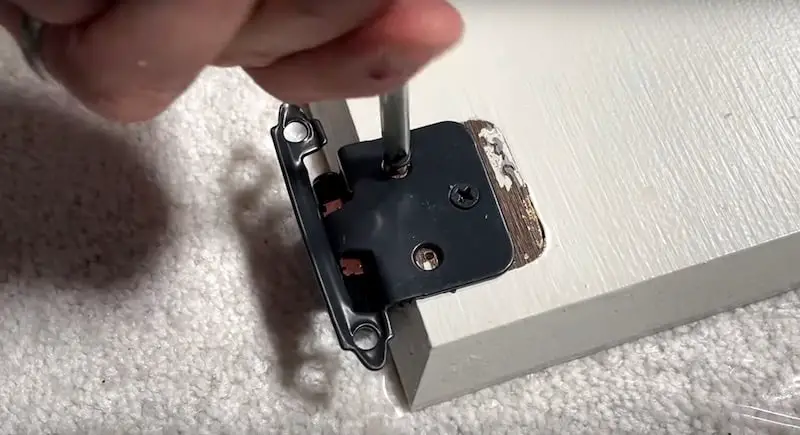
With hinges that are painted over like this, it’s best to score around the hinge with a utility knife or razor blade first.
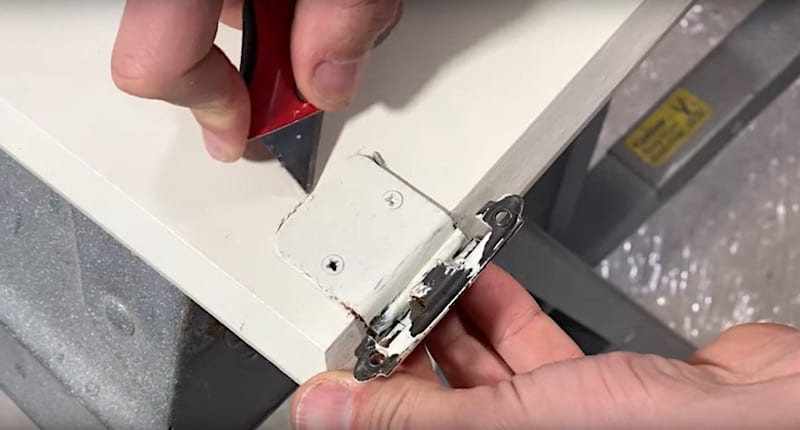
Scoring around the hinge will reduce the amount of damage you do to the paint when you remove the hinge.
Remove the screws holding the hinge plate to the door. There could be two or three mounting screws.
Once the screws are out, carefully lift off the hinge.
What to Keep in Mind When Buying New Hinges
Before making the trip to your local hardware or big box store to select your new hinges, let’s go over those features I mentioned earlier so that you know exactly what to look for.
Esthetic Considerations
First, look at the surface left by the old hinge. In this case, we have an obviously unpainted area.
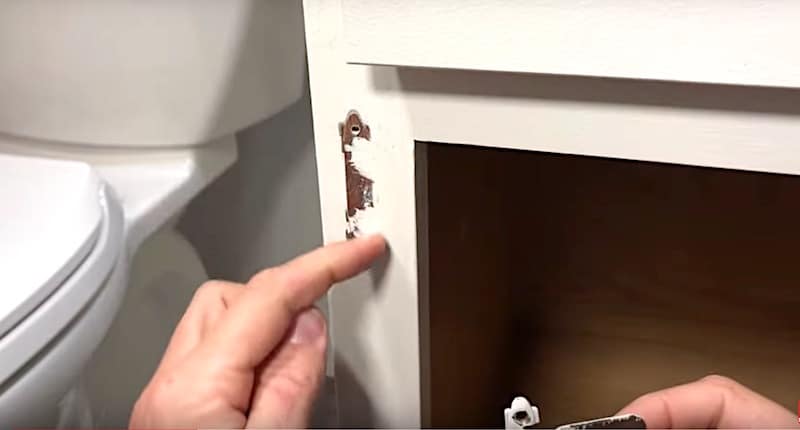
You’ll want the new hinge to cover up whatever footprint is left by your old hinge, so make note of the shape and size of it.
This type of hinge is called a face mount because it mounts on the face frame of the cabinetry.

Functional Considerations
Now let’s talk about the self-closing and no-inset features.
- The self-closing feature means the hinge has a spring action that snaps the door shut once it passes a certain point. The spring inside the hinge also keeps the door tightly closed when it’s shut.
- “No-inset” means that the hinge mounts flush with, or flat on, the face of the vanity. The plate of the hinge that screws onto the door is also flat.
Here’s an inset hinge for comparison. It’s just a basic piano hinge with no self-closing spring.
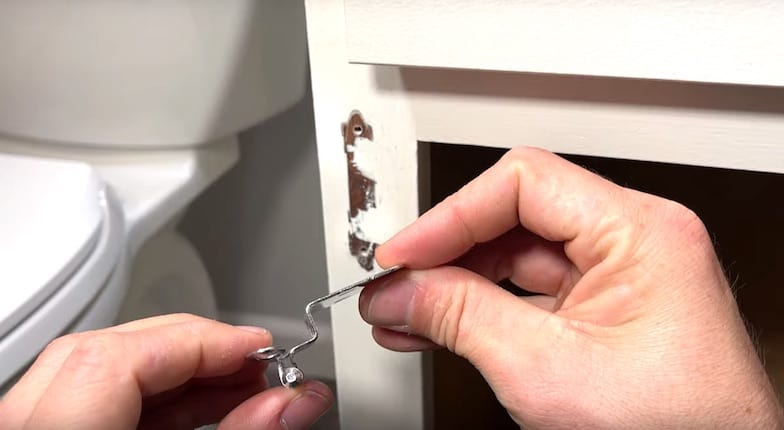
The plate of the inset hinge is bent or zig-zagged. It looks like a stair-step when you hold it sideways.
This bent part of the hinge wraps around the edge of the door opening so that the hinge plate and cupboard door end up being set into the opening — that’s why it’s called an inset hinge.
My Best Tip – Take the Old Hinge with You
The best tip I can give you is to take the old hinge with you when you go to select new ones. This way you can compare design and shape, which will ensure you get the right type and size.
Notes About the New Hinges
So I’m back with my new hinges.
You can see that we’re going from a 2-hole design to a 3-hole design where the plate of the hinge attaches to the door.
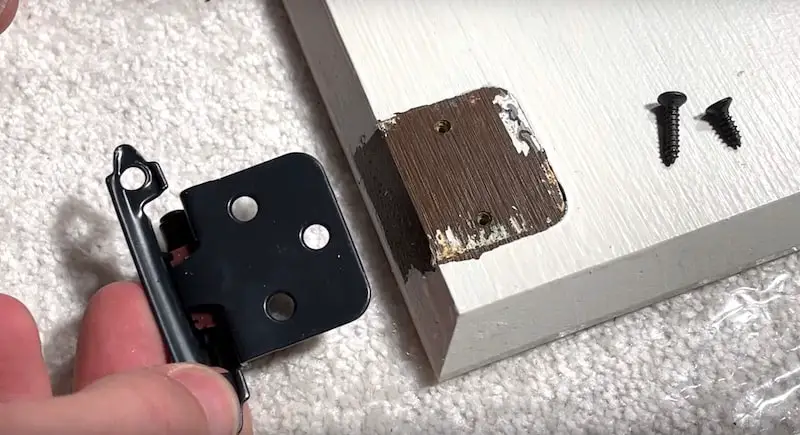
The new hinge comes with screws. The longer screws are for mounting the decorative part of the hinge to the face frame of our vanity or cupboard. We need the smaller screws for attaching the hinge plate to the door.
Attaching the Hinge to the Door
On your cabinet door, you’ll likely have some sort of visible mark or footprint left by the plate of the old hinge that doesn’t match up with the new one. If this footprint and the screw holes don’t match up with the new hinge, that’s ok.
Marking and Drilling the Screw Holes
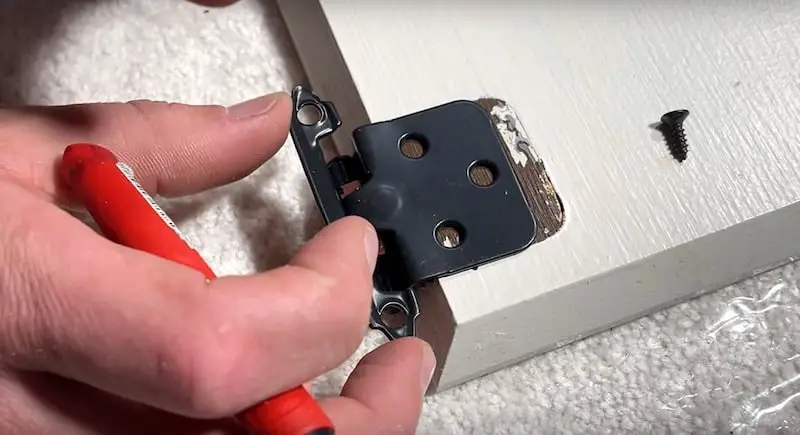
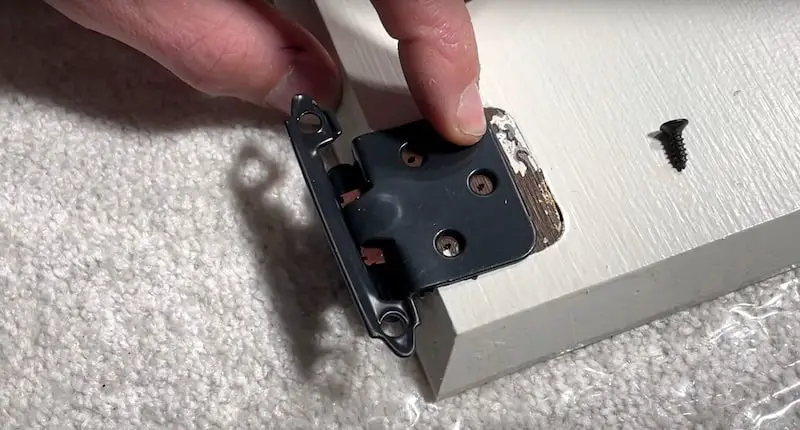
Before we mark or drill anything, let’s center up the plate of the new hinge in the space left by the old one. (In the image, the hinge is pressed up against the edge of the door; it’s just hard to see because the decorative part of the hinge is facing downwards.)
Now we’ll mark the center of each hole because we’re going to drill some pilot holes.
You can use a Sharpie for this; I’m using a Milwaukee Inkzall. I think they’re awesome for this kind of project. I’m using a 5/64″ drill bit to drill my pilot holes.
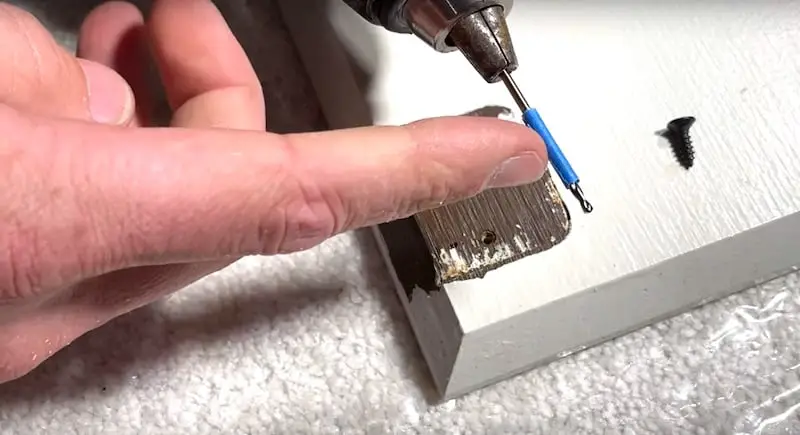
You see that I’ve put some painter’s tape around the drill bit. This is a great little reference point when you’re using a drill; it shows you how deep you should go. In this case, I’m drilling the pilot holes about a quarter of an inch deep.
Putting in the Screws
To put the screws in, I’m not going to use a drill. I’m going to hand-tighten the screws, just to make sure I don’t strip out the holes, which would make this a project a lot longer than it needs to be.
Now that we’ve got our hinge plate mounted to the door, let’s install the door and see how it looks.
Installing the Door
To install the door, we’ll start off by mounting the top screw of the top hinge. (Remember to use the longer screws in your hinge package for this.)
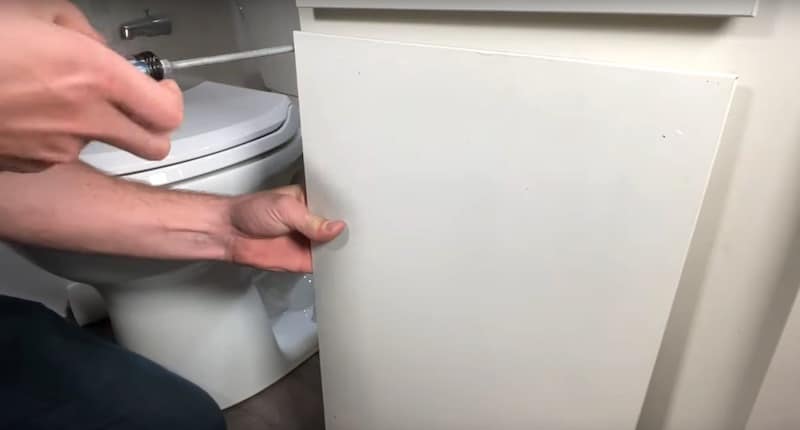
Take care to hold the door securely so that you’re not letting the weight of the door rest on a partially threaded screw. Again, put the screws in manually with a screwdriver.
Thread the screw to the point where it is well-engaged but not tightened all the way. We need to leave a little play before the final tightening.
Now we’ll mount the top screw of the bottom hinge. This way we can make sure everything lines up correctly before adding the other screws.
The placement of the door looks good, so let’s go ahead and tighten up these two initial screws all the way. Then we’ll add the other two screws and tighten them fully.
With everything secured, go ahead and test out the door.
Everything lines up and there are no gaps. Looks good!
How to Replace Face Mount Hinges on a Cabinet Door: Conclusion
So now you know how to replace face mount hinges on a cabinet door!
Remember that there are lots of different varieties of hinges out there, so be careful to choose the right type for your project.
Take the old hinge with you and take your time to make sure the size, shape, and type of hinge are right. If you do those two things, this project should require only one trip to the hardware store.
To Leave Comments and Questions
If something doesn’t make sense or if your situation is a little different, please leave a comment under the YouTube video. I check the comments daily and am happy to help out.
Don’t forget to subscribe to our channel as we have weekly videos coming out to help you with all sorts of everyday home repairs.
Got other home repair projects to tackle?
Check out this article which will show How to Install Soft Close Hinges For Existing Kitchen Cabinets


