
 My Account
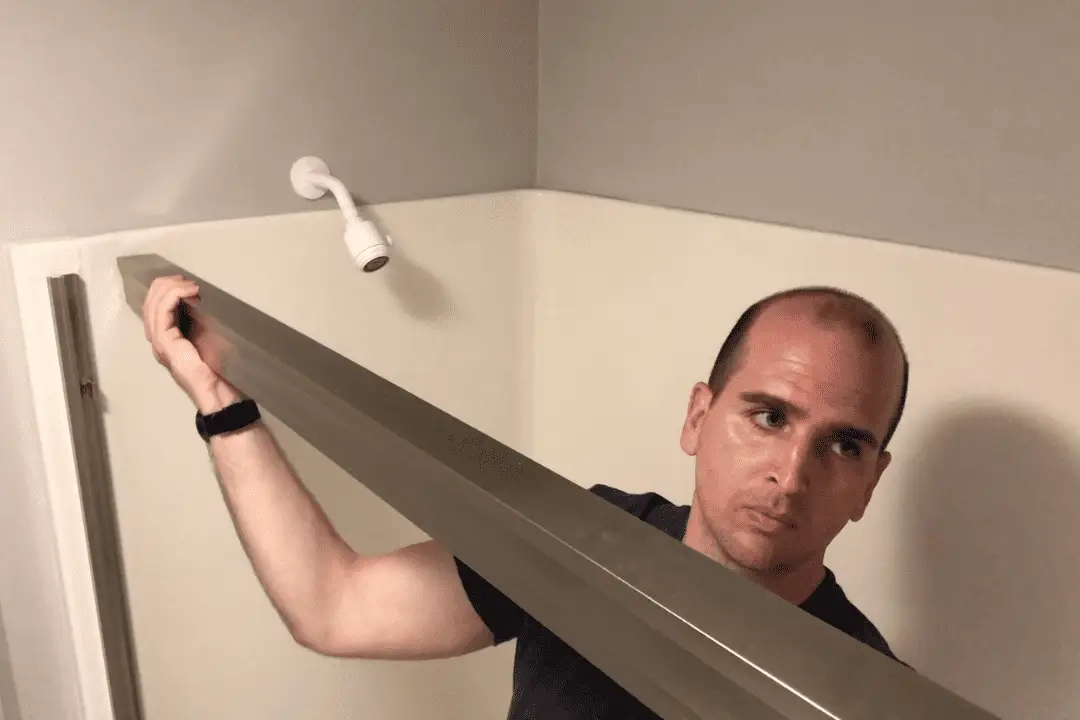
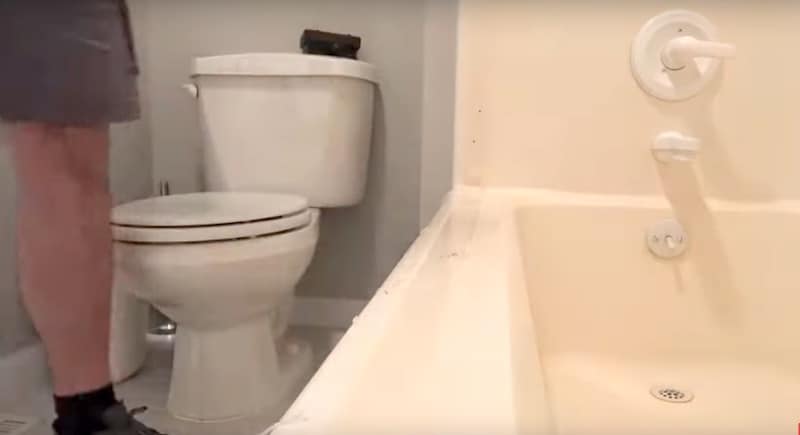
In today’s tutorial, I’m going to remove some glass shower doors in my bathroom.
You might be wondering why I’m doing this. It seems like a downgrade but the reality is that we need easier access to the tub to give our little guy a bath.
In your case, maybe you want a more open or modern look in your bathroom, especially if you have a brass or gold shower door frame. Or perhaps you’re simply tired of stubbing your toe when you get in and out of the shower.
Whatever your reason for wanting to remove glass shower doors from your tub surround, this is an easy DIY project that doesn’t take a lot of time.
Removing Glass Shower Doors: Step-by-Step Guide
There aren’t a lot of steps in this how-to guide for removing shower doors. The trickiest thing about this project is removing sealant.
A caulk removal tool can be very handy for the task of removing sealant. Not only will it make the work easier but it will reduce the risk of scratching your tub surround compared to using a razor blade scraper or utility knife. The tool is not expensive; you can get them for less than $10 (as of Feb 2022).
So let’s jump into the few simple steps needed to remove these glass shower doors and the frame.
Rather watch than read? Check out this 5-minute video.
DISCLAIMER: This video and description contain affiliate links, which means that if you click on one of the product links, I’ll receive a small commission.
How to Remove Glass Shower Doors and Frame: Tools
- Caulk removal tool, utility knife, or razor blade scraper
- Screwdriver
Dismantling the Shower Doors
Step one is to take off the shower doors. We’ll be working from the inside of the bathtub for this.
Stack the shower doors to one side.
On the inside center of the track, you’ll see a bracket that holds the shower doors in place. We’re going to remove it.
First, loosen the screw.
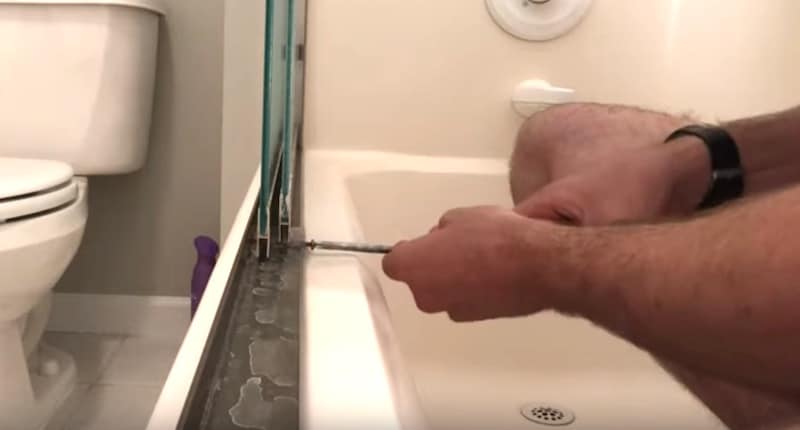
Now, if there’s any caulk or silicone blocking the bracket, clear it away with a utility knife or a caulk/silicone removal tool.
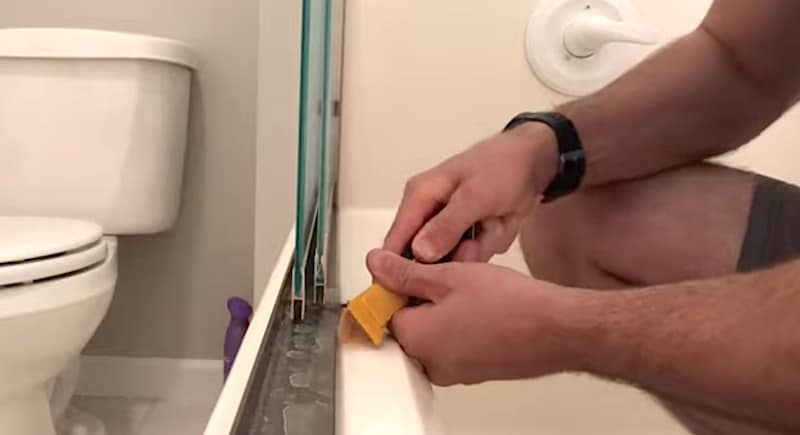
It might take some time to dislodge the sealant but do take your time and use care. It’s very easy to scratch or gouge the fiberglass if you’re in a hurry or not paying attention.
Once the sealant has been removed, you should be able to push the bracket loose.
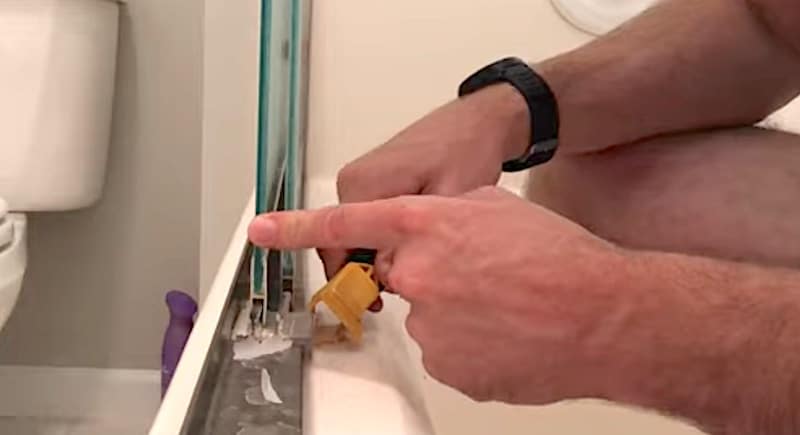
You can see how the rails of the bracket ride within the channels at the bottom of the glass panels.
Set the bracket aside. The shower doors are ready to remove.
Standing inside the tub, pull the bottom edge of the closest panel towards you and then lift it up a bit.

We’re lifting the door up a bit because there’s a little roller on the top part of the panel that we want to disengage from the upper track.

Once the roller is out of the track, the panel will be free.
Safety Note: Shower doors are made of tempered glass and they are quite resilient, but you should still be careful. If you hit the door in the right spot on the corner it could shatter in your hands.
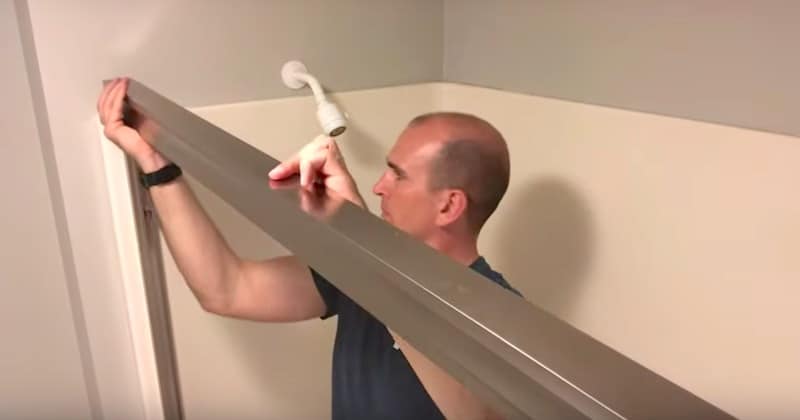
Removing the Top and Sides of the Shower Door Frame
With the shower doors dismantled, we’re going to remove the frame, starting with the top rail.
The top rail merely sits in the side rails. By removing the sealant where the top rail connects to the vertical pieces, you’ll be able to just pop the top rail off.
Now for the side rails. These pieces are fastened to the tub surround.
I’ll remove the screws and any sealant.
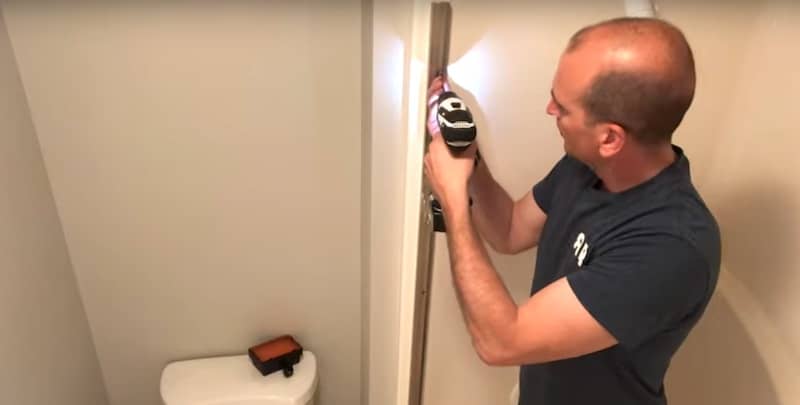
Getting the sealant off allows you to remove the frame more easily, and without bending it.
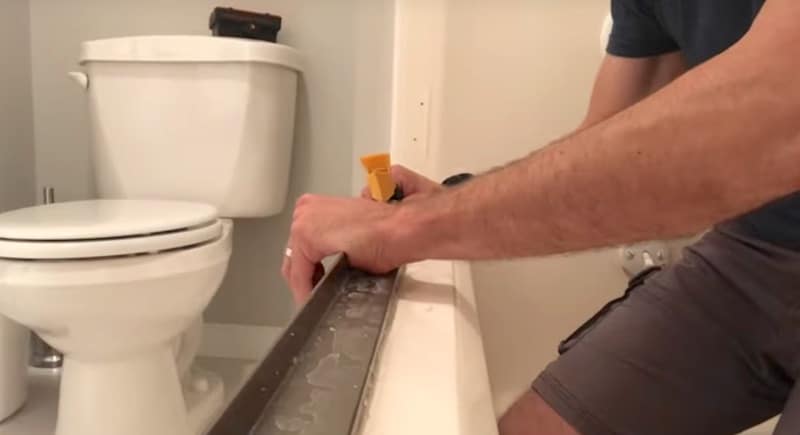
Removing the Bottom Track of the Shower Doors
On the bottom track of the shower doors, you’ll most likely have more caulk or silicone to remove compared to the side rails.
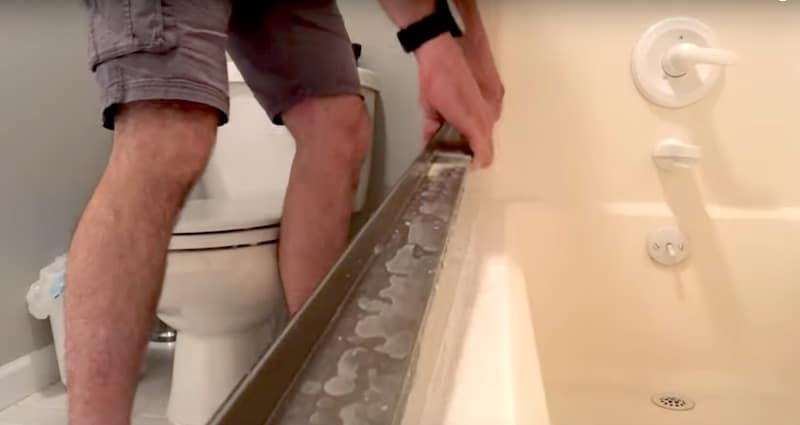
Using your caulk removal tool or utility knife, dislodge the sealant from both the inside and outside edges of the bottom track. Again, take your time, gently wiggling the track loose as you strip away the sealant.
You might need to repeat this a few times.
At a certain point, you’ll be able to pry the track loose and lift it off.
That’s it!
All said and done, this project took about 20 minutes.
How to Remove Glass Shower Doors and Frame: Finishing Touches
Removing these glass shower doors and frame was pretty easy but I do have some more work to do. I need to remove the bits of sealant still left on the tub surround and patch the screw holes in the fiberglass.
Obviously, filling the screw holes is important, not only for aesthetic reasons but also to keep the surround watertight.
Removing Residual Sealant and Filling the Screw Holes
Removing the residual sealant and filling the screw holes are also easy home repairs that you can learn how to do in the following tutorials:
- Removing Silicone Caulk from a Tub or Shower: video or written tutorial
- How to Repair a Hole in a Fiberglass Bathtub Surround: video or written tutorial


