
 My Account
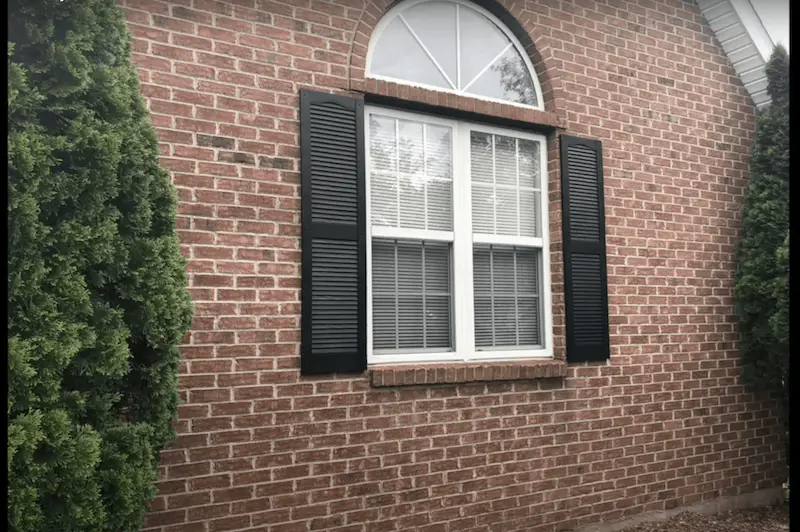
A nice set of decorative shutters will instantly elevate your home’s aesthetic and overall curb appeal. But if you’re working with a brick house – the process can be a little intimidating. This blog will primarily be focused on installing decorative shutters on a brick house because it’s quite a bit tougher than installing over vinyl siding. That said, I will review a little bit over how I approach the vinyl siding part.
From steps to remove your old shutters to different ways to mount your new ones – find out how to efficiently mount new shutters on a brick house.
Rather watch than read? Check out this 7-minute video.
Tools Needed
1. Hammer Drill
2. Tape Measure
3. Level
4. Hammer
5. Phillips head screwdriver
6. 1/8” and 1/4” masonry drill bit
7. 7/32” wood drill bit
Supplies Needed
1. New Vinyl Shutters *
2. #10 Black Pan head screws 2.5” (Brick Install)
3. #10 Anchor Inserts (Brick Install)
4. #10 Pan head screws 3” (Vinyl Siding Install)
*A note on picking out new shutters:
When looking for new shutters, it’s a good idea to measure your current shutters and get new ones that are as close as possible to the originals. This will help your overall install. Mine were about 13 5/8” for the width and 58 3/4” in height. So I went to the local big-box home-improvement stores and I picked up Shutters By Design (14 1/2” W x 59” H). For height, it pretty much matched up for me – but I was about 1” wider for the width.
How to Install Vinyl Shutters on a Brick House – 7 Steps
1. Remove the old shutters

I used a screwdriver to remove the old shutters, but you can probably just pop them off with your hand without issue.
Pro tip: Be careful – you don’t know what’s hiding under your shutters. Depending on how long your shutters have been up and what area of the country you’re in, there can be a whole lot of stuff behind them. In my case, I found spiders and an old wasp nest. Luckily, it was old – so it wasn’t an issue!
2. Add exterior caulk to the mounting holes you won’t reuse

In my case, since the new shutters are slightly different sizes from the old ones, I’m only going to be able to reuse the top mounting holes. For the others that I won’t be reusing, I filled them with a general purpose exterior caulk.
3. Match up the hardware finish with the shutters

A quick note on the hardware: You’re likely going to get some plastic spikes that come with the vinyl shutters. For those, you’d drill a ¼” hole and then use the spikes to do a bit of a friction fit. However, I’m not a fan of these fasteners, so I took a different route:
- For installing shutters on brick: I used plastic anchors that matched up with the 2.5” #10 screws.
- For installing shutters on vinyl: I didn’t use any plugs and drilled directly through the vinyl into the plywood on the outside of the house with 3”inch screws.
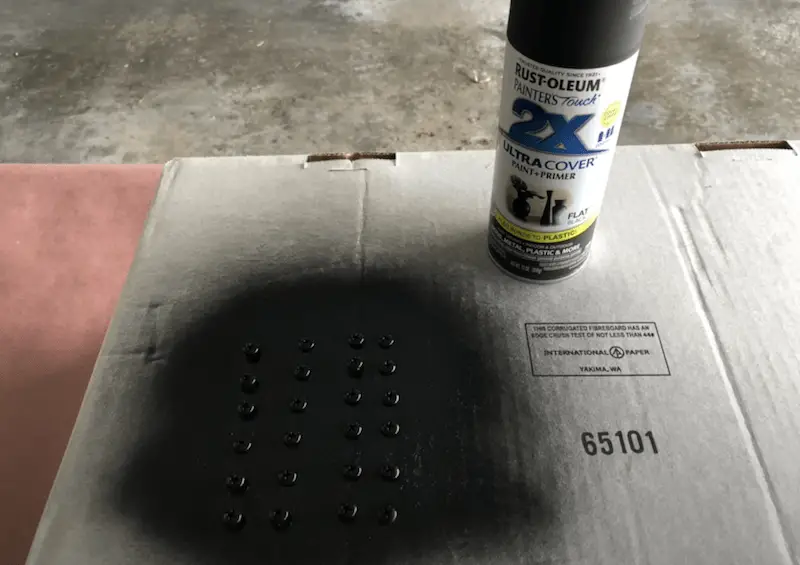
I wanted to match up the finish of these screws (pan heads) to the shutters. So I put them on a cardboard box, used some rust-oleum 2x primer and paint, and just did two passes. I did one pass in all different directions, let that dry for 15 minutes. Then, I went back again and let it dry for 30 minutes. From there, I was ready to go.
4. Prep the shutters before install by pre-drilling
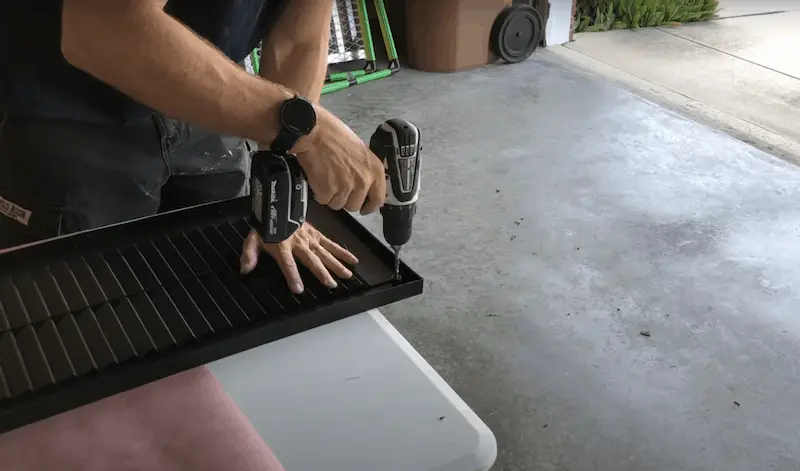
To get the shutters ready before install, I grabbed a 7/32” drill bit and pre-drilled the holes through the little mounting cylinders. This is going to make it easier to get a nice and secure fit when you tighten up the screws.
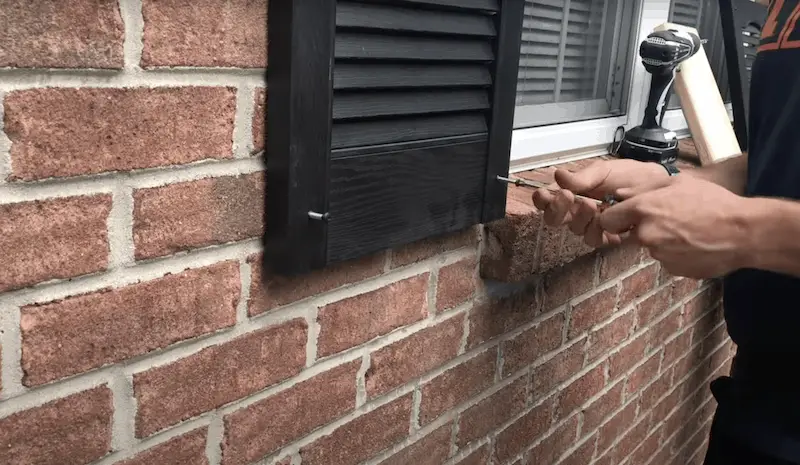
5. Get the mounting holes drilled

Your shutters are officially ready for install! You can use a mounting board, but I didn’t need it because I was using the top mounting holes. (Go to minute @3:50 for a look at the below steps.)
- First, insert the two plastic plugs, then hand tighten the screws within the 2.5” screws to get it all level.
- Then, since I had four other mounting holes – two in the middle and two at the end – I took a ⅛” masonry drill bit and marked my holes.
- From here, I removed the shutter and then drilled out the ¼” hole with a masonry drill bit for mounting holes.
It should be noted that this takes a while! You’ll need to use a little force with a hammer drill to get through the brick. But take your time.
Pro tip: Wear eye protection and hearing protection because hammer drills can be quite loud!
6. Tap plastic plugs into the holes
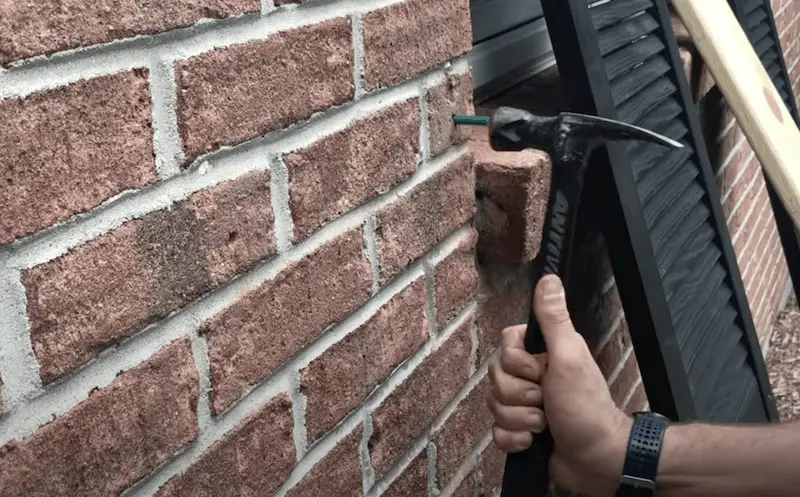
Once you have all the holes drilled out, you’ll gently tap the plastic plugs into the holes with a hammer so that they’re flush with the brick surface. This will give you a secure anchoring point for the four additional mounting points that were just drilled.
7. Hand-tighten the shutters onto the brick
At this point, you’ll probably be tempted to use your cordless drill to tighten in the 2.5” screws because it takes a while to get them all tightened down. But I would recommend taking the time and hand tightening.
It’s easy to get a little too aggressive with a cordless drill or impact driver, which will rotate the plastic plugs and the holes and potentially throw off your anchoring point. So take the time to hand-tighten them. It will make for just a better mounted finished product (and hey, you’ll get a little workout with your forearms!).
Again, these screws and the anchors are going to be way more secure than the plastic plugs or spikes that come with it. So in my opinion, it’s definitely worth it.
Wrap Up
Overall, I am happy with this project. If you want to update your home’s look without a huge time or money investment, installing new shutters is a great option. And while adding shutters on a brick house may be a bit daunting – if you do it right, you likely won’t have to re-do it for years (maybe even decades).


