
 My Account
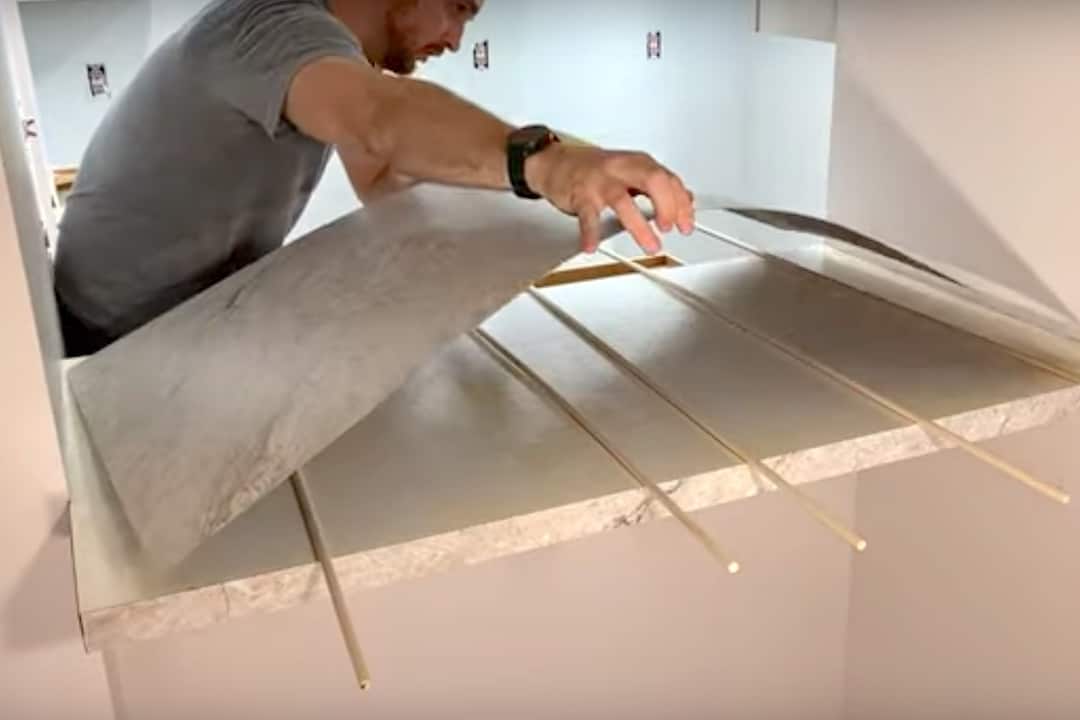
Today I’m going to show you how to install sheet laminate on a countertop. This is a great way to update any laminated surface because it’s easy and inexpensive.
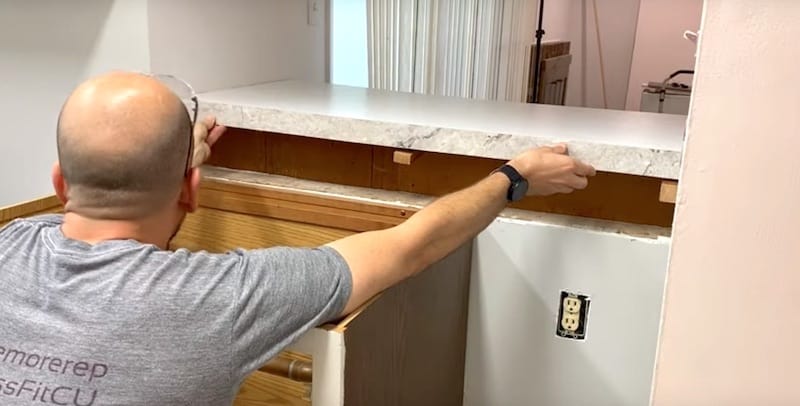
The subject of this tutorial is a breakfast bar in a kitchen I’m modernizing with new laminate countertops. I wanted to resurface the breakfast bar to match the new countertops. But there’s a problem: the breakfast bar is a custom dimension. The materials needed for this project are nothing standard that I could get off the shelf at my home center.
So, I basically had two options: order a custom countertop, which would have cost more and taken a couple of weeks to come in, or buy a sheet of laminate that was in stock. Opting for the sheet of laminate, I was able to get my materials on the spot.
Structurally, the breakfast bar is still solid and the existing surface in good shape and well-adhered, so resurfacing it is a practical option.
Installing Sheet Laminate on a Countertop: Step-by-Step Guide
Installing a sheet of laminate on a countertop is a very approachable project, even for a novice do-it-yourselfer. In this step-by-step guide, I’m going to share some tips and tricks that will help you save time, save money, and get professional-quality results.
Let me walk you through how to install sheet laminate on this breakfast bar countertop and hopefully it will help you with your project.
Rather watch than read? Check out this 11-minute video.
DISCLAIMER: This video and description contain affiliate links, which means that if you click on one of the product links, I’ll receive a small commission.
How to Install Sheet Laminate on a Countertop: Supplies and Tools
Supplies
Tools
- Makita Cordless Router
- Flush Trim Router Bit
- Makita Cordless Circular Saw
- Diable 60 Tooth Blade (6.5 inch)
- Hand File Set
- Mini Side Cutters
Sizing the Laminate
Our first step is to cut the laminate into the major sections we’ll need, which are the piece for the top of the breakfast bar plus the strips to cover the profile (sides). The edge strips will need further sizing later.
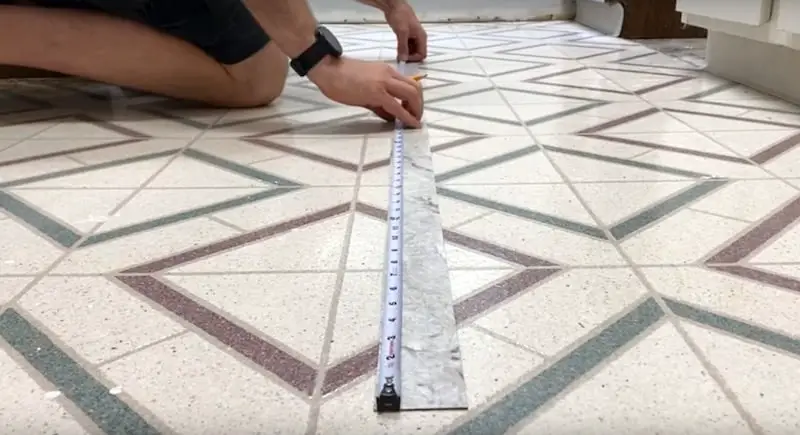
My sheet of laminate is 30½ inches wide. The finished depth I need is 26½ inches, so I’ll be trimming off 4 inches.
This extra 4 inches comes in very handy because I’ll divide it into 2-inch strips that will cover the sides of the breakfast bar countertop.
Marking and Cutting the Side Pieces
First, with my T-square, I’ll mark 2-inch strips that run the length of the laminate.
Note that the side of my countertop (the profile) is 1½ inches high but I’m cutting my material 2 inches wide. For these side pieces, we also want to have a little extra material because we’ll trim them down with a router after the laminate is glued in place.
Once I’ve marked the 2-inch strips on the laminate, I’ll line up the marks with the edge of my work surface and secure it with clamps. This will give me a guide for an easy, straight cut.
Then, with my cordless circular saw, I’ll cut the sheet of laminate into the two strips I’ve marked out, shifting the sheet over after the first cut to realign my cutting guide.
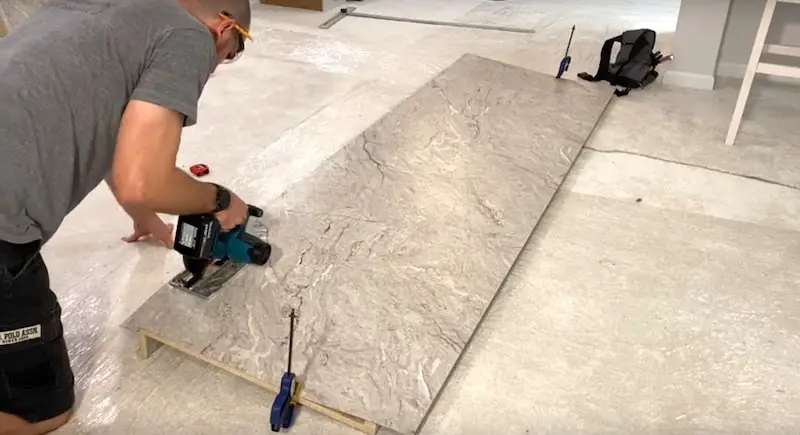
It’s best to use at least a 60-tooth blade on the circular saw to minimize chipping and get a nice, smooth edge on the cut. Additionally, you could run masking tape along the top side of the sheet where you’ll be cutting as an additional guard against splintering.
Marking and Cutting the Top Piece
The surface of the breakfast bar I’m resurfacing isn’t square, and that is the trickiest thing about any project like this.
It’s not uncommon to encounter surface areas that aren’t square, because the walls they fit between are frequently not perfectly parallel. Even if the surface of your project looks square, it’s best to carefully measure before cutting.
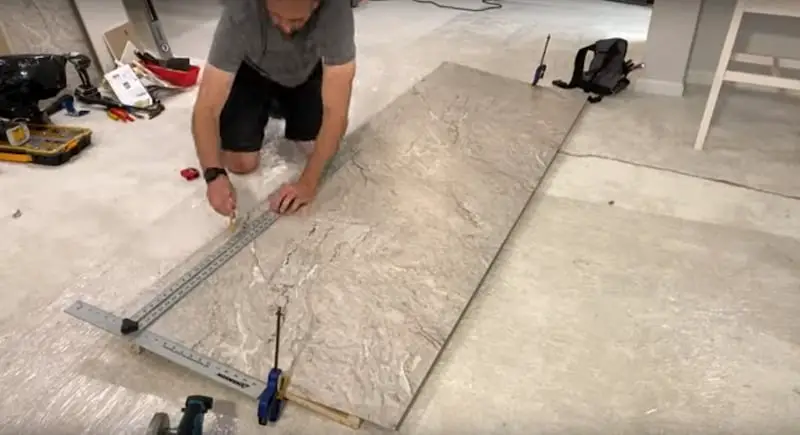
I’ve taken precise measurements, so I’ll go ahead and mark each side of the laminate with the appropriate lengths. (In my case, the surface is out of square by a half inch.)
Then, with a straight edge, I’ll draw a line between the two measurement points.
Next, I’ll turn the laminate sideways across my work surface, lining up the marks with the edge and securing the material with clamps. Again, this will ensure an accurate cut.

Final Sizing and Dry-Fitting of the Side Pieces
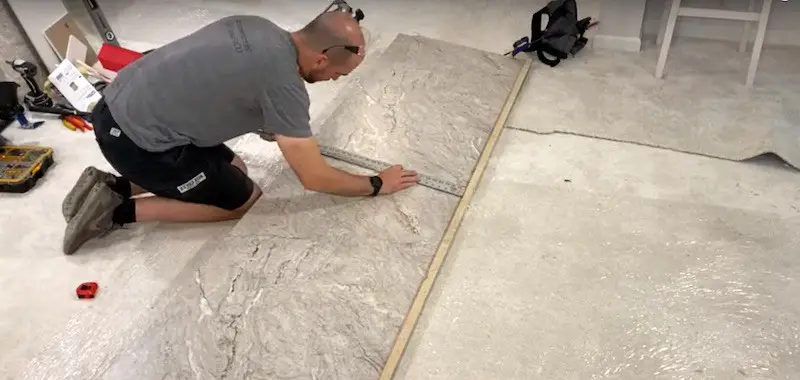
Now I’ll take my side pieces, lay them down, and mark the finished lengths (if your surface is not square, remember you will have different lengths here.)
I used vinyl siding shears to cut the laminate, which worked really well.
Before you install the sheet laminate, it’s always a good idea to double-check the finished lengths of your pieces by dry-fitting them. Basically, this means just holding them in place to make sure they fit correctly before applying any adhesive.
Once you’re sure the side edging pieces are all correctly sized, get your contact cement out.
Installing the Side Pieces of Laminate
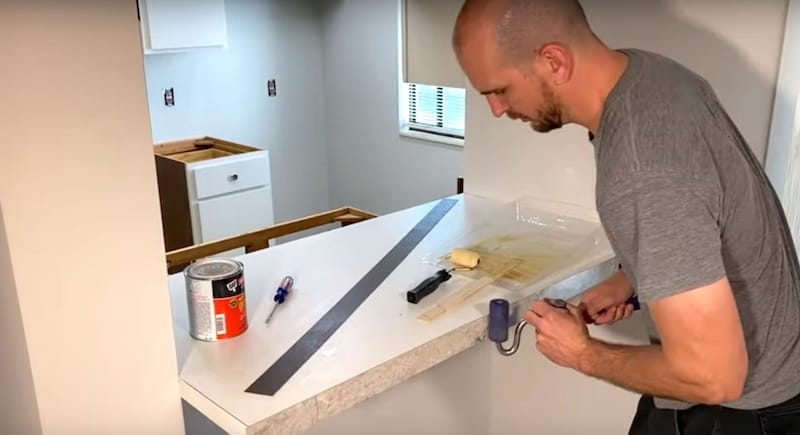
We’re going to use contact cement to glue the side pieces of laminate onto the countertop. It’s best to use a foam or low nap roller to apply it. Then once the laminate is in place, a floor roller will help you apply pressure to seal the adhesive bond.
Note that it’s not necessary to sand the laminate before applying the adhesive.
Gluing On the Side Pieces
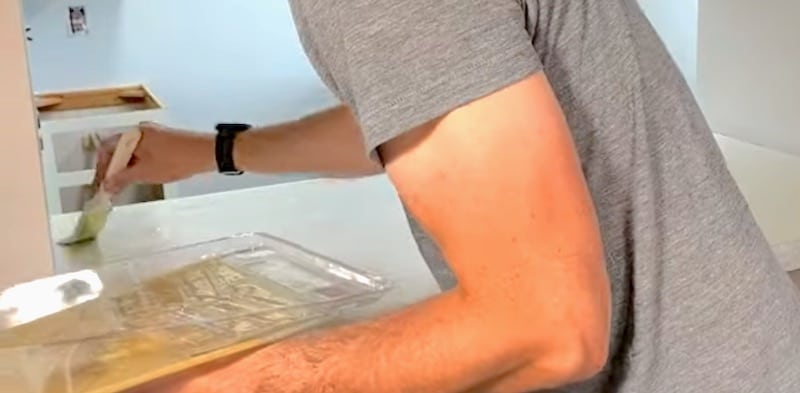
We’ll pour a quantity of contact cement into a disposable paint tray.
I’m applying the contact cement to the side pieces using the countertop as my work surface.
If some of the adhesive gets on the countertop, it’s not a problem because I’ll be applying the same adhesive to this surface later on. When I do apply the contact cement to the countertop, it will reactivate any dried adhesive.
Roll the contact cement onto both the laminate strips and the sides of the countertop.
Let the adhesive set up for about 25 minutes, or until the surface is tacky.
Once the contact cement is set, carefully apply and press the side pieces into place, making sure to leave extra material on all sides that don’t butt up to another surface. We’ll trim the excess down with a router later.
Note that I’m installing only the two long, parallel sides first. This way, I can leave an overhang where necessary, which will allow me to trim down the extra and get a precision fit. Once the long sides are done, any perpendicular pieces can be mounted.
In my case, I have only one short, perpendicular piece but you might have two or more, depending on the shape of the counter you’re resurfacing.
Use a floor roller to apply some good pressure to the edging pieces, which will fully activate the contact cement.
As you’re rolling, pay careful attention to the places where the pieces come into contact with a wall. You don’t want to neglect those corners. They’re the hardest spots to get into but they’re the most important when it comes to getting a good, solid bond.
Removing the Excess Laminate on the Side Pieces
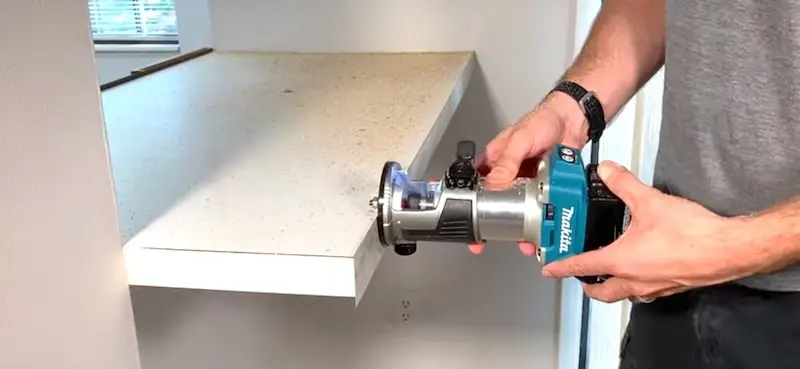
Using my cordless router with a flush-cut bit, I’m going to trim the excess laminate off all sides of the edging. Don’t forget, you can find links to all these tools and supplies in the Supplies and Tools section.
Take your time working your way around with the router.
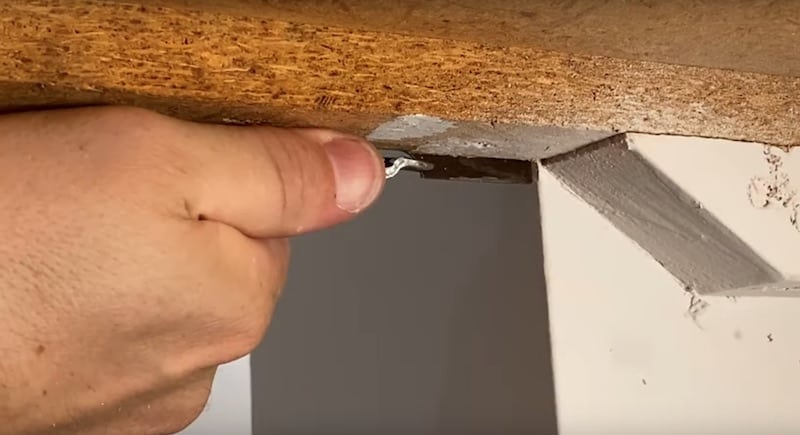
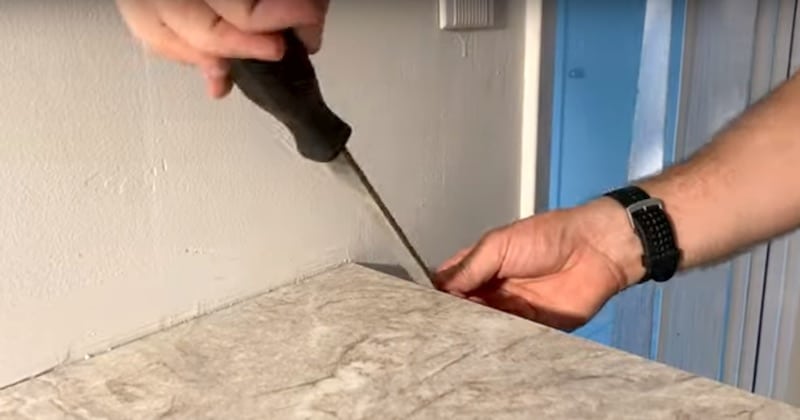
Obviously, you’re not going to be able to get all the way to the wall with the router. To trim the excess where the router can’t reach, we’ll use some small side cutters or snips.
Trim the bulk of the excess but don’t get right down to the edge. We’ll use a file to remove the last bits of laminate and smooth out all the edges.
Finishing the Edges of the Side Pieces with a File
Once I’ve removed the excess laminate, I’m going to carefully refine the edges of my side pieces. With a hand file, I’ll use a sweeping, one-direction motion to remove any roughness.
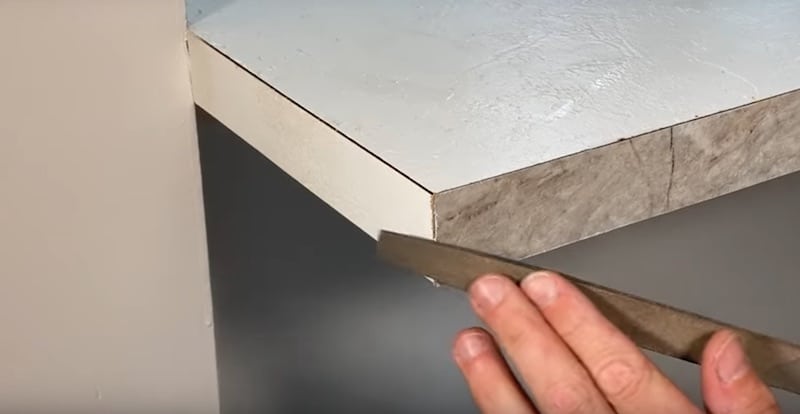
This one-way motion should be towards the countertop. In other words, even my filing is pushing the newly applied piece of laminate towards the surface.
Installing the Top Piece of Laminate
Before we install our top piece of laminate, we’ll want to dry fit it.
First, lay the piece into place. Make sure that everything lines up, then smooth out the piece to see if the whole thing is lying flat. You should have a little overhang on all the free sides.
Once you’re comfortable with your dry-fit, do a final prep of your surface. I quickly went over the surface with a razor blade to scrape off any material that could cause bumps, such as drips of paint.
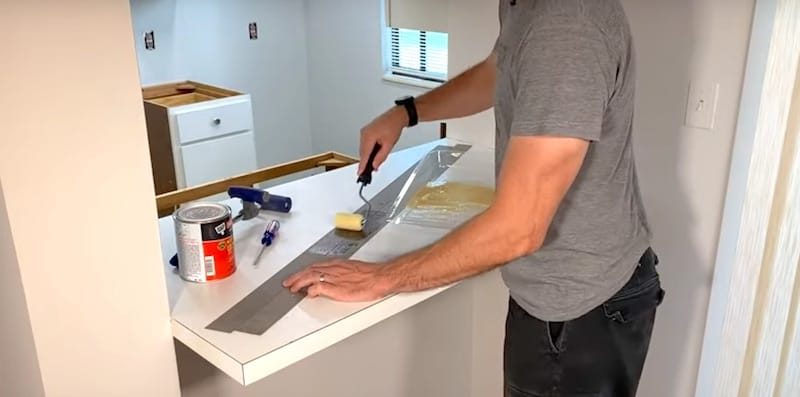
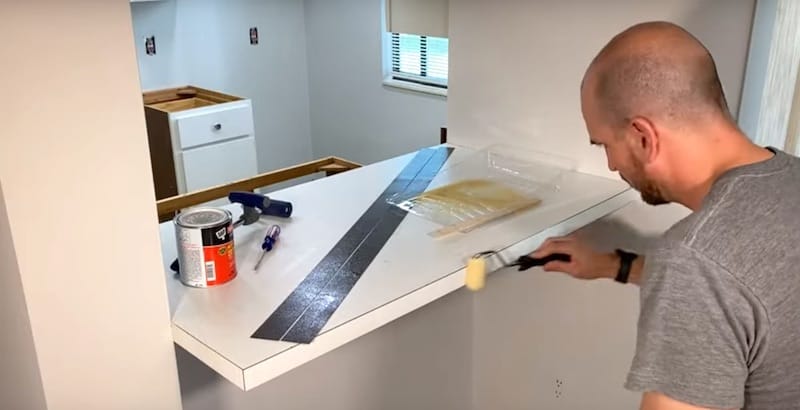
Gluing On the Top Piece
Again, using a foam or nap roller, apply the contact cement.
You can apply the contact cement quite generously. A good, thick coat of adhesive will give you a good bond.
Use a cheap little paintbrush to get the adhesive all the way to the corners.
Finally, we’ll apply contact cement to the back of the sheet of laminate. I’ve done this on the floor because the flooring’s going to be replaced. You might want to use a workbench for this.
As before, let the contact cement set up for 20-30 minutes. You do want to monitor it. You’ll be able to see when the surface starts to dry. When you touch it, it should feel tacky but not sticky. If the adhesive sticks to your finger, it’s not ready.
Now the moment of truth: gluing down the top piece of laminate.
Using some dowel rods or scrap pieces of wood, I’m going to create a little buffer zone to give myself some room to properly line up the laminate before letting the glued surfaces come into contact with each other. To do this, I’ll lay my dowel rods across the countertop, spacing them every 10 inches or so.

Carefully lay the piece of laminate on top of the dowels or pieces of wood.
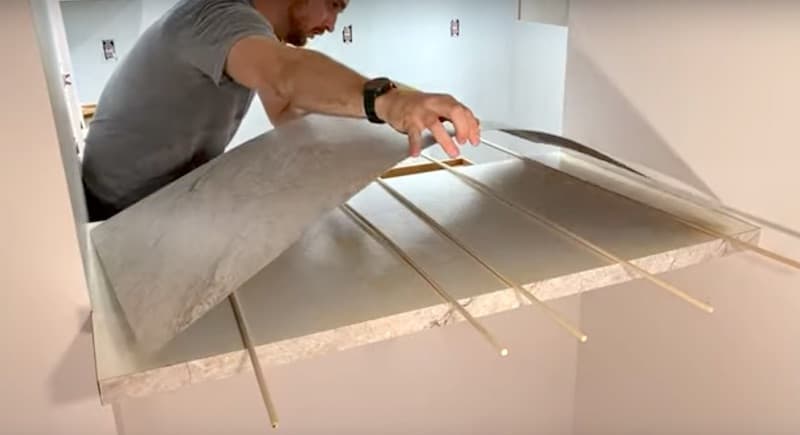
Work your way around, adjusting as you go, coaxing the laminate into its final position, making sure that there is excess material on all free sides.
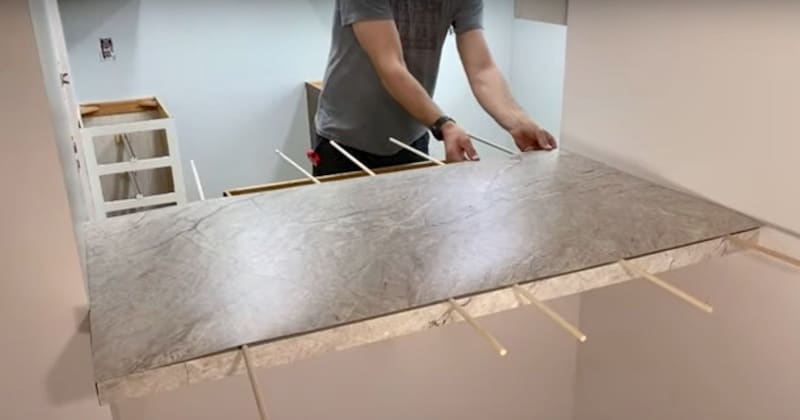
Once the sheet is in place, we can start pulling out the dowels.
After removing each dowel, press firmly down to bring that section of laminate in contact with the surface.
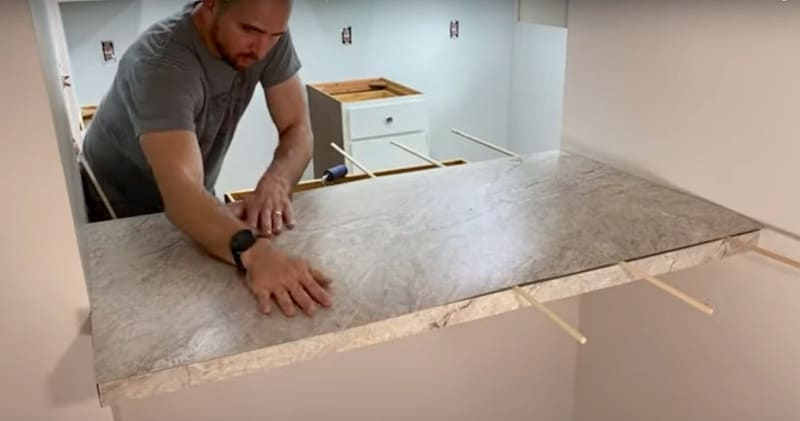
Once all the dowels are out and the sheet of laminate is pressed down, use your floor roller to apply pressure to solidify the adhesive bond. Take care to work across the entire surface, paying extra attention to the edges and any corners where the surface meets a wall or other perpendicular object.
Removing the Excess Laminate on the Top Piece
As we did with the side pieces, we’re going to use our router with a flush-cut bit to trim the overhang on the top piece. Take your time and work carefully so as to not damage the side edge pieces.
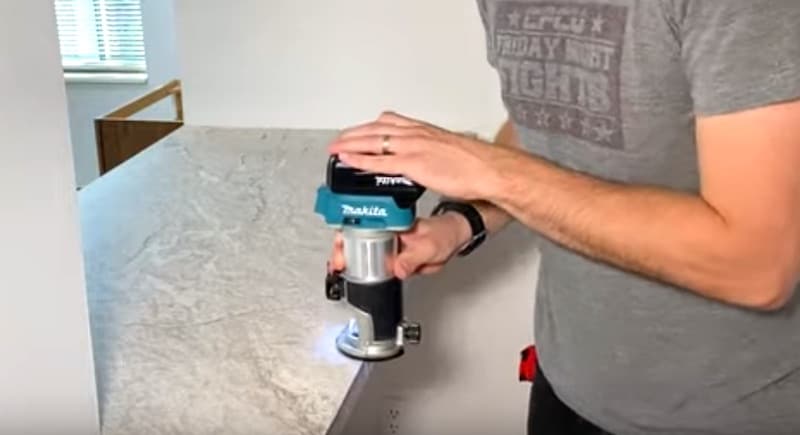
After using the router, we’ll finish up with a hand file, again working in single-direction strokes that go towards the surface.
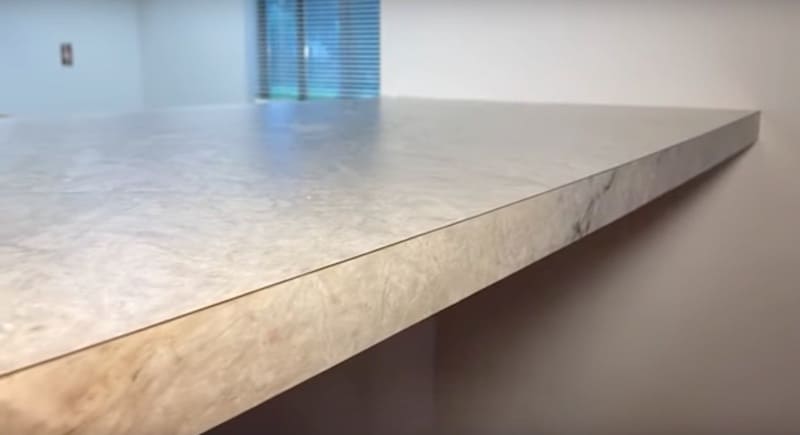
How to Install Sheet Laminate on a Countertop: Finished Product
Here’s the finished product! I’m really happy with the way it turned out.
Cleaning Up
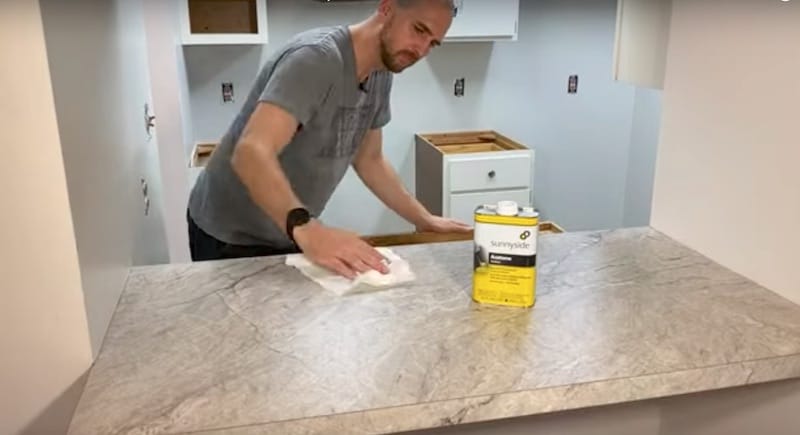
As a final step, we’ll use some acetone to clean up any residual adhesive.
With a soft cloth or paper towels, wipe all surfaces (top and sides) thoroughly with acetone. It’s best to do this right away.
How to Install Sheet Laminate on a Countertop: Conclusion
That’s it! All in all, the countertop came out really well, except for one corner where I got a little excited with the router and scuffed the edge.
I’d like to conclude with a little discussion about tools. Having the right tools is key to an efficient project and a satisfying outcome.
A router is a real life-saver on a project like this; it will save you tons of time. I once resurfaced an end-cap and trimmed all the laminate overhang by hand-filing. I can definitely say “Never again will I do that!” because it took forever.
I use a Makita router but any router with a flush-cut bit will do the trick.
The unsung hero of this install is the electrical mini side cutters. These angled snips are great for removing the excess laminate near the wall where the router can’t reach, which will save you time and effort when it comes to using the hand file.
Remember that all tools and supplies are listed near the beginning of this tutorial in the Supplies and Tools section.
Other Countertop-Related Projects
To see another countertop-related DIY project, namely how to cut a laminate countertop (including lessons learned), please watch our YouTube video.


