Installing a framed vanity mirror is an easy way to update the look of your bathroom. Today I’m going to show you how to install a Delta Custom Reflections mirror.
The Custom Reflections line has a variety of mirror sizes and many different frames that add up to over 200 possible combinations, so it’s a great product for mixing and matching to fit your space. Your local home improvement center likely carries the line; I got mine at Menards. You can find these products online as well.
Note that the Delta Custom Reflections line is specifically designed for bathrooms. A normal framed mirror will absorb water and eventually deteriorate. The Custom Reflections products are solid and the materials are suitable for an environment with a lot of moisture.
If you have an old vanity mirror to remove, it might be helpful to watch this video first.
Let’s jump into it!
Rather watch than read? Check out this 11-minute video.
DISCLAIMER: This video and description contain affiliate links, which means that if you click on one of the product links, I’ll receive a small commission.
How To Install A Delta Custom Reflections Mirror: Supplies, Tools, and Costs
Supplies
Tools
Cost
As far as cost, you’re looking at anywhere from about $80 to $120, depending on what kind of glass you get, what kind of frame you get, and what kind of mounts you get. The mirror in this tutorial was right at the $100 mark.
Measuring the Space for the Mirror
My first step is to get the height and width of my space.
I have a 31-inch vanity so that’s the width I’m looking for in a mirror.
I have 50 total inches of clearance from the top of the vanity backsplash to the ceiling.
Choosing the Delta Custom Reflections Mirror
Before heading down to your home improvement store, you might want to check to see if they carry the Delta Custom Reflections line.
I’m at Menards and the Custom Reflections display looks like this:
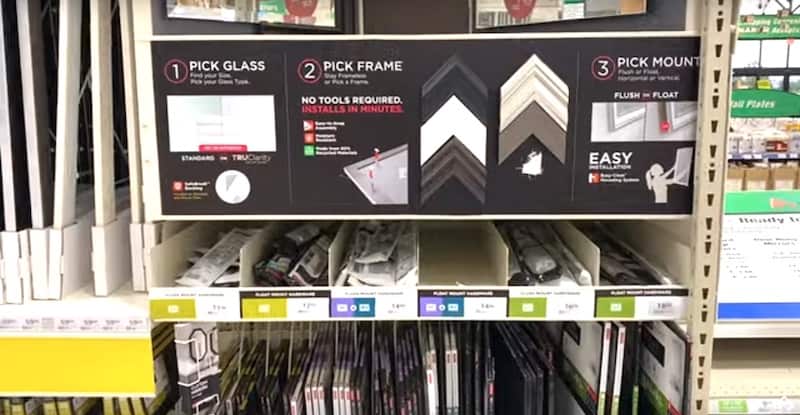
You can choose from various mirror sizes in standard or deluxe (beveled) styles. Then you have frames in multiple colors, patterns, and sizes to fit the glass. Lastly, you have a choice of surface mount or floating mount.
Some examples of the assembled components:
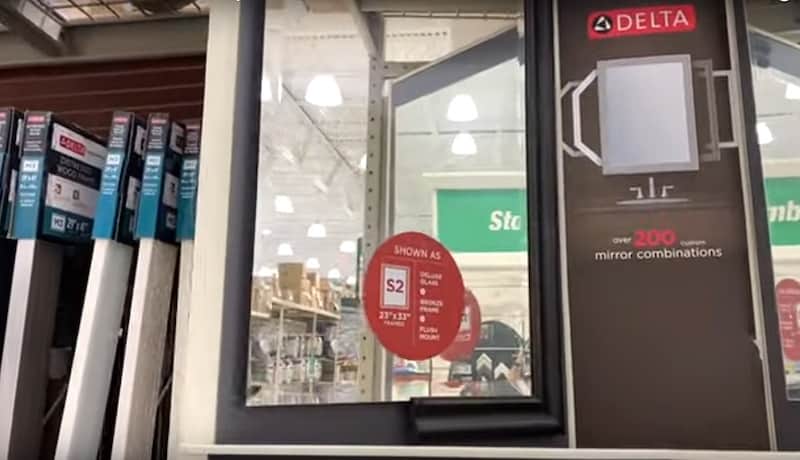
Here is the deluxe glass with a frame (the frame obviously cut in half) and a flush mount. Well, you can see that with a frame it will be flush mount. Without a frame it will have somewhat of a floating appearance.
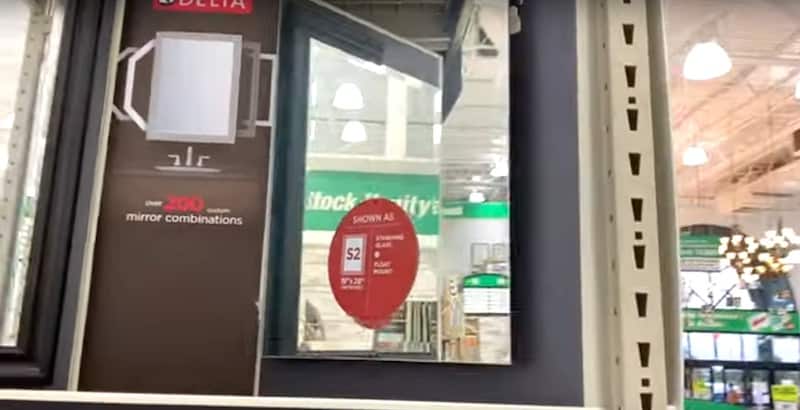
Then we have the standard glass and no frame with a floating mount. With this type of mount the frame sits away from the wall.
For this project, I went with
- standard glass, 24 x 35 inches
- a white frame that measures 29 x 41 inches on the exterior
- flush mount
Assembling the Delta Custom Reflections Mirror
First, take the glass out of the package and set it off to the side. Keep the cardboard from the packaging on your work surface. You’re going to use it to protect the frame as you work.
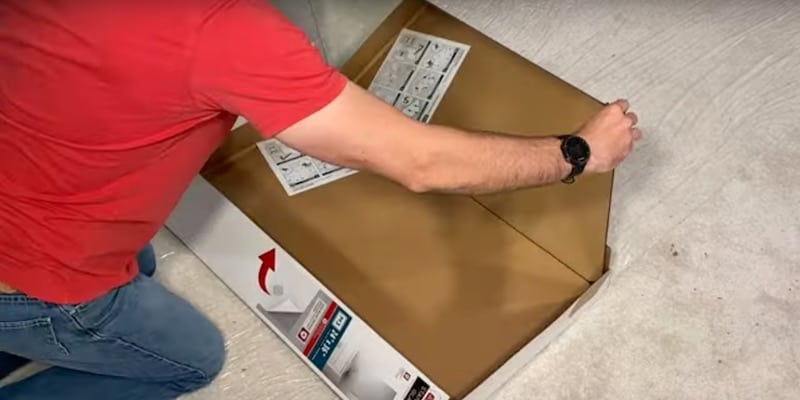
Now set the frame face down on the cardboard (the channel side of the frame facing you). Remove the packaging from the frame and take the white clips out of the packaging. These clips are going to hold the mirror in the frame.
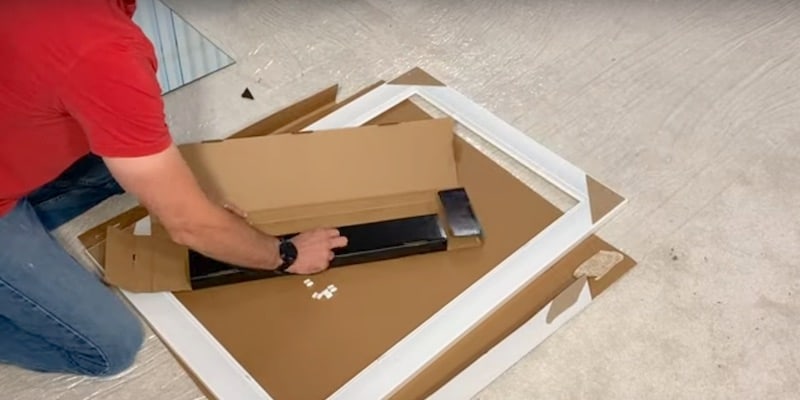
Place the glass with the mirror-side down into the channel of the frame.
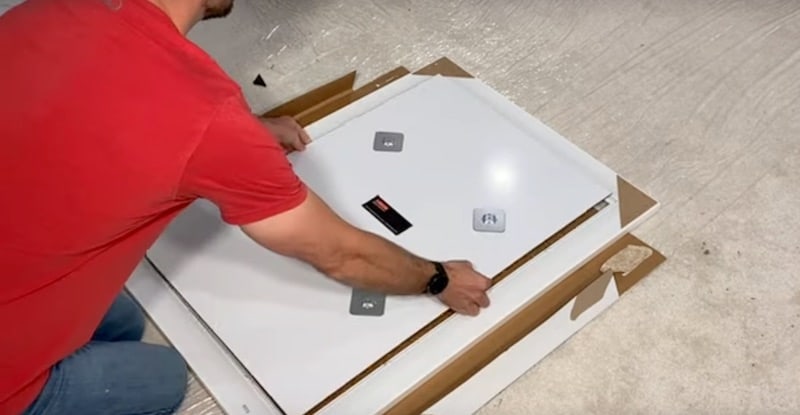
Once the glass is in place, you’ll go around and screw in the four mounting pegs on the back of it.
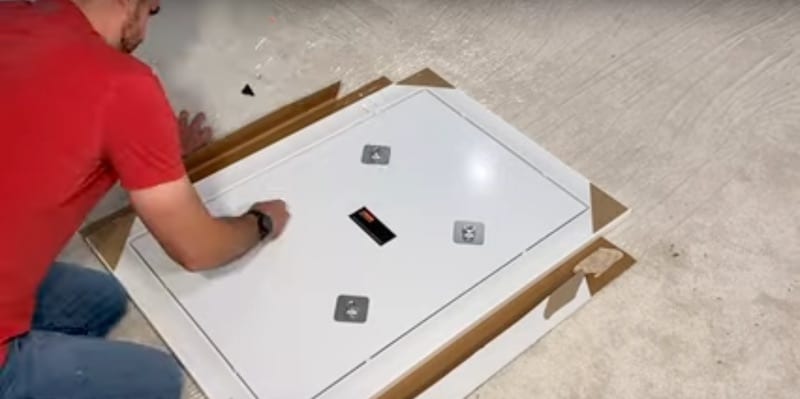
Tighten the mounting pegs down with a screwdriver.
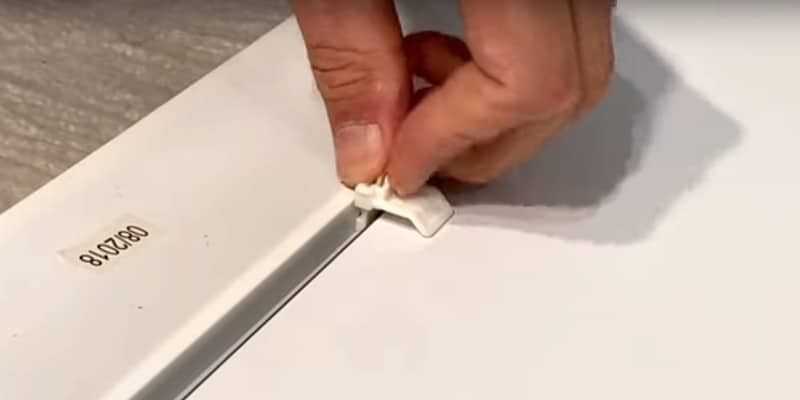
Moving on to the white clips. Insert the clips into the channel between the mirror and the frame, distributing them evenly on all sides. This secures the mirror within the frame.
Installing the Delta Custom Reflections Mirror
Now that we’ve got the mirror and frame assembled, we’re ready to place the mounting bracket on the wall. This is probably the most difficult part of the whole installation.
This mounting bracket is just a piece of flat stock aluminum that has punched-out holes and a bent rail. The rail is where those pegs on the back of the mirror will ride. The top two pegs are going to sit on the rail and that’s what’s going to carry the load.
Locating a Stud
The first thing I’ll do is find a stud in the wall because I want at least one of these mounting screws to be fastened to a stud.
I’m going to use my Stud Buddy, which is a stud finder that uses magnets. You just pass it over the wall using a swiping motion until you feel it catch.
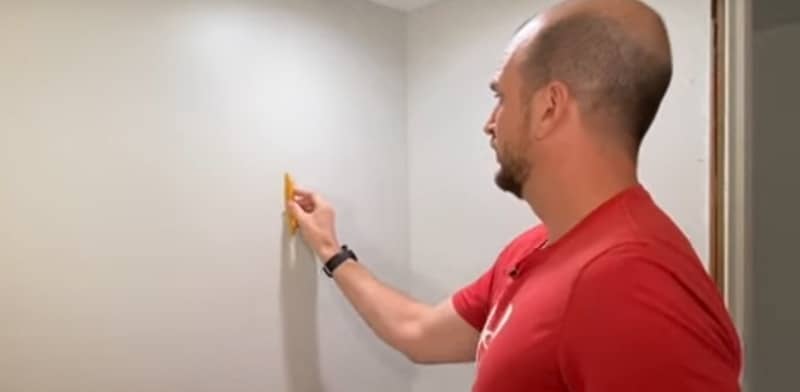
When it catches, it means that the magnet has been drawn to one of the screws that are holding the drywall to the stud.
You can find different kinds of stud finders that use other kinds of technology but I like this one because it’s simple and compact. It also doesn’t require any batteries and doesn’t have any digital components to give you issues.
Once I’ve found the stud, I’ll put some light marks on the wall with a pencil to mark the spot.
Positioning The Mounting Bracket
Now to mark the vertical and horizontal positioning of the mounting bracket.
- Vertical Position:
The distance from the top of the mirror frame to the mounting peg is 14 inches. The ceiling in this bathroom is pretty low so I’m going to add only an inch of clearance.
I’ll place the mounting bracket on the wall, just eyeballing the placement, knowing that I’ll be needing about 15 inches of clearance from the bracket to the ceiling.
The kit comes with a little bubble level, which I’ll place on the top rail of the bracket.
Next, I’ll take my tape measure and coax the mounting bracket along the wall until the top rail comes to the 15-inch mark.
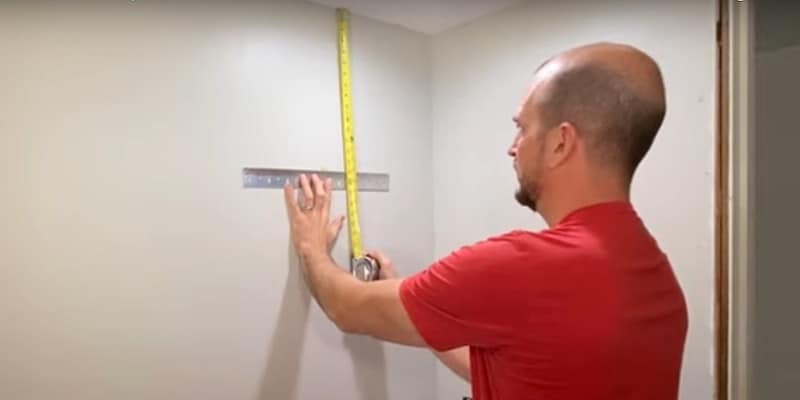
After making sure that the bracket is level, I’ll mark the bottom of it with a pencil.
- Horizontal Position:
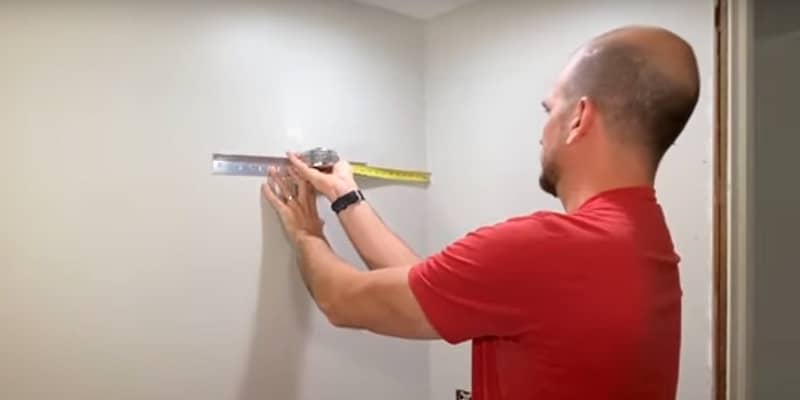
The width of my vanity is 31 inches and the width of my framed mirror is 29 inches, which leaves me 2 inches to split between the two lateral sides in order to center the mirror over the vanity. That’s pretty simple arithmetic; I’ll obviously need 1 inch of clearance from the wall on the right.
I know the distance from the edge of the mirror to the mounting peg is 8 inches. Adding those 8 inches to the 1 inch of clearance needed to center the mirror, I get 9 inches. In other words, I’ll need to place the right edge of the mounting bracket 9 inches from the wall.
NOTE: The formula to find the lateral clearance for a centered mirror would be:
- (width of vanity minus width of the mirror) divided by 2
This calculation gives me the clearance on each side of the mirror.
Now I’ll take my tape measure and measure the clearance I need from the wall, also positioning the rail so that one of the holes lines up with the stud. I also want to make sure that the rail is level after scooting into position.
Fastening the Mounting Bracket
Once I know that the rail is level, that I have enough clearance to the wall, and that one of the holes lines up with the stud, I’ll mark that hole.
This will be the first screw that I put in. If you have a drill or impact driver, you can use that. I’m just going to use a Phillips-head screwdriver to sink the screw.
It’s ok to let go of the rail while you sink the screw; we’re going to level everything out again later on.
You want to secure the screw to the point where it will hold the rail in place but still gives you a little play. Put the little bubble level back on top of the rail and level it.
I always double-check my measurements at this point. It’s way easier to fix things with only one screw in place.
Once I know my measurements are good, I’m going to mark the spots where I’ll put in the wall anchors. I want to space those evenly with respect to the screw that I fastened to the stud, preferably with one at the other end, if possible.
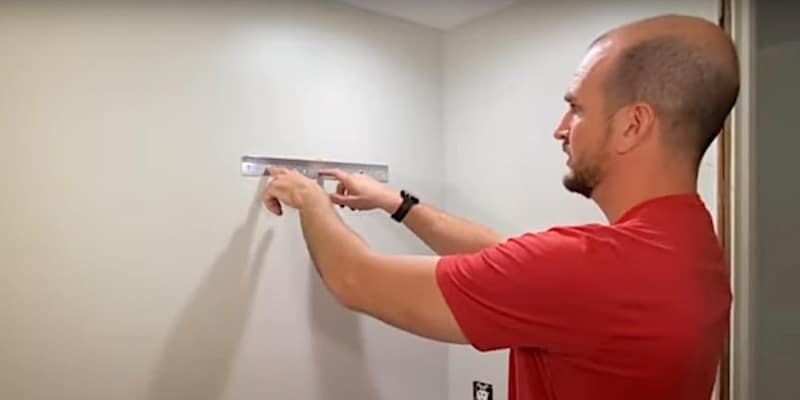
To be truthful, I’m not in love with this type of wall anchor. I’m not crazy about any kind of plastic plug anchor for drywall. I’m going to mount them because they come in the package and because you’re probably going to use them, but I prefer to use toggle bolts for a far more secure hold.
To mount the toggle bolts, you’d need to drill out the holes with the appropriate-sized drill bit and then pass the toggle bolt through it.
With my slots for the wall anchors marked, I can slide the rail out of the way to mount the anchors with a screwdriver.
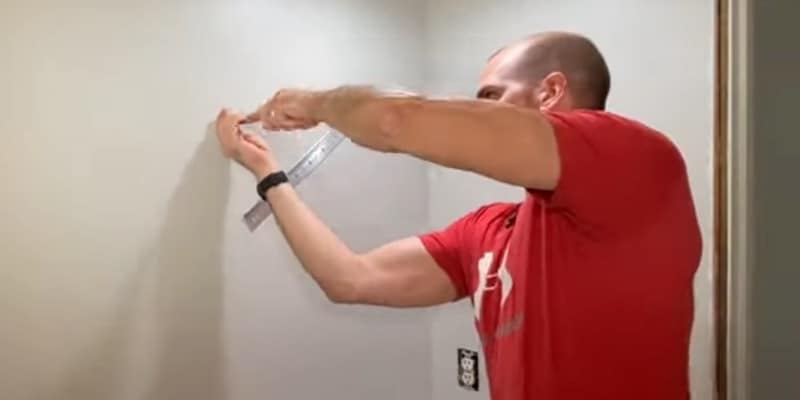
Once the anchors are installed, I’ll slide the rail back up into place, put the bubble level on top, and realign the slots. The slots will give us a little play to make sure everything is level.
When I have everything centered and level, I’ll sink the screws into the wall anchors.
That’s it! The mounting bracket is installed.
To recap: I have two screws going through wall anchors and one screw fastened to a stud. The distribution of your screws will obviously be different according to the size of the mirror you’re mounting and where the studs are located in your wall.
Mounting the Mirror
The last step is to simply set the mirror into place.
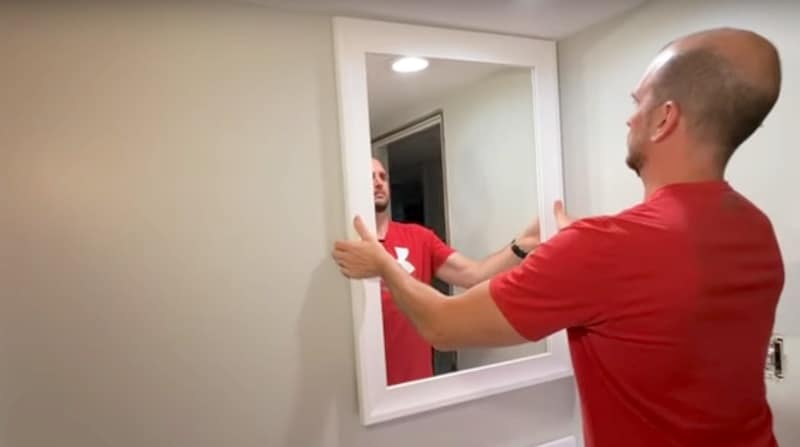
The mounting pegs will rest on the top rail of the mounting bracket.
The nice thing about this mounting rail system is that you’ll have side-to-side play of about an inch once you have it in place.
How To Install A Delta Custom Reflections Mirror: Conclusion
That finishes up the install of this Delta Custom Reflections bathroom mirror!
As you saw, the mounting bracket is the trickiest part of the installation.
If you’re having trouble with drywall anchors, I highly recommend swapping them out with toggle bolts.
Other Bathroom-Related Repairs/Improvements
To see another bathroom-related DIY repair, namely How to Install a Vanity Light, please check out our YouTube video.
To Leave Comments and Questions
Now you have the information and confidence to install a Delta Custom Reflections mirror on your own!
If something doesn’t make sense or if your situation is a little different, please leave a comment under the YouTube video. I check the comments on a daily basis and am happy to help out.
Don’t forget to subscribe to our channel as we have weekly videos coming out to help you with your everyday home repairs.
We’ll catch you on the next one! Take care.


