
 My Account
Today I’m going to walk you through a project that can totally rejuvenate the look of a bathroom and save you a ton of money by doing it yourself: How to Install a Bathtub and Shower Surround.
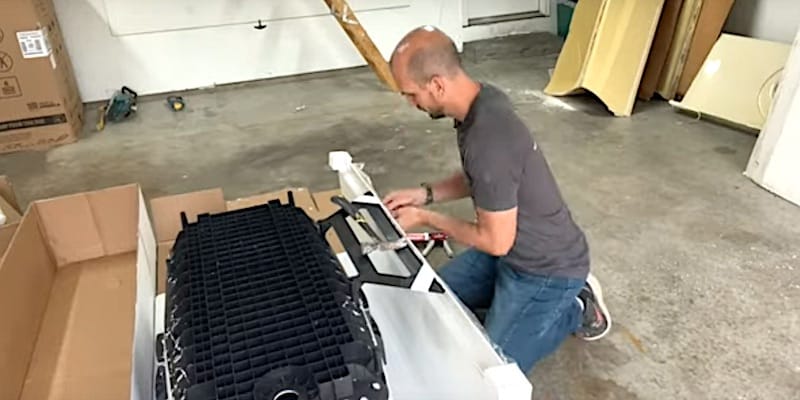
I’ll be installing a Delta Classic 400 Series, which is an acrylic tub and multi-piece surround combo. I’ve used this product on multiple renovation projects in the past and overall I’ve been very satisfied.
The space for the tub and shower is a typical 60-inch alcove.
This tub and shower surround project is part of a complete bathroom renovation that will be available in written form in the near future.
Tub and Surround DIY Installation: Step-by-Step Guide
As with so many things, the success of the final product is tied to proper prep work, so the fundamental step in this tutorial will be looking at the subfloor and looking at the walls to be sure we have a level, solid framework to set the tub and surround on and studs in the right places to screw everything onto.
Then I’ll guide you step by step through the DIY installation of a Delta Classic 400 Series 60-inch acrylic tub and surround in an alcove. This is basically a two-part process: “dry-fitting” the tub and shower surround (setting/screwing it into place without adhesive to check the placement and alignment) and then the final installation where we secure everything with adhesive and sealant.
A few things to note:
I’ve already done all the demolition and we won’t go over that in this tutorial. Check out the video if you need pointers on how to remove an old, single-piece fiberglass tub and shower surround.
I also removed the old drain line because I want to reconfigure that, and I cut the copper water lines because I’ll be replacing them with PEX going up to the new mixing valve and shower arm.
Rather watch than read? Check out these two videos.
DISCLAIMER: This video and description contain affiliate links, which means that if you click on one of the product links, I’ll receive a small commission.
How to Install a Bathtub & Shower Surround: Supplies, Tools, and Costs
Supplies
- Delta Classic 400 Series alcove bathtub (When ordering, you’ll need to select which side the drain is on, so be careful about that.)
- Bathtub drain rough-in kit
- 1 ¼-inch deck screws
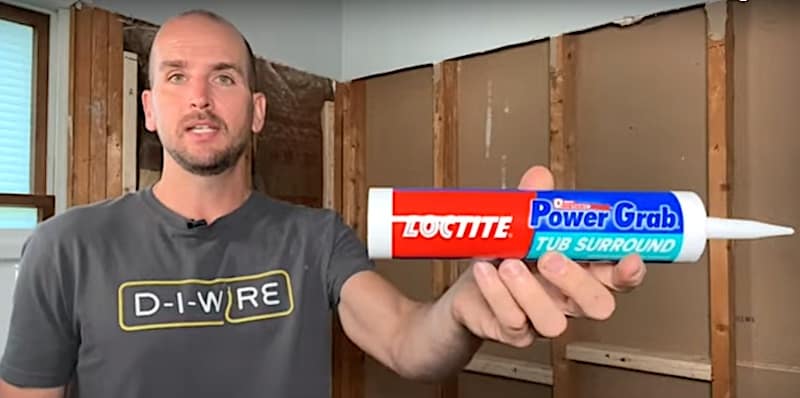
- Loctite Power Grab adhesive for tub surrounds
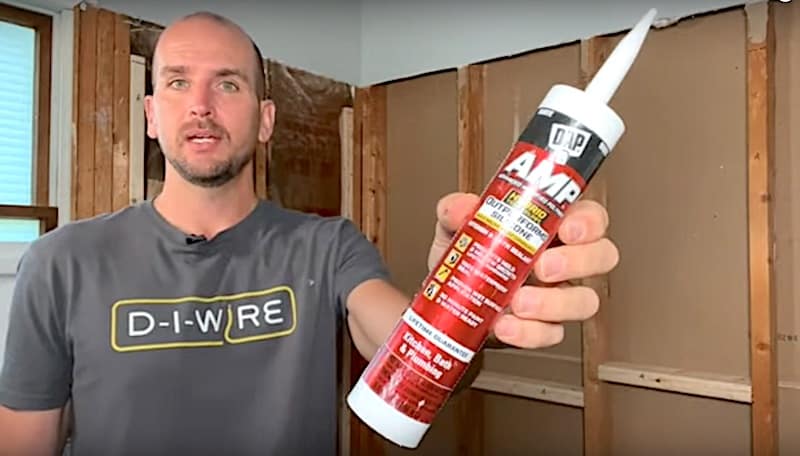
- AMP sealant
- Painter’s tape
Tools
Costs
- Shower valve and plumbing, $314
- Tub, $349
- Tub surround and caulk, $469
- Misc plumbing supplies, $114
- TOTAL Tub & Surround, $1,246
How to Install a Bathtub & Shower Surround: Before Starting
In addition to installing the new tub and surround, I also wanted to replace my copper water lines with PEX. This part of the project will be detailed in a separate article.
Before starting, I shut off the water and removed the upper portion of the lines, capping the lower portion with half-inch SharkBite caps.
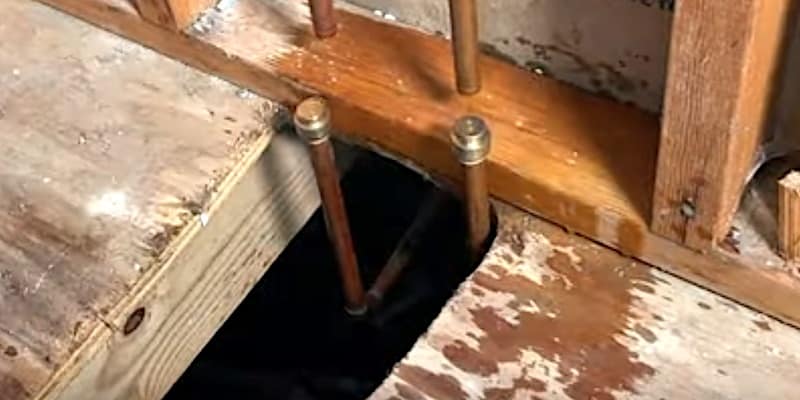
These Sharkbite caps are super-handy with projects like this because once you’ve capped your lines, you can turn the water to your house back on. If you’ll be leaving your existing water lines as they are, you’ll probably want to plan on leaving the water off while you install the new tub and surround.
How to Install a Bathtub & Shower Surround: Measuring the Space
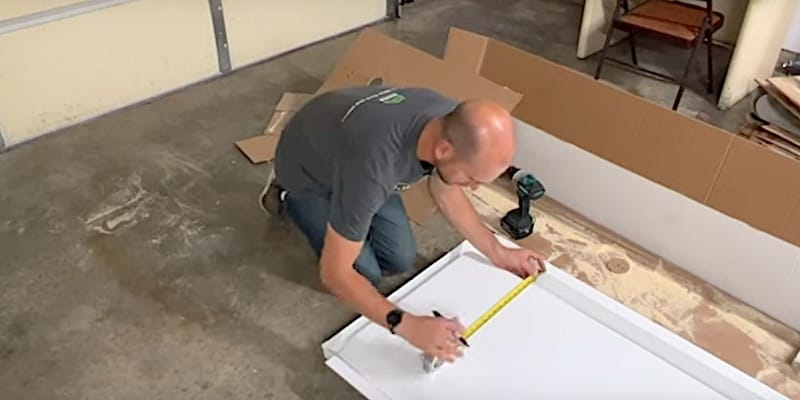
Before dry-fitting the tub, I’m going to take some measurements. I want to confirm that the width and depth of my alcove correspond to the new tub.
In my case, the opening is 60 ⅛ inches wide and the depth from the back wall to the edge of the screwing flange is 32 inches. This will accommodate my Delta Classic 400 Series 60-inch tub.
On one side of this alcove opening, I have a stud in the right place, so I’ll be able to secure the front flange of the tub right to that. On the other side, however, I’ll need to add in a “sister” stud so that I’ll have something to screw the flange onto.
The height of the tub flange that will go all the way around the alcove is 19 inches. I’ve marked the studs in the opening at that height.
Prepping the Opening for the Bathtub and Shower Surround
It’s really important to check the subfloor and studs prior to installing a tub and shower surround. You want to make sure that the floor is level and that the studs are plumb and square prior to dry-fitting.
Checking and Prepping the Subfloor
To see if the subfloor is level, I’ll check it in both directions with a 4-ft bubble level.
In this bathroom, the floor is level side-to-side but sloping front-to-back. To measure how far from level the floor is, I’ll slide a shim under the far end of the level until the bubble is in the middle, then mark and measure the thickness of that spot on the shim.
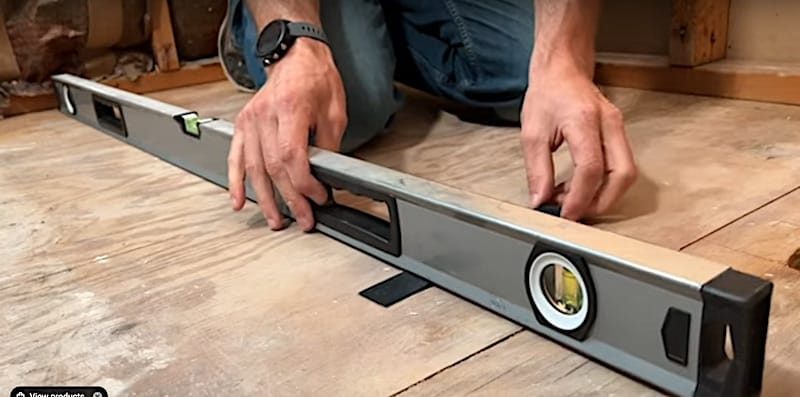
I’m off by ⅛ of an inch, which is borderline. When I dry-fit the tub, I’ll see how it looks and decide if I need to compensate. If the floor were sloping any more than this, I’d want to put down a bed of mortar to level out the tub.
Note: A “bed of mortar” was super common for many decades to be placed between the subfloor and the tub bottom. This helped to provide support for the tub and gave a nice strong secure feel. Just be careful as some tubs like the Delta 400 series have a support structure already integrated into the design that should sit on the subfloor without any mortar.
Checking and Prepping the Studs for Squareness
Now to check the studs to make sure they’re plumb and squared up properly.
First, I’ll span my level across the studs in the short sides of the alcove, making sure all of them are touching the level. I’m basically just using my level as a straight edge here, to see if the studs are all on the same vertical plane.
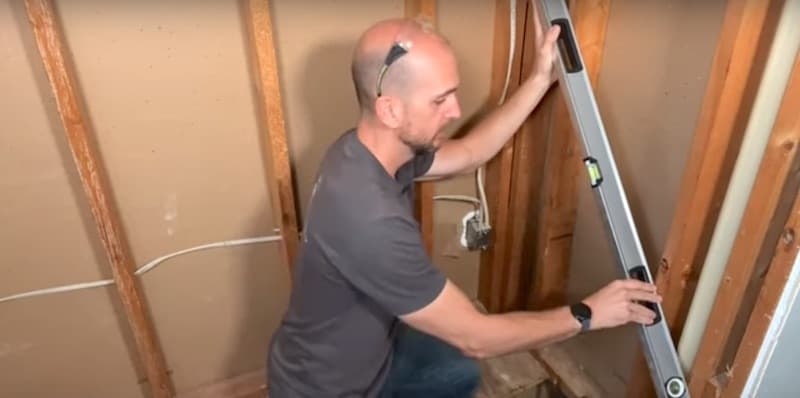
Next, I’ll check the studs at the front of each side of the alcove opening to make sure it’s plumb in the vertical direction.
Then, I’ll take a square to see how the studs along the back of the alcove square up to the corners and sides.
I do have a bit of a gap in the corner.
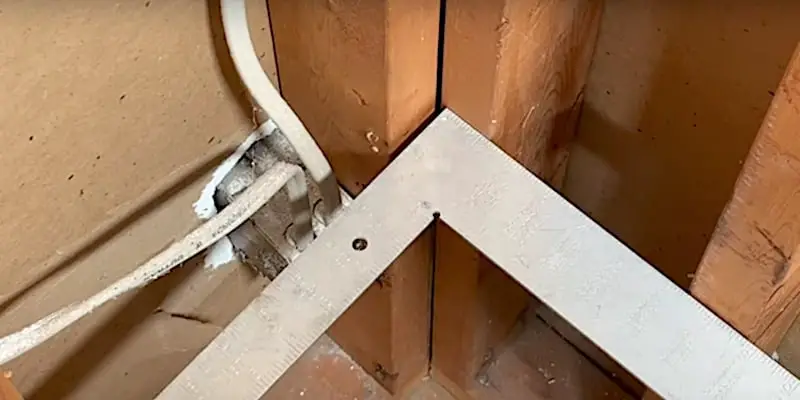
I’m going to have to rectify this gap. I’ll use a furring strip to add some volume to the stud that’s set back, affixing it with some brad nails.

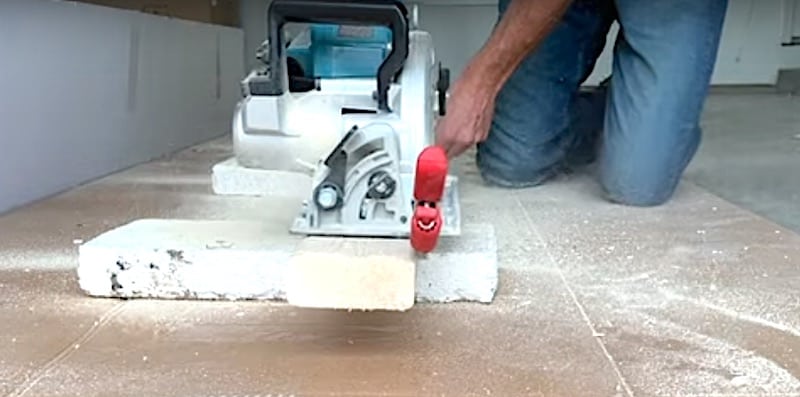
TIP: You can buy furring strips but I make my own by attaching a pair of vice grips to the guard of my circular saw to get the thickness I want and ripping down a two-by-four.
If you have a very small gap, all you might need is a simple shim.
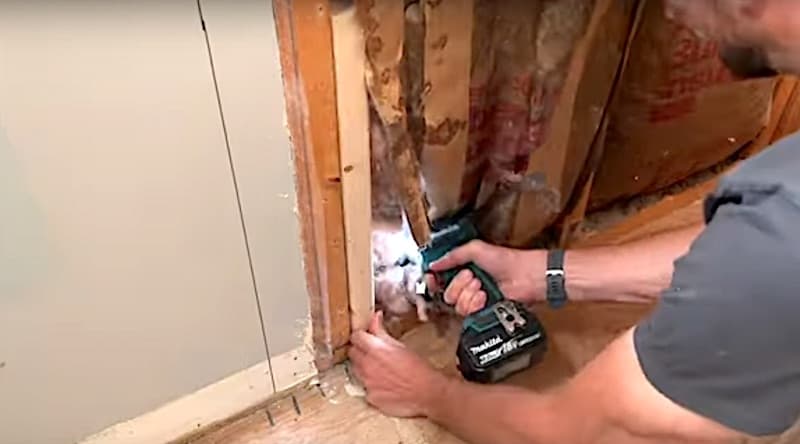
Prepping the Studs by “Sistering In” a New Stud
For studs that are set back but not in a corner, you’ll want to “sister in” a new stud. This is a simple matter of securing a new stud to the existing one, offsetting it the necessary amount. In this case, you’ll probably want the new stud to run the length of the existing one.
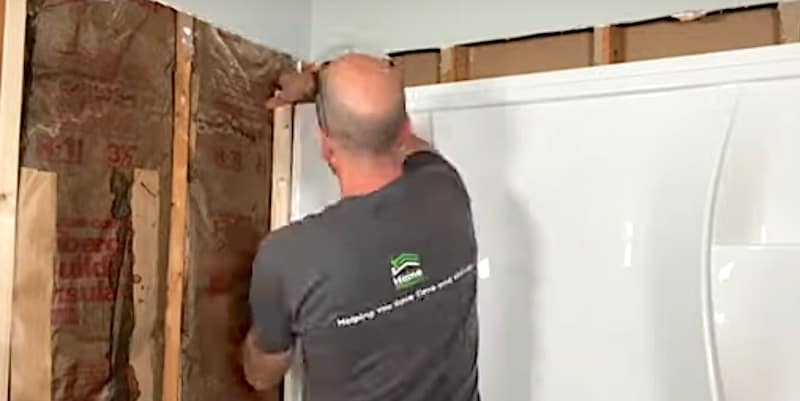
As I mentioned earlier, I don’t have a stud at the correct spot on the left side of the opening for the front flange. I’m going to add (“sister in”) a 19-inch piece of two-by-four here so that I’ll have something to screw the front flange onto.
Mounting the Apron Support of the Bathtub
Before dry-fitting our Delta Classic 400 tub, we need to put the apron support in place:
- Apply a bead of adhesive sealant on the support. (This is explained in the Delta Classic 400 instructions).
- Put the apron support on the two mounting posts and tap into place.
- Line up the edge of the support just under the edge of the tub skirt.
- Tape the support to the skirt and let the adhesive set for about a half hour. (I put a hammer on the skirt for a little bit of weight while the adhesive dries.)
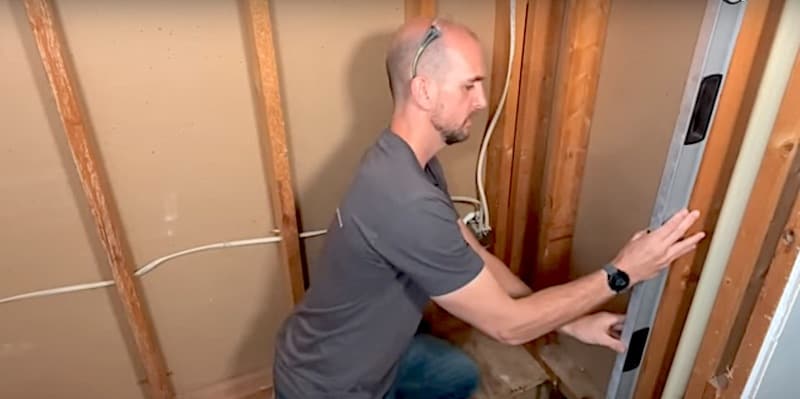
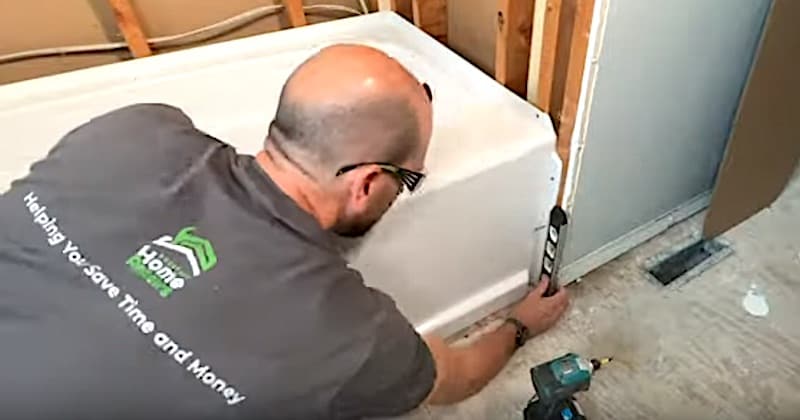
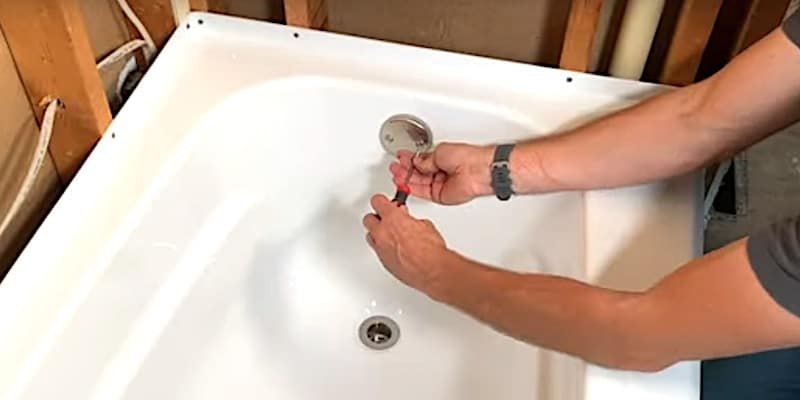
Dry-Fitting the Tub
Now that all the prep work is done, I’m ready to dry-fit the tub. Basically, this means I’m going to set the tub in place and secure it with screws but no adhesive to ensure that it’s going to sit in the alcove without any issues.
My dry-fit of the tub looks good so I’m going to unscrew everything and pull the tub out so that I can assemble the overflow and drain kit.
NOTE: If at this point your tub is not sitting level or not lining up properly in the opening, you’ll need to make adjustments (for example, adding shims or furring strips, or applying a bed of mortar under the tub.)
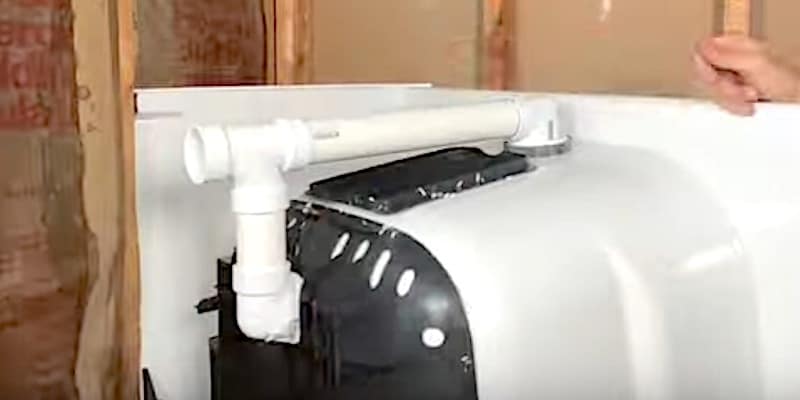
Assembling the Tub Overflow and Drain Kit
I got the kind of overflow and drain kit you build out yourself using inch-and-a-half Schedule 40 PVC. You just measure out the pieces, cut them, and assemble them, gluing all the pieces together once you know the ensemble is good. (To walk through this in more detail, jump to that section of the video.)
Before setting the tub back in place, you’ll want to remove the overflow and drain assembly and put a piece of cardboard in the tub to protect it while you’re working.
Installing the Tub and Connecting the Drain
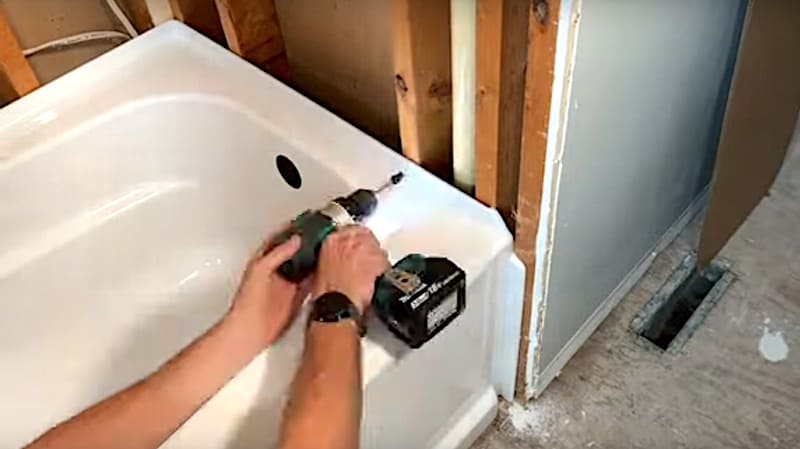
Fastening the Tub to the Studs
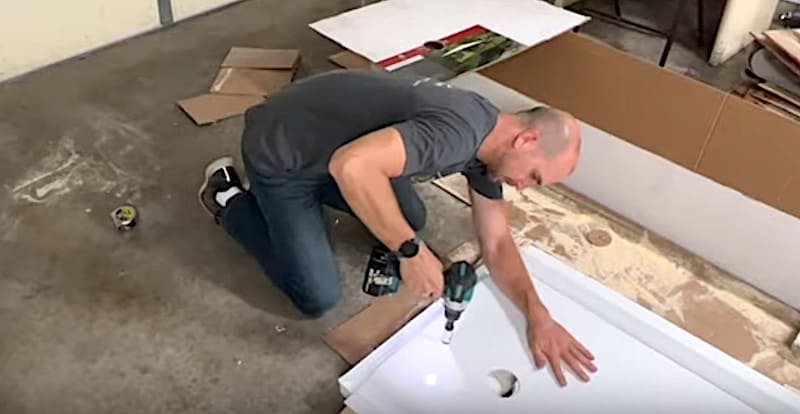
With the tub back in place, I’m going to drill some pilot holes for my screws.
I’m using a small drill bit with a countersink. This will allow my 1 ¼-inch deck screws to sit flush. If the screws protrude, they could interfere with the installation of the tub surround.
As I mount the deck screws into the front and top flanges of the tub, I’ll add shims and furring strips where needed. I also want to use my level as I secure the front flanges to ensure that they’re plumb.
Mounting the Overflow and Drain Assembly
Now that the tub is fastened to the studs, I’ll put the overflow and drain assembly back in place. After applying a bead of 100% silicone around the drain opening, I’ll secure the external hardware of both the drain and overflow openings.
Building Out and Connecting the P-Trap
With the drain and overflow assembly installed, I’ll go down into the crawl space to build out and connect the P-trap to the existing plumbing.
I’ll measure things out, then cut the PVC down with a ratchet pipe cutter. Once I’ve done a dry-fit of all the pieces, I’ll glue everything together.
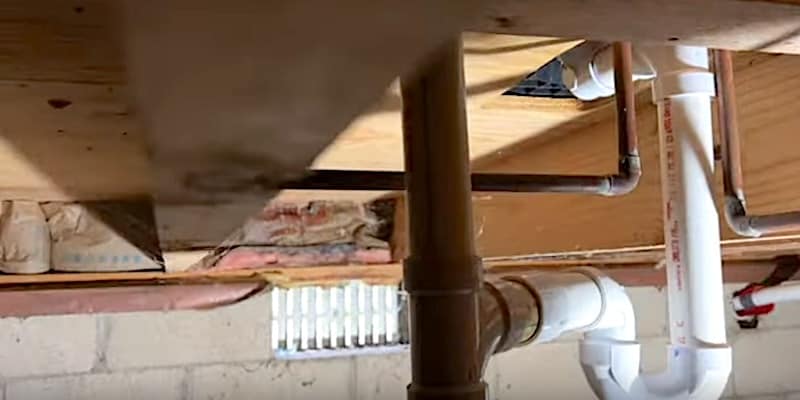
For more details on how to put together the P-trap, jump to that section of the video.
How to Install a Bathtub & Shower Surround: Prepping the Structure
The tub surround I’m installing is also part of the same Delta Classic 400 Series as the tub. It’s a three-piece acrylic product.
Being a flexible material, I want to reinforce the space between the studs before installing the wide, central panel. I’ll also need to ensure I have surfaces to screw and adhere all the panels to.
The Central Reinforcement
To create the central reinforcement, I’ll insert a block in two adjacent spaces in the center of the long wall and attach them with screws.
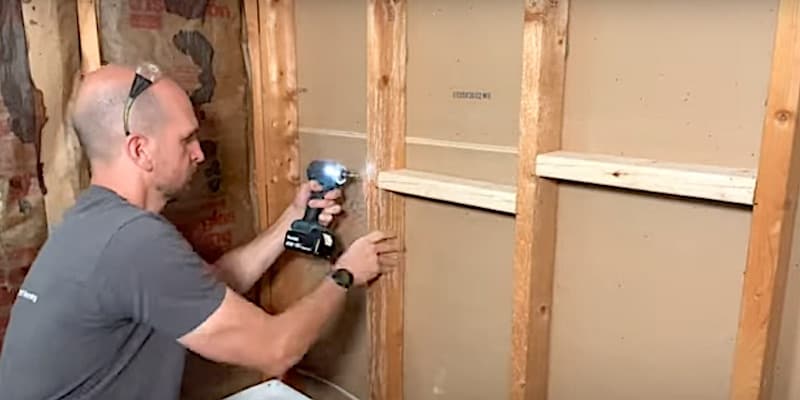
I’ll put adhesive on these cross-members when I install the tub surround panel. This will provide a more sturdy sub-structure for the tub surround.
Adding Studs and Blocks
To give me a surface for attaching the exterior flanges of the surround, I’ll add a two-by-four to the left side of the opening. (The right side of the opening in this bathroom already had a two-by-four at the spot where I need it; depending on how your studs are positioned, you may or may not need to do this.)
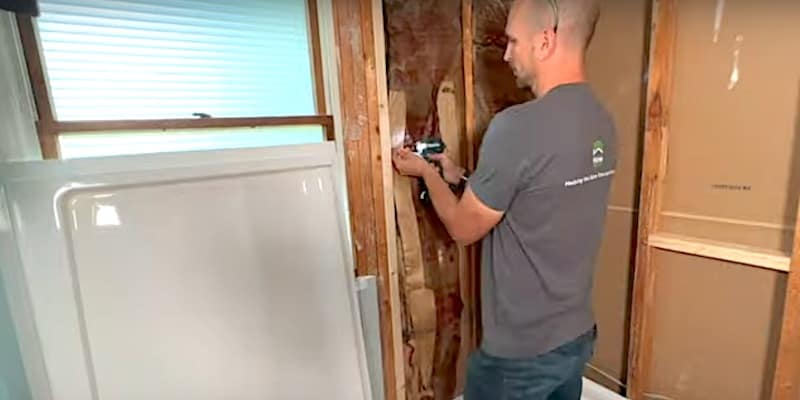
I’ll also add a small block in one of the corners to give myself some surface to screw the left panel onto. Again, depending on the positioning of your studs, you may or may not need to do this.
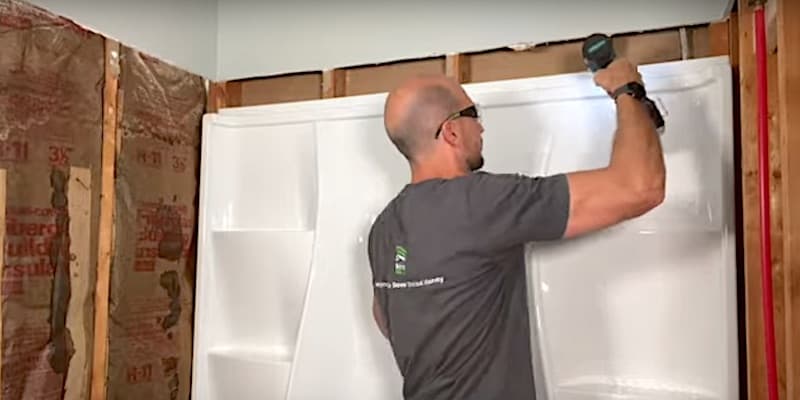
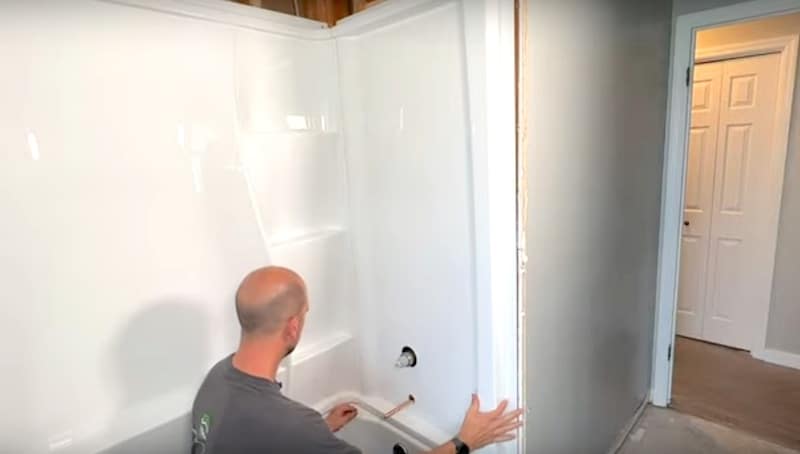
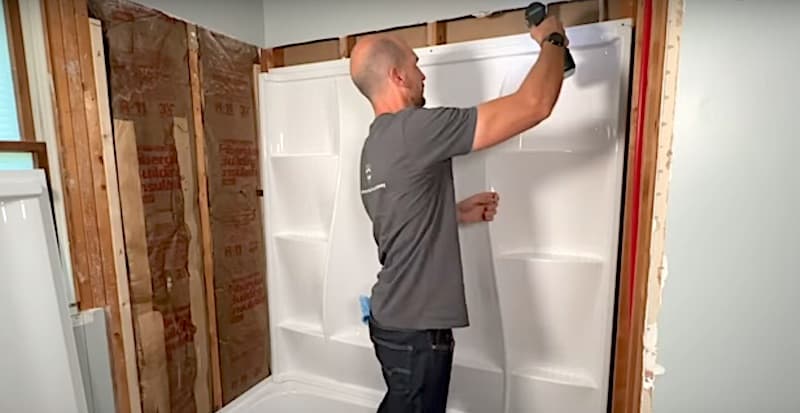
Dry-Fitting the Surround
Starting with the large, central panel, I’m going to dry-fit the tub surround to check all the gaps and ensure everything’s plumb before applying adhesive and sealant.
After drilling pilot holes with a countersink bit where the top of the panel meets each stud, I’ll secure it with deck screws.
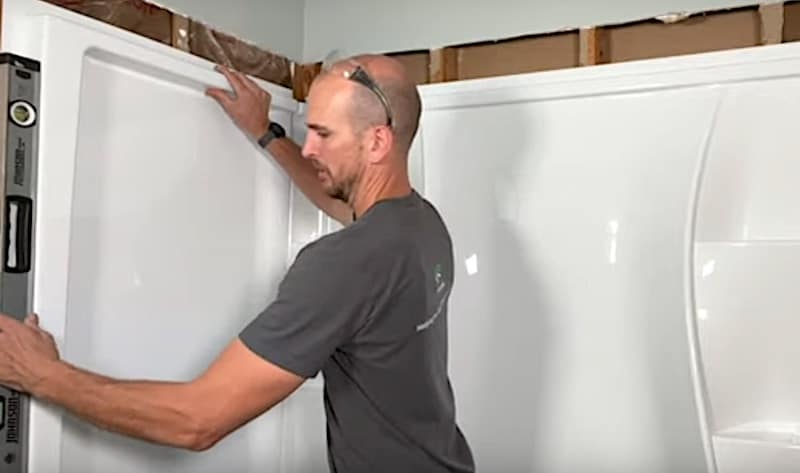
For the end panel, I’ll hold it in place and make sure it’s level before securing it in the same way.
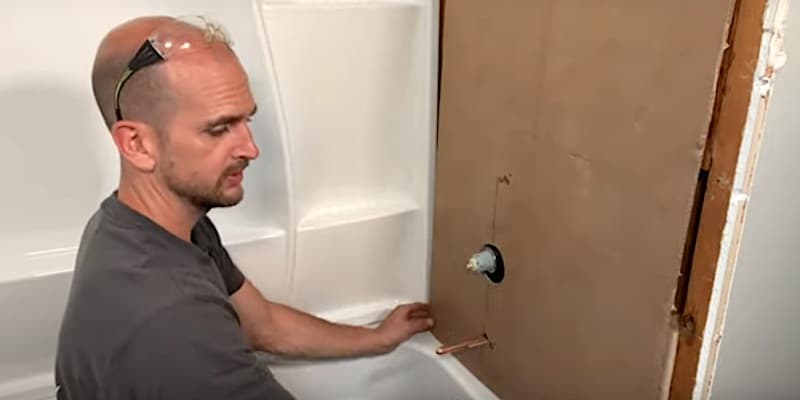
The panel at the drain end of the tub is the trickiest because we need to cut holes for the mixing valve and tub spout.
I’ll take some careful measurements and then make a template out of cardboard to facilitate this. By putting the template in place over the tub spout and mixing valve I can confirm my measurements.
Once I’ve confirmed that my measurements are correct, I’ll transfer them to the back side of the surround itself.
TIP: Check your measurements at least twice here and verify with the template as well.
To cut the holes in the surround, I’ll use a 3 ½-inch hole saw for the mixing valve and a 1-inch or 1 ⅛-inch hole saw for the tub spout. Acrylic cuts easily but I’ll cut from the back side of the panel with the saw in reverse to reduce the chance of damage.
Now for the moment of truth: dry-fitting the panel.
It lines up!
After screwing the last panel in place, I’ll do one last check with my level to make sure all the pieces are squared up before removing the surround so that I can apply the adhesive and sealant.
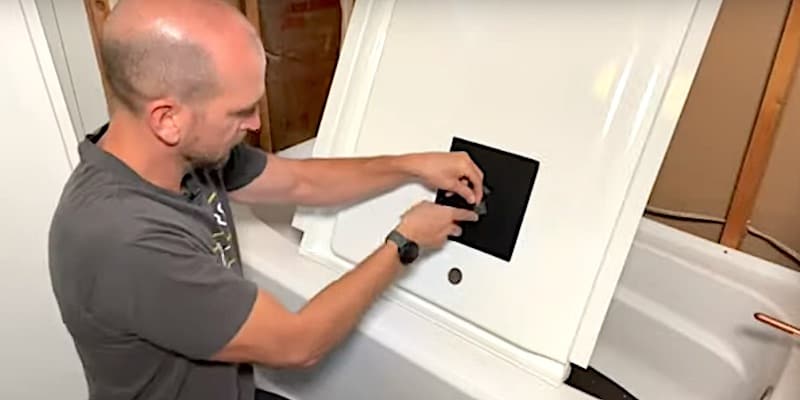
After removing the surround, I’ll apply a heat-resistant patch to the back of the drain-end panel at the level of the mixing valve (obviously cutting out the hole for the valve with a utility knife) in case somewhere down the road someone needs to do some soldering.
How to Install a Bathtub & Shower Surround: Adhesive and Sealant
For adhesive, I’m using Loctite Power Grab for tub surrounds.
For sealant, I like this AMP hybrid product from DAP. Be careful with the sealant you choose, as many sealants don’t bond very well to acrylic.
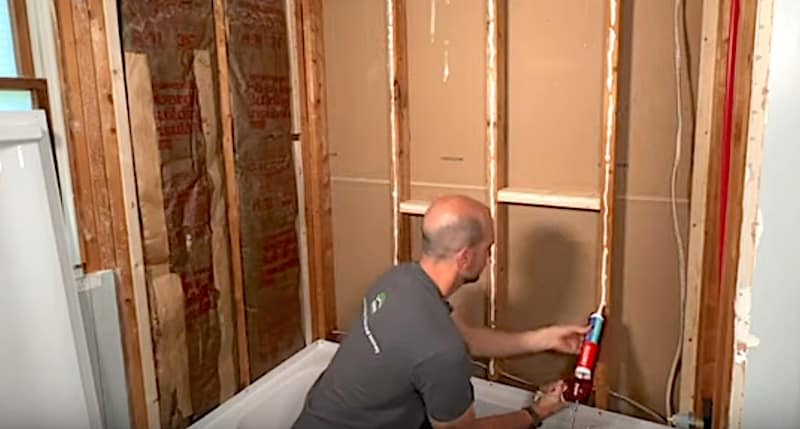
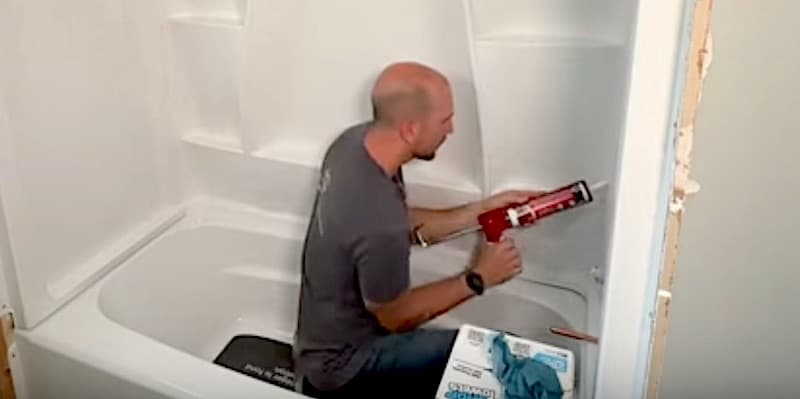
Applying the Adhesive and Sealant
Starting with the center panel, I’ll first apply adhesive to the studs and the reinforcement blocks that I added. (Before doing this, I marked where the top of the shower-surround flange will sit so that I didn’t apply adhesive too far up.)
Next, I’ll apply sealant across the back side of the tub where the surround will meet it.
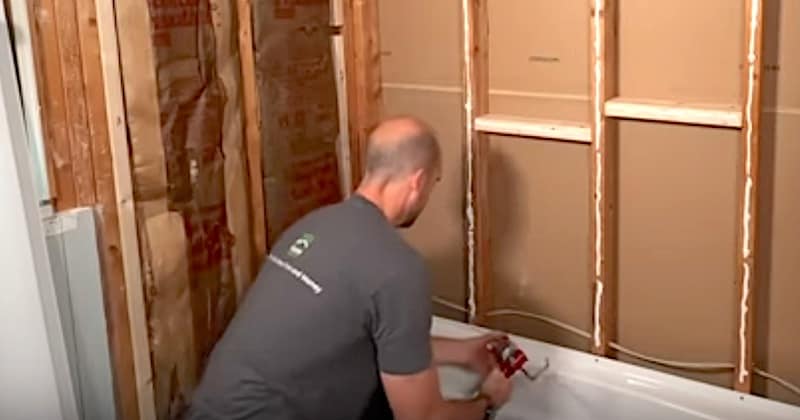
Then, I’ll put the panel in place and attach it with 1 ¼-inch deck screws.
To finish, I’ll repeat the same process for the end panels, pushing them into place to make sure everything’s lined up and tight before securing them at the top and sides with screws.
Bolstering the Surround
Now that the surround is in place, it should be bolstered while the adhesive and sealant are set. I use adjustable supports for this. two spanning the width of the tub and two going from a wall to the central panel of the surround.
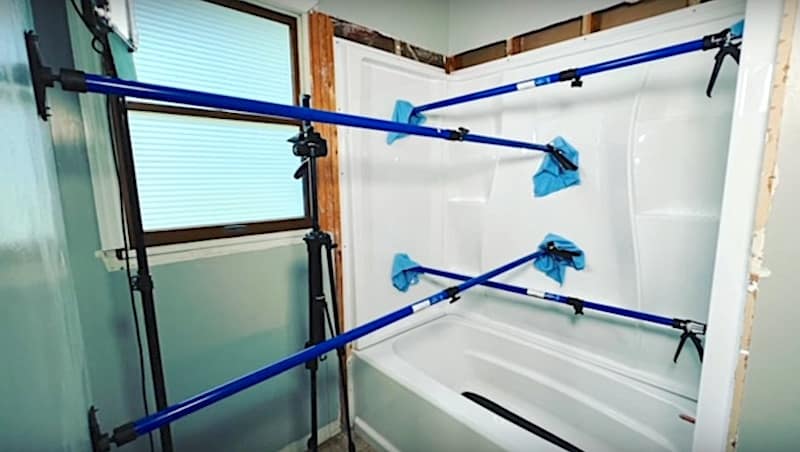
NOTE: It’s important for these supports to be pressing firmly against the panels so that you get a good bond. Allow at least 24 hours for this.
Final Waterproofing
Once the adhesive is set, remove the supports and put a large bead of sealant along all the seams to get a watertight finish. This step, if done right, also serves to firm up the whole assembly.
How to Install a Bathtub & Shower Surround: Related Plumbing
- Replace copper water lines with PEX and rough in the plumbing for a new mixing valve and shower adapter
- Install a Delta tub spout
For the Full Bathroom Remodel
The entire bathroom renovation from demolition to towel bar installation is available on YouTube.
To Leave Comments and Questions
Now you have the information and confidence to install a Delta Classic 400 bathtub and shower surround in your home or rental property!
If something doesn’t make sense or if your situation is a little different, please leave a comment under the YouTube video. I check the comments on a daily basis and am happy to help out.
Don’t forget to subscribe to our channel as we have weekly videos coming out to help you with your everyday home repairs.
We’ll catch you on the next one! Take care.


