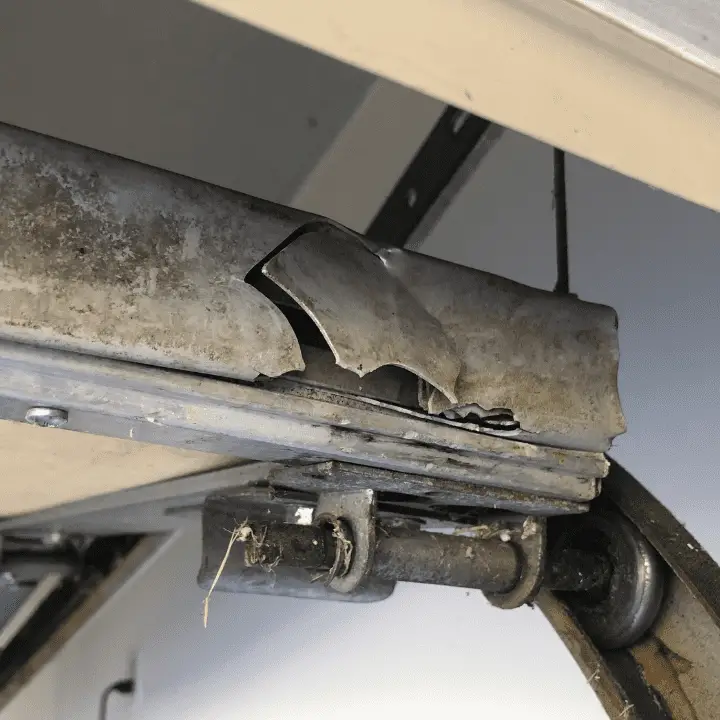
You may never have realized it, but the seal that closes the gap at the bottom of your garage door isn’t designed to last forever. In fact, it’s meant to be replaced. If you’ve had your garage door(s) for more than a few years and have never examined the bottom seal, it’s worth putting this item on your outdoor maintenance checklist, especially in the spring or fall.
When seals are new, they’re soft, flexible, and more rounded in shape. As a seal ages and weathers, the rubber becomes permanently deformed and flattened, hardened, and prone to cracking or breaking.
Once a seal is in this deteriorated state, it can’t provide an airtight closure between the garage door and floor. In this case, it needs a replacement. Fortunately, garage door seals are inexpensive, readily available in the weatherstripping section of home centers, and easy to replace.
Rather watch than read? Check out this 6-minute video
Tools and Materials Needed:
- Flat Head Screwdriver
- Needle-Nose Pliers
- Wire Brush
- Replacement Seal
- Replacement Seal with Channel (if needed)
- Bottom Threshold Seal (if needed)
- Caulking Gun (if installing a bottom threshold seal)
Expected Costs of a Garage Door Bottom Seal Replacement: 10-foot replacement seals that fit most garage doors are about $30 (as of October 2021). 18-foot replacement kits that include both the seal and new channel with mounting hardware are available for about $62. The addition of a bottom threshold seal, if needed or desired, adds roughly $100-$200 depending on the length(s) needed.
DISCLAIMER: This blog contains affiliate links, which means that if you click on one of the product links, I’ll receive a small commission.
How to Replace a Garage Door Bottom Seal – 5 Steps
Step 1: Remove the Old Seal
First, raise the garage door fully so that the ends of the seal are exposed. Next, attempt to slide the old seal out of the channels from either side.
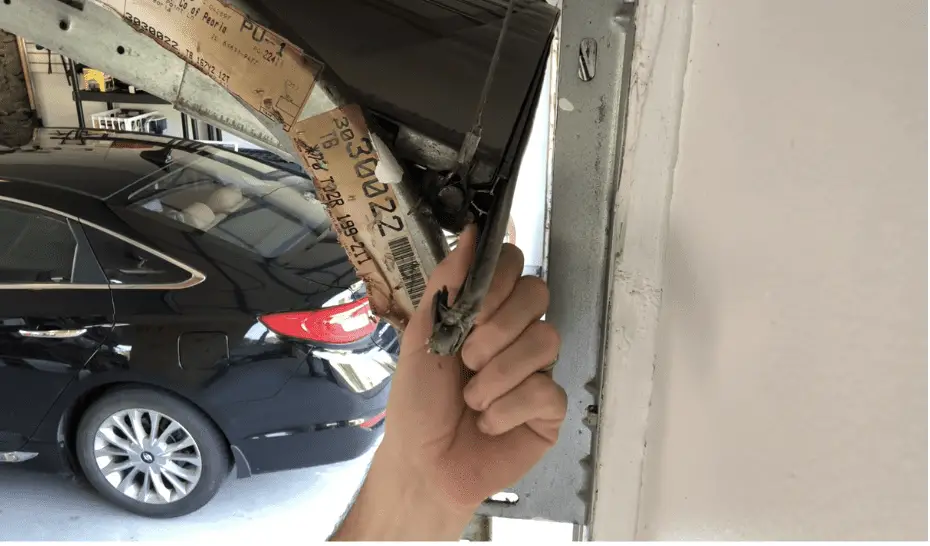
You may need to wiggle or work the seal back and forth to free it up. But in most cases, it should slide relatively freely. The older and more hardened the seal is, it’s generally easier to remove.
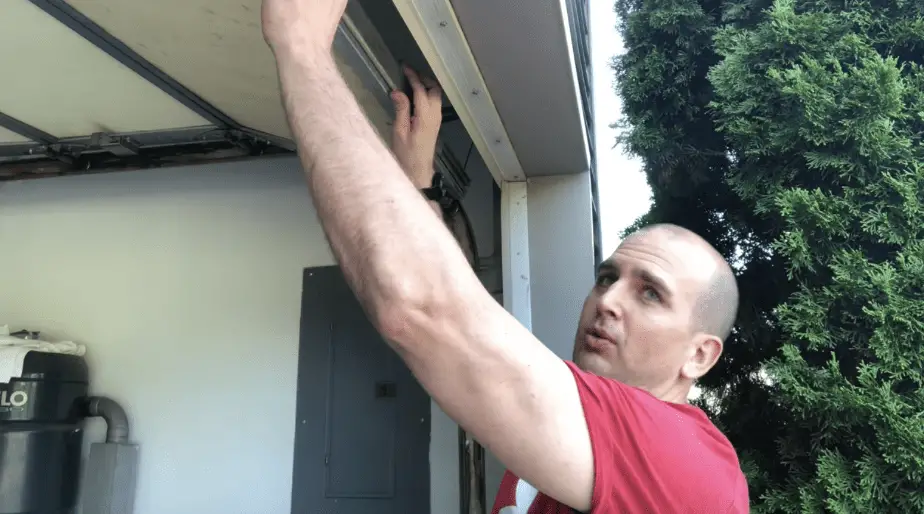
Old, hardened seals also tend to become quite brittle. So, be careful to try and remove the entire seal in one piece (or as few pieces as possible). If any small fragments break off inside the channels, you can use a flat-headed screwdriver – or even needle-nose pliers- to pull or dig them out. Just be careful not to damage the channels.
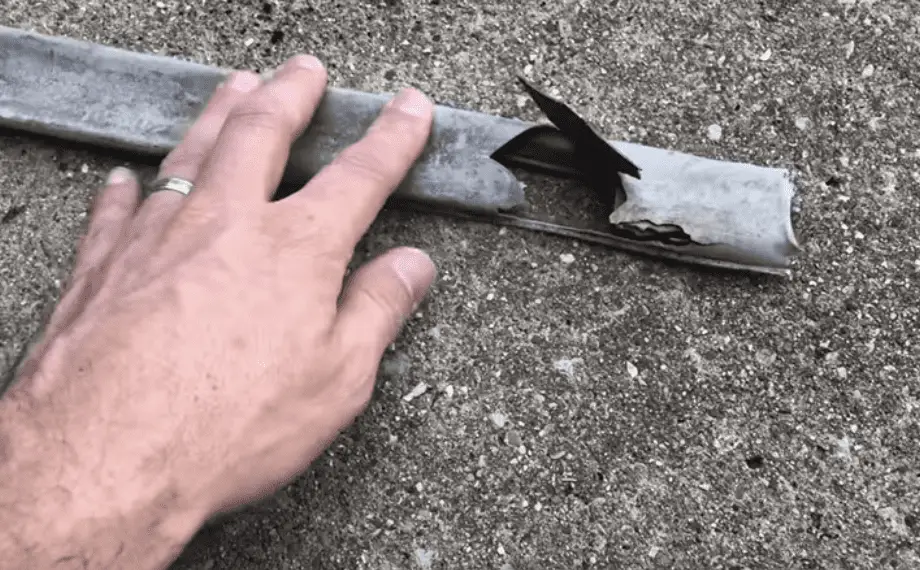
Pro Tip: In some cases, there may be screws or stops holding the old seal in place at either end. Check for these and remove them if you have trouble getting the seal to move. If the ends of the aluminum channels are pinched into the seal to hold it in place, you can open up the crimp with a flat-headed screwdriver or needle-nose pliers. This will help free the seal.
Step 2: Prepare and Clean the Channels
Once the seal has been removed, make sure the channels are clear of any remnants. If necessary, you can go back with the screwdriver or pliers to remove any pieces which were left behind. If there’s still debris left in the channels, follow-up with a wire brush.
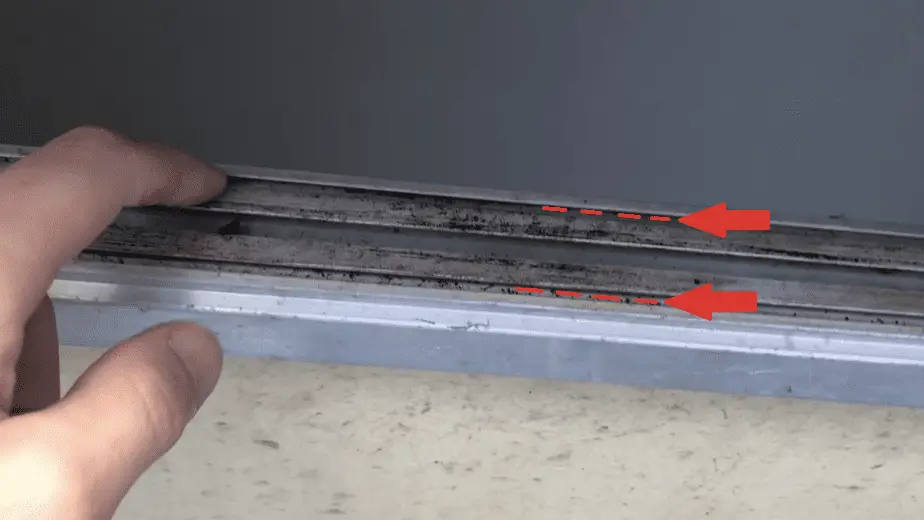
If the channel is in particularly rough shape, there are kits available that include the new seal and a replacement aluminum channel. In order to use these though, the bottom of the door and/or existing channel need to be in good condition to have the new channel securely attached to it.
Step 3: Install the New Replacement Bottom Garage Door Seal
Something that may surprise you when you look at the new seal is that it’s completely flat. The seal only takes on its “U” shape once it’s held in place by the channels along the bottom of the door.
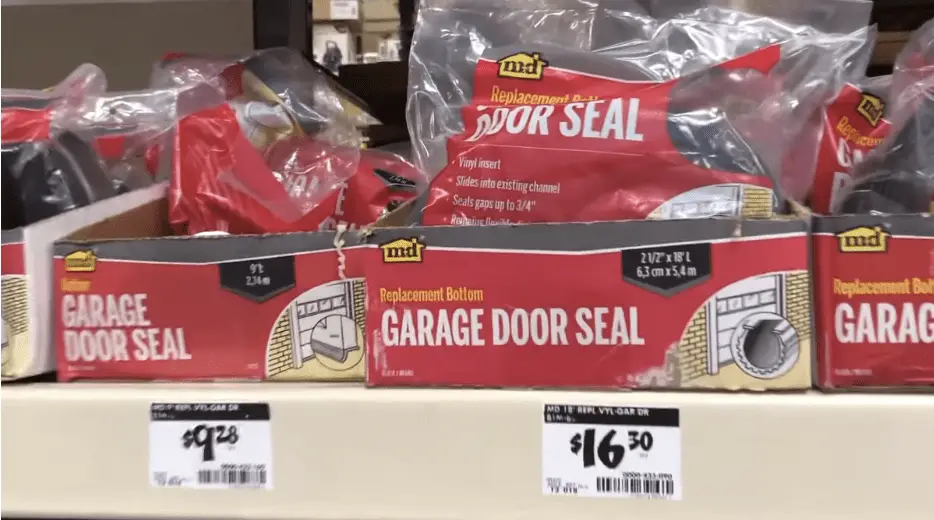
Feeding the edges of the new seal into the channel the same way the old one came out seems straightforward enough, but it can be a little tricky! Gravity tends to pull the seal down perpendicular to the channel. This makes it difficult and slow to pull through due to the increased friction.
If you’re working on double garage doors, use clamps to position the seal horizontally by stringing it up along the bottom edge of the adjacent door. Keeping the seal relatively horizontal and at the same height as the door being worked on avoids the downward pull you’d experience if it were left dangling.
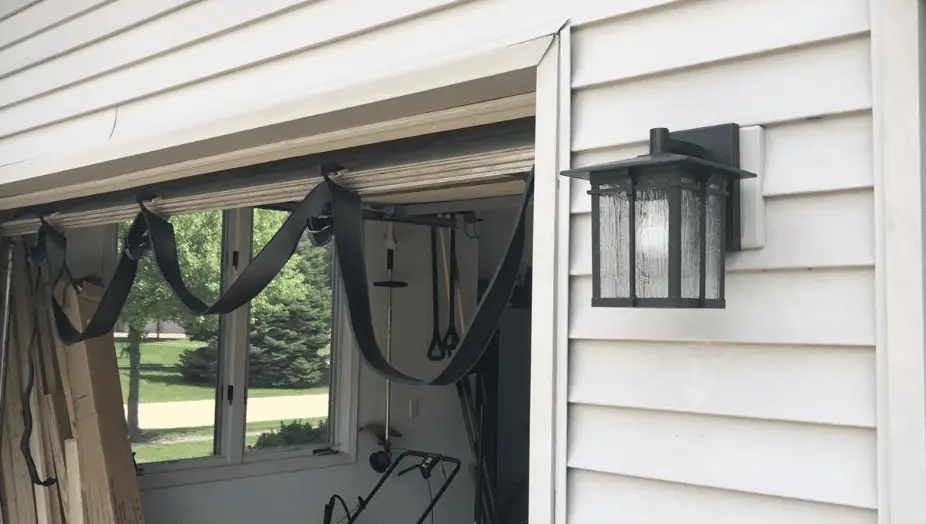
Are you working on a single door and unable to pre-stage the seal this way? You could also have a helper hold the seal up and/or feed it in as you pull it through. If working alone, alternate between feeding and pulling to avoid damaging the seal on the sharp edges of the channels.
When you’re inserting the seal, make sure that the ribbed side (if there is one) is facing out or down. The ribs are intended to improve the seal against the floor.
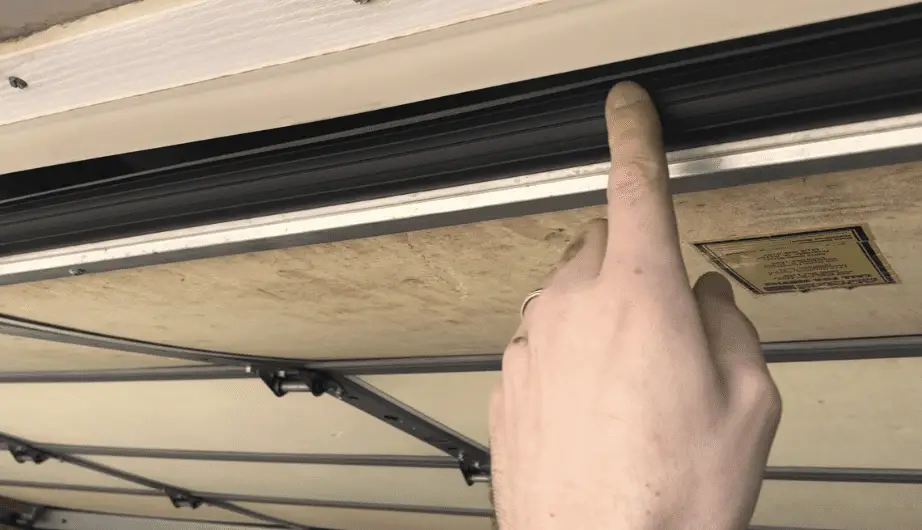
Step 4: Trim the Seal
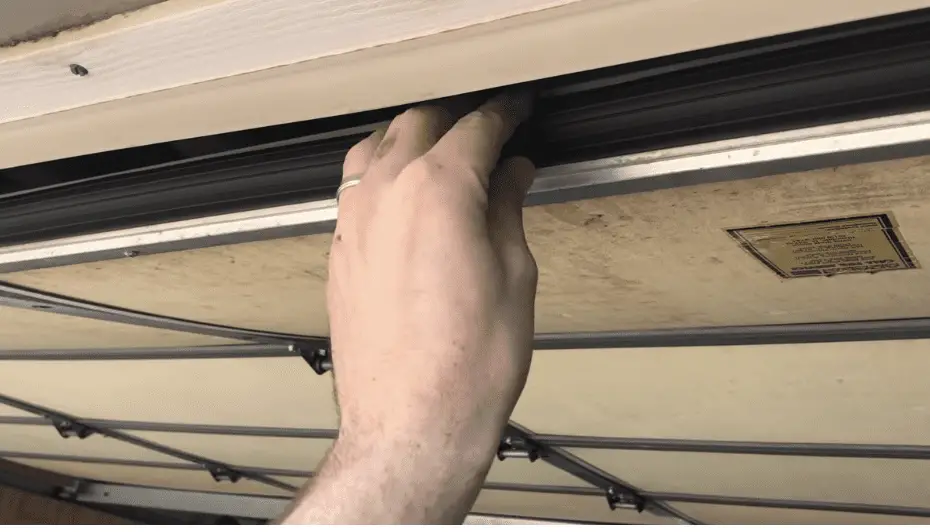
Once the new seal is fully inserted, you’ll probably need to cut it to length. Be careful here, because you can always cut away more – but you can’t put it back!
Check along the seal from one end to the other to make sure it isn’t stretched anywhere along its length. Then, “bunch” it back together where any stretching seems to have occurred. If the seal is cut when stretched, it’ll appear to shrink in a matter of hours as the material contracts to its original dimensions.
Step 5: Wrap Up and Additional Measures
The friction fit of the new seal should hold it in place without the need for additional fasteners to keep it from sliding around. If the old seal was held in place with screws at the ends, then you can replace them if desired (or in the event you start to experience movement).
Alternatively, you can pinch the ends of the aluminum channels together around the seal with pliers to hold it. It should be noted, this can potentially cause permanent damage to the channels. Additionally, this step makes future replacement of the seal more difficult, so it’s not recommended unless absolutely necessary.
Even the highest quality garage door bottom seal is only designed to seal against air infiltration, not water. Ideally, yards and driveways should always be graded so that water flows away from the door rather than towards it. But in some cases pooling water infiltrating the garage can be an issue.
If you experience this sort of problem frequently when it rains, you may consider installing a garage door threshold seal. Threshold seals are commonly available in kits that include the compatible adhesive sealant needed to install them (though you’ll need a caulking gun).
A threshold seal acts like a small berm on the floor along the entire width of the garage door opening, and can effectively hold back up to about an inch of water. It also acts as an improved mating surface for the door bottom seal, helping to further prevent infiltration by air and wind-driven rain, even when there isn’t otherwise a pooling water problem.
