
 My Account
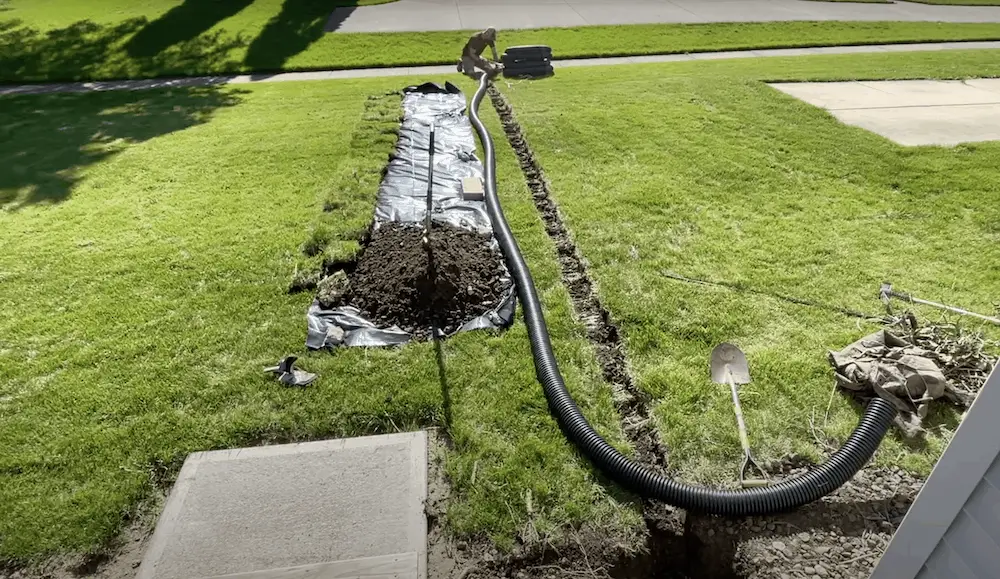
I’ll be honest: this is a lengthy project that requires elbow grease, time, and a good amount of tools. But extending a downspout and a sump pump through a drain pipe – underground and away from my house – was something on my to-do list for a while.
There are other temporary solutions (see this video) to achieve the same goal of protecting your home’s foundation. But I wanted something equally efficient and long-term that didn’t interfere with my mowing, landscaping, and day-to-day activity.
For this project, I used a solid singlewall corrugated pipe. Why? I have 8 – 12 inches of soil on top of this pipe and it’s well above the freeze line in my area. I also wanted something with the flexibility to avoid any future issues of cracks and damage that could happen to PVC when above the freeze line. However, if you’re in the southern states, you might want to go with PVC.
Watch a 20-minute video for a look at this project from start to finish
Tools:
- 4″ ADS Solid Corrugated Pipe
- 4″ ADS Corrugated Wye
- 4″ NDP Popup Emitter
- 4″ PVC to 4″ Corrugated Coupling
- Trench Shovel
- Hand Rake/Cultivator
- Heavy Duty Pick Mattock
- Jawhorse (Sawhorse and Vise)
- Sring
- Line Level
DISCLAIMER: This blog contains affiliate links, which means that if you click on one of the product links, I’ll receive a small commission.
7 Steps to Set Up a Downspout & Sump Pump Drainage Pipe Extension
1. Overview + make necessary calls
Figure out how far you want your downspout to go. For me, I needed to extend the downspout 36 feet away from my house. Also, don’t forget to call 811, the national call-before-you-dig phone number to be sure you’re doing a safe project that won’t harm you, your neighbors, or any underground utilities. Note: If you’re in Illinois, call JULIE before you dig.
2. Calculate Your Slope & Find Your Grade
For the new pipe, I’m taking advantage of the little elevation change I have in my yard. If you’re asking, how deep do you dig a trench and maintain a proper slope for your drainage? Below are two videos to watch that cover this topic in-depth.
- Watch this video for an extensive look at how to calculate your drainage pipe slope and trench depth calculation using a level line
- Watch this video to learn how to find your yard’s grade (also known as the yard’s slope)
3. Dig The Trench
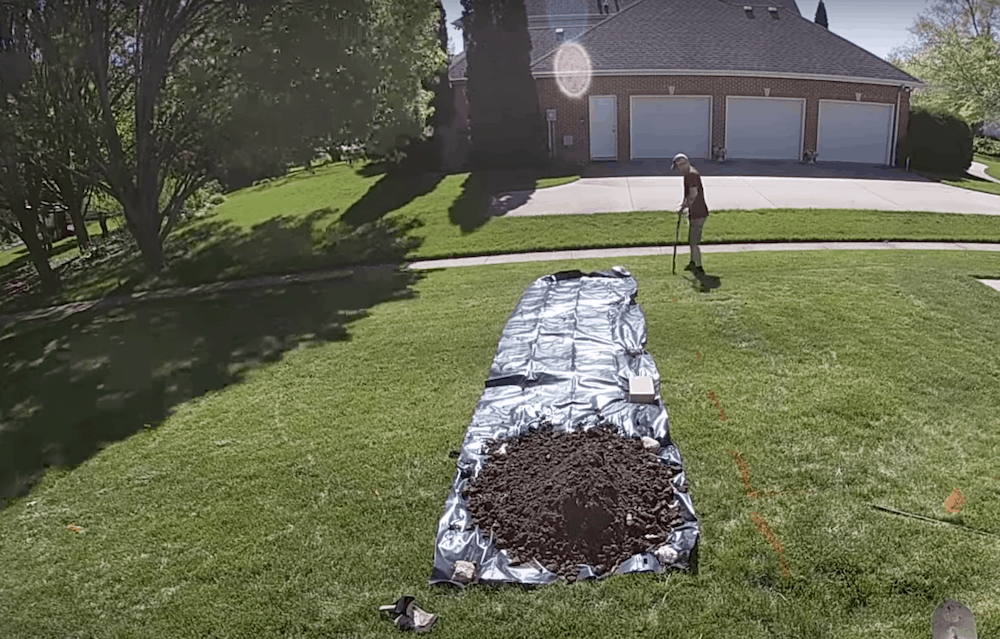
Using your tools (trench shovel, heavy-duty pick, spade, posthole digger and hand rake), start digging. I also recommend getting construction plastic sheets or tarp to give you an easy space to consolidate dirt and will help a TON with cleanup.
Pro tip: Instead of using a tape measurer, I like to put the critical measurements on a stake. It’s easier and less finicky to work with as you’re digging.
4. Make Your Sump Pump Adapter
I converted a 2-inch PVC from the sump pump to go into the coupling, and then converted that out to the 4-inch corrugated. To do this, I started with 2-inch PVC and made an elbow with two small extensions on each side. One went into the rubber coupling that goes into the house and the other expanded out to the 4-inch PVC.
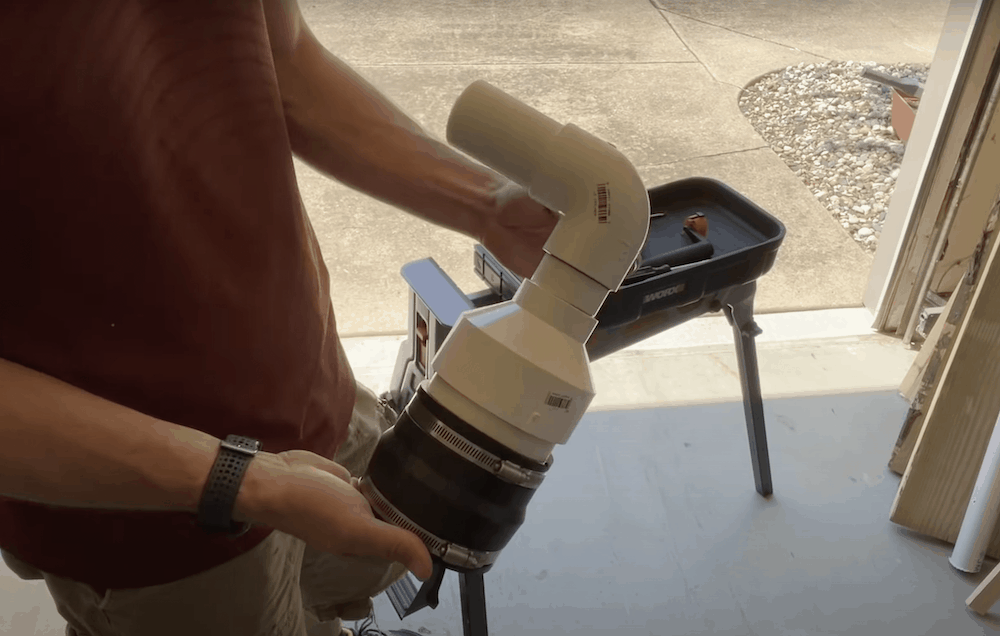
Then, I took a small 5-inch section of 4 inch PVC and used the coupling that converted from 4-inch PVC to 4-inch corrugated. Be sure to use that exact coupling because it’ll give you a nice lip to hold it into place.
5. Connect Downpipe & Sump Pump to Drain Pipe
Now, you’re ready to get the drain pipe laid out. Connect the outlet of the Y to the 36-foot run (or however long your run is) of corrugated and then put the downspout in place. I wrapped each connection in place with corrugated tape to make sure everything stays water-tight. I have the Y going into the downspout for a clean-out, so I can cap it but still be able to stick a garden hose if I need to flush it out.
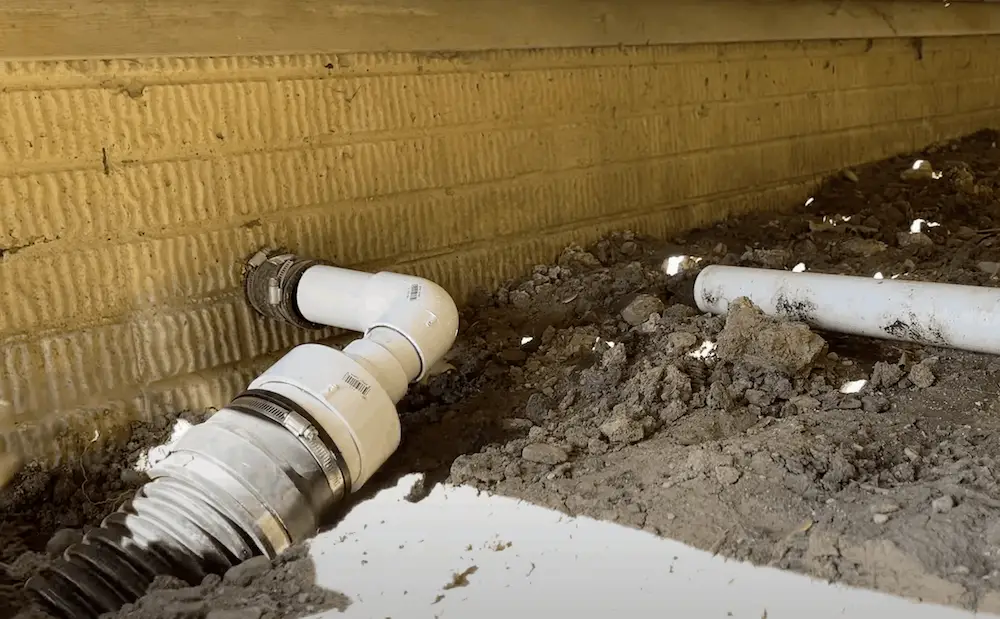
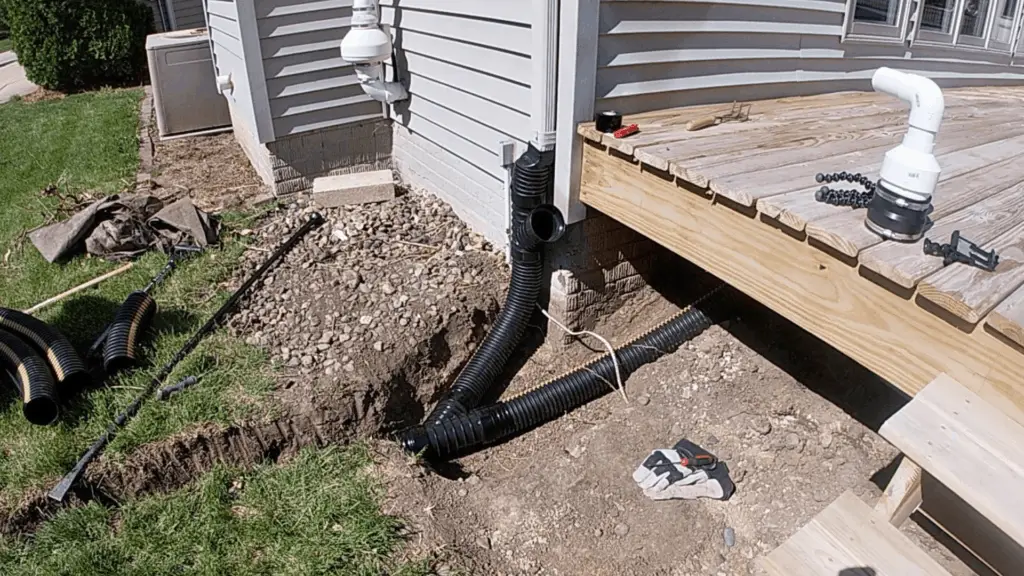
To connect the sump pump, cut off the corrugated to the length needed, and attach the coupling. I didn’t want to damage the corrugated so I took a heat gun since it was easier to get in the corrugated and got the lip around the lids. From there, I was able to tighten it up and secure everything in place. If your house is like mine, you’ll need to move a little dirt to get the adapter secure into the coupling.
6. Install the NDS Popup Emitter
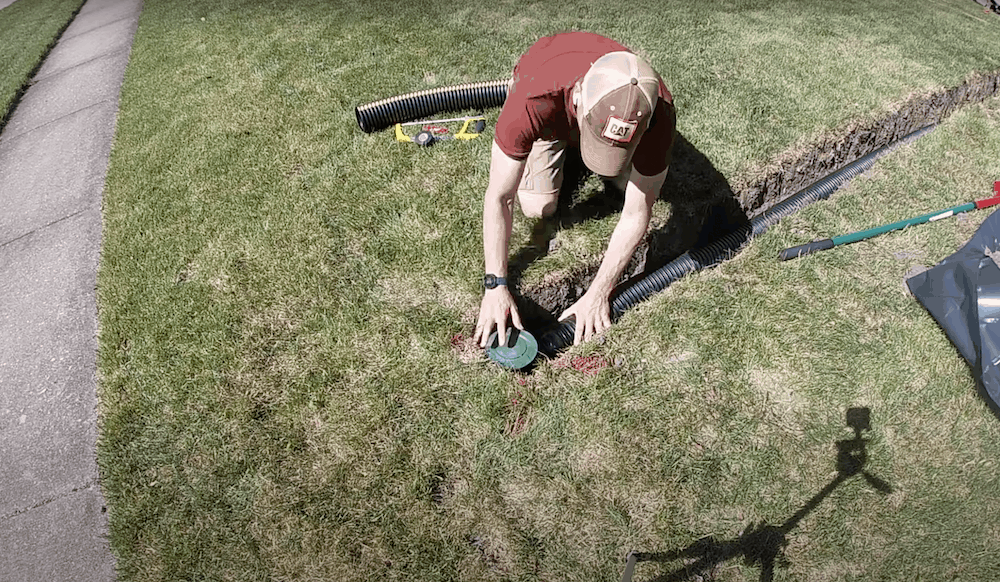
Moving to the other end, connect the elbow and install the pop-up emitter. Be sure to align it just below the grade so you can mow your yard easily.
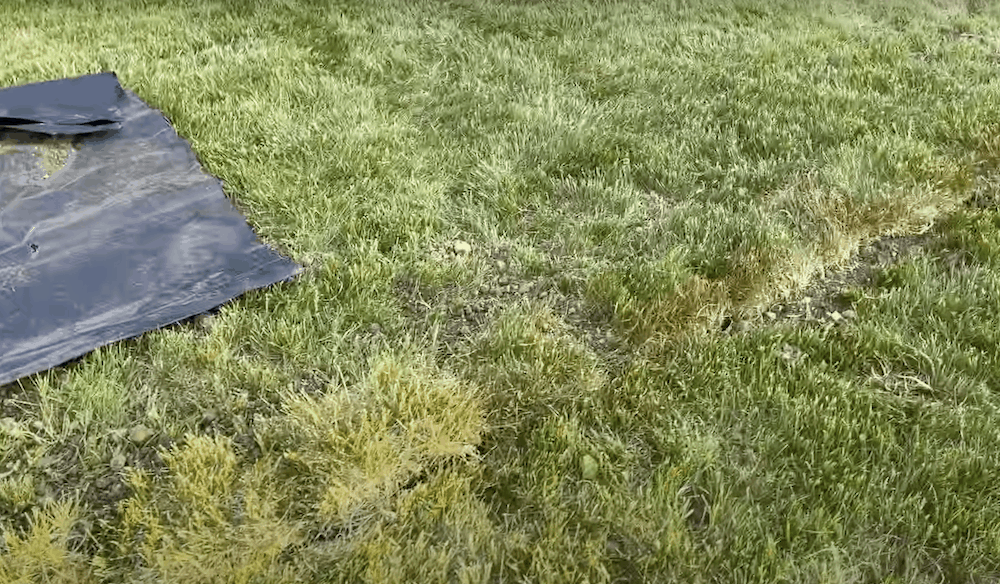
7. Replace Sod & Clean Up Backfill
Backfill in some dirt and compact it down. Then you’ll fill in the trench with new sod. Again, I’d recommend keeping your plastic sheet handy so you can consolidate your pile easily.
Pro tip: Leave the sod a little high because things will settle out over time.
Happy with what you see? Check to make sure it works and then you’ve completed the process for a downspout and sump pump drain pipe extension.
The Wrap Up
This is an extensive project with many steps, but it’s a long-term solution to keeping water AWAY from your house, which is important for your home’s overall safety. While the time and effort is high, so is the payoff.
Would you take on this project? If you already have, let us know how it went in the comments below or what you would have done differently.


