You’re trying to hang bathroom hardware like a toilet paper holder/towel rack on drywall. Or maybe you’re hanging wire shelves in a closet. You follow all the directions, but you just can’t get it tight. Perhaps the drywall anchor caused enough damage that you can’t even use another anchor. Does this sound familiar? Toggle bolts may be your solution!
In this blog, I’ll walk you through a quick background on drywall anchors and some different types, plus I’ll share why toggle bolts are an easy (and cost-effective) solution if you’re dealing with a loose drywall anchor.
Rather watch than read? Check out this 8-minute video.
DISCLAIMER: This blog contains affiliate links, which means that if you click on one of the product links, I’ll receive a small commission
The Problem With Some Drywall Anchors
Recently, I was trying to hang an 18” towel rod in a bathroom. I was able to secure part of it on a stud, which is always the preference when hanging something on drywall. But because it was 18” – I knew it would hit a wall cavity for the left-hand side of the towel rod. So I needed to use some form of anchor. While these kits always come with anchors, usually they’re on the cheaper end and can leave you with some issues.
For me, I drilled a 3/16” hole (as outlined in the instructions). Then, I inserted the drywall anchor plugs and started to tighten the bracket. Here’s the problem: often when you get towards the end and you start to secure the plug, you continue to have to spin the screw – and you’re not able to tighten down the actual screw. And sometimes there’s a little bit of “play” in that bracket.
This isn’t good! As you’d probably guess, once you put any weight on it, you’re going to have it pulling away from the wall. And it’s just not going to hold up for weeks – let alone months or years.
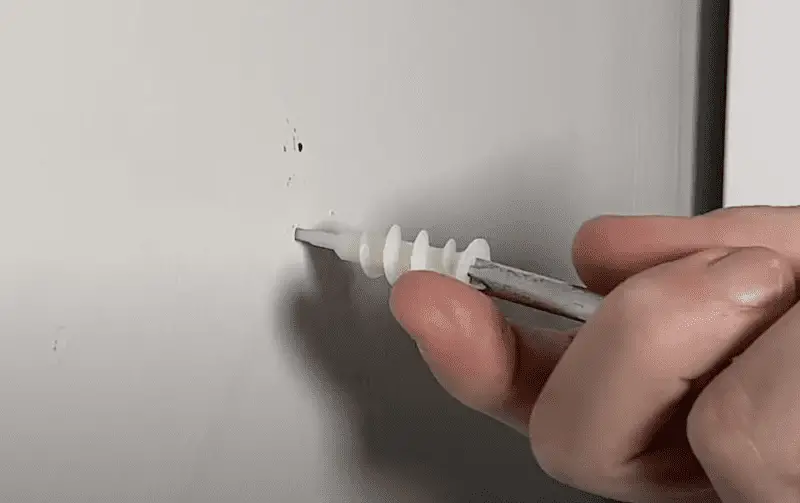
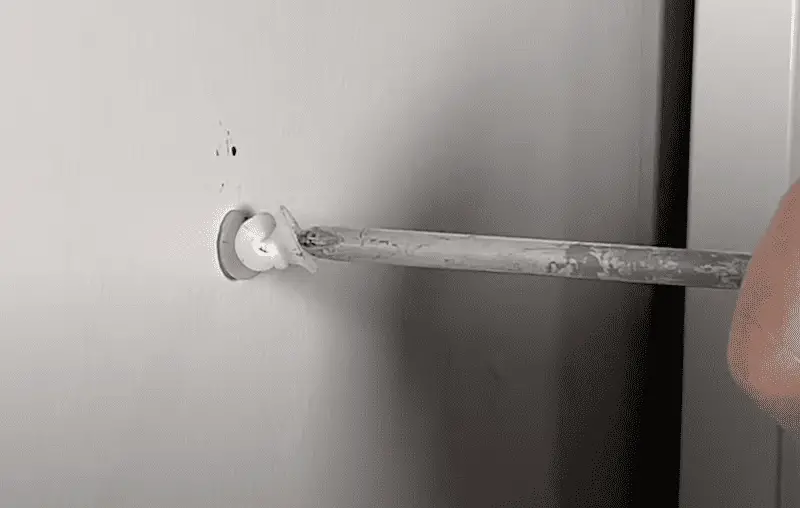
Another common anchor that comes in kits is a self-tapping anchor (seen above). These also can be very cheap and problematic. Why? Since they’re self-tapping (as the name suggests), you don’t drill a hole but screw them in. While they’re supposed to tap a hole for themselves – and then thread into the drywall to secure – often these will actually not hold up to just the torque applied by the screwdriver. Sometimes, they become damaged before they’re even in the wall.
So the question is: how do we solve this?
The Solution: Toggle Bolts!
For my situation, I already made some holes in the walls, so let’s use those holes and insert a toggle bolt.
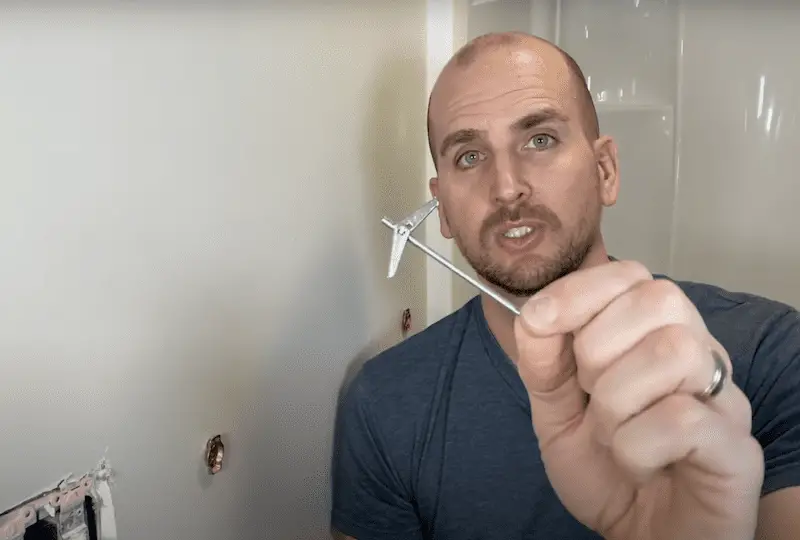
Toggle bolts are an oldie but a goodie when it comes to securing material to a wall cavity. They work very effectively and are extremely affordable. For example, the ones I have are around 20 cents each.
If you go to your home improvement store you’re going to see a bounty of different options of anchors these days. However many companies are chasing some profit, so some of these individual per piece anchors can get up to 75 cents to $1.50, which is pricey. Meanwhile, the classic toggle bolt is going to solve your problem for much less investment.
Below I’ll show you how to take a loose bracket and use two toggle bolts to get it secure.
How to Replace Anchors with Toggle Bolts on Drywall
1. Remove loose anchors
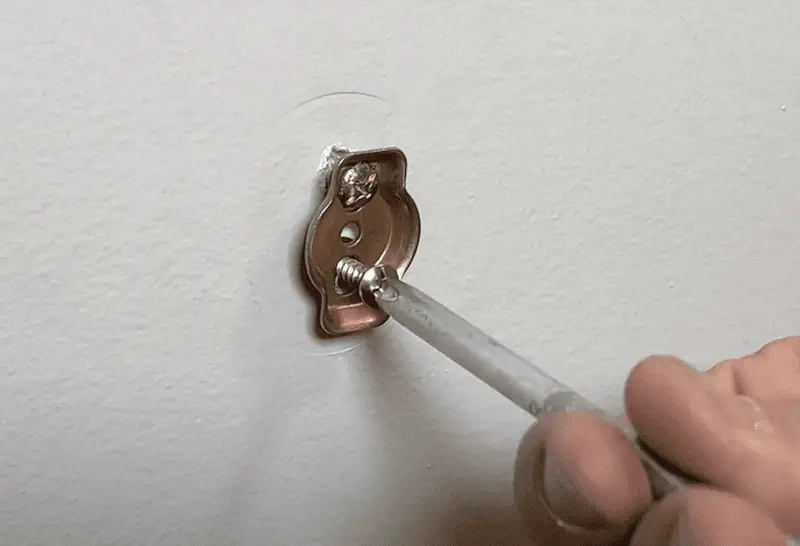
Remove the loose anchors. They should come out by unscrewing the screw from the anchor.
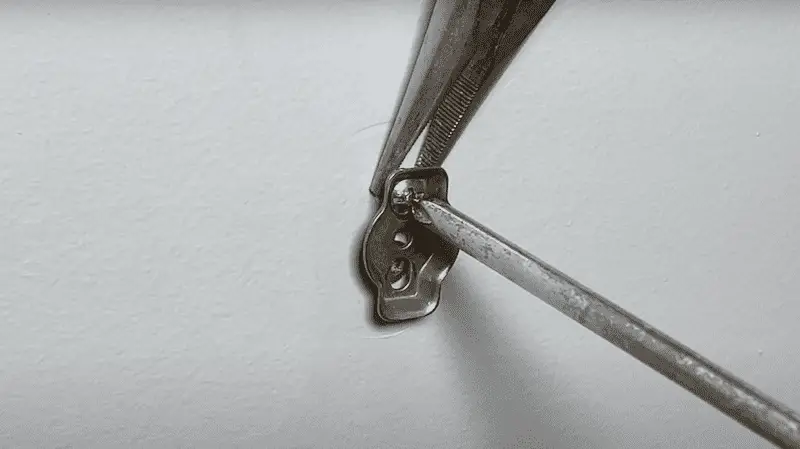
If the anchor is attached to the screw and the anchor/ plastic part is spinning, take some needle-nose pliers, hold on to the plastic part, and then use your Philips head to back the screw out. Keep in mind that you want to minimize the amount of drywall damage that you’re doing while you remove the loose hardware.
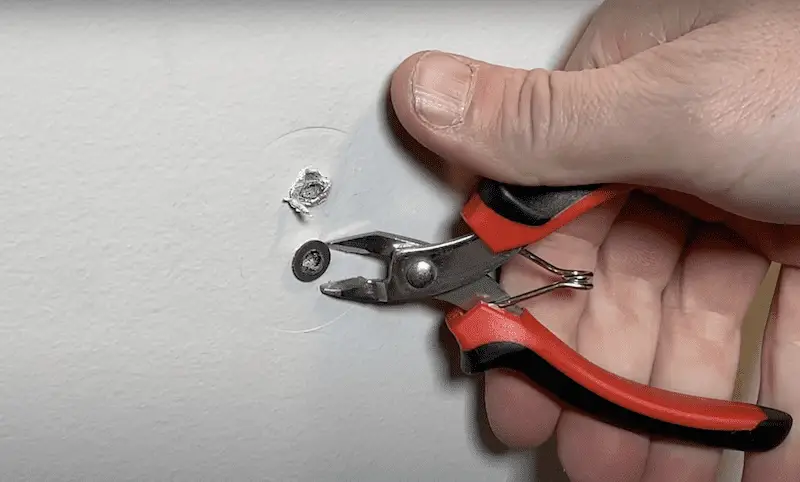
Then, use side cutters to snip the head off the anchor. Again this is because we want to minimize drywall damage. From here, drop the back part of the anchor down into the wall cavity.
2. Pass toggle bolts through the brackets & thread them
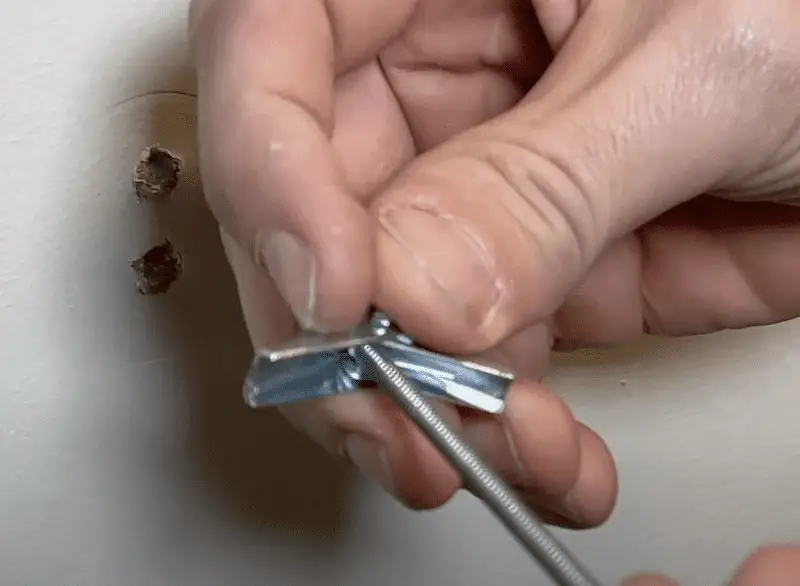
I used 18” x 3” toggle bolts that I passed through the bracket and then threaded on the spring nut on the end of each of the two toggle bolts. You’ll start to thread it through (but don’t go too far down the hole).
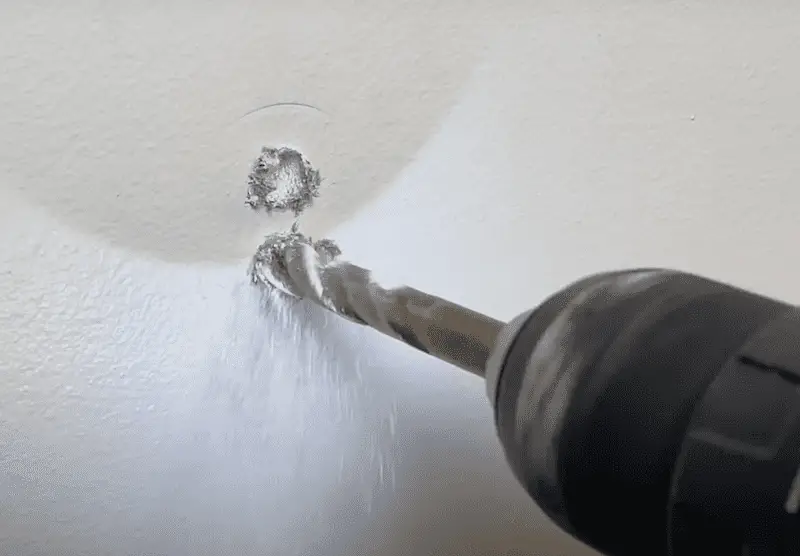
Sometimes the holes and the damage that you have is large enough to pass the spring nut compressed down and through the hole. But if not, like in this case, take a look on the packages for the toggle bolt – it’ll call out a drill bit size. For ⅛” you use a ⅜” drill to get the holes large enough to pass that spring nut through.
3. Compress
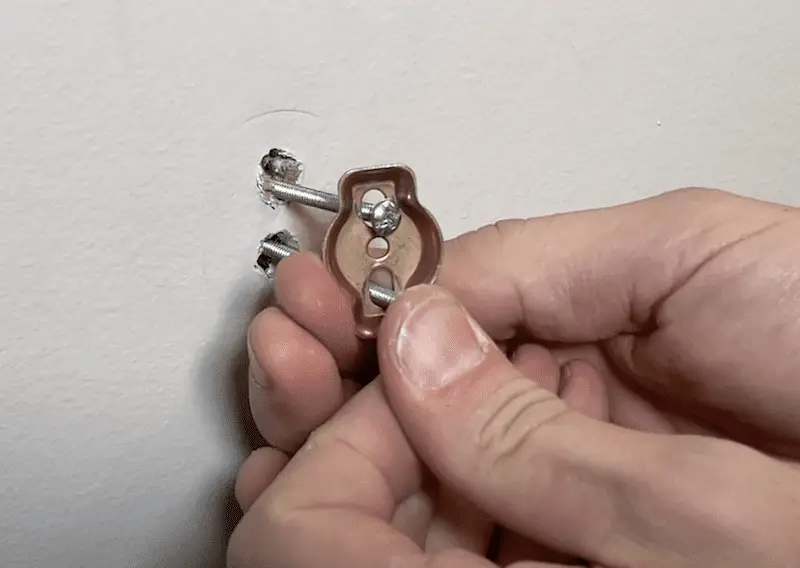
Then you’ll compress both of the spring nuts and pass them both into the wall cavity. You can do this one at a time if it’s easier for you. You’ll pass them in and wait for the click – and the click will mean that the spring nut flared out behind the drywall. Then, you’ll do the bottom one.
4. Tighten them up
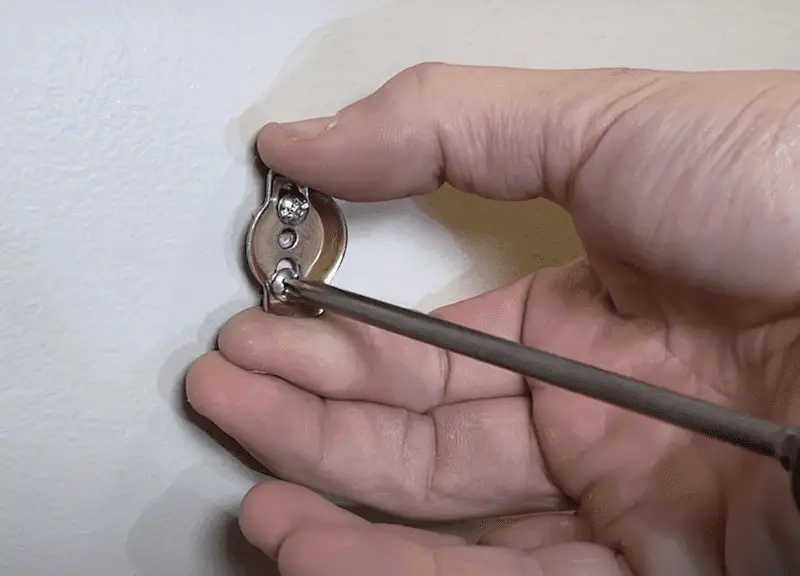
Once they’re in the wall cavity, you can do a test to make sure that they are spread out and they don’t pull back through. If that’s the case, then start to tighten them up with a compact nut driver until they’re snug against the wall.
First, apply pressure with the bracket and then go back and forth, keeping them snug at the top and bottom bolts. (Be careful & watch your fingers, so you don’t pinch them against the wall.)
Before you get it too tight with the toggle bolts, you are going to have a little bit more “play” up and down. This is because the holes are bigger, so you want to check your level to make sure things like brackets, etc are in the correct spot.
5. Final tightening
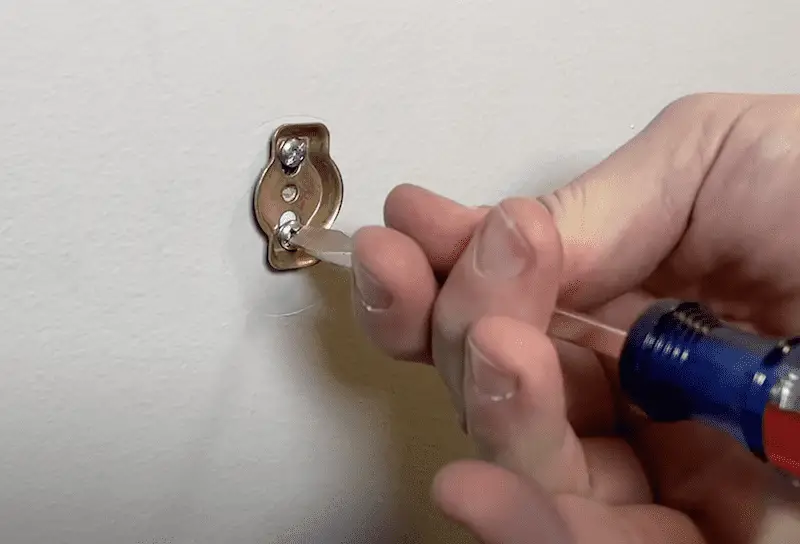
Do the final tightening with a flathead screwdriver. This is so you can feel the spring on the backside really dig into the drywall and provide a secure hold. If you use the impact driver or drill, often you’ll strip out these bolts with a phillips head bit.
The Wrap Up
In this case, toggle bolts allowed me to secure my towel rod to the wall. Plus, I can deflect the rod itself without moving either of the bases. This is what I do for my rental properties, as a 1/8” toggle bolt can hold 40 pounds in ½” drywall.


