
 My Account
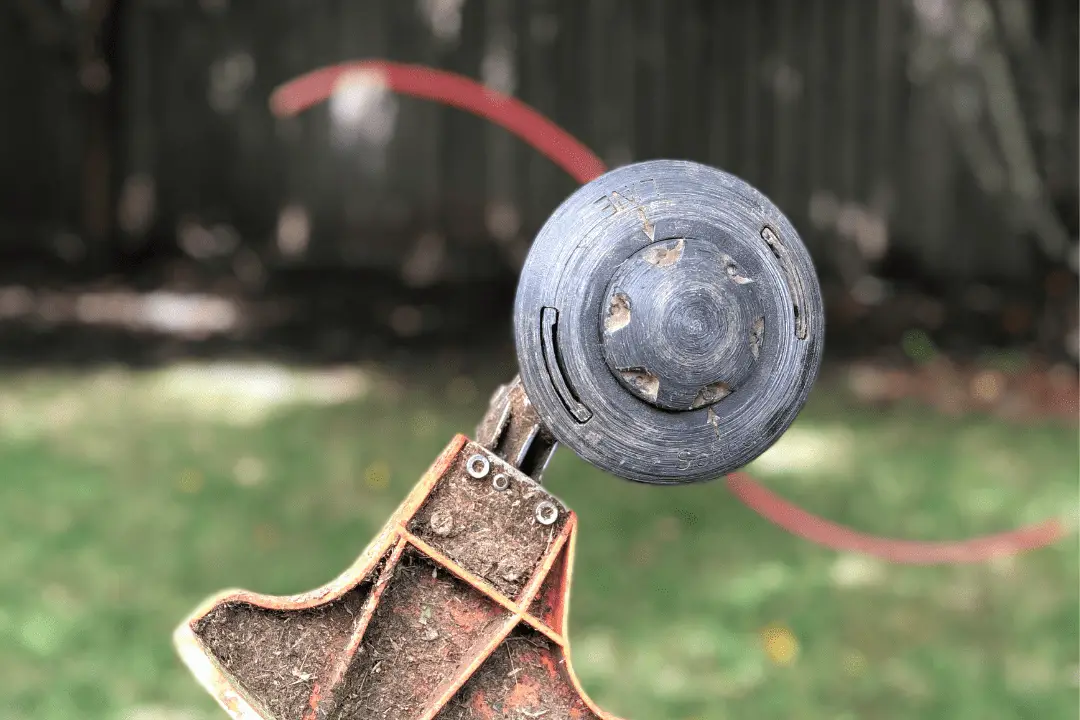
Today I’m out in the yard doing some work trimming things up and I’ve run into a little snag: I’ve run out of line in my weed eater.
Replacing the line in a weed eater is a common maintenance item when it comes to lawn and garden. I have a few tips to share that can make the job easier.
My trimmer is a Stihl FS 55 R with a C 25-2 auto-cut trimmer head. Even if you have a standard trimmer head, keep reading! I’ll be going over two methods to replace the line in a weed eater that covers both models.
Reloading a Stihl String Trimmer: Step-by-Step Guide
The object of this tutorial is a Stihl string trimmer, which we more commonly refer to as a weed eater, weed whacker, or weed whip.
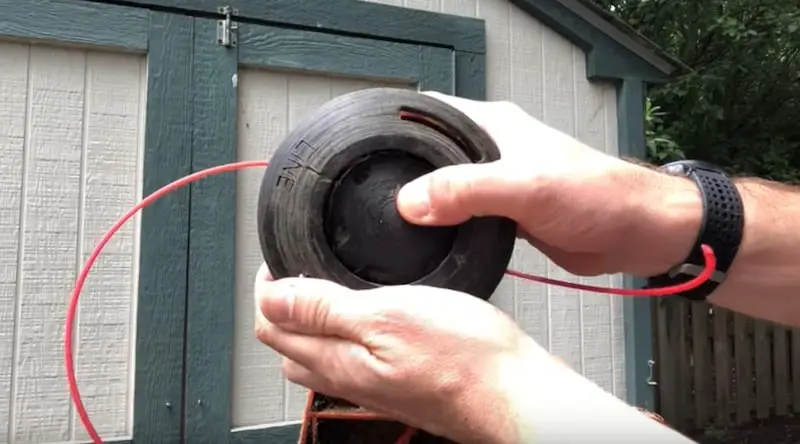
You can see that on my auto-cut C 25-2 trimmer head we still have some line on one side and the other is completely out.
Stihl is a popular brand of string trimmer. They have a good reputation when it comes to lawn care equipment because their products are durable and easy to use.
In this step-by-step guide, I’m going to show you two different ways to replace the trimmer string in a Stihl FS 55 R weed eater. Both of these methods work for the C 25-2 auto-cut head. The second method works for the more common (standard) 25-2 trimmer head.
Rather watch than read? Check out this 11-minute video.
DISCLAIMER: This video and description contain affiliate links, which means that if you click on one of the product links, I’ll receive a small commission.
How to Replace Weed Eater Line: Supplies and Tools
Supplies
Tools
- Possibly a flathead screwdriver
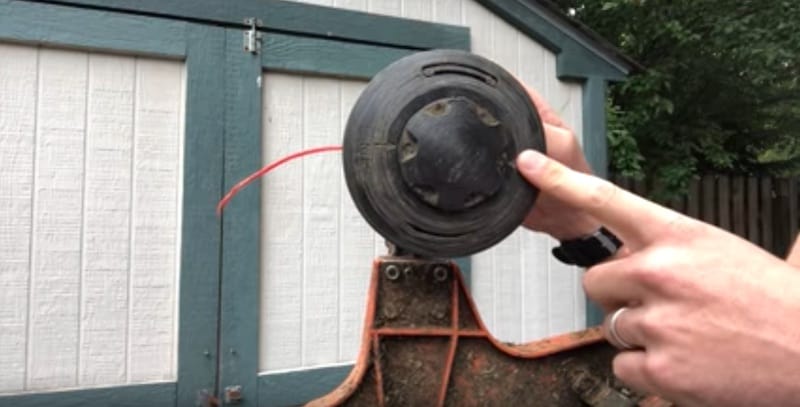
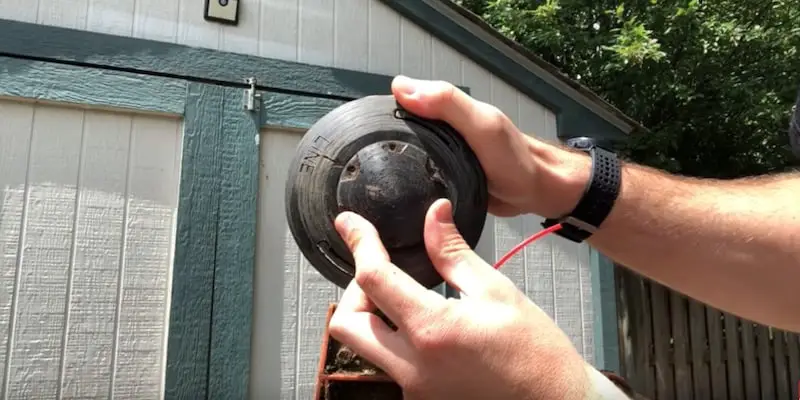
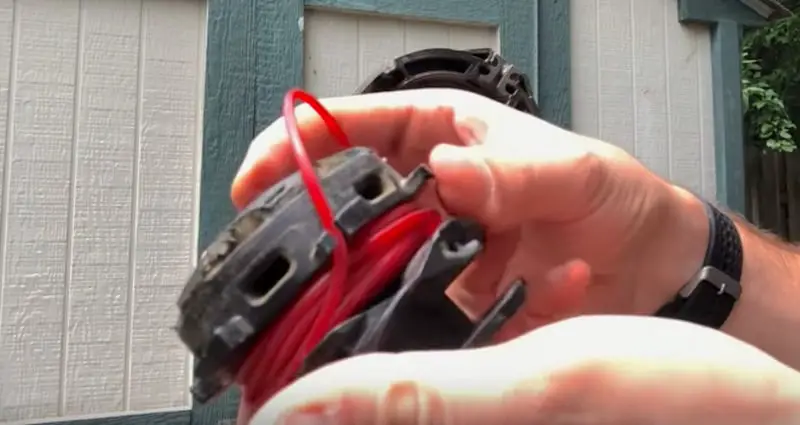
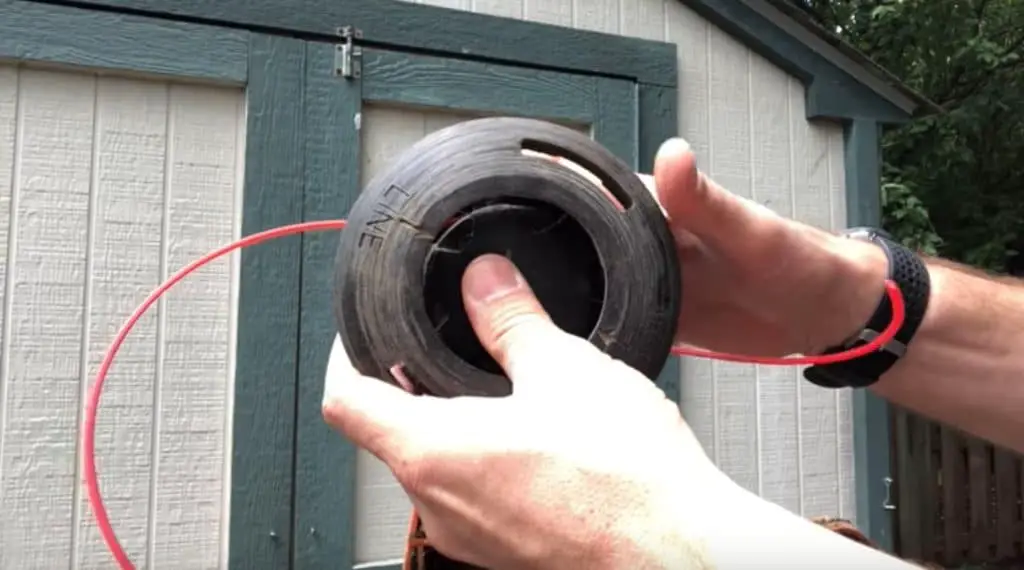
Opening the Stihl Weed Eater Trimmer Head
First, we’ll open up the trimmer head to remove the remaining line.
To release the cover, I’ll press down with my thumbs on the tabs where they meet the body of the trimmer head and then pull the cover away.
Alternatively, you could use a flathead screwdriver; there’s a little slot on the side of the casing to open the trimmer head that way.
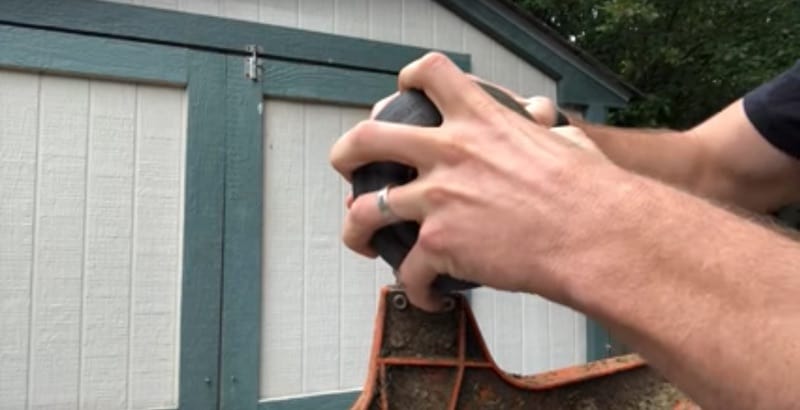
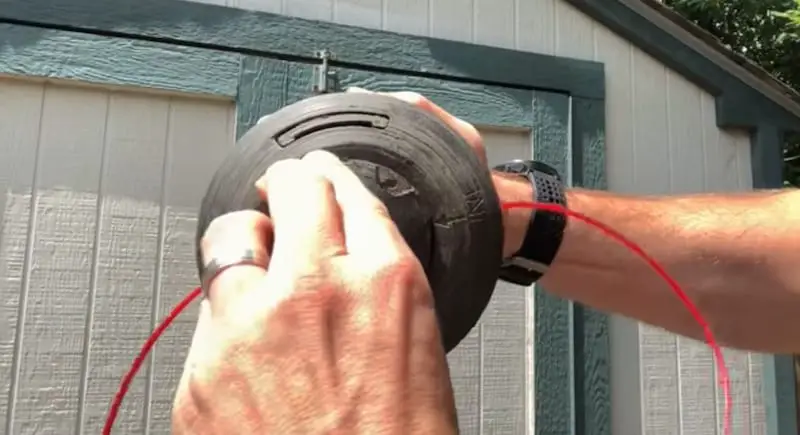
Now that the cover’s off, I’ll grab the center section, which will pull right out.
This center section of the head is a spring-loaded spool that holds the trimmer string.
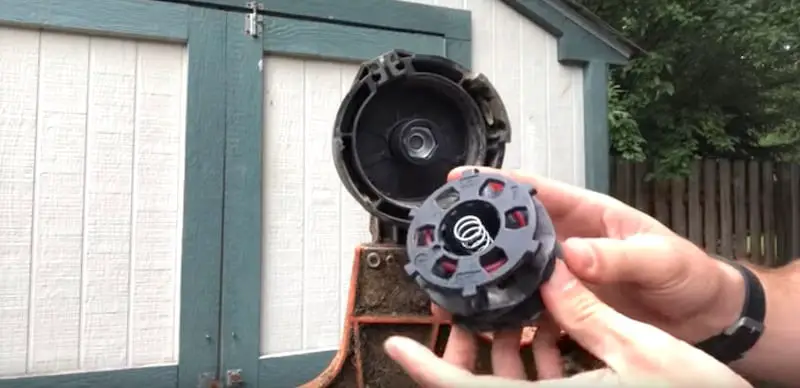
You can see that one channel has a little bit of line left in it and the other is empty.
Thickness and Length of Weed Eater Line
The string I’m using is .105 thickness. It’s a 24-foot length, which will give me 12 feet of string in each channel.
If you use a thinner line, you’ll be able to fit more linear feet in each channel. For example, with a thickness of .95, you can get about 16 linear feet in each channel.
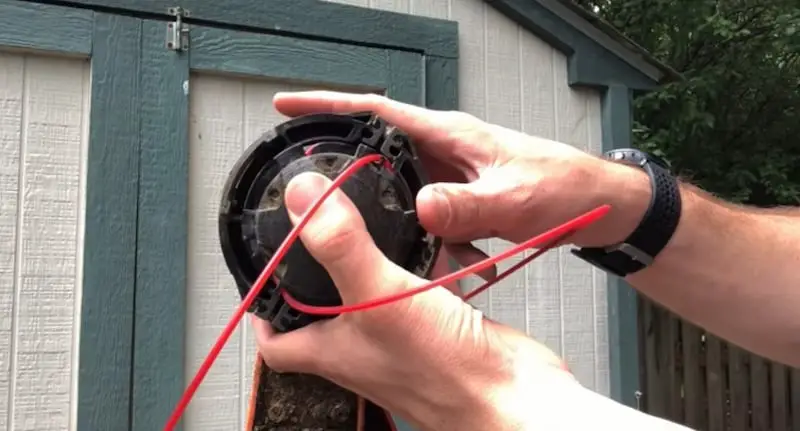
How to Replace Weed Eater Line: Method One
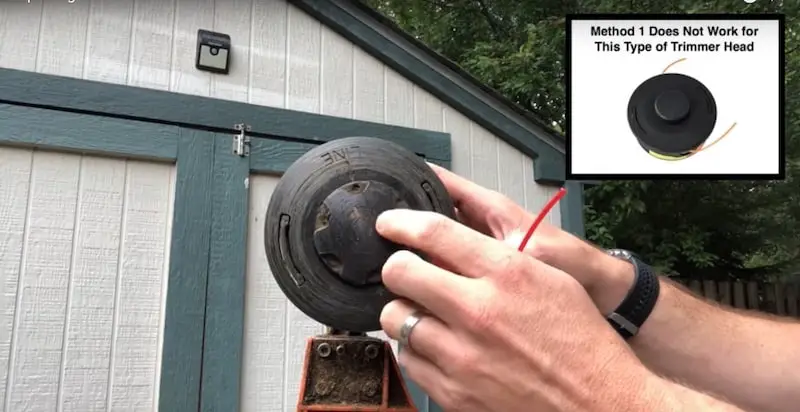
For our first method of reloading line into our Stihl weed eater, we’ll use a convenient feature of the C 25-2 trimmer head. This feature enables us to replace the weed eater line from the outside of the head.
Note: Method One works for the Stihl C 25-2 trimmer head. It won’t work if you have a standard flat cylinder trimmer head that you bump on the ground to feed out the line.
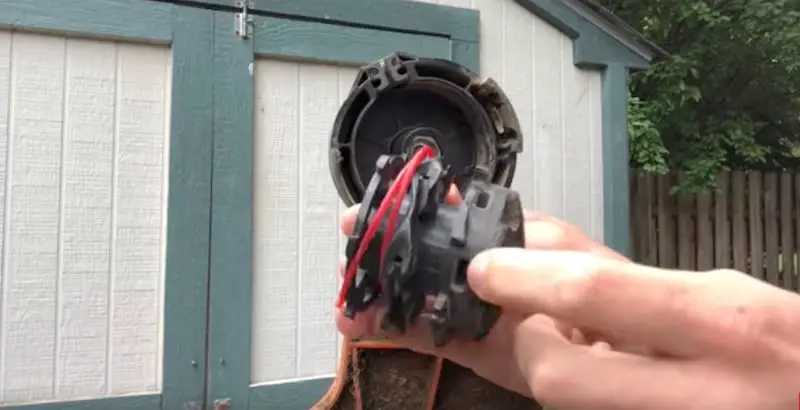
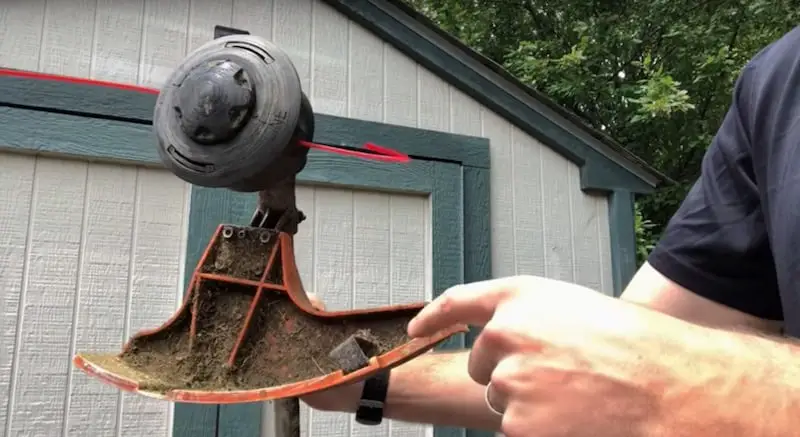
Before loading in the new line, we want to remove any remaining line. To do this, I’ll just pull on it until it detaches from the spool..
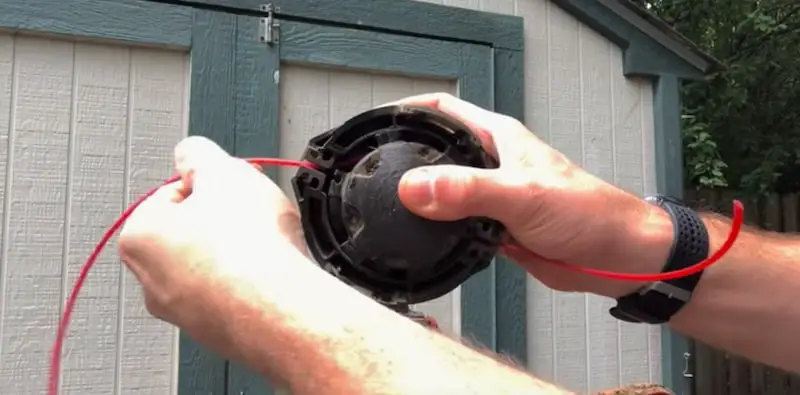
Now I’ll put the center section (spool) back into the trimmer head housing and put the cover back on, matching up the two little tabs.
Before loading the string, I want to make sure that the line above the word “LINE” on the cover of the trimmer housing is lined up with the circle on the central disk of the spool. Just rotate the central disc to align these things.
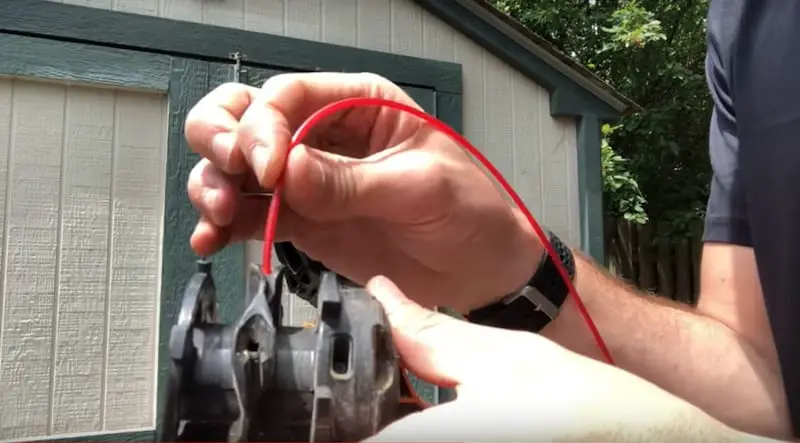
Turning the trimmer head sideways, I’ll insert some of the string into the hole. Note that I won’t precut the string when using Method One.

You might have to work the line a bit as you feed it in. You should feel a little resistance as it enters.
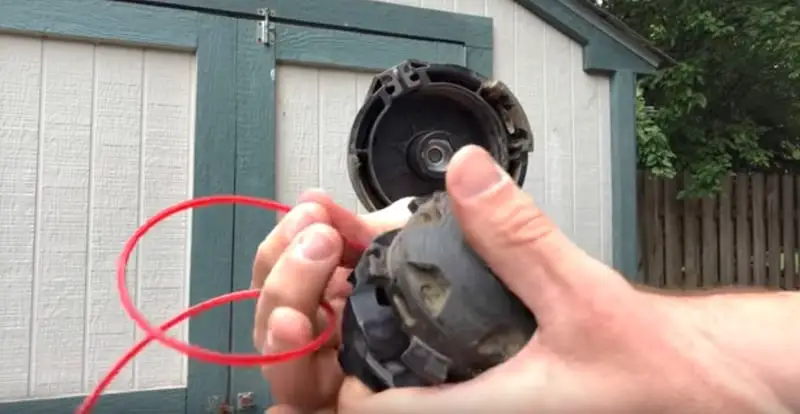
Now insert the other end of the length of string into the other hole of the trimmer head. (Remember that I didn’t cut the string beforehand.)
Next, manually rotate the central disc of the spool clockwise. This will start feeding the line into the channels.
Keep turning until only about 5 inches of string remain exposed (it will take a little while), then cut the string.
Don’t worry if the two ends of the string aren’t exactly even lengths. When you start up your weed eater, the steel cutter on the guard will cut the string to the correct length.
That’s it for Method One!
Super easy. Also the preferred method for the Stihl C 25-2 trimmer head.
How to Replace Weed Eater Line: Method Two
Method Two is the more common method for replacing weed eater line. This is the method to use for the regular 25-C Stihl trimmer head. You can also use it to reload the C 25-2 but isn’t as fast or convenient.
With the cover and central section (spool) of the trimmer head removed, you’ll want to detach any remaining string. (Refer back to the “Opening the Trimmer Head” section for notes on how to remove the cover.)
IMPORTANT: Keep the cover within easy reach.
Loading the First Chamber
I’m going to load the new line into the top chamber of the spool first. For Method Two, I cut my line ahead of time into two equal pieces.
First, I’ll feed the line into one of the holes.
Note: The line needs to be wound in a certain direction. This is indicated by an arrow on the spool.
You’re going to wind the string by hand around the cylinder in the direction indicated by the arrow. You’ll want to work with some care to get the line nice and tight. I also try not to overlap the line so that I can fit in the maximum amount. You should be able to easily fit 12 feet of .105-thickness string inside this chamber.
When you’ve got about 5 inches of line left, click it into place in the notch on the side of the spool.
This is an important step. If you don’t do this, the string will unravel and all your hard winding work will be lost.
Loading the Second Chamber
To load the other chamber, I usually start with a hole on the opposite side of the spool.
Again, I’ll seat the string in the hole and start winding it by hand in the direction indicated by the arrow for that chamber, taking care to wind tightly and without overlapping. As before, when about 5 inches are left, I’ll secure the string by pressing it into the notch, this time on the opposite side of the string I already loaded.
Reinserting the Spool into the Trimmer Head Casing
To reinsert the spool now loaded with string into the trimmer head casing, we need to line up the notch where the string is emerging with the slot in the casing.
Holding the spool securely in place (recall that it’s spring-loaded, so I’m pushing down pretty hard), I’ll pull the string out of the notch and lead it through the slot.
Then I’ll do the same with the other side.
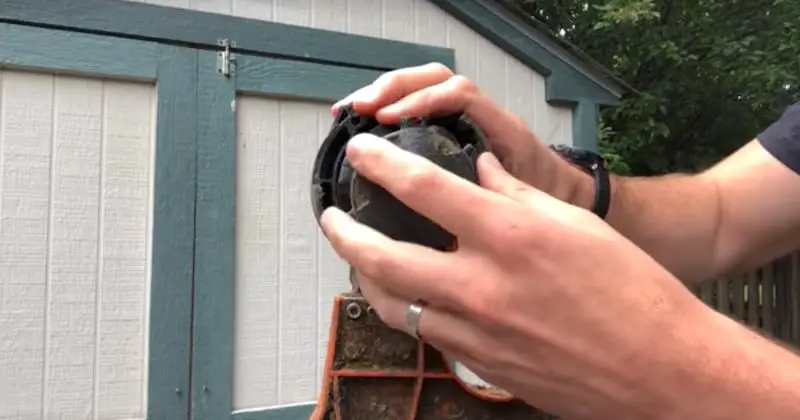
Remounting the Cover of the Trimmer Head Casing
To remount the cover, I’ll keep the pressure on the spool inside the casing with one hand and grab the cover with the other. Keep in mind this part of the process can be a little tricky because the spool is spring-loaded.
Bringing the cover up to the casing, I’ll put the thumb of the hand holding the cover through the hole to keep the spool in place so I can free my other hand.
Now I’ve got both hands available to manipulate the cover and line it up, but I’m always keeping pressure on the spool with one thumb.
Once the tabs of the cover are lined up, snap it into place and make sure it’s locked in.
How to Replace Weed Eater Line: Final Check
As a final step, you might want to tug a bit on the strings. There should be resistance.
If the line pulls out easily, something’s wrong. In that case, you’ll want to disassemble and recheck everything. It likely means the line is wound in the wrong direction.
How to Replace Weed Eater Line: Conclusion
In this tutorial, we covered two different methods for replacing the line in a Stihl FS 55 R weed eater.
Both methods are pretty easy but the C 25-2 trimmer head is a lot easier to load using Method One, where we installed new line through the exterior holes. That’s the major difference between the two trimmer heads, and really what the C-model is designed to do.
I hope this has helped you out!
Related Article: How to Get Great Deals on Seasonal Items
For tips on how to get great deals on seasonal items like weed eater line, have a look at our article on Home Depot Clearance Price Tag Secrets.
Got other home repair projects to tackle?
For other home repair projects, please check out our YouTube channel.


