
 My Account
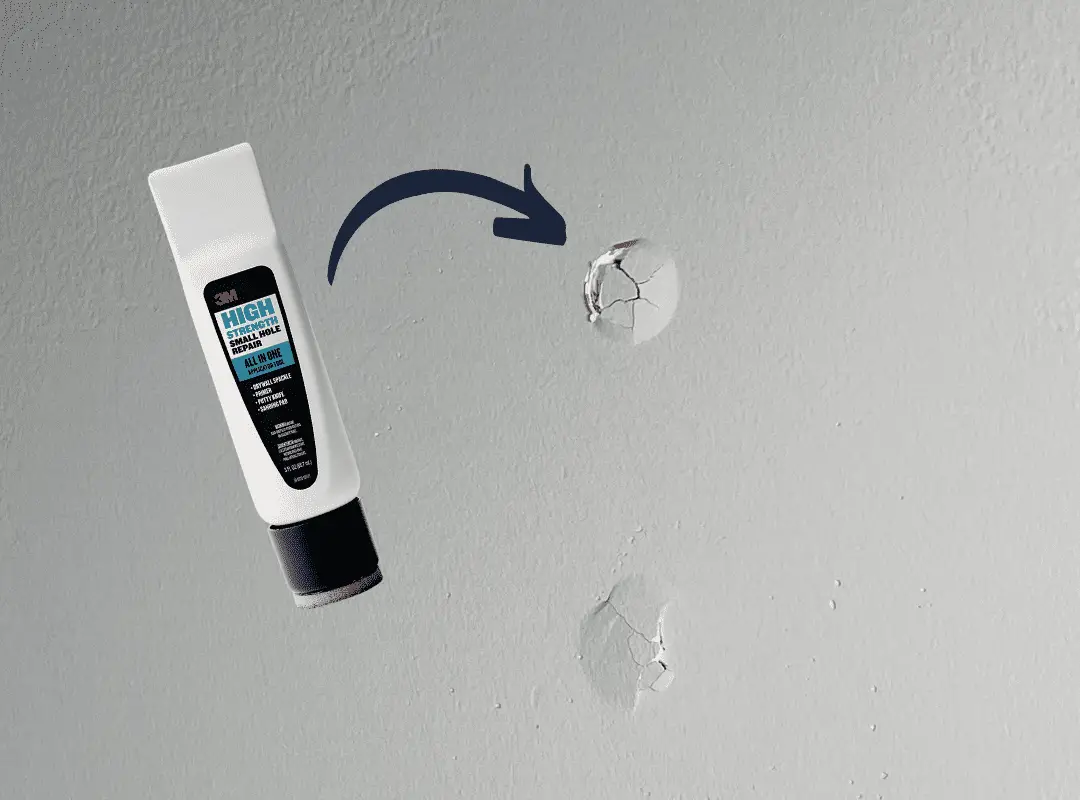
One of the most common drywall defects most of us homeowners come across are these little bumps or blemishes that form on our walls, called “nail pops” or “screw pops” because there actually is a fastener underneath each one of those bumps. So let’s take a closer look at why this happens and how to repair it so that it’s fixed permanently.
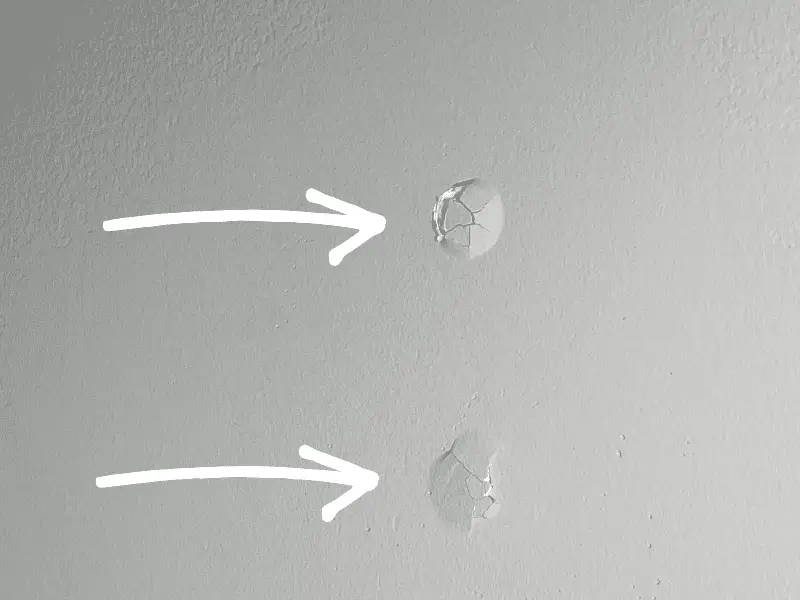
What’s going on here is that there is a little distance between the screw underneath this damaged area and the stud. If I push on the drywall, I can see the spackle or mud (joint compound) pushing out. It’s this screw head with wiggle-room that’s causing the problem. If the wood of the studs shrinks a little or if there’s some shifting in the structure of the home, this screw head pushes out the spackle or mud, causing the screw pop.
How to Repair Nail or Screw Pops in Drywall: Step-by-Step Guide
In this step-by-step guide, we’ll learn how to get rid of these nail/screw pops in our drywall with the use of some simple hand tools and 3M High Strength Small Hole Repair All-In-One wall patch.
The procedure involves some simple prep to clear away the problem, followed by resecuring the drywall with new screws and applying the 3M All-in-One spackling compound.
Let’s get started so you can get your wall back to flat, paint it, and get rid of the eyesore.
Rather watch than read? Check out this 12-minute video.
DISCLAIMER: This video and description contain affiliate links, which means that if you click on one of the product links, I’ll receive a small commission.
How To Repair Nail or Screw Pops In Drywall: Supplies, Tools, and Costs
Supplies
Tools
- a utility knife
- a Phillips-head screwdriver
Costs
The tube of 3M All-in-One Small Hole Repair costs about $7.
Prep: Cutting Away the Drywall and Removing Old Nails/Screws
To fix this problem properly, we need to start by removing the old problem. We’re going to cut away the drywall to get down to our popped-out nails or screws, and then remove them.
Cutting Away the Drywall
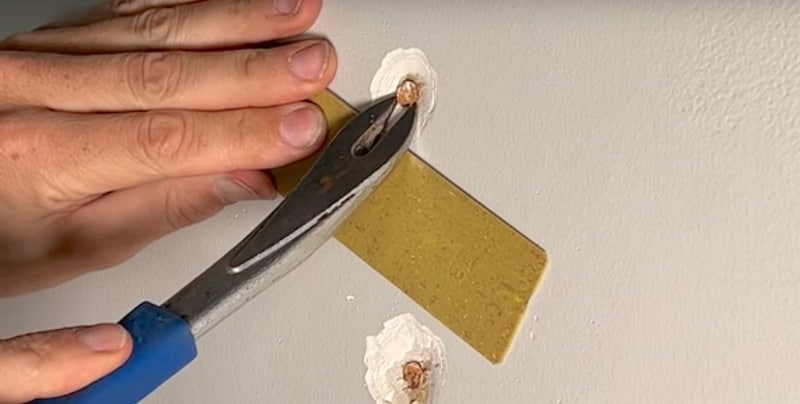
To cut away the drywall, take the point of your razor blade and insert it at the center of the screw, rotating it and cutting away the loose material so that you end up with a nice little crater. We want to clear all the material away to give us a clean foundation for building things back up.
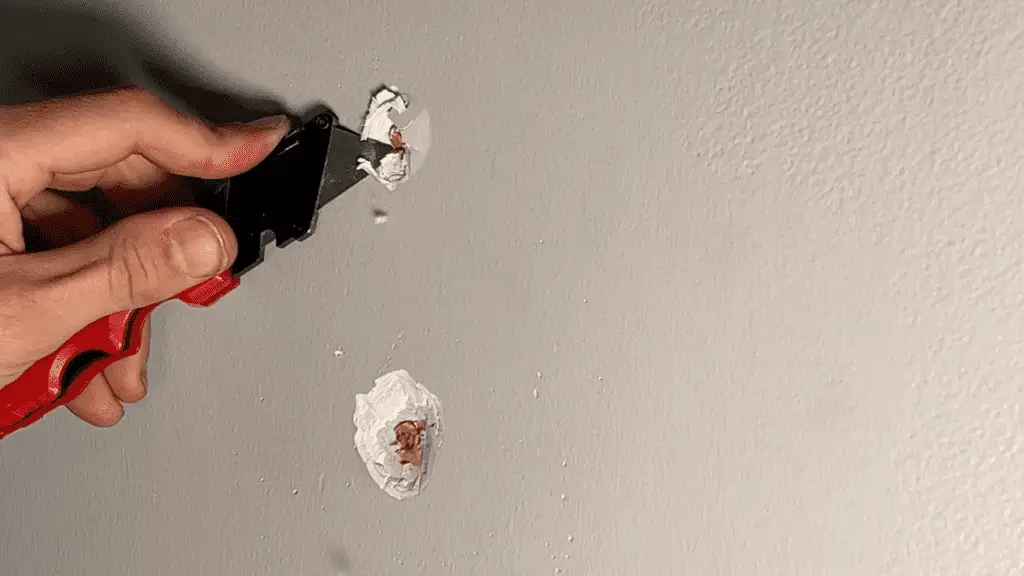
I was expecting drywall screws but now that I have things cleaned off I see that I have drywall nails. If you look closely at these nail pops, you can see that there is quite a bit of gap between the head of the nail and the stud.
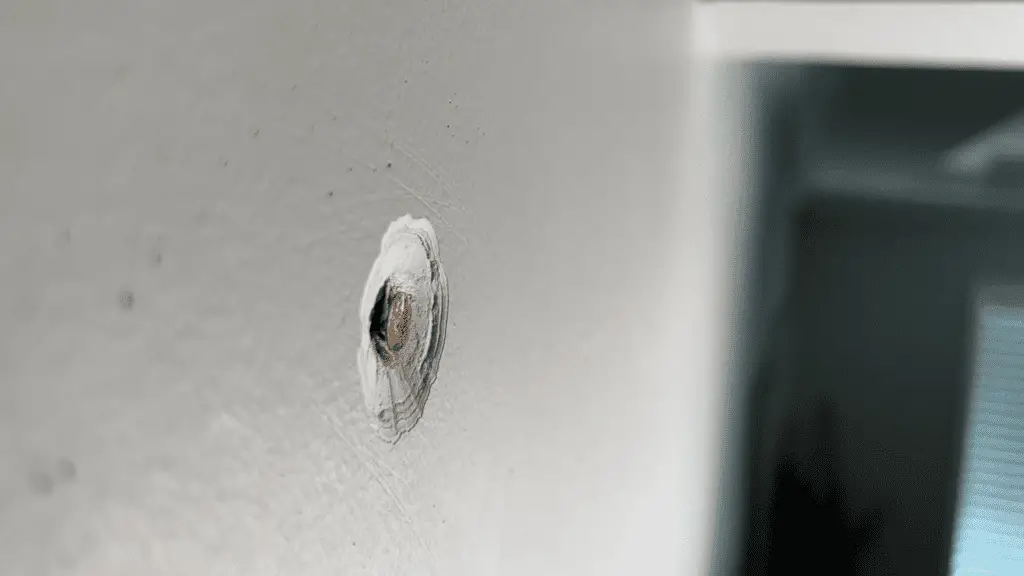
Any shifting will just continue to expand this gap and pop out any spackle or mud that I put on top of it.
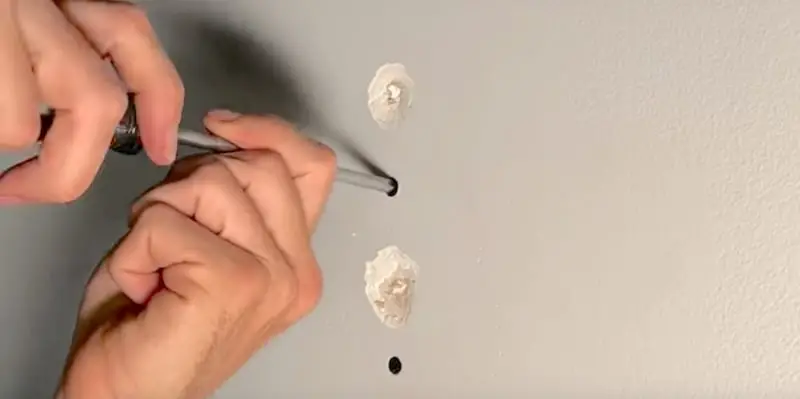
Removing Old Drywall Nails or Screws
The second step of our prep is taking out the old nails or screws. After that, we’ll re-secure the drywall. We want to get this drywall fastened down to the point where it’s not moving around at all.
If you have screws in your drywall, you can zip those out with a screwdriver or impact driver or drill.
For my drywall nails, I’m going to minimize any damage to the surface by taking a little shim and placing it on the wall underneath my cat’s paw when I pry out the nail.
Once the drywall fasteners are removed, make sure everything’s cleaned out and you don’t have any loose paper on your drywall.
Resecuring the Drywall by Installing New Screws
Usually, I’d use my impact driver with a Phillips head bit to put in the new screws but for this demo I’m going to use a screwdriver, just to show that it can be done with the simplest of tools.
Right at the end of tightening the screw, it’s important that you not break the surface of the drywall. Just sink the screw right below the surface of the paper.
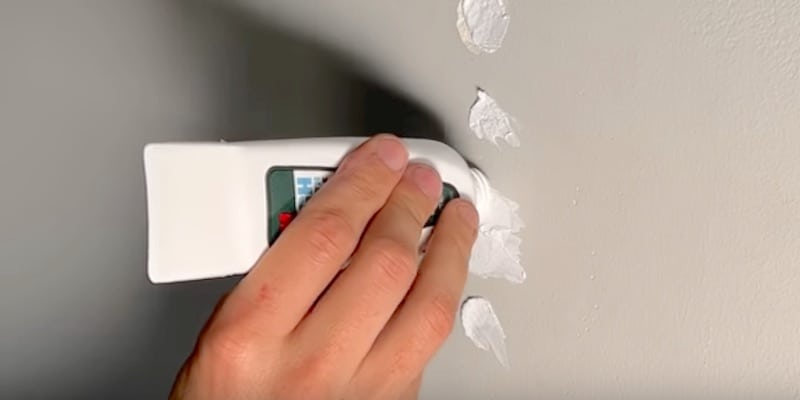
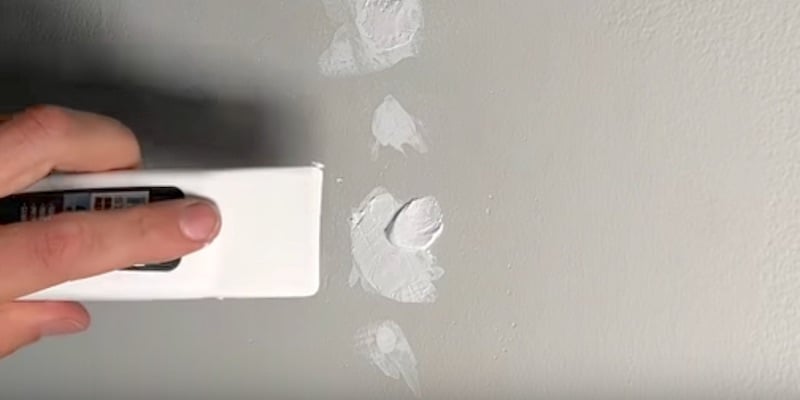
One way to check the position of the screw is to run a putty knife (or the putty knife end of the 3M All-In-One tube) across the surface. You should not hear any clicking when you pass over the screw.
I have two nail pops, so I’m planning on putting in three new drywall screws. If you have only a single pop, you might need to put in just one or two new screws.
After putting in your screws, you’ll want to do that same push test we did at the beginning. You don’t want to see the drywall surface moving at all when you do the push test; it should be rock-solid secure under the fastener.
After mounting two screws and doing the push test, I think two fasteners are going to do it for me.
Applying the 3M Wall Patch
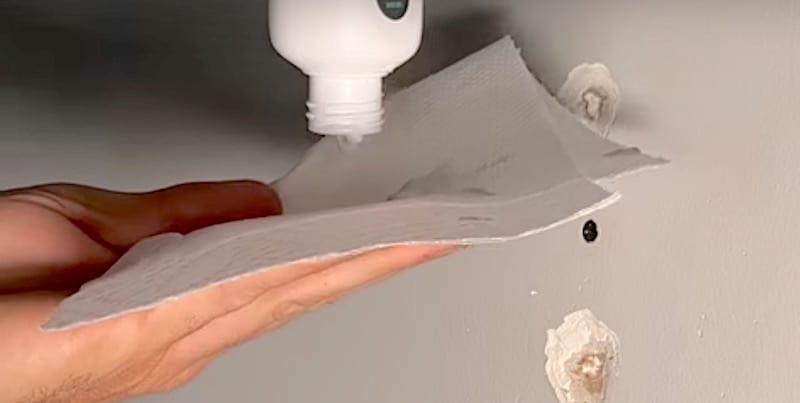
The last step is to fill in these holes and smooth everything out using the 3M High Strength Small Hole Repair. This is an all-in-one product that should get you to the finish line without buying any new tools or other products.
The All-in-One hole obviously includes the spackle but it also has an integrated primer. This means that after you sand, you can directly apply your wall color, saving you time compared to typical drywall work, where you have to prime a mudded surface before painting.
Additionally, the end of the tube is formed into a small putty knife. It’s not the most ideal tool but it is built right in, which is handy. There’s also a small piece of sandpaper on the cap. It’s an awesome product for do-it-yourselfers, especially if you don’t want to buy any other tools or supplies. This product is in our Amazon store in the General Supplies section.
As with most products of this sort, I want to remove some of the first spackle from the tube. It’s going to have a little more moisture in it, which will cause it to shrink a bit more. So I’m just going to squeeze a small quantity out prior to my first application.
As far as applying the wall patch, you can actually just squeeze the product right in. The application doesn’t need to be perfect for this first round.
Once I’ve squeezed some of the product into the holes, I’ll take the putty knife end of the tube and gently pull it across the spackle to remove the excess. I’m just wiping it on a paper towel to clean off the excess as I go.
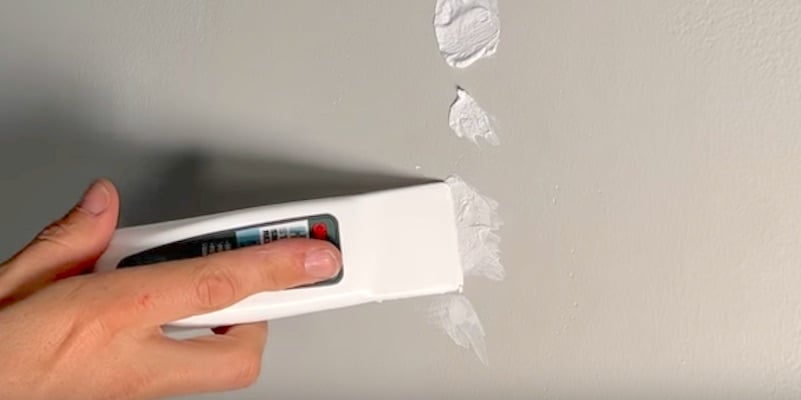
This built-in putty knife on the All-in-One tube is a bit small. It might be the same width as the diameter of your hole. If that’s the case, you’ll want to set one side of it on a solid, smooth drywall surface to give you a guide as you strike across the hole. If you don’t do this it can be easy to gouge the spackle.
I’ve removed the excess spackle from the first application and here’s how it looks:
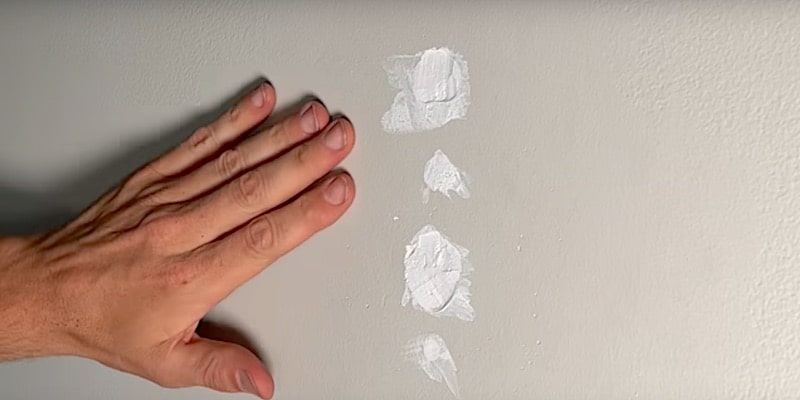
The coverage isn’t perfect but it’s a fine first coat.
The product calls for 30 minutes of drying time but I’ll let it dry for about 45 minutes because I think it never hurts to let this kind of product dry very thoroughly. Then I’ll lightly sand it before applying my final coat.
Keep in mind that you might need to apply multiple coats. Each application of spackle should only be about one-eighth of an inch thick. If you have a deep hole, you’ll definitely want to work in stages and apply multiple coats. This will allow the product to dry properly, giving you a better result.
Now I’m going to do some light sanding, using the sandpaper on the cap.

After sanding the first coat, I’ll apply my second coat of All-in-One and let it also dry for about 45 minutes to an hour. It’s a good idea even with subsequent coats to remove the first bit of spackle from the tube before applying it so that you get a consistent moisture level with every layer of product.
On the final layer of spackle, I like to build up the product at the side where I’m going to start pulling my putty knife across. This way, I’ll have an ample quantity to fill in any voids as I strike off the spackle. I’ll do a couple/few of passes this way until I get a filled-in, fairly smooth surface.
I’ve finished the second coat of All-in-One and I notice that I have a very light ridge here on this top hole. You’ll want to avoid ridges of this sort because once you start sanding you’re only going to be removing material. If you already have a ridge, it might be a challenge to get a really smooth surface. Always better to have a bit more filler than not enough.
Once the second coat is dry, all that’s left to do is another light sanding and we’re ready to paint.
How to Repair Nail or Screw Pops in Drywall: Conclusion
Overall, I think this 3M High Strength Small Hole Repair All-in-One product is awesome.
The size of the hole we’ve been dealing with in this tutorial is probably the maximum you’d want to tackle with it. Using a larger (and better quality) putty knife will make smoothing out the surface a lot easier.
You can see that getting rid of these nail and screw pops vastly improves the look of a wall. Fortunately, it’s a simple do-it-yourself repair that only requires a couple of hours of your time (most of which is spent waiting for the spackle to dry) and a few dollars.
Got other home repair projects to address?
For an easy tutorial on how to waterproof a sink base, check out our YouTube video, Waterproofing Hack For Kitchen and Bathroom Cabinets, or read the step-by-step guide.
Got lots of things to fix around the house? Browse all our articles on general DIY home repairs.
To Leave Comments and Questions
If something doesn’t make sense or if your situation is a little different, please leave a comment under the YouTube video. I check the comments daily and am happy to help out.
Don’t forget to subscribe to our YouTube channel as we have weekly videos coming out to help you with your everyday home repairs.
We’ll catch you on the next one! Take care.


